原料
無鹽黃油: 200g, 低筋麵粉: 300g, 雞蛋: 一枚, 糖粉: 110g, 蔓越莓: 100g
步驟
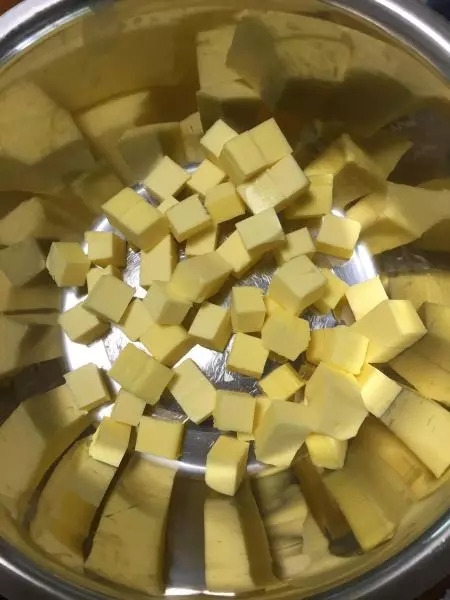
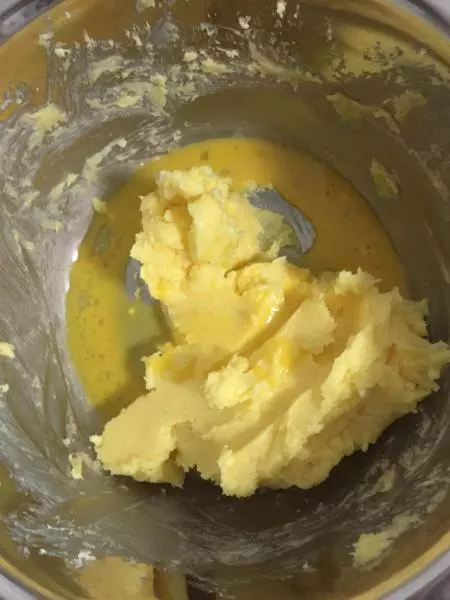
1黃油溫室軟化,切小塊可以讓黃油化的更快哦^_^
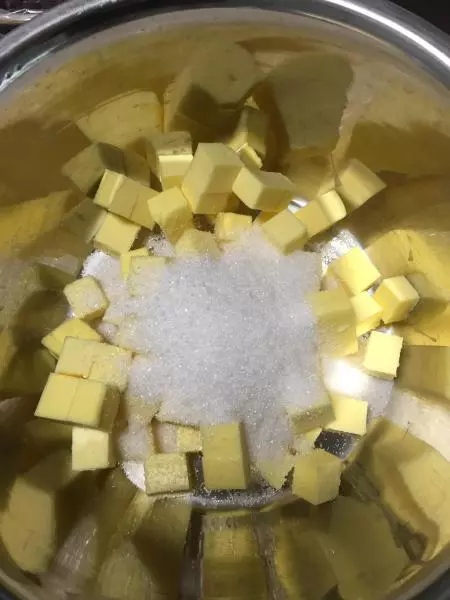
2加入全部糖粉,攪拌到看不見糖粉
3雞蛋液分2次加入,攪拌均勻
4加入切碎的蔓越莓干,切的儘量細一點的顆粒哦
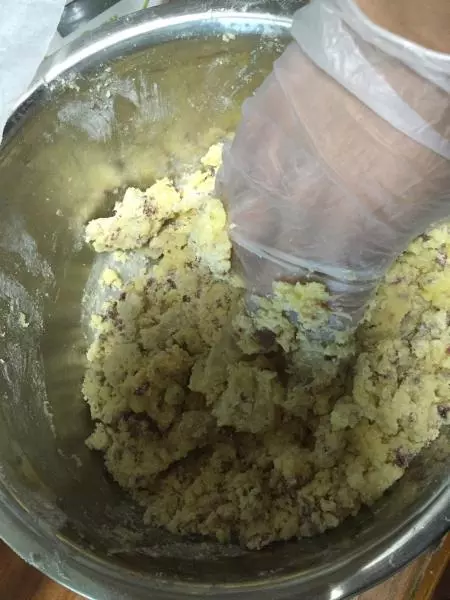
5我用了模具,麵糰放在烘焙紙中,放入模具中,儘量整形壓平,放冰箱冷藏2小時

6待冷藏到麵糰變硬,切成約0.5厘米的厚度,排列在烤盤上
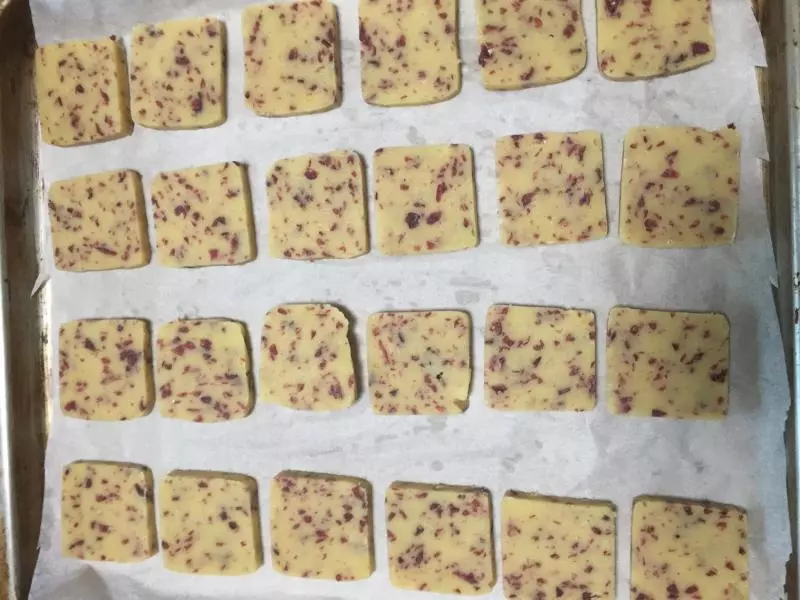
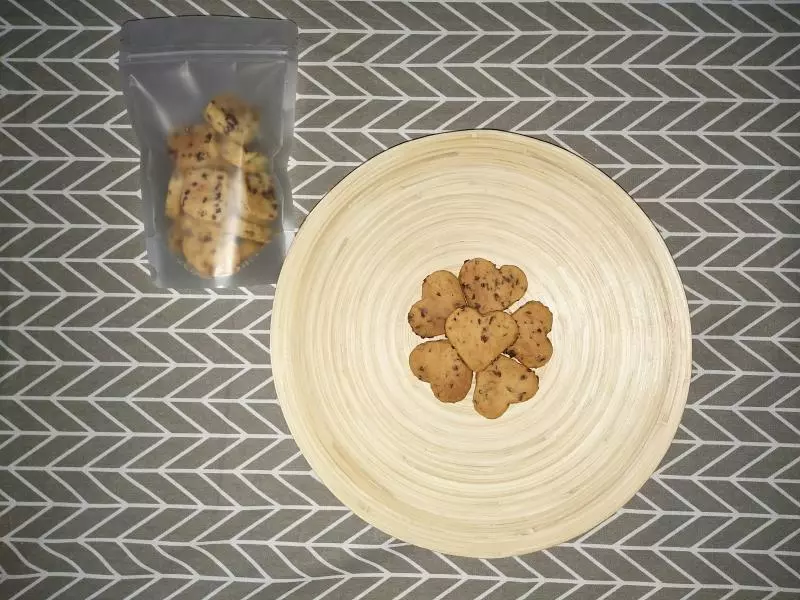
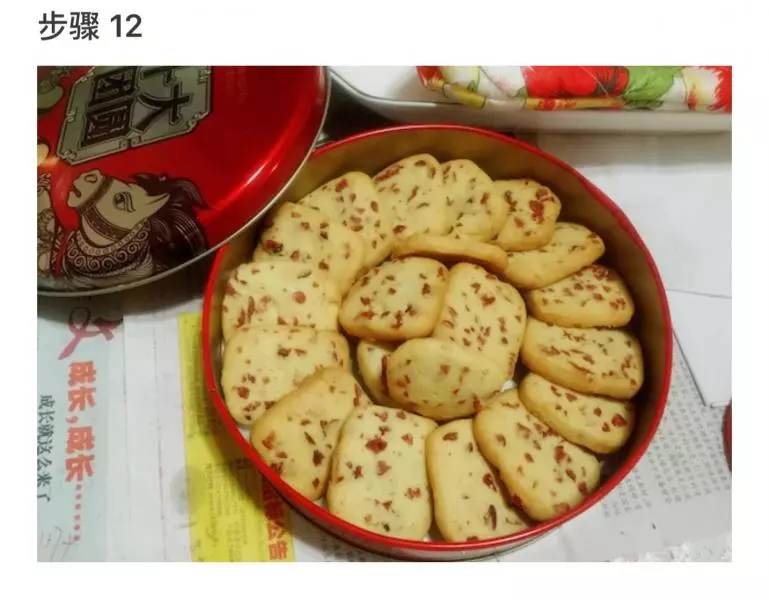
7烤箱預熱到170度,5分鐘,烤約20分鐘,完美的蔓越莓餅乾就新鮮出爐啦~_~

小技巧
如果你怕時間烤過了,可以用165度烘哦,發現餅乾烘烤時間不夠的話,可以用低溫可烤幾分鐘哦!餅乾一定要等完全冷卻了再吃哦^_^,不然餅乾不會脆的( ̄▽ ̄)