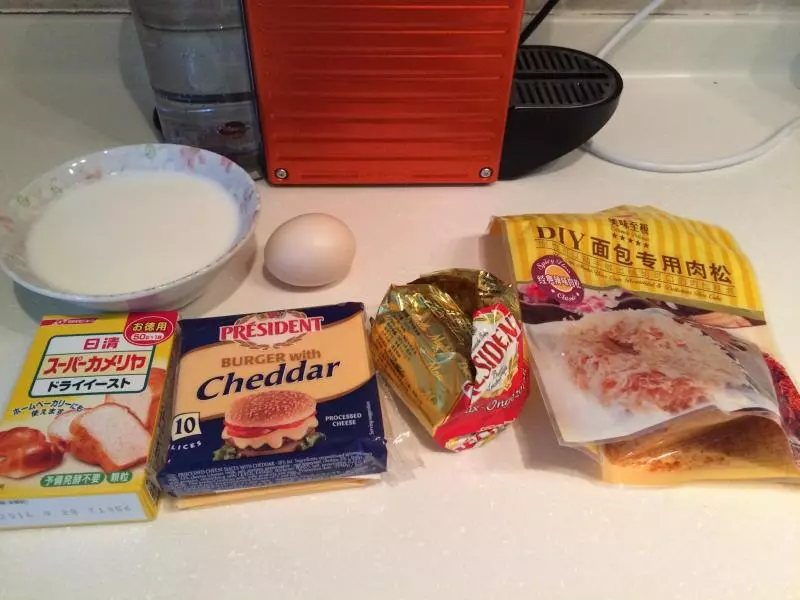
原料
高筋粉(新良): 250克, 雞蛋: 1個, 牛奶: 120克, 黃油: 15克, 糖: 10克, 鹽: 5克, 酵母粉: 4克, 車達奶酪片: 5片, 肉鬆: 若干, 沙拉醬: 一小袋(沒有可以不加), 蛋黃一個: 塗表面
步驟
1準備輔料。這次的酵母粉用日清天然酵母粉,有股淡淡的臭味!不過在大寒後的低溫下發酵效果依然不錯!首先將除黃油以外的原料揉成麵糰,注意牛奶不要一次性加入,要逐漸加進面里。
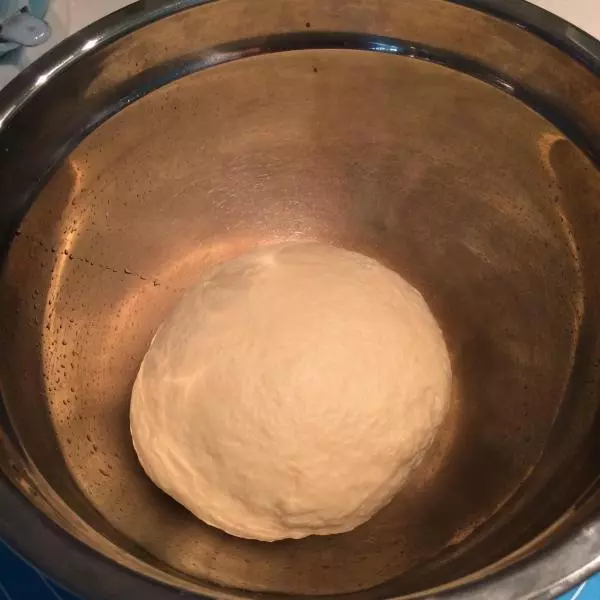
2加入黃油揉至擴展階段,放入烤箱進行基礎發酵。天太冷,烤箱裡可以放一盆熱水。
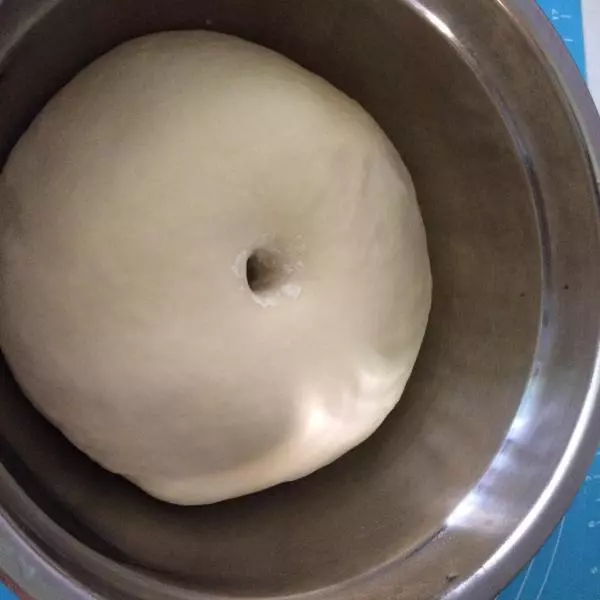
3發酵至2倍大,將麵糰排氣,滾圓後蓋保鮮膜鬆弛15分鐘。
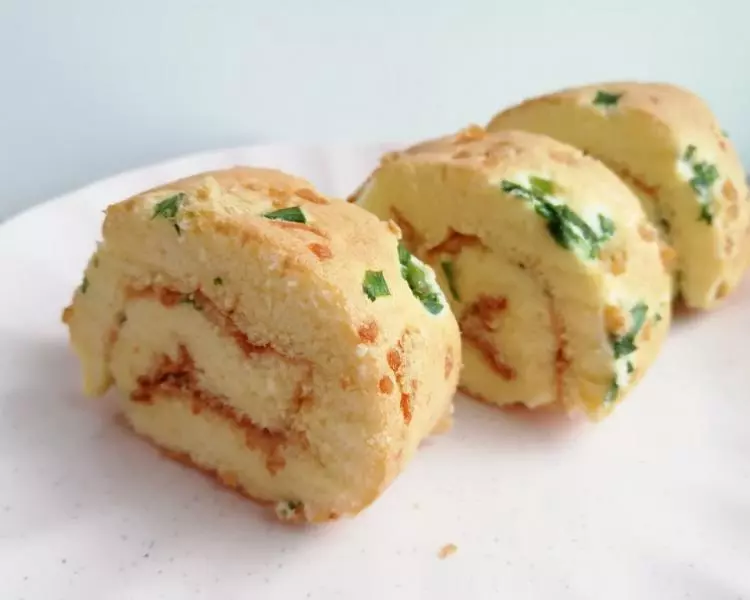
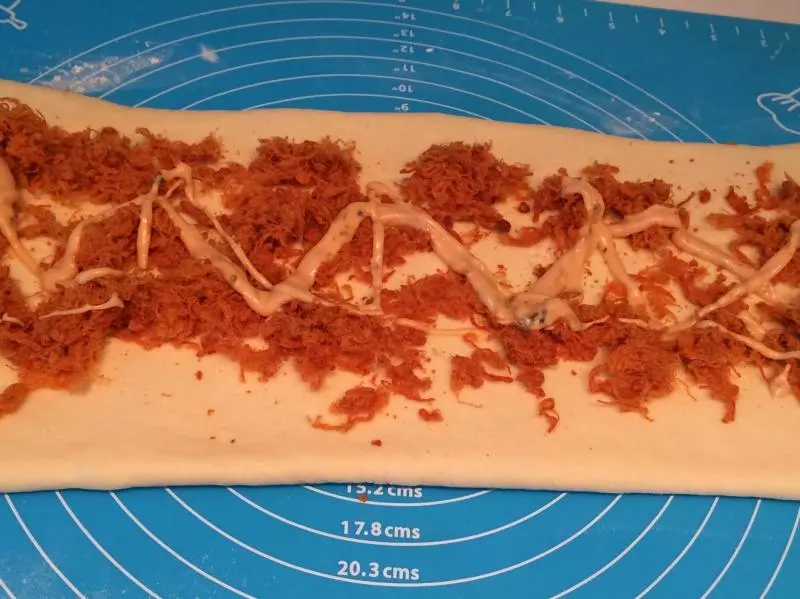
4將麵糰擀成長方形,將車達奶酪片平鋪在面片的中間,將面片的兩邊向內折,捏緊接縫處。將面片擀成長方形。

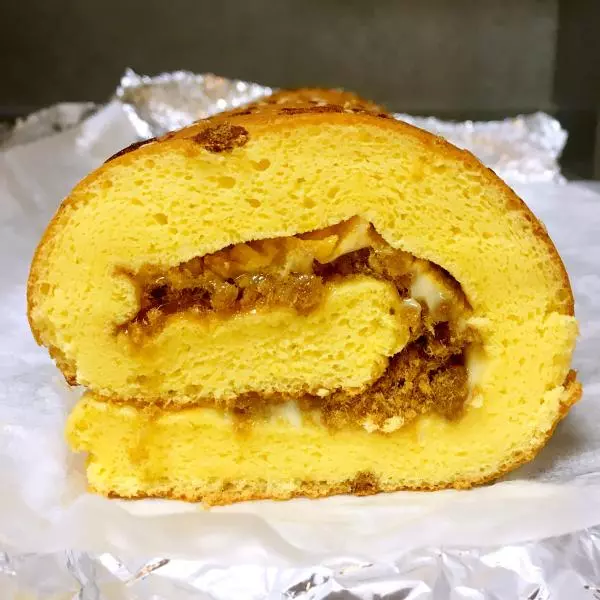
5將肉鬆平鋪在擀開的麵皮上,可以在肉鬆上擠些沙拉醬。
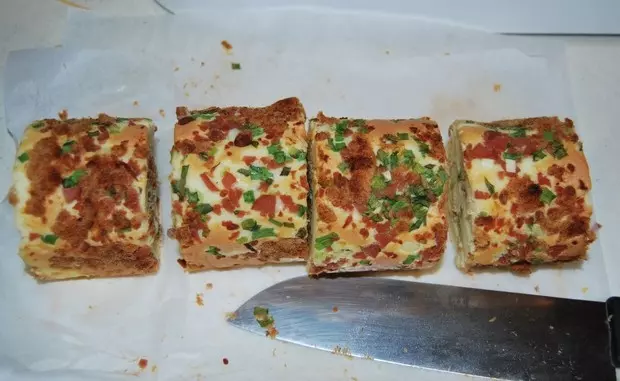
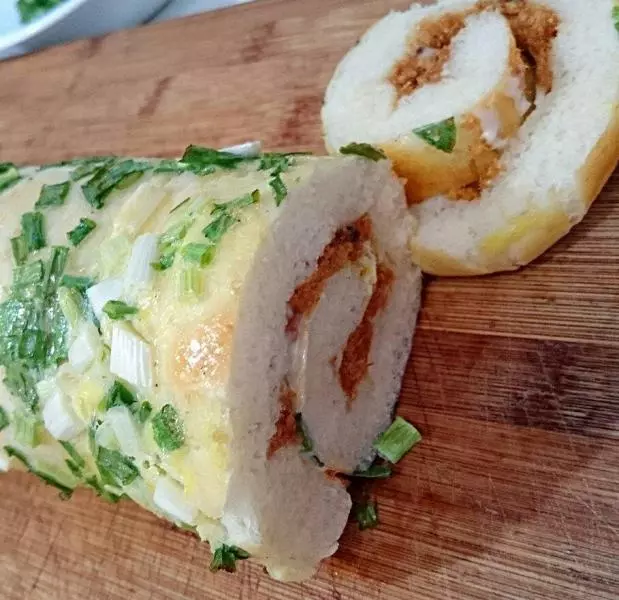
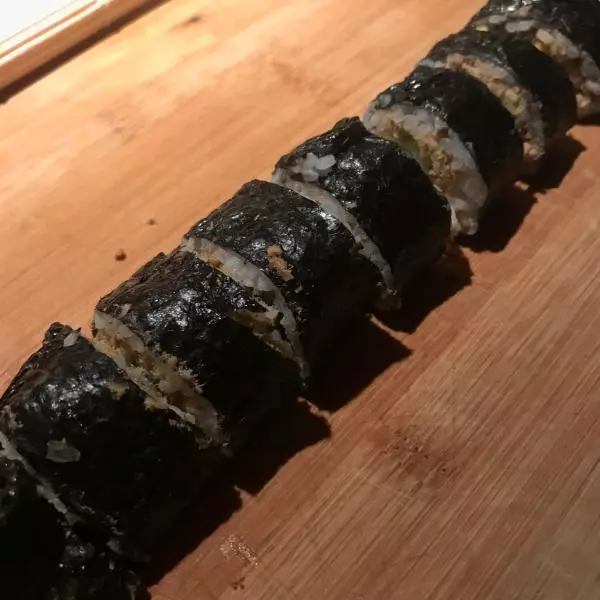
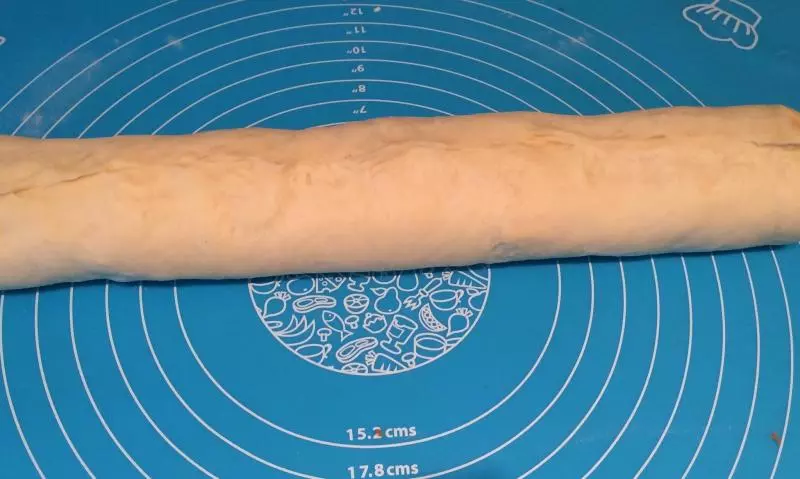
6將麵皮捲起,扭緊封口。
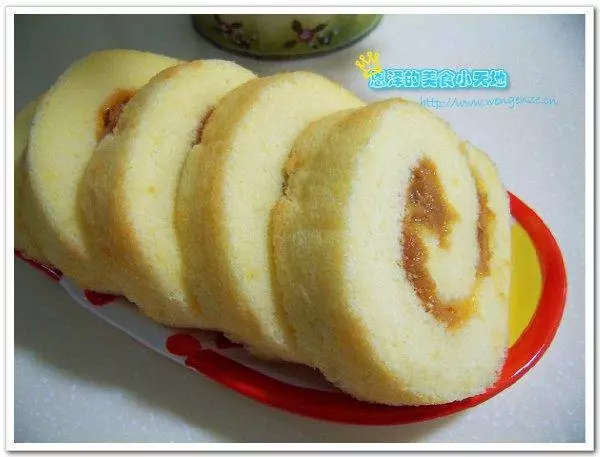
7切成六等份。
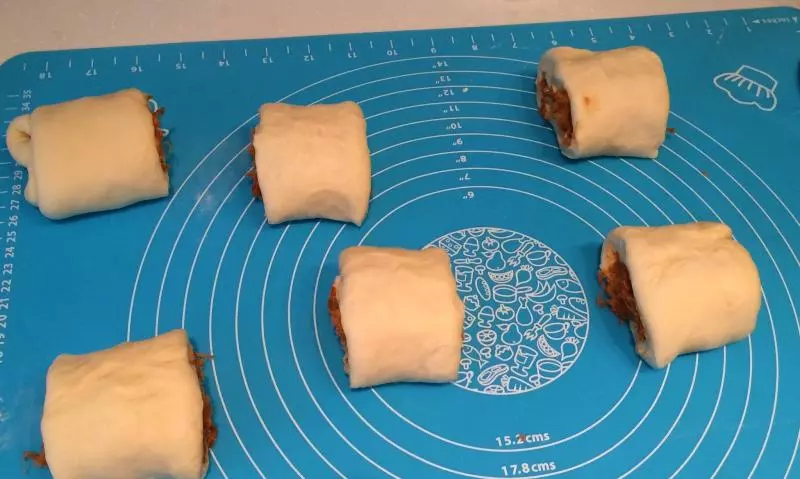
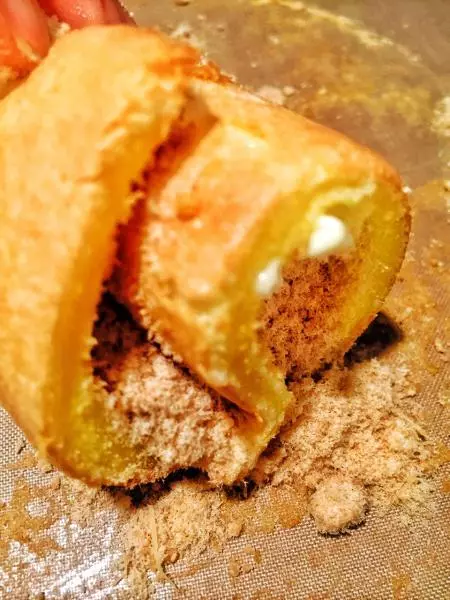
8將小圓柱體的中間切開,注意不要切斷。

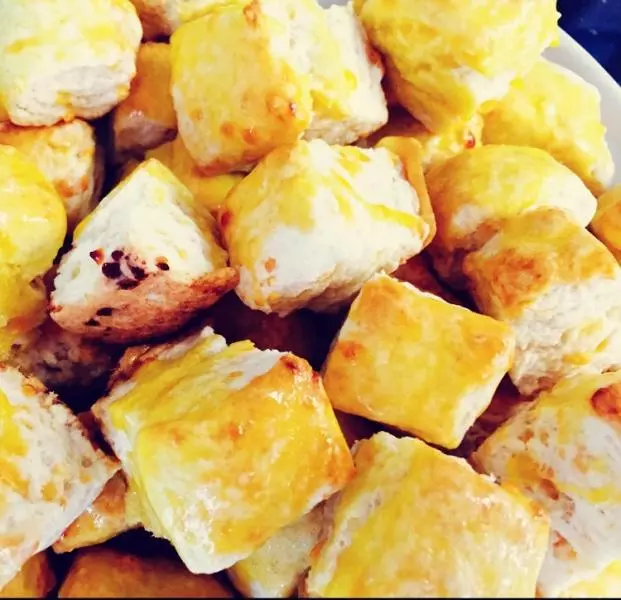
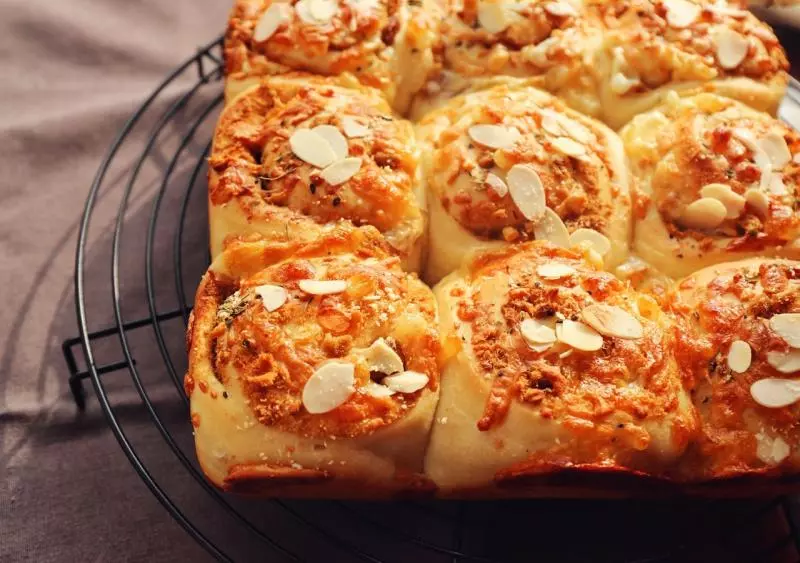
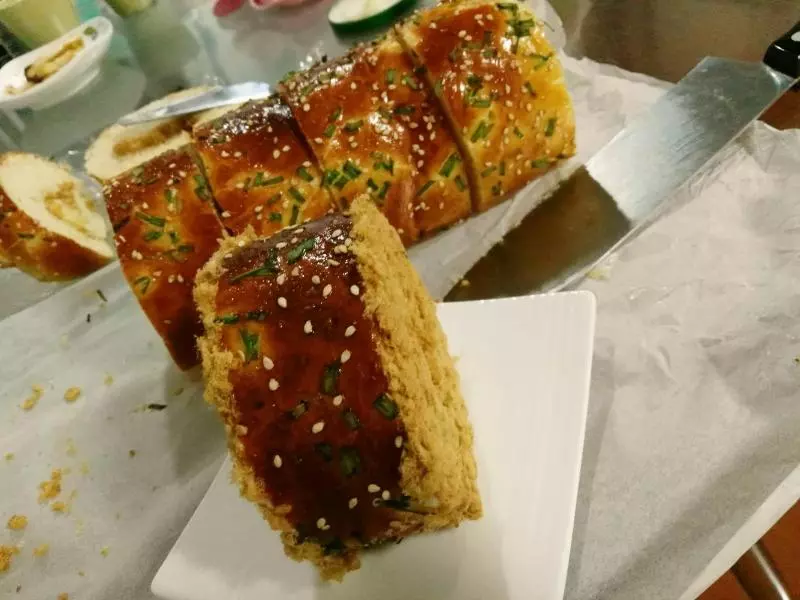
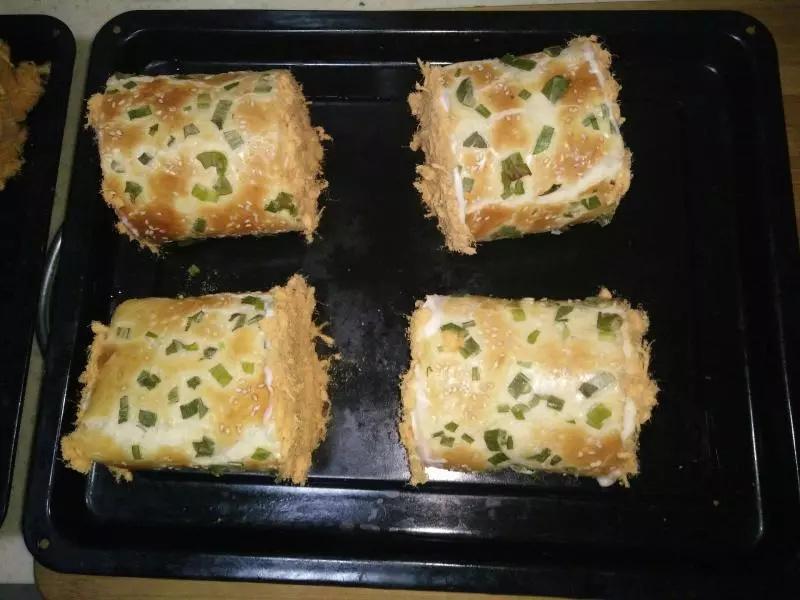
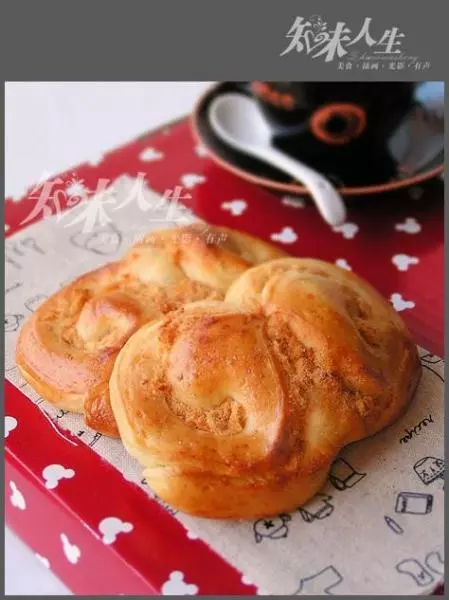
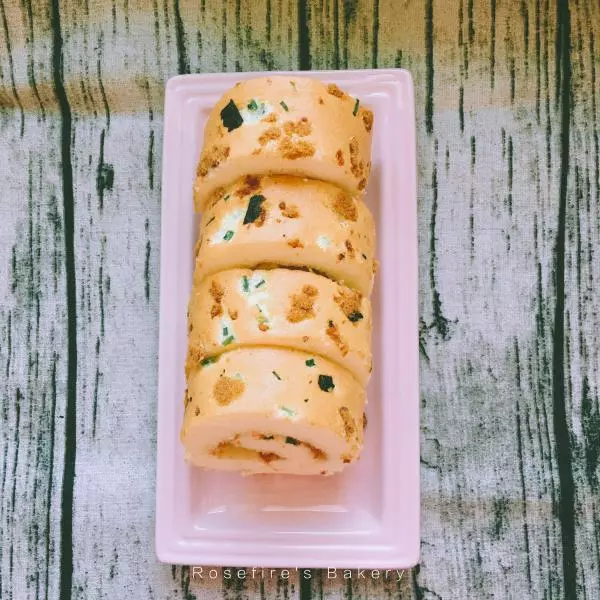
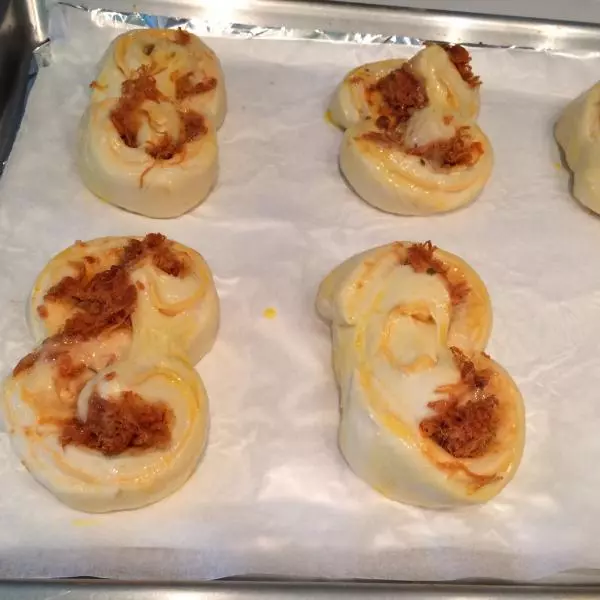
9切面朝上翻起平放在烤盤上,放入烤箱二次發酵約40分鐘。均勻地刷上蛋液,放入已預熱的烤箱中,180度烘烤約25分鐘。
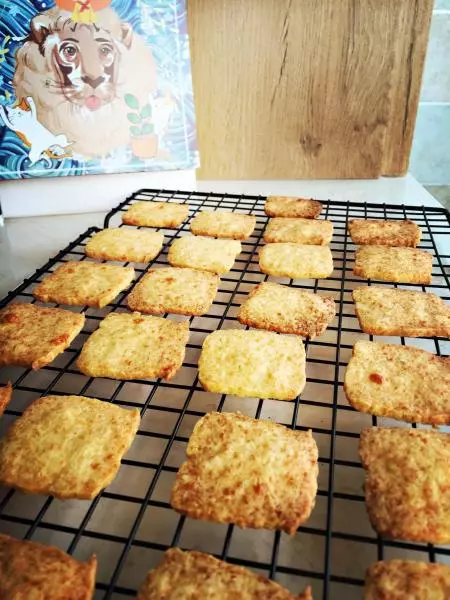
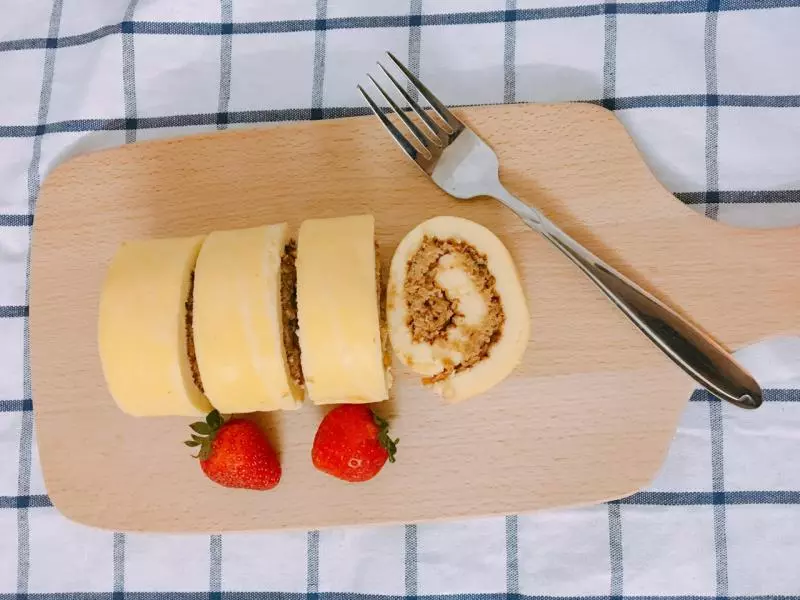
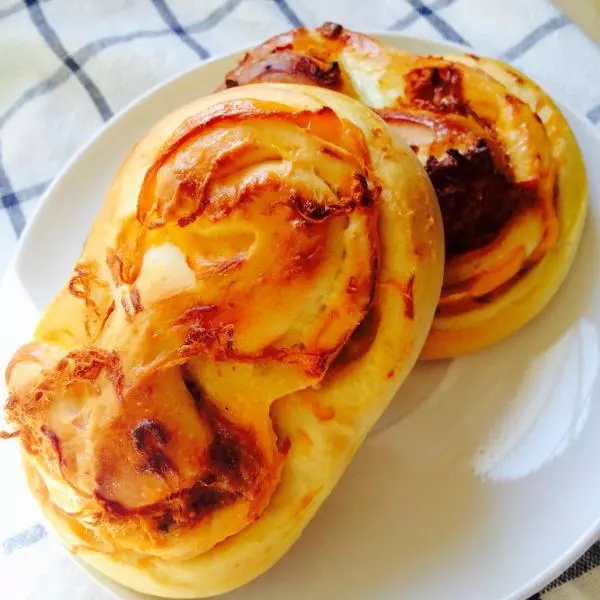
10烤好了!趁熱吃,車達奶酪能拉出絲來!
小技巧
烤箱溫度和烘烤時間大家要根據自己的烤箱調整,麵包烘烤上色後要及時加蓋錫紙,防止肉鬆烤糊。