簡介
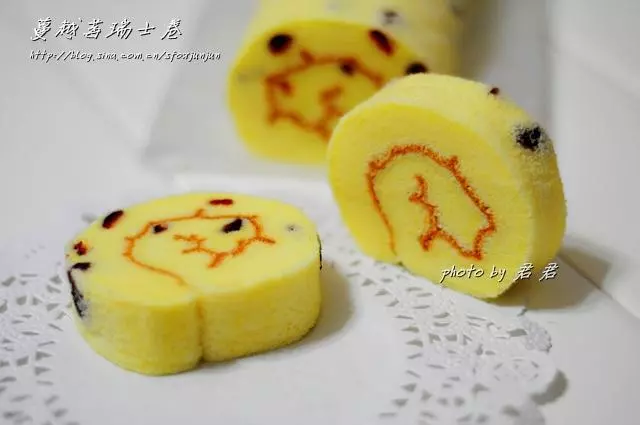
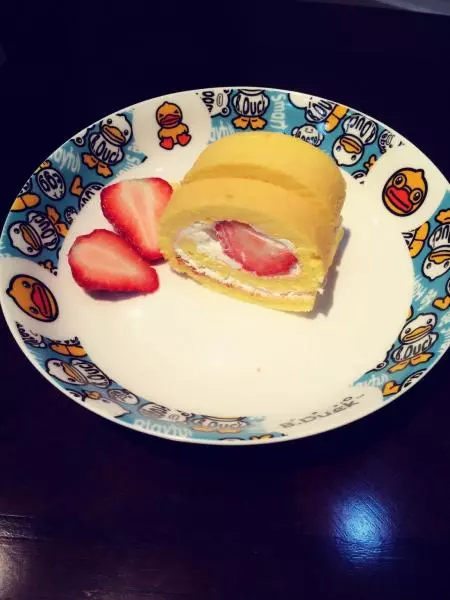
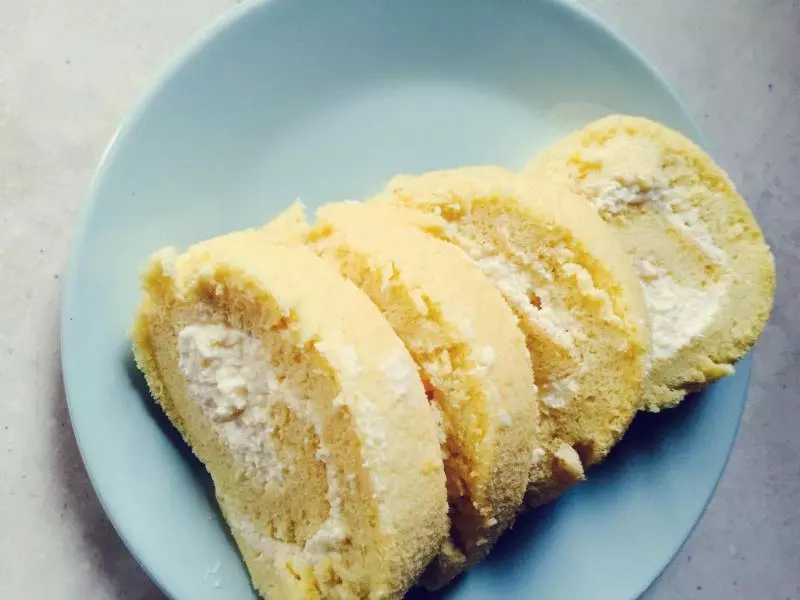
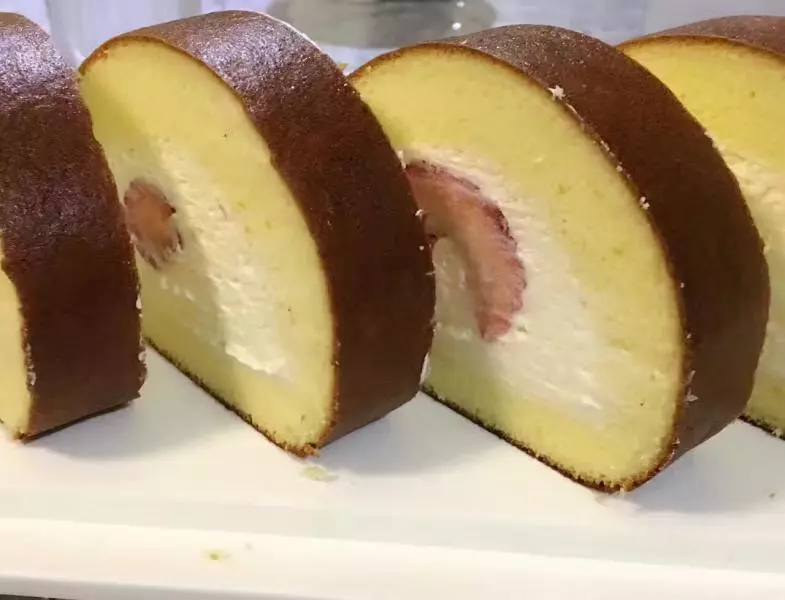
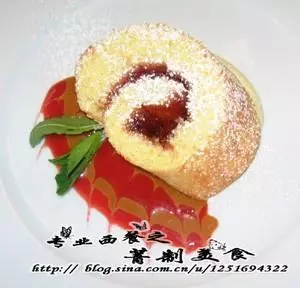
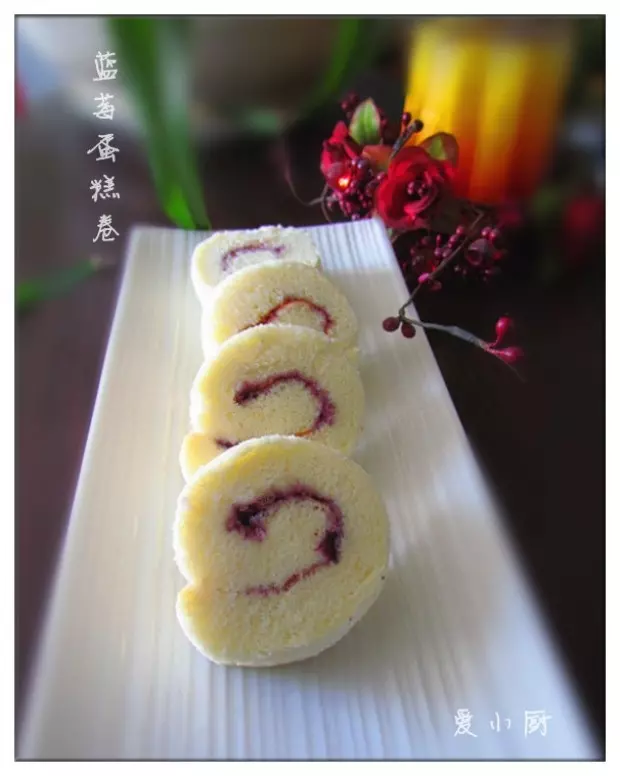
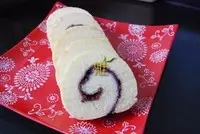
綿密細膩的瑞士卷,卷上藍莓醬,真是搭的不得了,你也試試吧~
原料
雞蛋 5個, 低筋麵粉 90克, 糖 100克, 牛奶 80克, 玉米油 80克, 白醋或檸檬汁 2滴, 香草精 2滴
步驟
1蛋白蛋黃分離至無油無水的兩個容器中~此步無圖,木有任何難度~

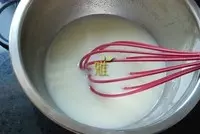
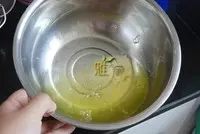
2糖40克加入全部的牛奶和油,滴入2滴香草精(沒有可以不放)用手動蛋抽攪打至完全乳化,呈細膩的乳白色液體
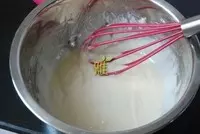
3篩入低粉,用蛋抽畫十字拌勻。
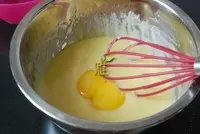
4將蛋黃分2次加入並繼續畫十字拌勻
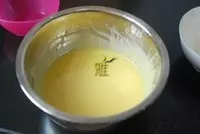
5打好的蛋黃糊細膩有光澤,覆蓋保鮮膜一旁備用
6蛋白加入白醋或檸檬汁2滴
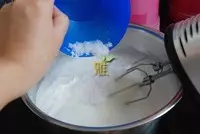
7用打蛋器打至魚眼粗泡時加入剩餘糖的二分之一
8轉至高速攪打至細膩時加入剩下的糖繼續打發
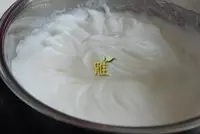
9打至濕性發泡即可
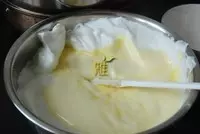
10三分之一的蛋白加入蛋黃糊內,翻拌均勻
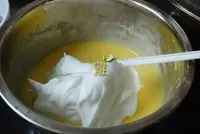
11拌好的蛋黃糊倒回剩餘的蛋白中,翻版均勻
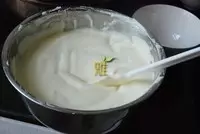
12拌好的蛋糊狀態穩定,沒有大氣泡浮出。
13倒入墊了錫紙的烤盤中,在檯面上震兩下,將大氣泡震出
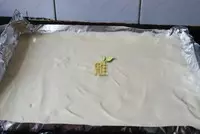
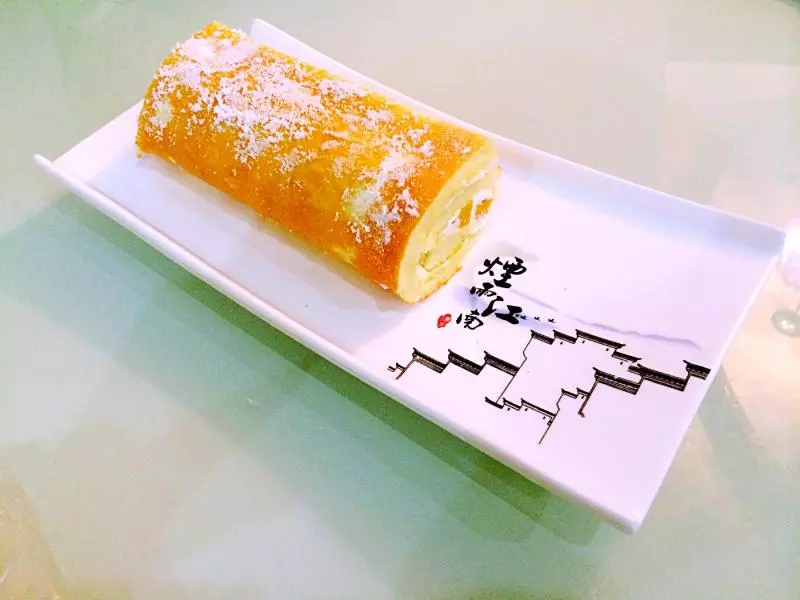
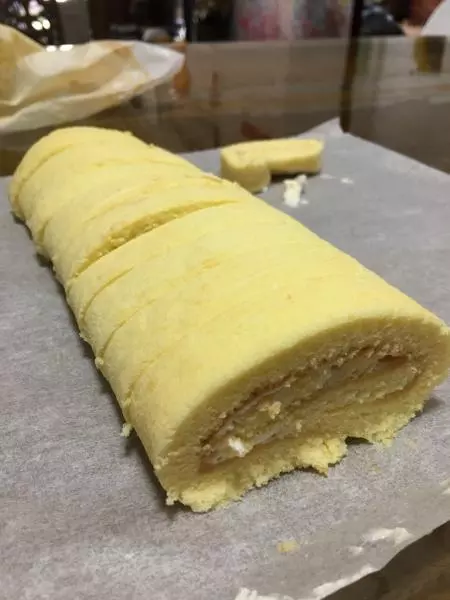
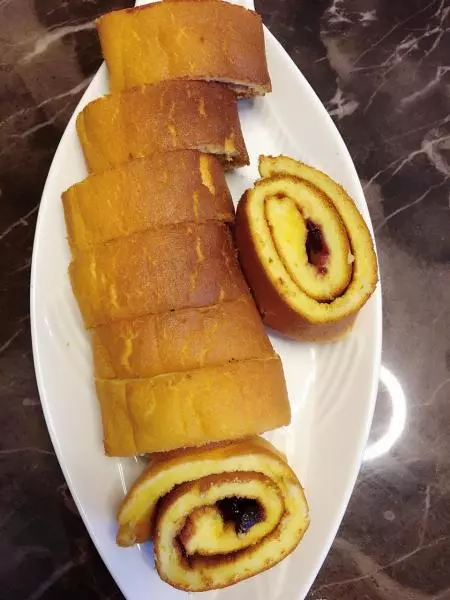
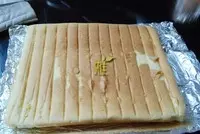
14烤箱175°預熱,中層,25分鐘,出爐立刻倒扣,將背面的錫紙撕掉,換上一張新的錫紙並將蛋糕翻轉
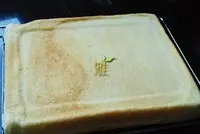
15如果喜歡外卷的,表面需要多烤一會兒上色均勻後再出爐,否則皮容易粘掉
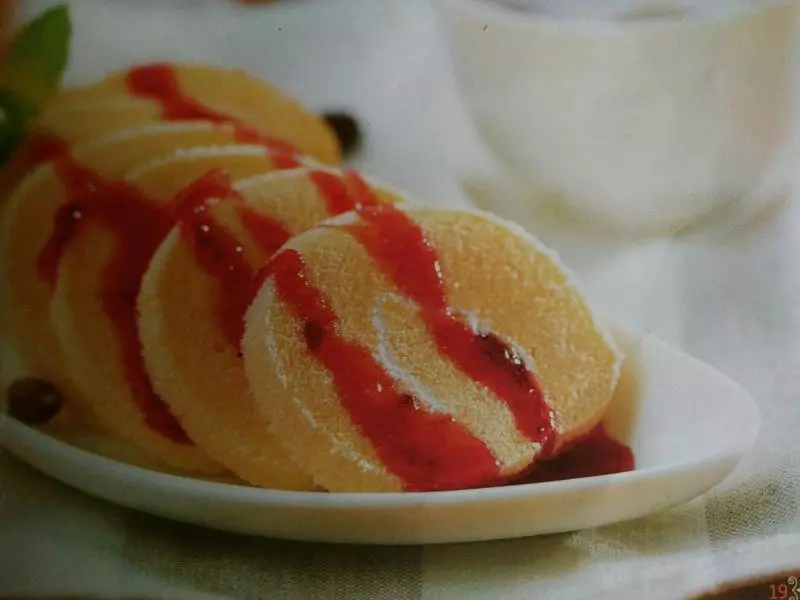
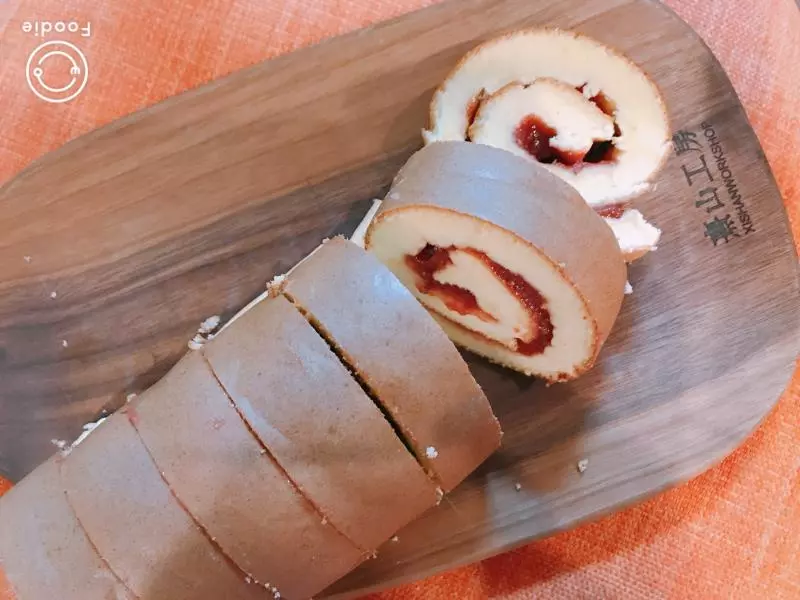
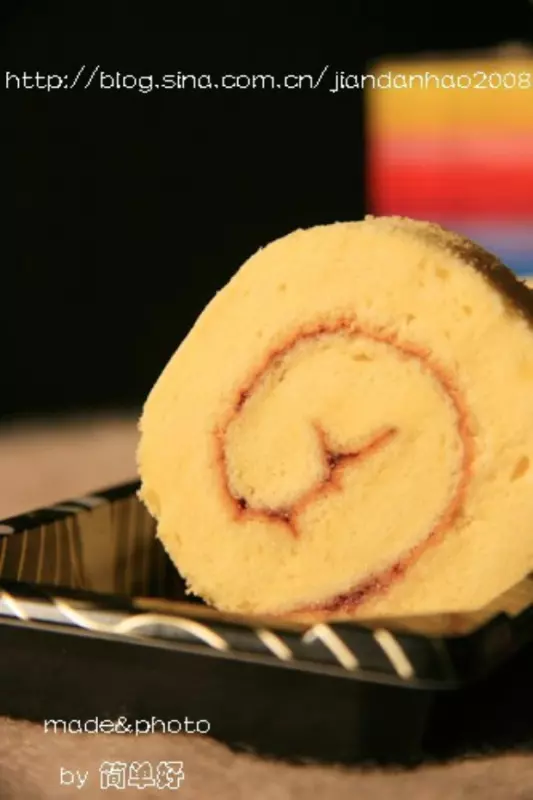
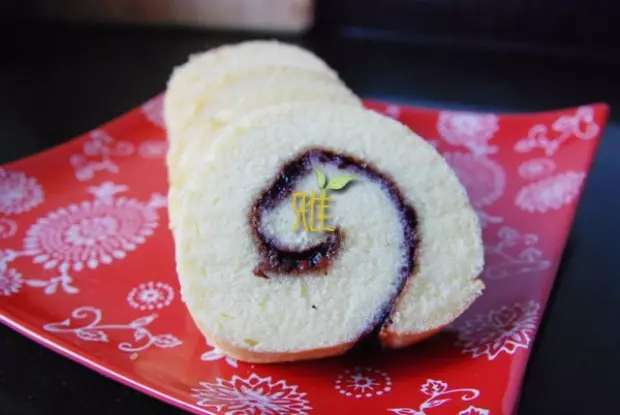
16抹上藍莓醬
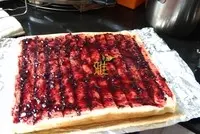
17一邊卷蛋糕一邊將錫紙包裹在外層,卷完正好錫紙也完全包住,兩頭捏緊固定十分鐘。

18等完全冷涼後切片,厚度自由把握。
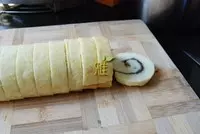
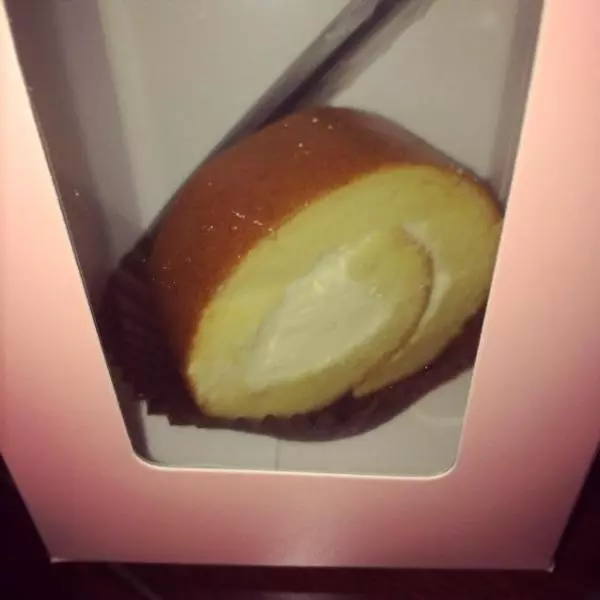
19為了方便寶寶吃我切的比較薄,其實厚一點的瑞士卷才有感覺~
小技巧
1、因為是卷果醬,所以可以熱卷,如果是奶油內的餡心,請等蛋糕片冷卻後再卷 2、此方出來的蛋糕片細密綿軟,十分有韌性,不管冷卷熱卷都不會斷。值得新手嘗試。