原料
奶油奶酪: 80g, 椰子油: 30g, 椰漿: 30g, 牛奶: 20g, 雞蛋: 3個, 低粉: 55g, 玉米澱粉: 5g, 細砂糖: 45g, 檸檬汁: 5滴
步驟
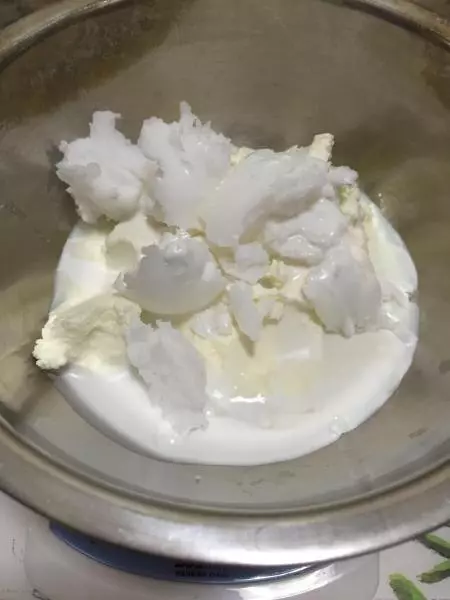
1奶油奶酪,椰子油,椰漿,牛奶分別稱量後混合
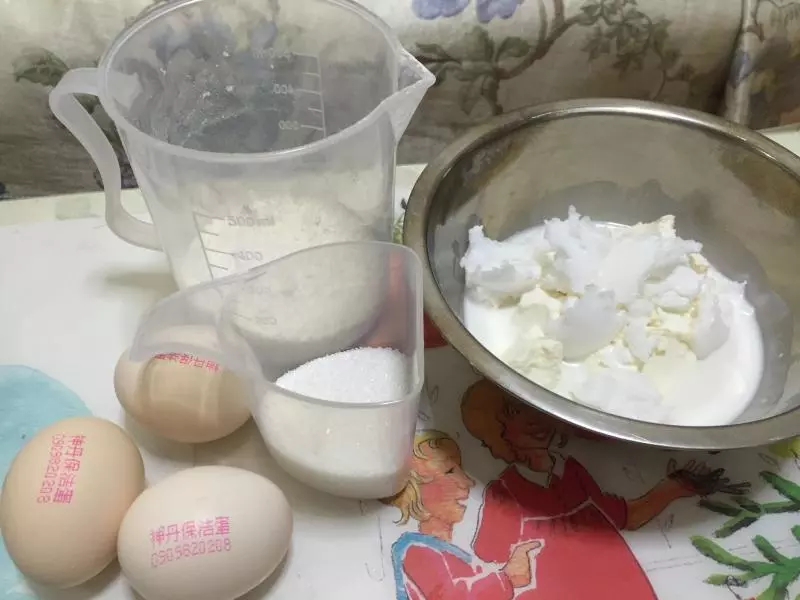
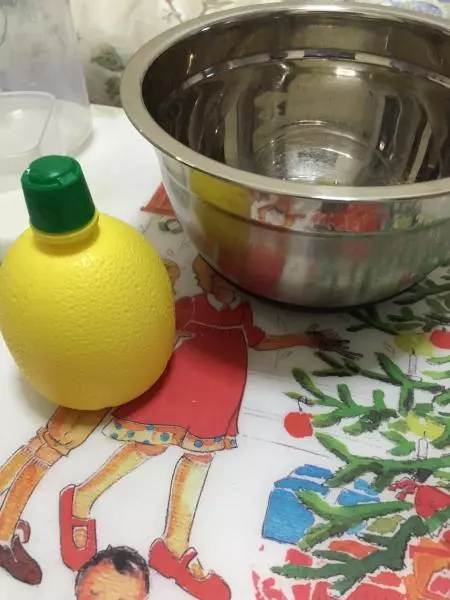
2準備好其他原料
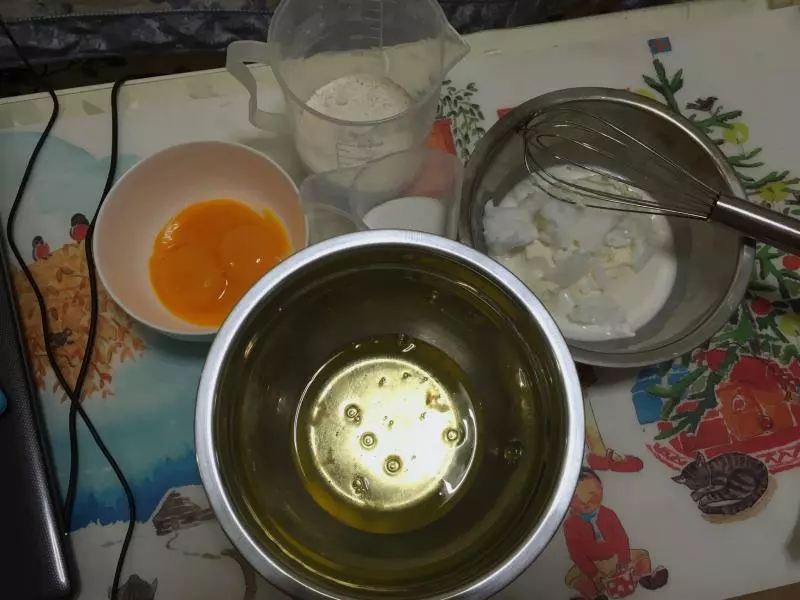
3蛋黃,蛋清分離,蛋清里不能混入任何蛋黃,水,或者油等雜物
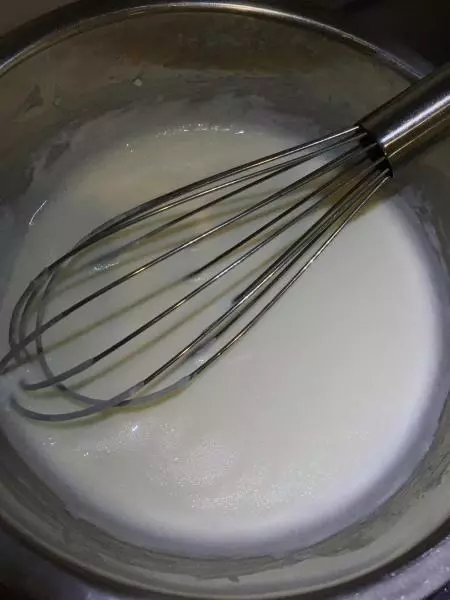
4奶油奶酪,椰子油等混合物隔水融化,混勻,成柔滑的糊狀
5一個一個的加入蛋黃,每加入一個蛋黃,攪拌均勻後再加下一個
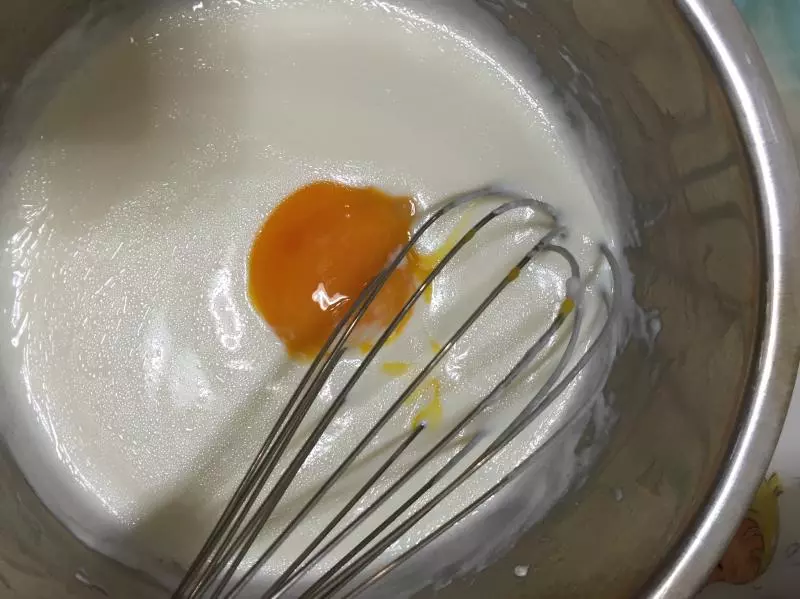
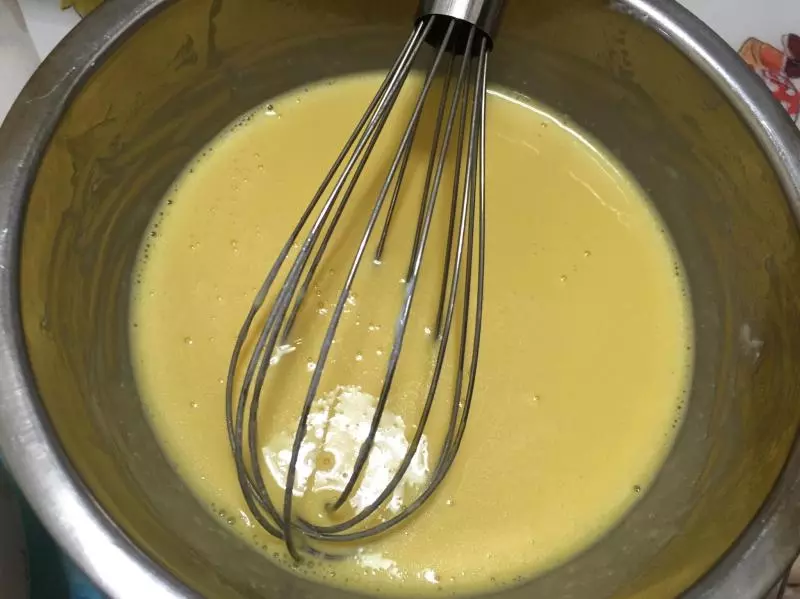
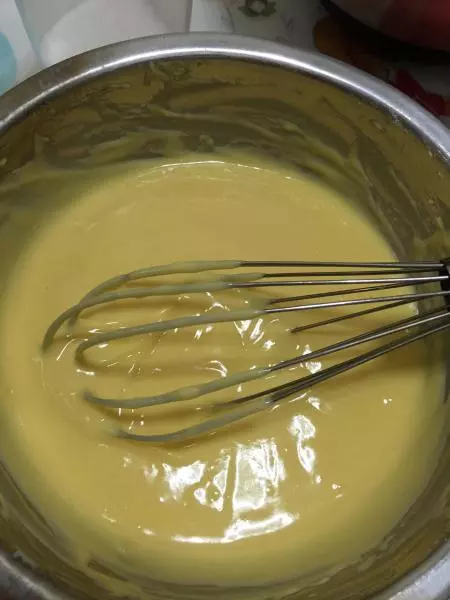
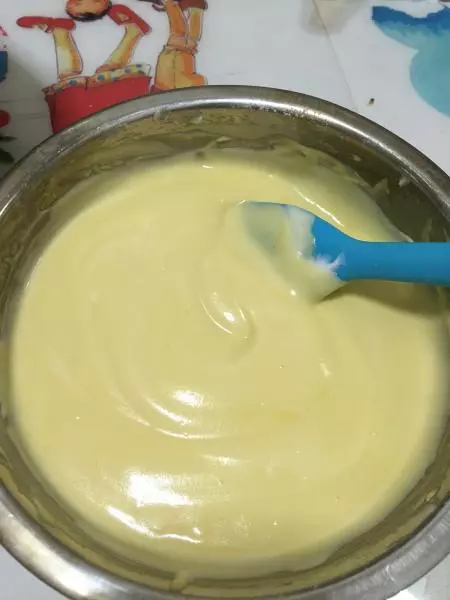
6成為黃色蛋黃奶酪糊
7篩入低粉和玉米澱粉
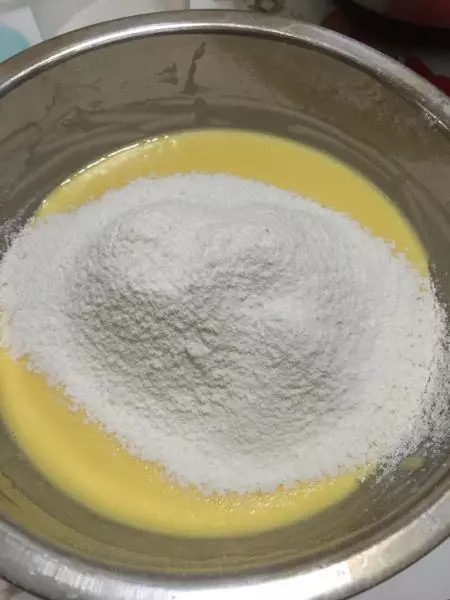
8劃之字型攪拌成糊狀,順滑無顆粒即可,拌好後應該是比較濃稠的糊狀
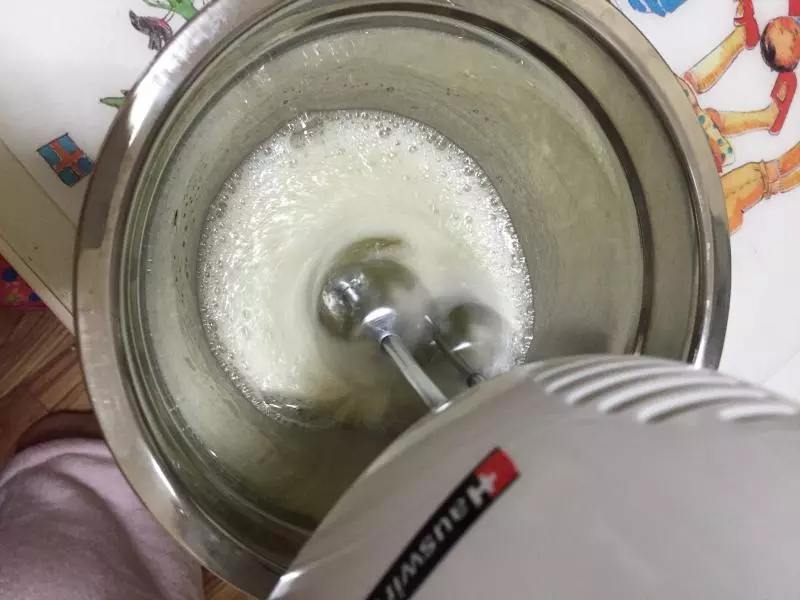
9蛋清滴入檸檬汁,用電動打蛋器低速攪打
10蛋清成粗泡時加入三分之一細砂糖,低速攪打
11蛋清成乳霜狀時再加入三分之一砂糖,用中速繼續攪打
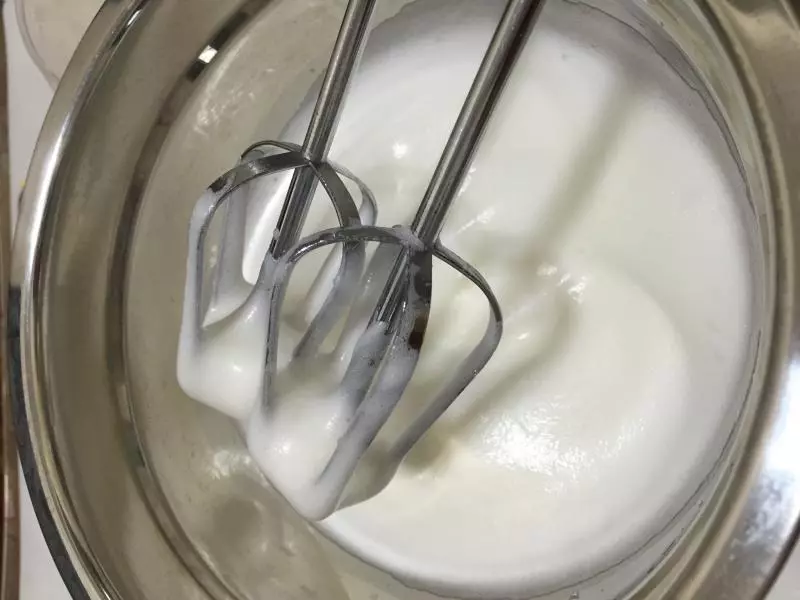
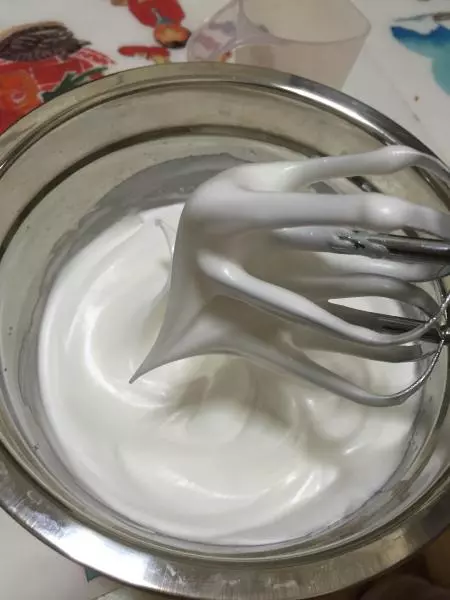
12蛋清成濕性發泡時再加入剩下的糖,高速攪打至乾性發泡
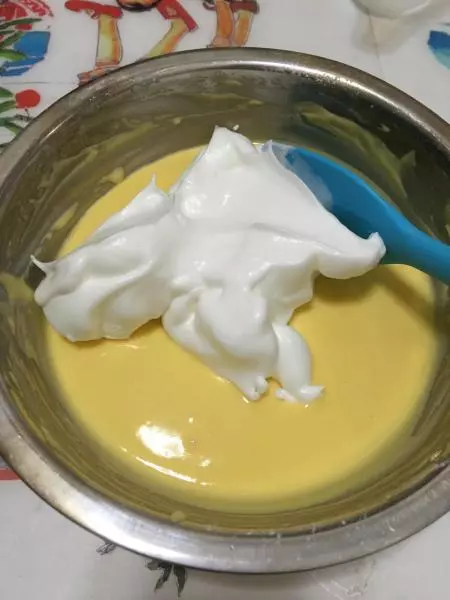
13取三分之一蛋白霜放入蛋黃糊,用刮刀翻拌均勻
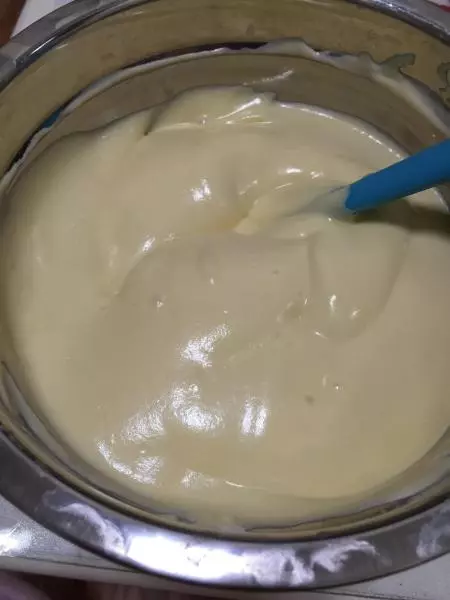
14將質地變得跟蛋白霜相似的蛋黃糊倒入剩下的蛋白霜中
15快速翻拌均勻
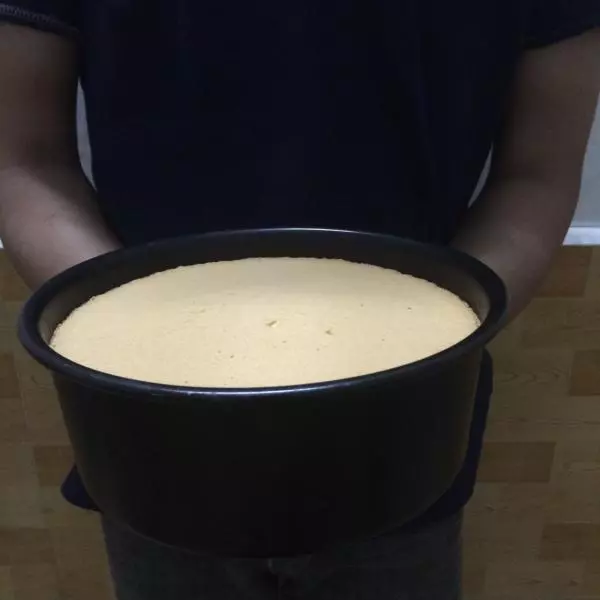
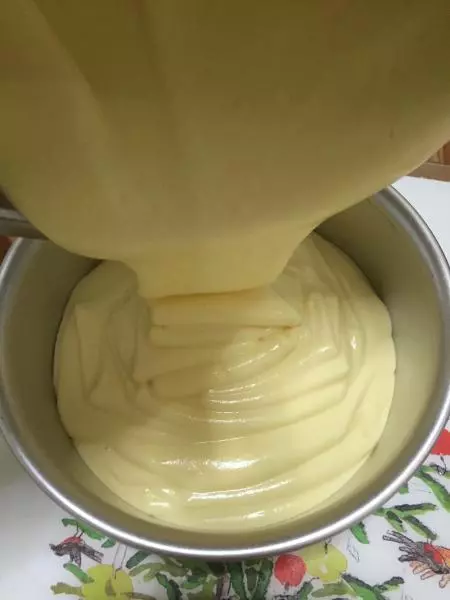
16倒入六寸活底蛋糕模中
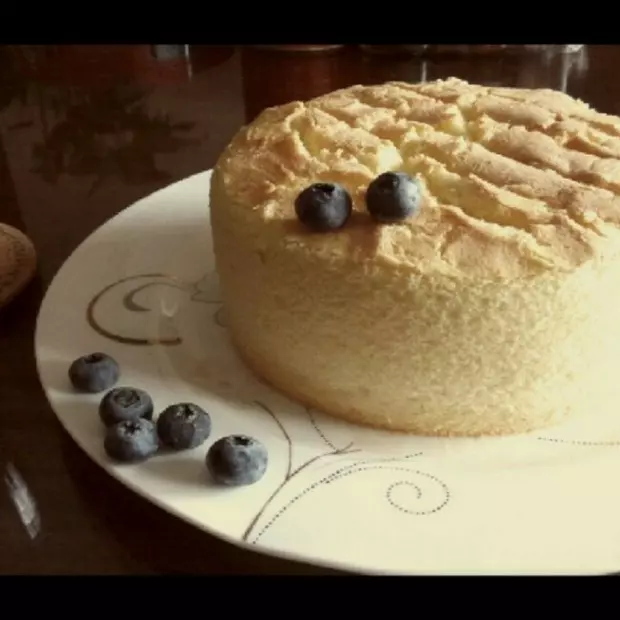
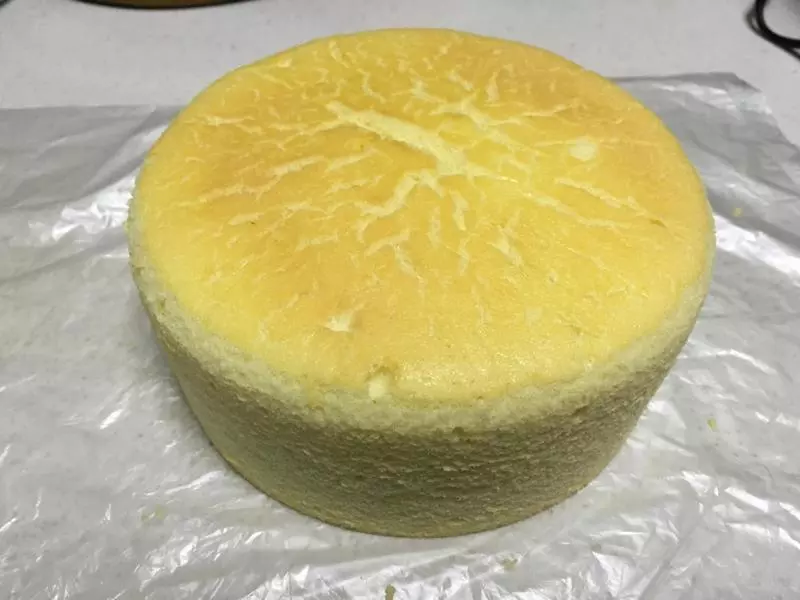
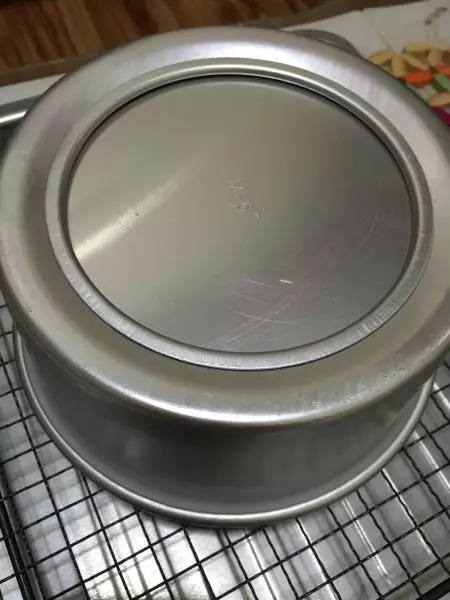
17放在桌子上震一震,震出氣泡,輕晃一下,讓蛋糕糊表面平順,入烤箱150度,60分鐘。30分鐘時加蓋錫紙避免上色太深。

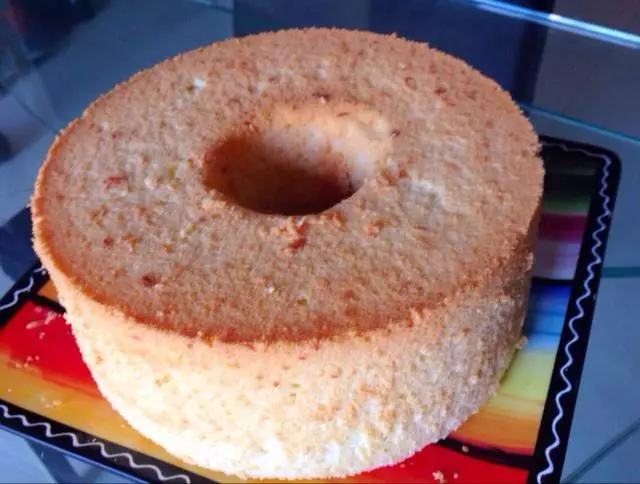
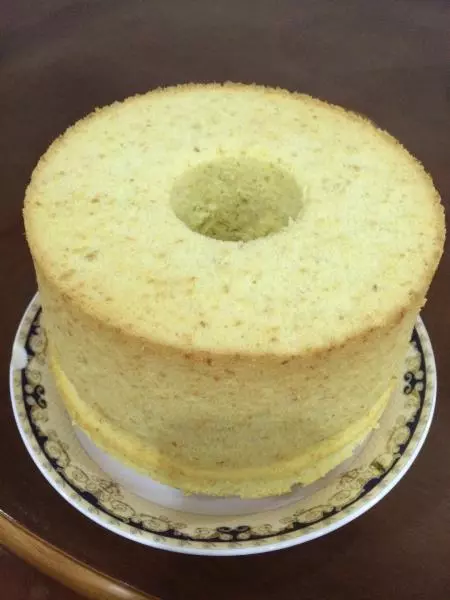
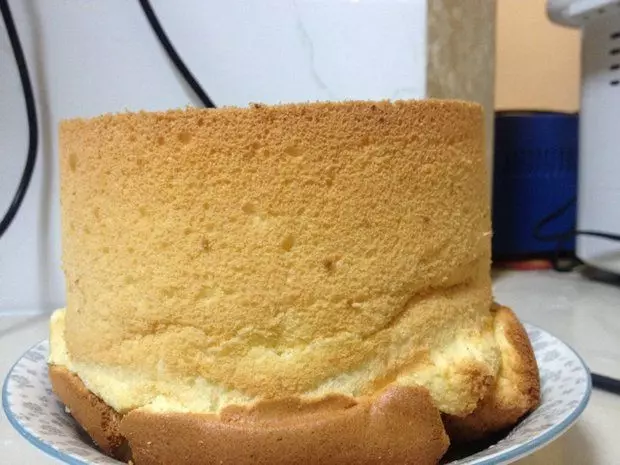
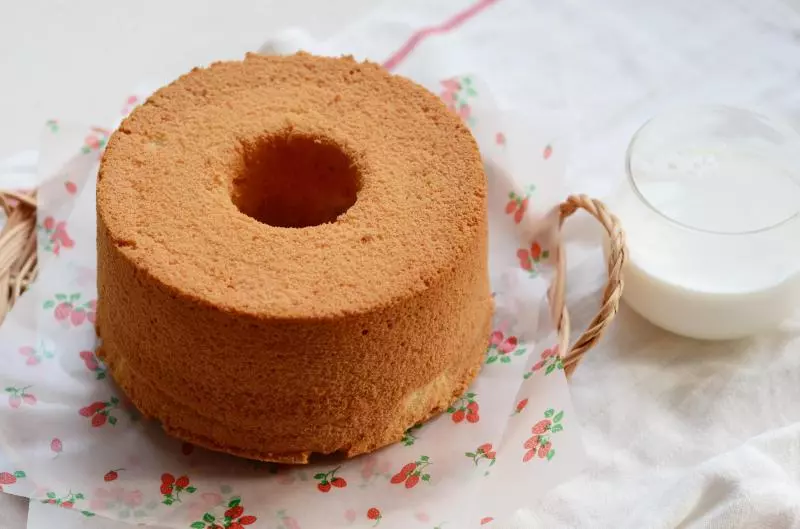
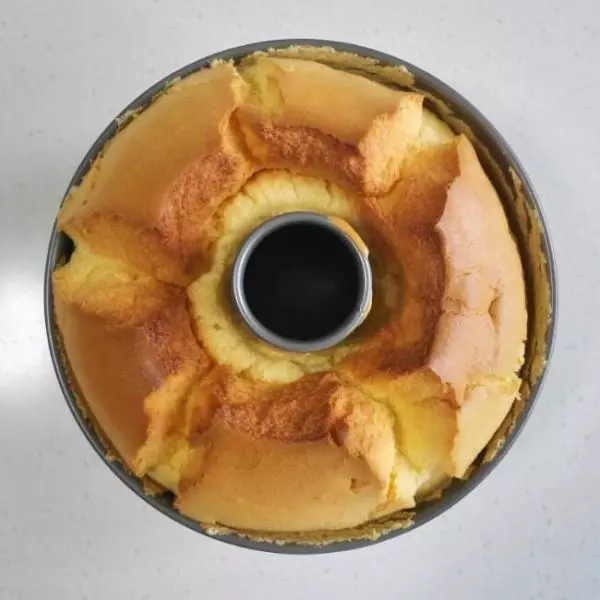
18烤好的蛋糕立刻端出來倒扣在晾網上。溫熱不燙手時翻回來,用手掌拍擊模具側壁,蛋糕與側壁分離,再用手往上輕推模具底板,蛋糕即可順利脫模
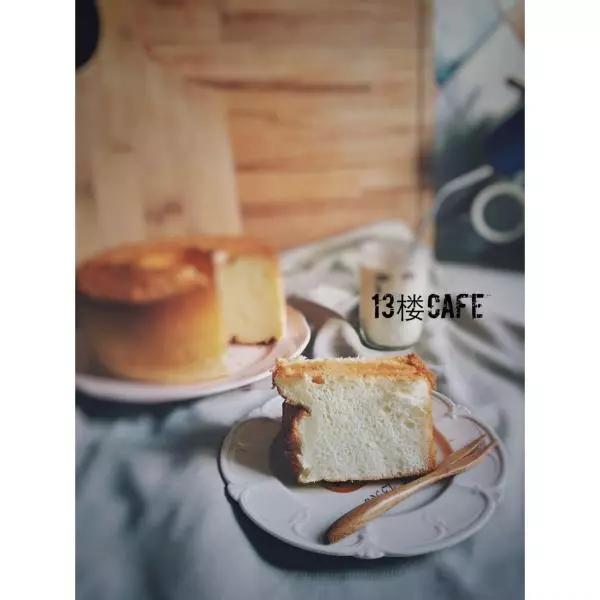
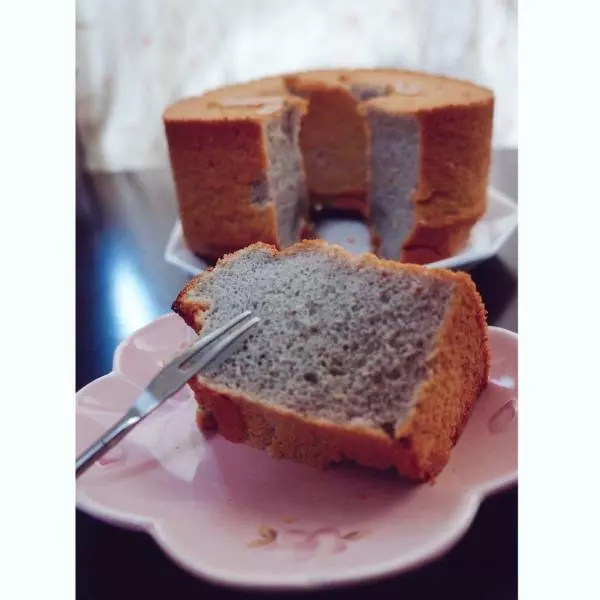
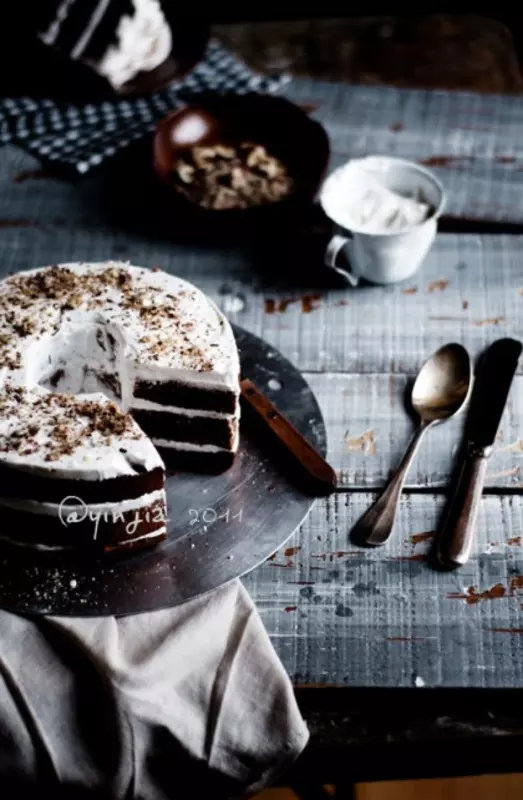
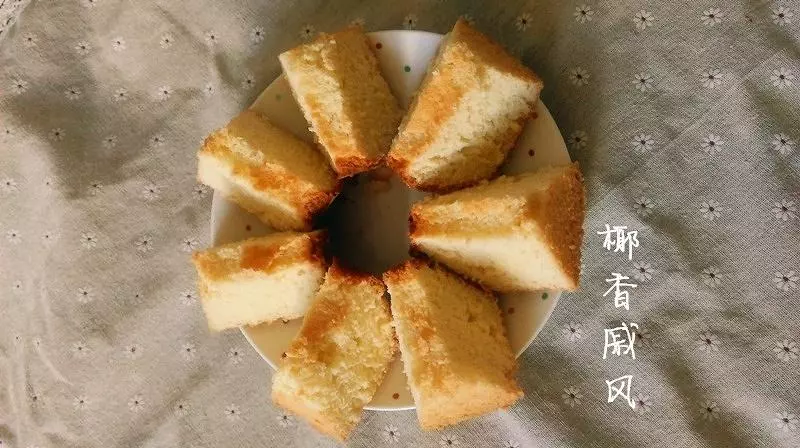
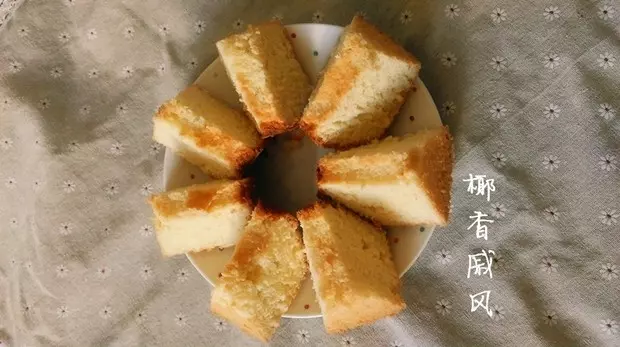
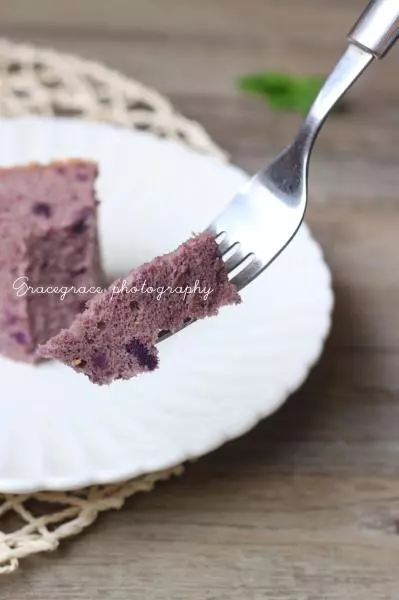
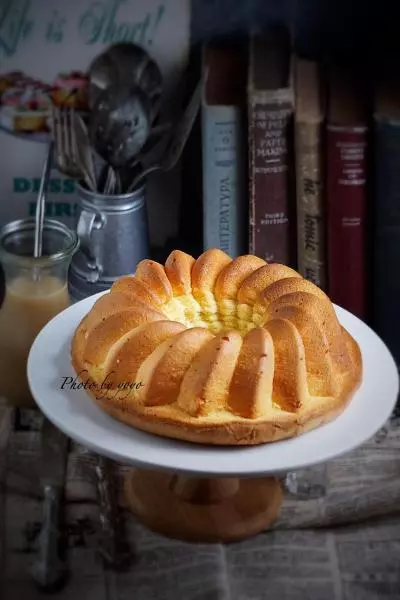
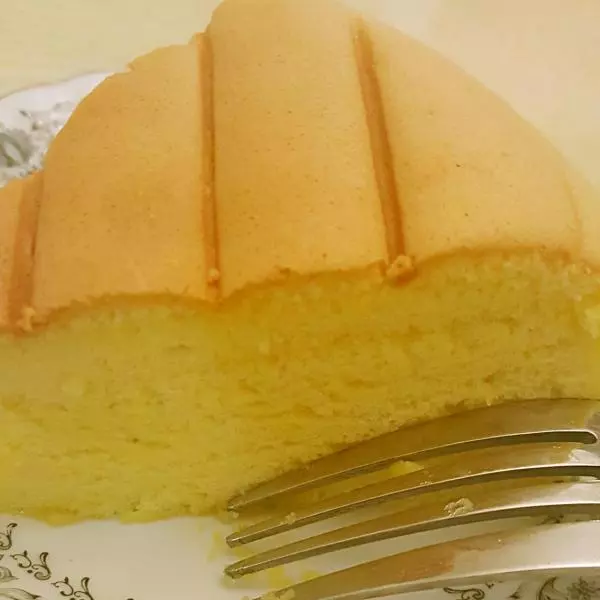
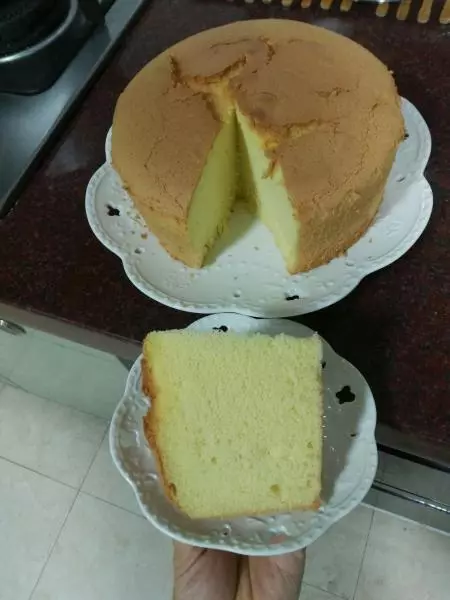
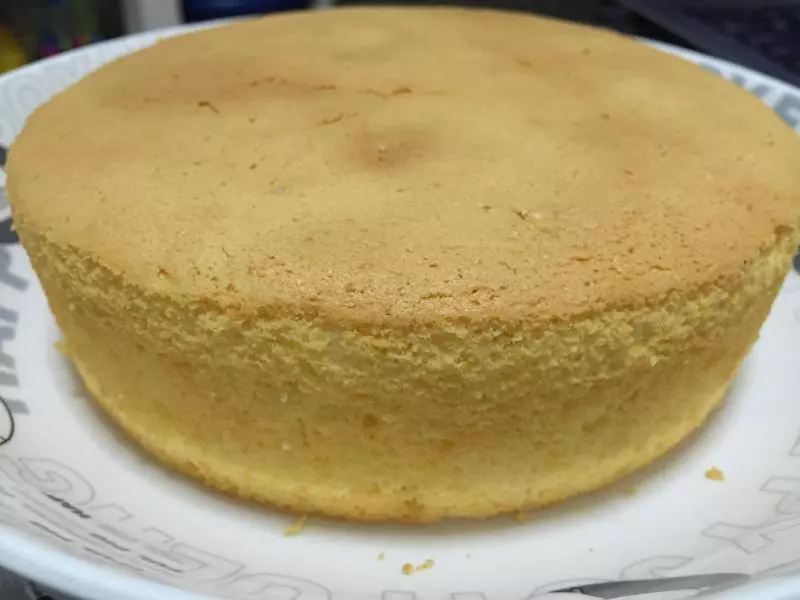
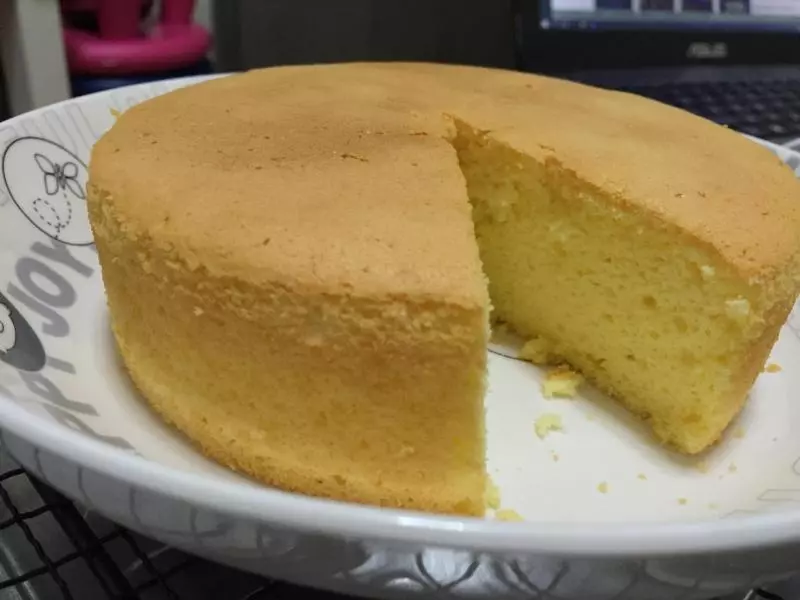
19切件開吃
小技巧
倒扣的時間不要過長。因為這類蛋糕比較濕潤柔軟,跟模具的貼合也不緊密,倒扣久了就會凹底。我的經驗是晾至溫熱不燙手就可以了,脫模也很簡單,徒手就好。