原料
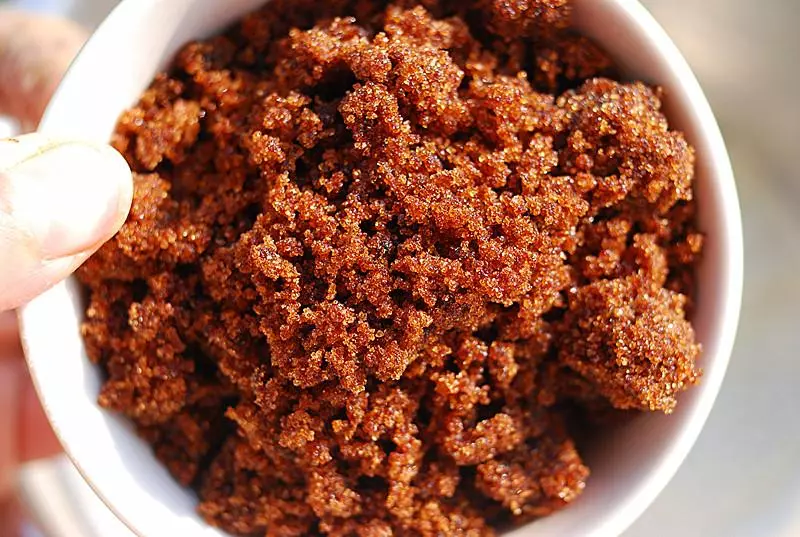
低筋麵粉: 90G, 紅糖: 30G, 雞蛋: 1個, 干紅棗-帶核: 130G, 清水: 130G, 動物性無鹽黃油: 30G, 泡打粉: 3G, 小蘇打: 1/2小勺(2.5ML)
步驟
1低粉,泡打粉,先過篩

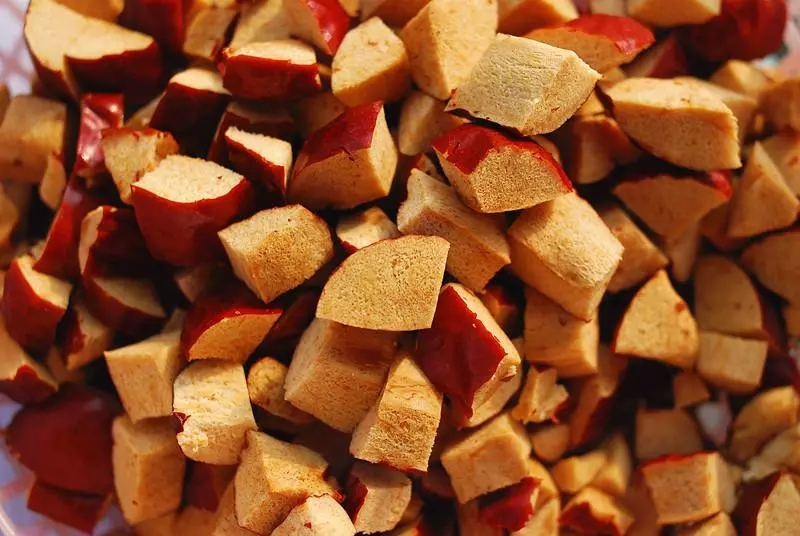
2把干紅棗清洗乾淨
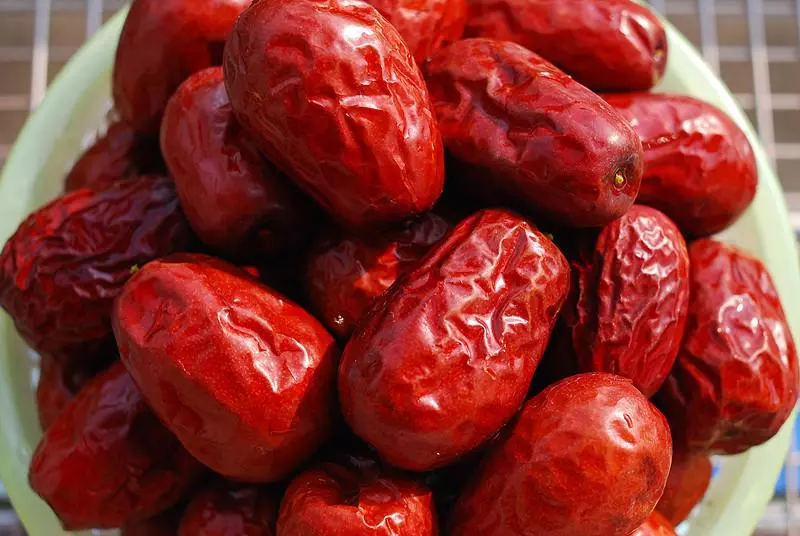
3去核切成小碎塊,一旁備用
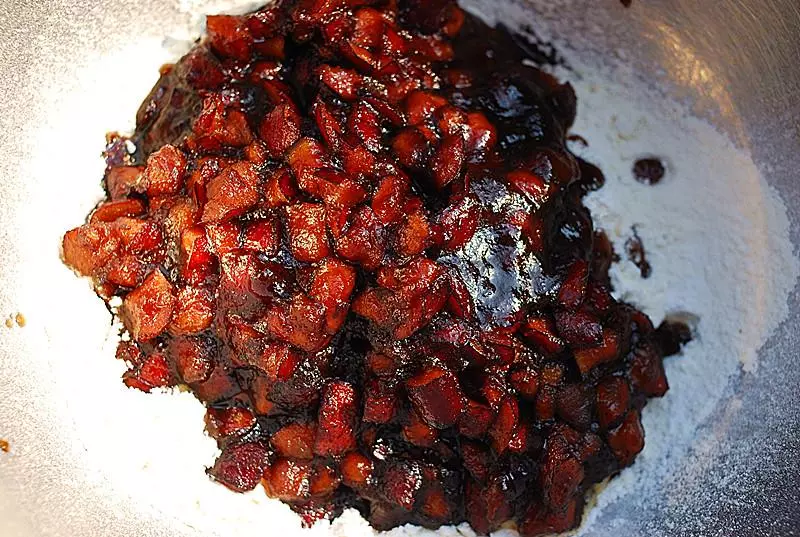
4鍋中加入130g清水,加入切好的紅棗碎,稍稍煮軟,依次加入小蘇打2.5ML,30g紅糖,30g黃油,直到全部融化混合為止
5將紅棗混合物,倒入之前過篩好的麵粉中
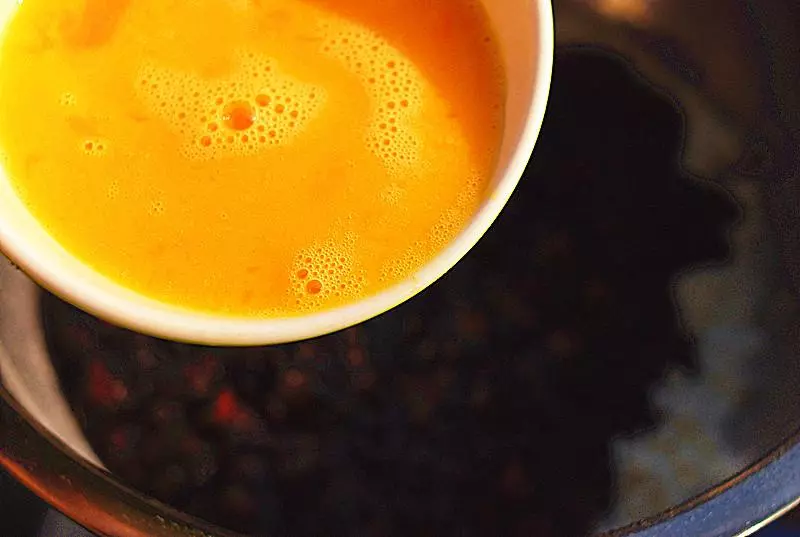
6最後,倒入一隻全蛋液,用刮刀從下往上翻拌均勻,直到麵粉全部混合均勻
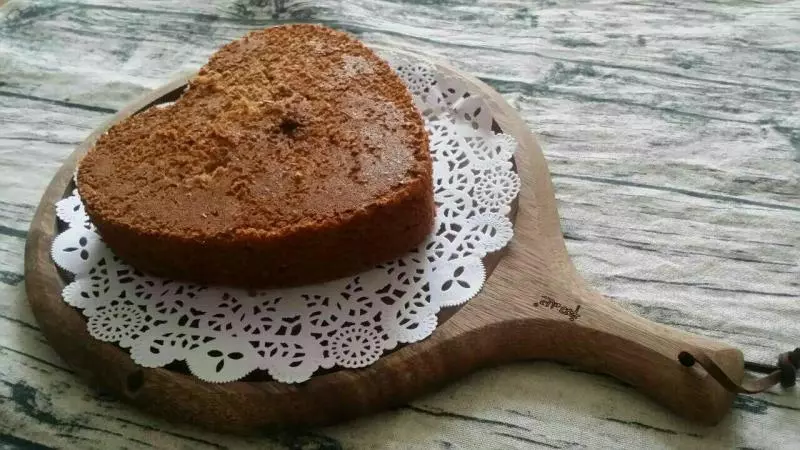
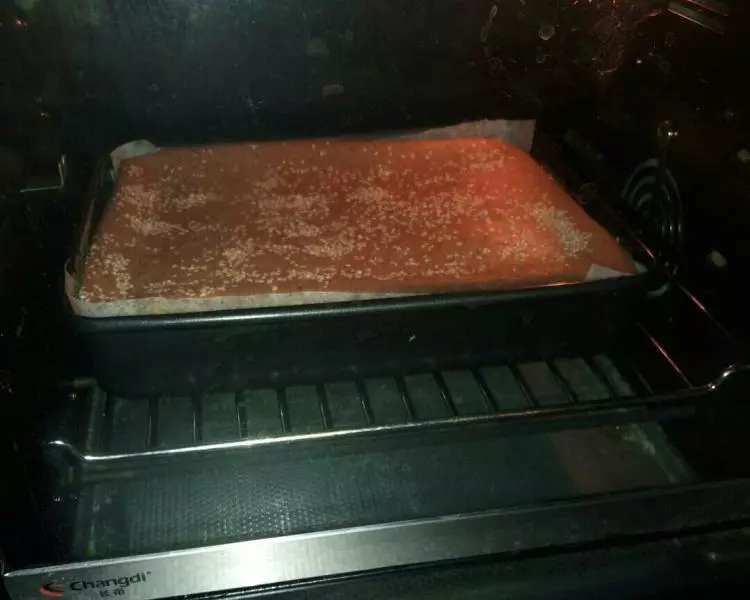
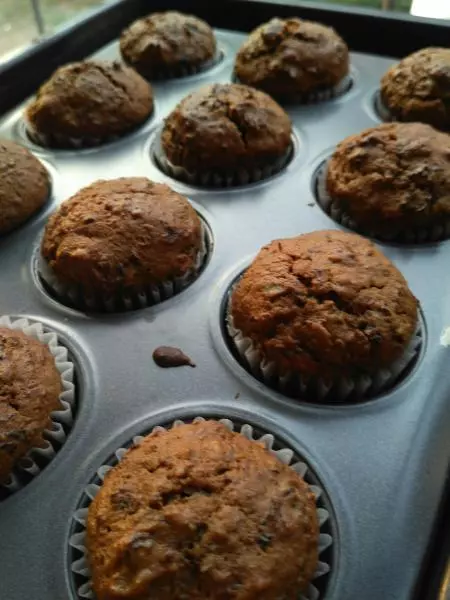
7將拌勻的麵糊從高處倒入模具,用力震幾下
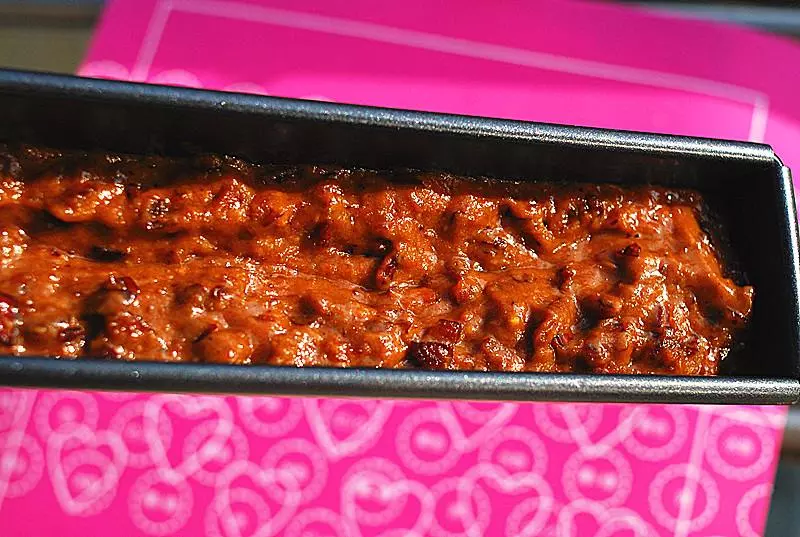
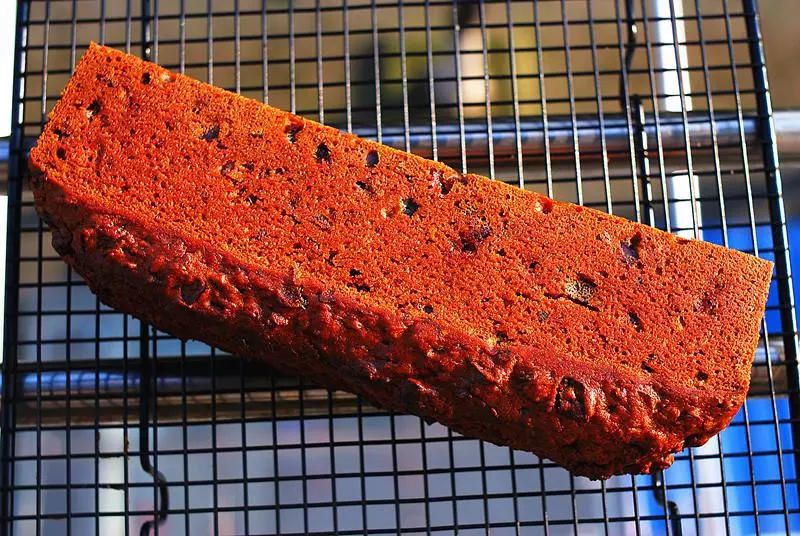
8烤箱提前預熱,中層,175度,30分鐘左右,出爐後,放晾曬網上冷卻好,即可享用啦···
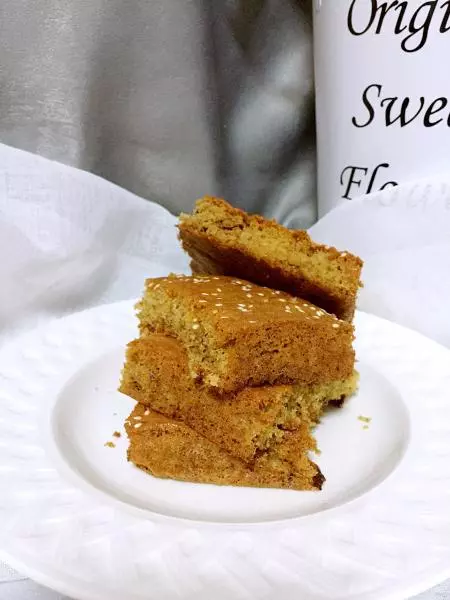
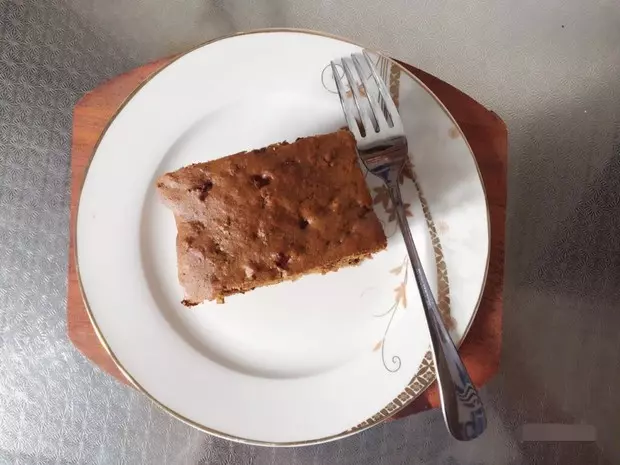
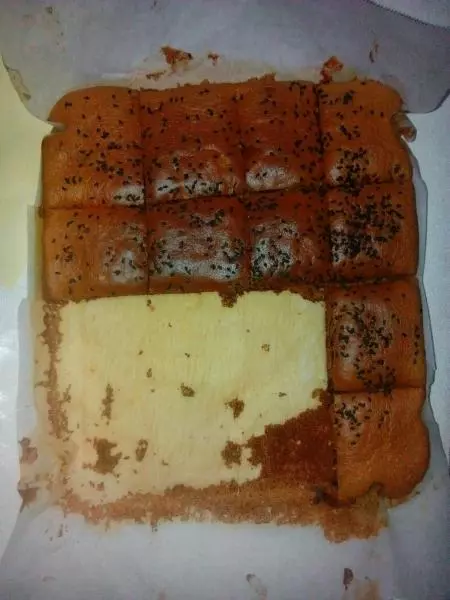
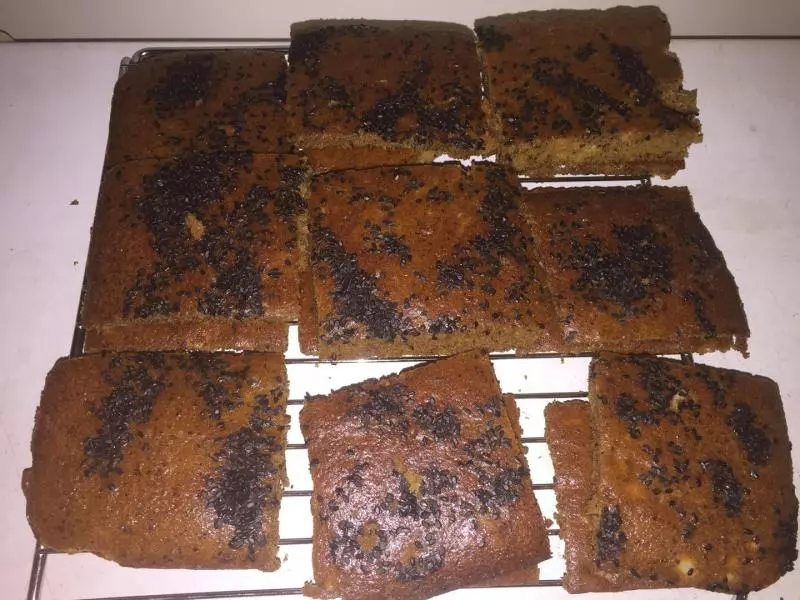
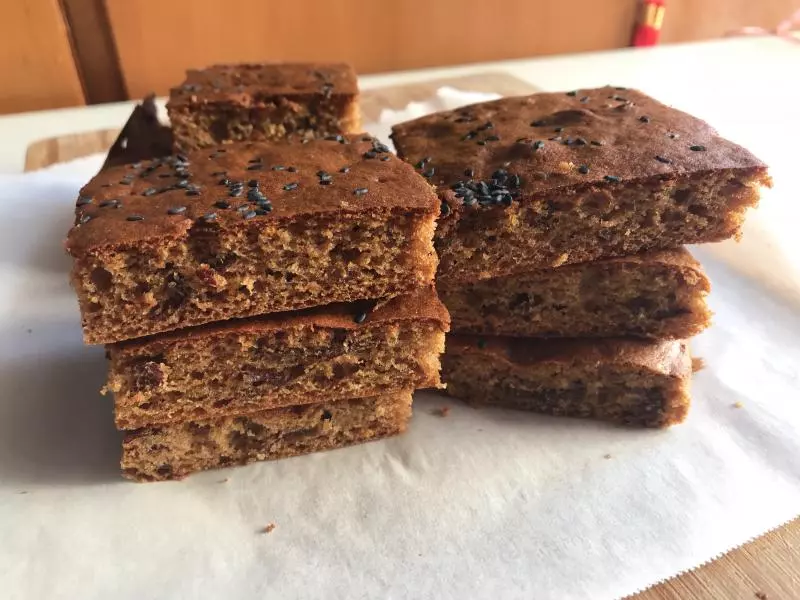
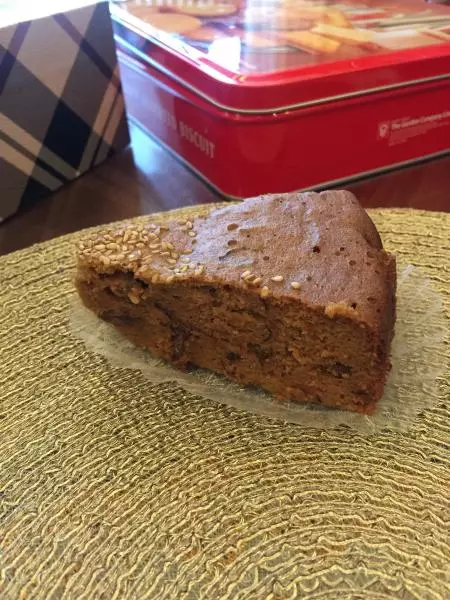
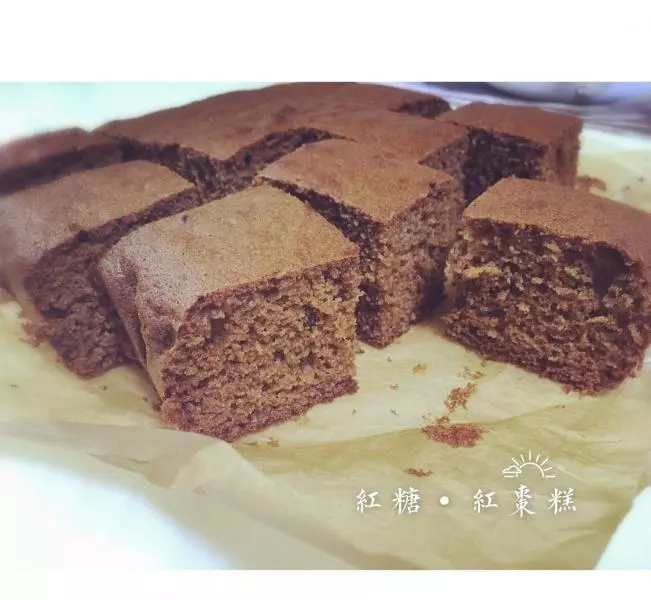
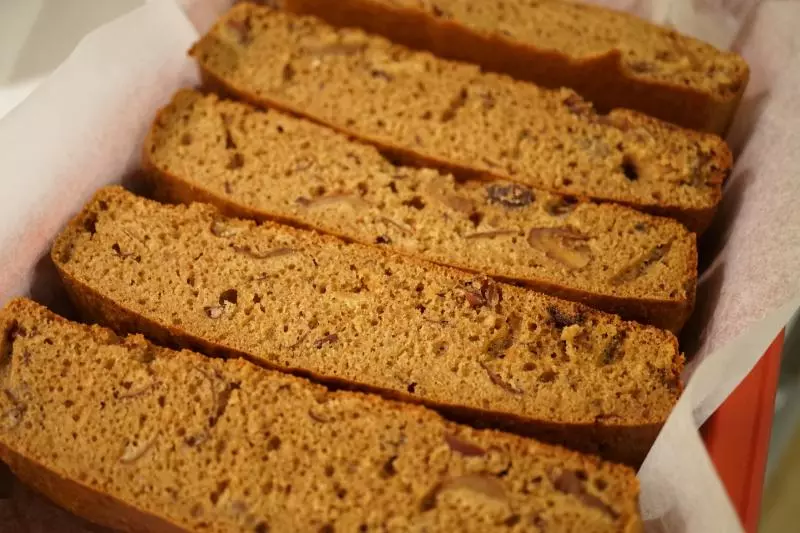
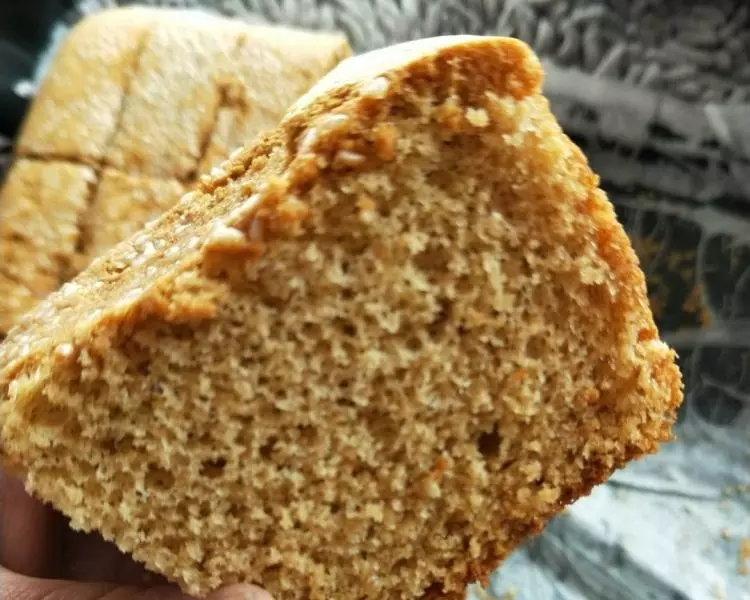
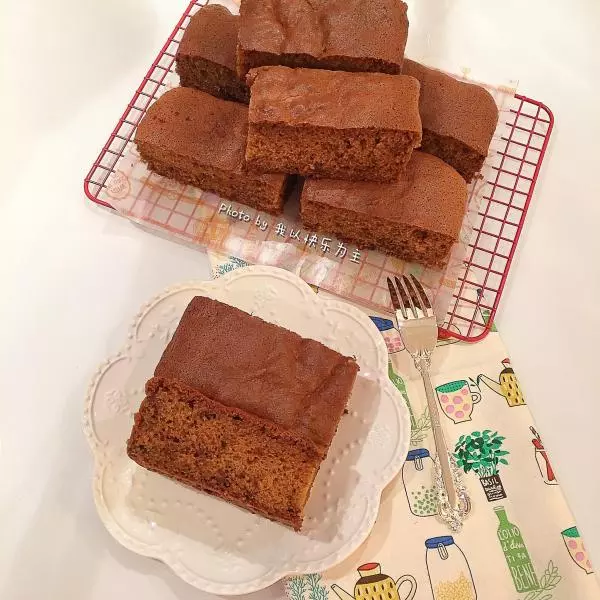
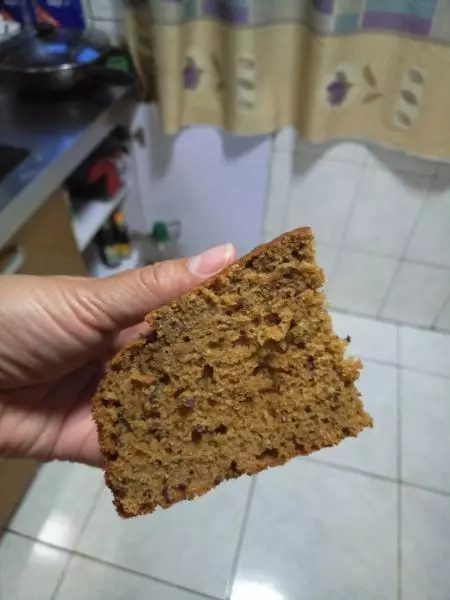
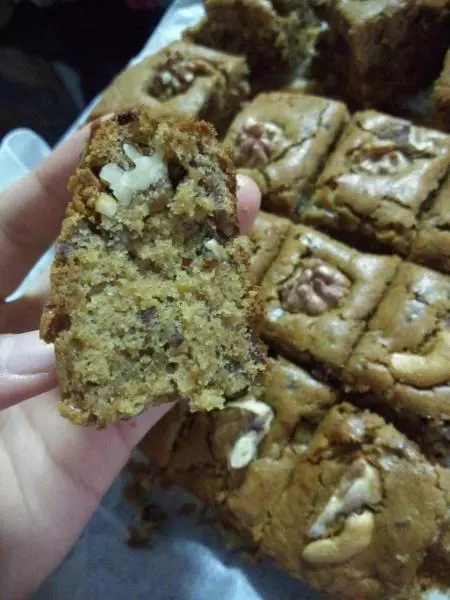
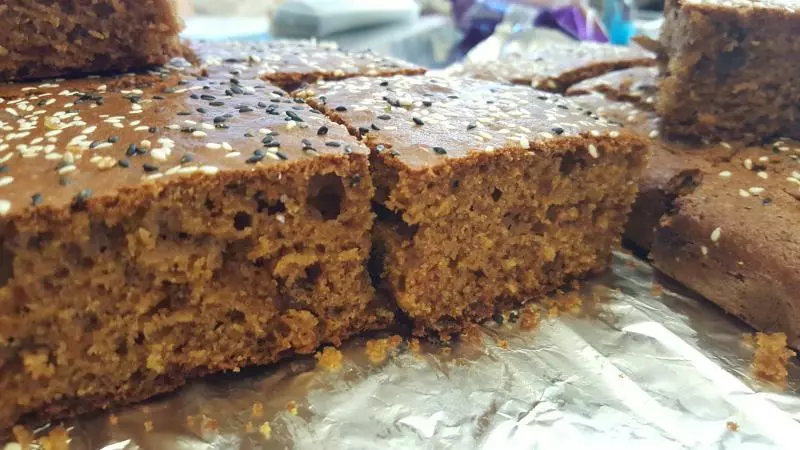
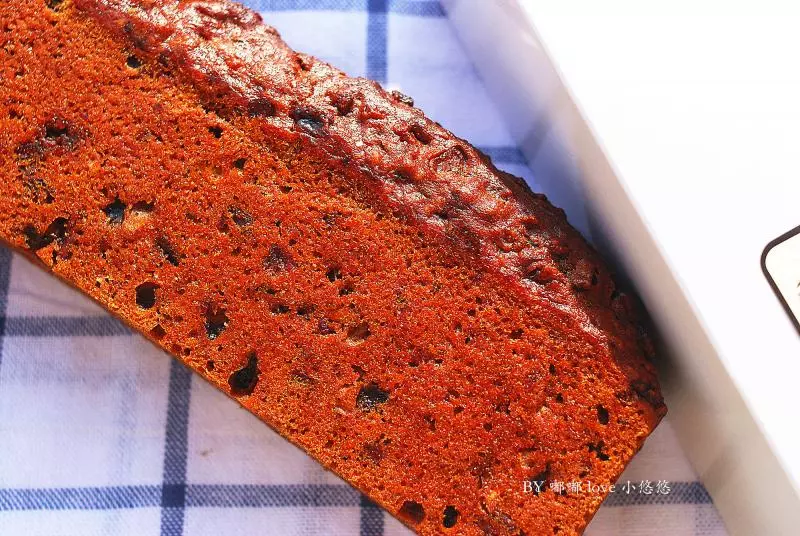
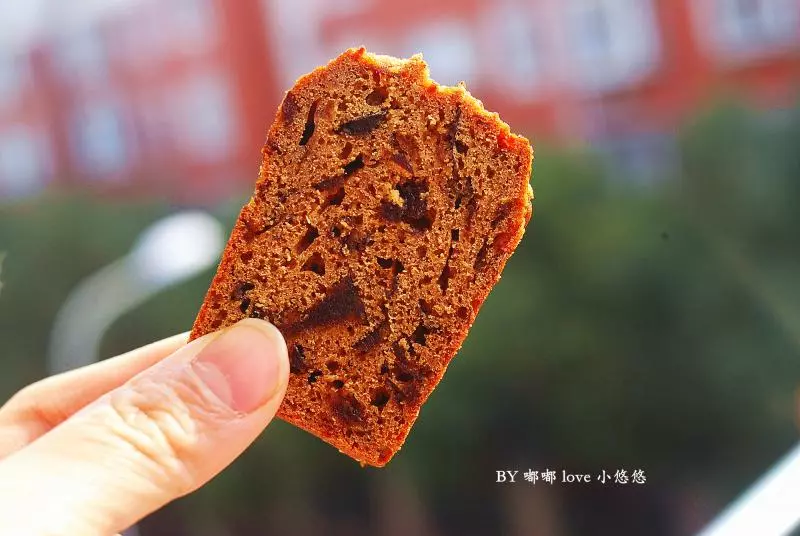
9切片看看,是不是滿滿的都是紅棗粒呢,嘎嘎···
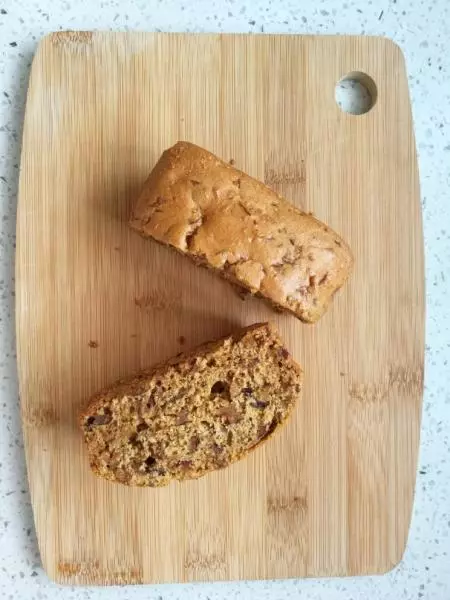
10整個看上去,是不是很有食慾呢

小技巧
1.配方中紅棗的重量是去核前的重量,紅棗碎粒,建議切得大一些的,這樣更有口感呢··· 2.黃油也可用30ML的植物油代替,請選用玉米油、葵花籽油等無味的植物油,不要用花生油等具有特殊味道的油,以免掩蓋蛋糕原本的風味,但嘟嘟還是覺著,用動物性無鹽黃油的紅棗蛋糕才更有濃郁的紅棗香味··· 3.為了方便,也可以將麵糊直接倒在杯子蛋糕的模具中,烘烤的時間自行觀察調整,這樣就不用等晾涼以後切塊了,而且容易保存··· 4.這個量是一個水果條的分量哦··· 5.烤箱溫差,請自行調整,我家只要調到150度就OK了,各位請根據各家烤箱具體情況調整喔···