原料
雞蛋: 3個, 低筋麵粉: 45g, 玉米油: 40g, 水: 40g, 糖粉(蛋黃): 12g, 細砂糖(蛋白): 40g, 可可粉: 15g, 黑巧克力: 20g
步驟
1蛋黃加12g糖粉攪拌均勻(我只有這麼多糖粉了?)

2油40g、水40g依次加入蛋黃糊, 每加一種都需要充分攪拌均勻, 再添加下一種。

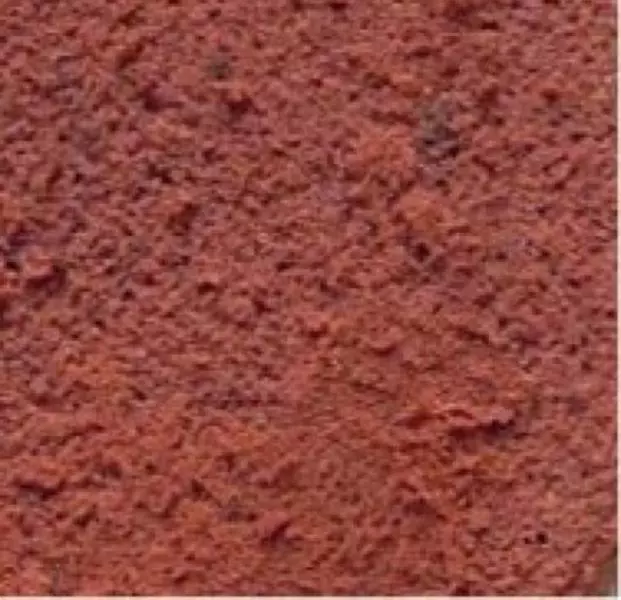
3加入15g可可粉, 攪拌均勻。 加入隔水融化的黑巧克力20g(熱), 攪拌成細膩光滑的混合體

4篩入低筋麵粉45g, 用刮刀「J」字型翻拌均勻 如果室內氣溫低不易操作, 可以把打蛋盆坐溫水處理, 直至得到細膩光滑的蛋黃糊。

5蛋白加幾滴醋或者檸檬汁, 用打蛋器打至粗泡時, 加細砂糖15g打至細泡, 繼續添加15g打至有淺紋路, 加最後10g打至偏乾性狀態(9分發)

6取三分之一蛋白到蛋黃糊,從下往上翻拌均勻,類似「J」字型 再取三分之一蛋白翻拌均勻, 最後倒入剩下的三分之一蛋白翻拌均勻

7倒入模具, 提起輕震兩下, 震掉大氣泡

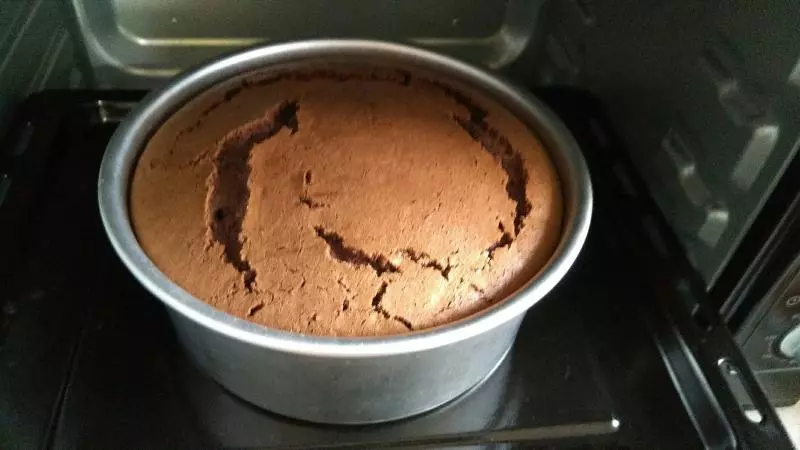
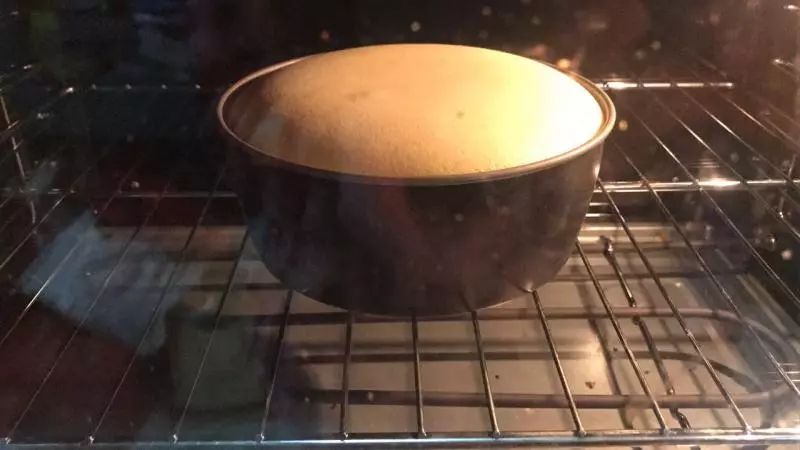
8海氏智能雲烤箱上下管戚風模式180℃30分鐘

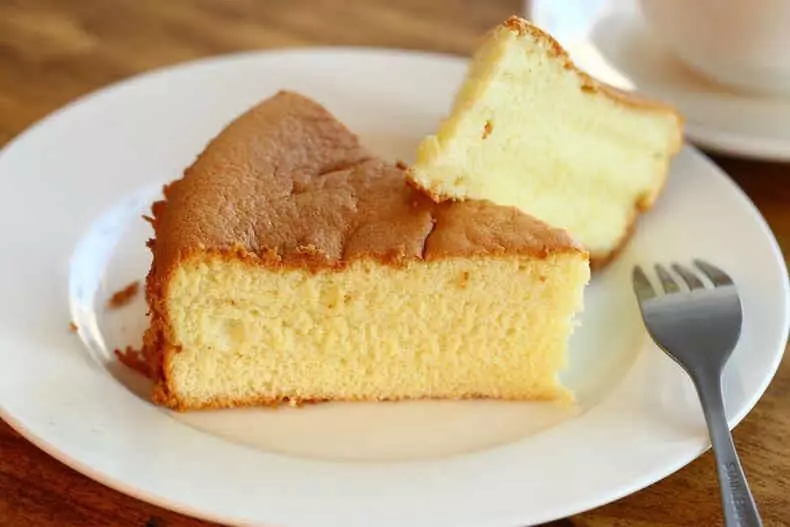
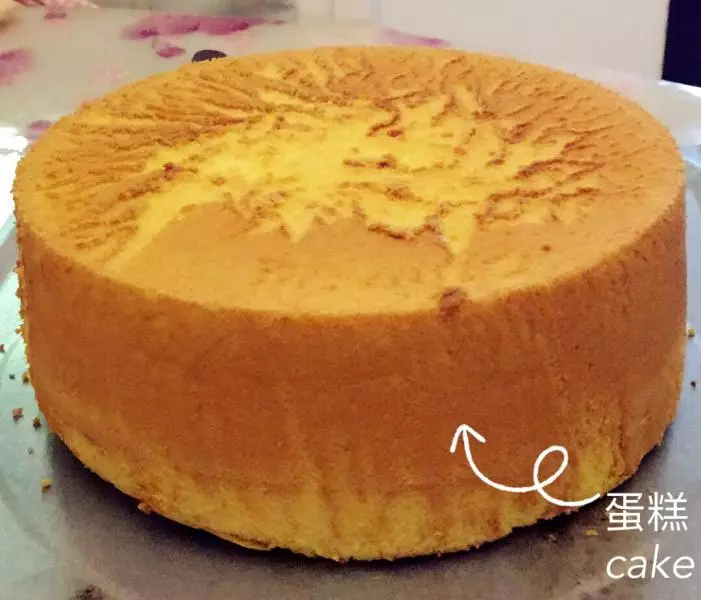
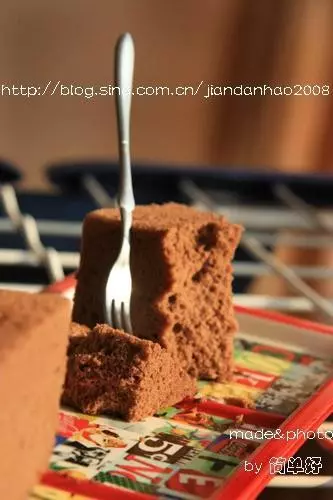
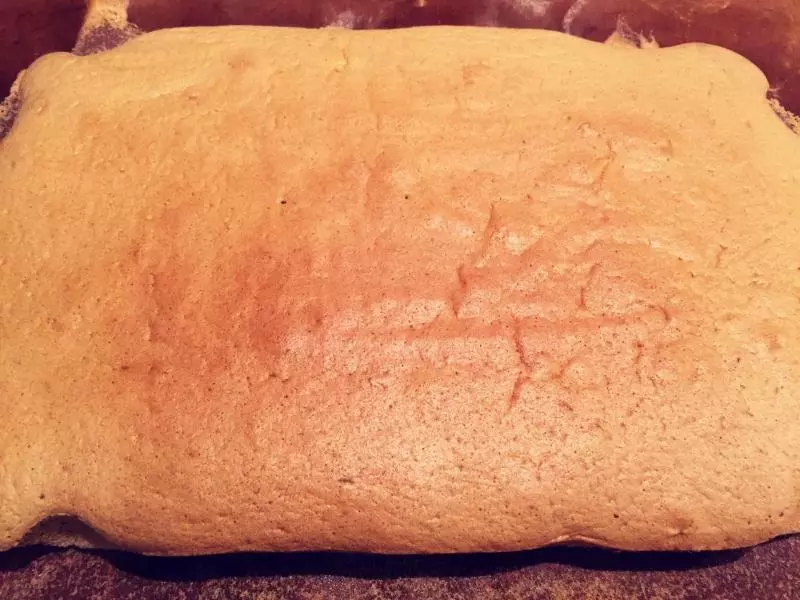
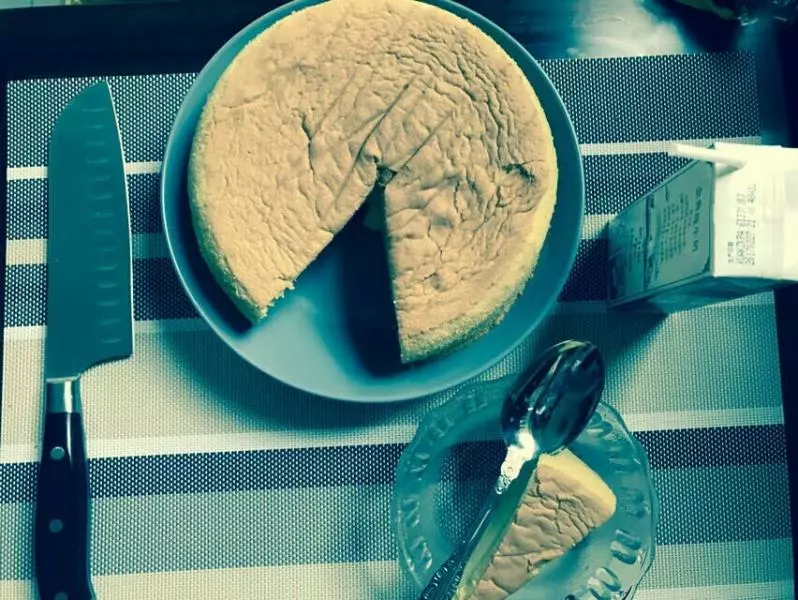
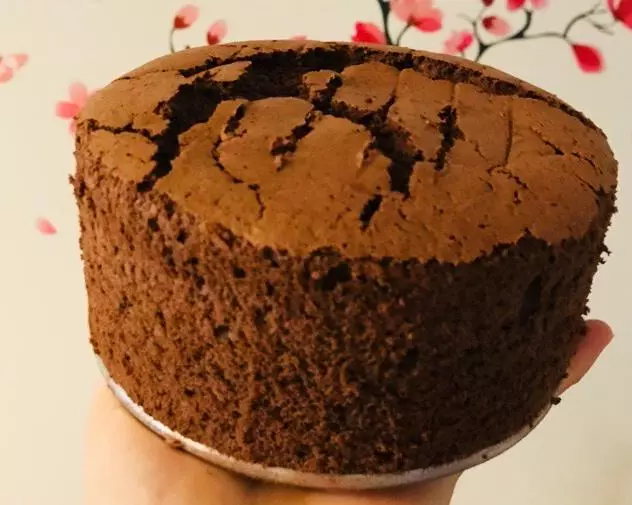
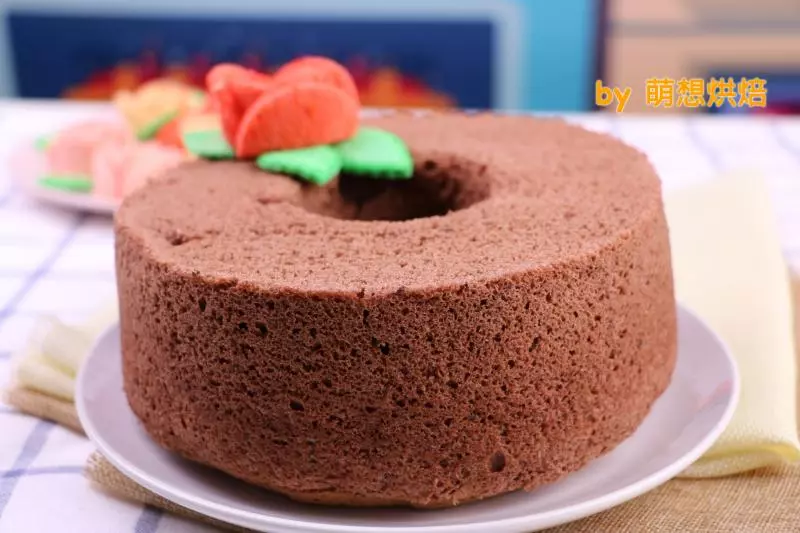
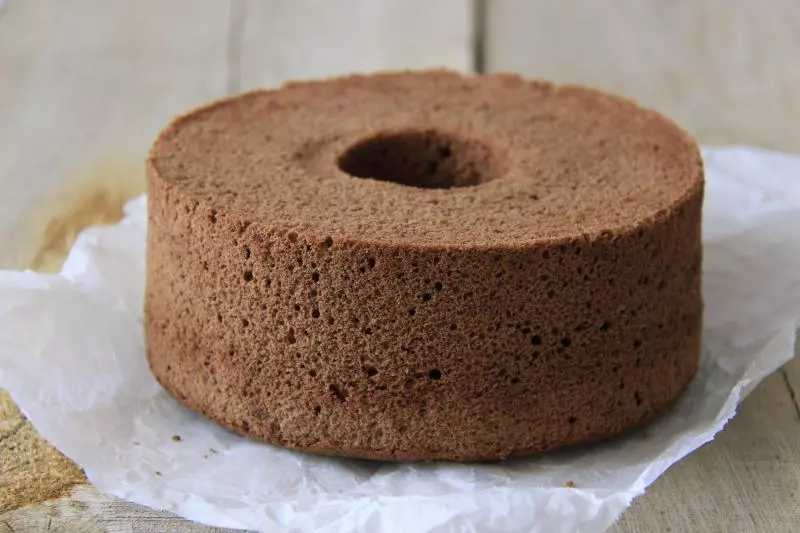
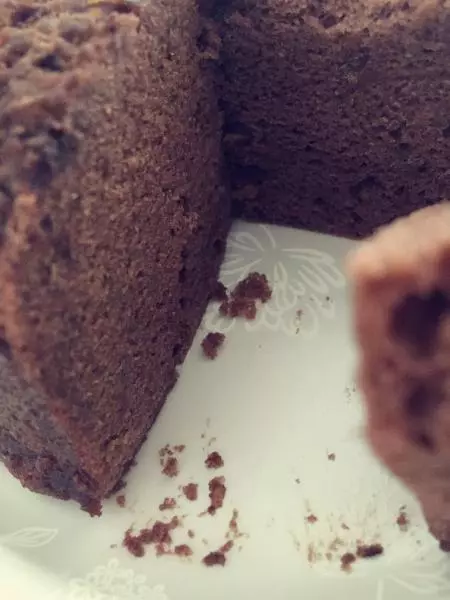
9出爐提起模具摔一下震掉熱氣, 立即倒扣至涼透。 用刮刀輔助取出即可。

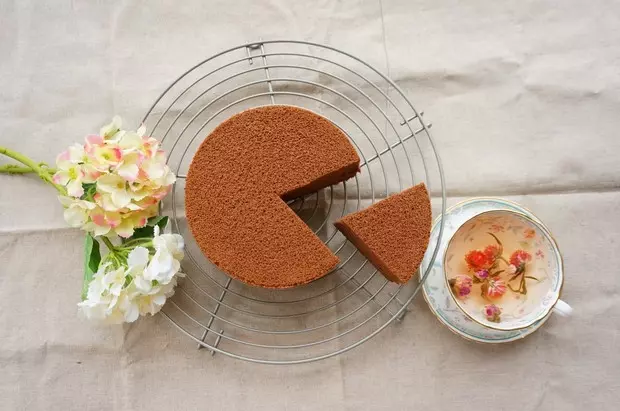
10用海氏這款智能雲烤箱CY40,上色很均勻

小技巧
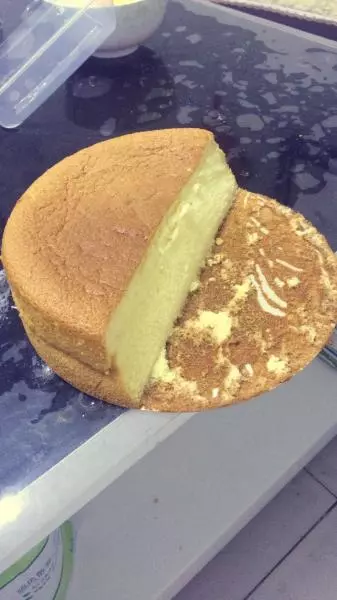
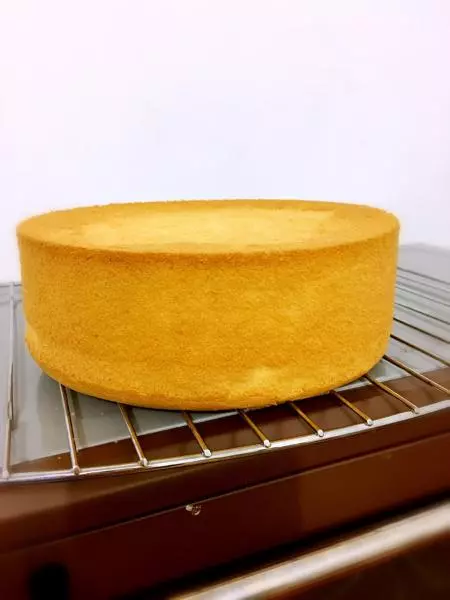
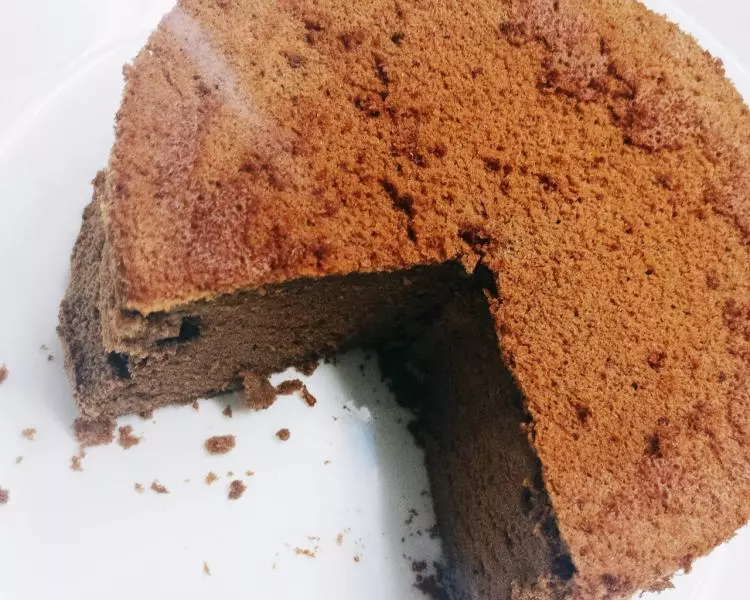
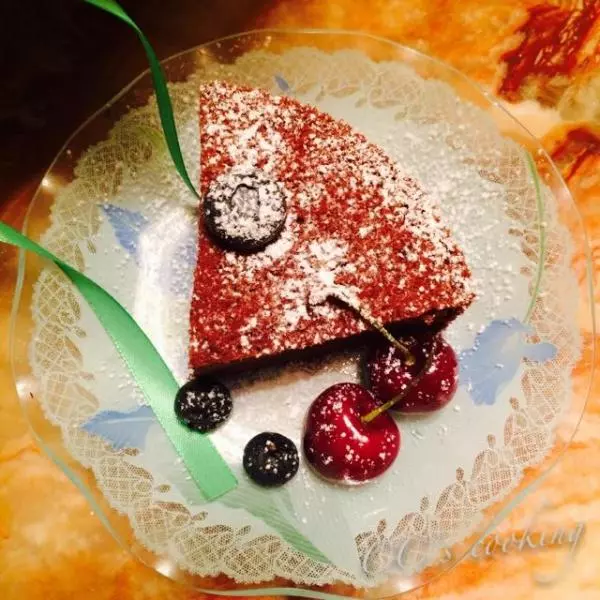
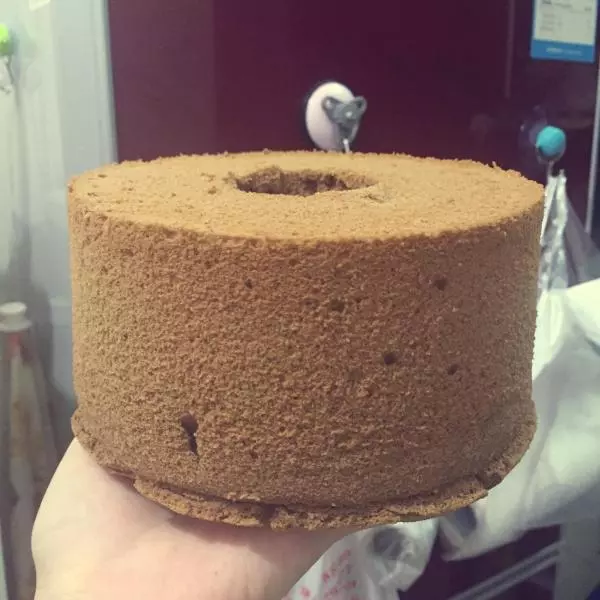
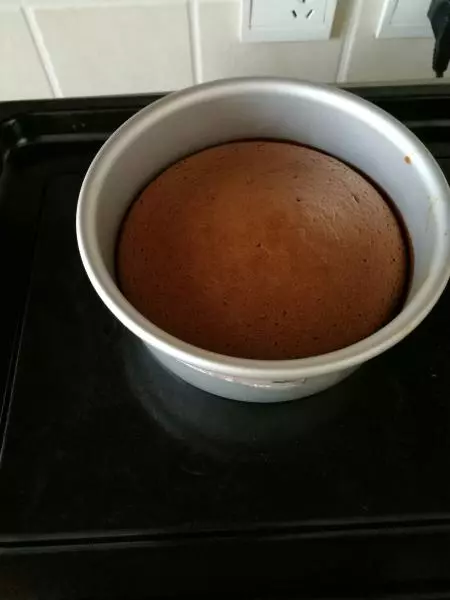
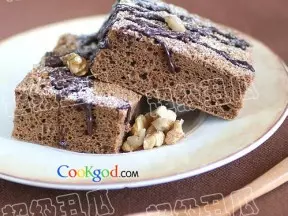
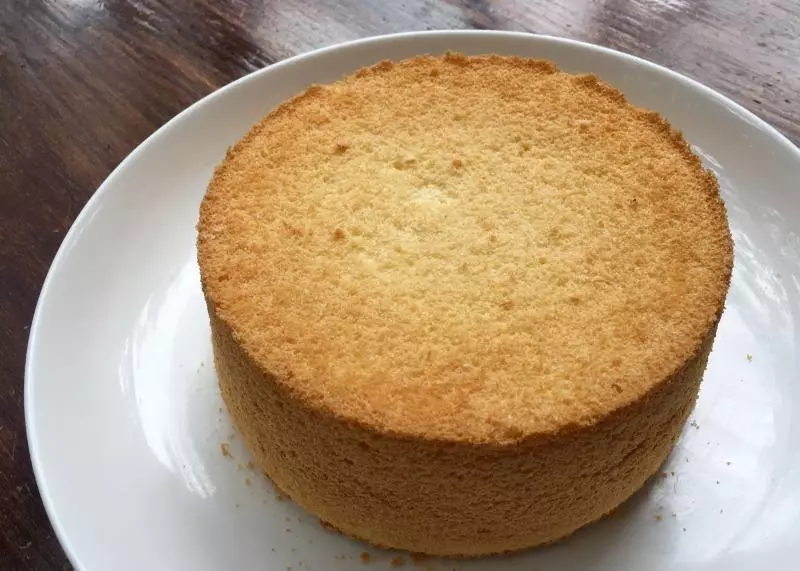
1、加入巧克力的麵糰容易粘稠不好攪拌,可以坐溫水操作。 2、圖八圖九用的是用兩蛋做的巧克力戚風,剛好滿模,如果是三蛋,就已經爆頭了。