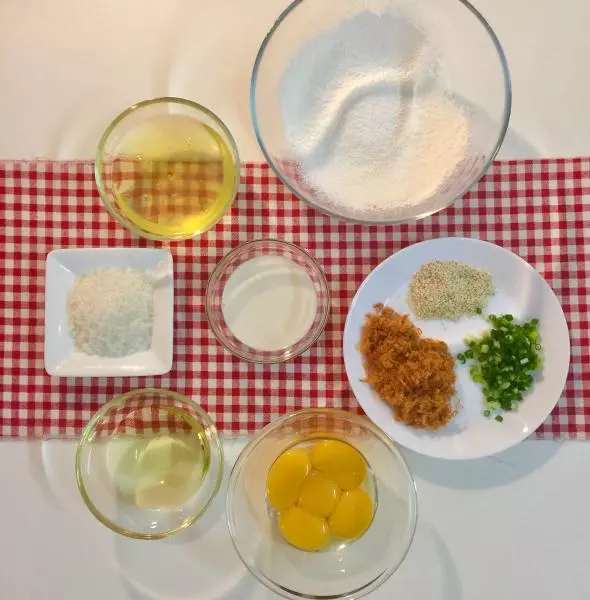
原料
蛋白: 5個, 蛋黃: 5個, 低粉: 60克, 牛奶: 50克, 細砂糖: 50克, 玉米油: 50g克, 肉鬆: 80克, 鹽: 2克, 小蔥: 2根, 沙拉醬: 適量, 醋: 2滴, 白芝麻: 少許
步驟
1所有材料量好待用
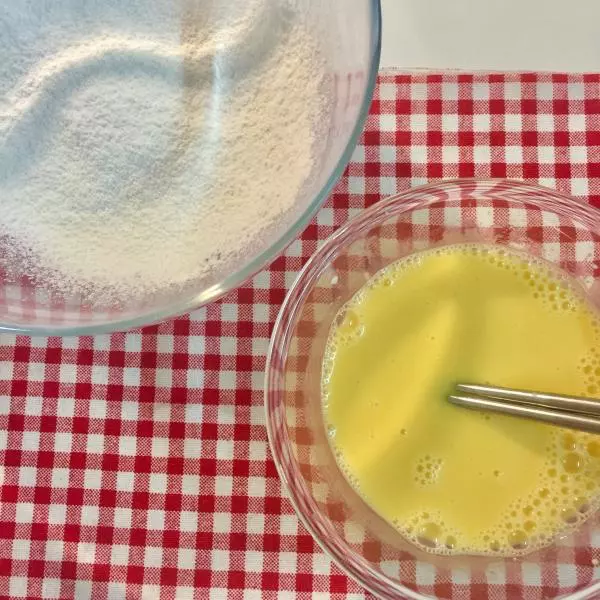
2牛奶、蛋黃、鹽、玉米油倒入一個碗中攪拌均勻 過篩低粉混合攪拌均勻放到一旁待用
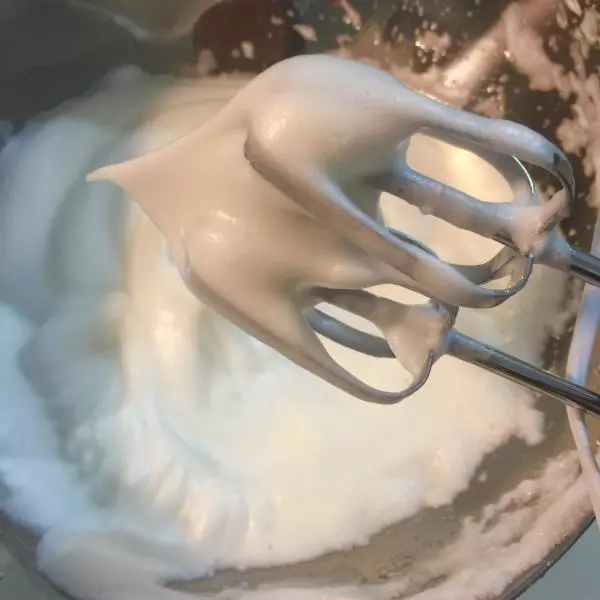
3打發蛋白,白砂糖分三次加入蛋白,加入醋
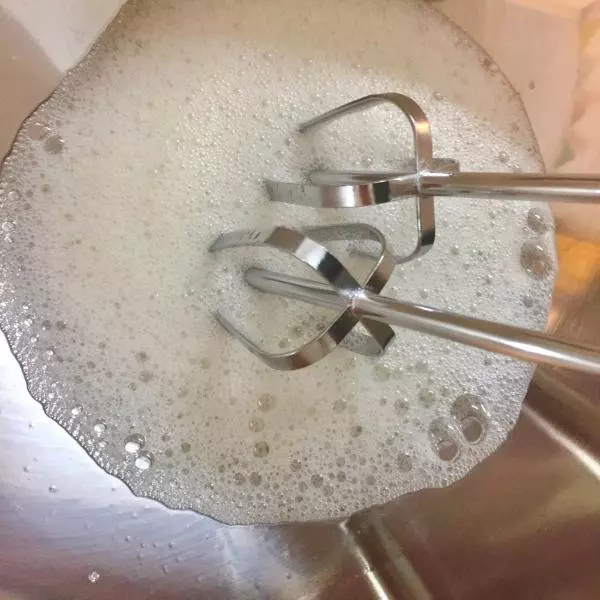
4最後一次加入白砂糖(這個時候烤箱可以預熱了,上下火170度 十分鐘)
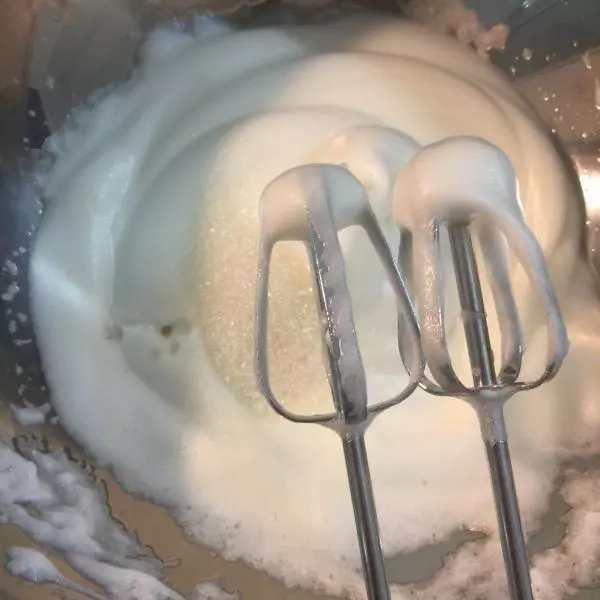
5蛋白打到立起尖尖角,不流動即可 蛋白不能打得太過
6取三分之一打發好的蛋白加入蛋黃糊中1點到7點鐘方向攪拌均勻

7攪拌好的蛋黃糊,將全部蛋黃糊和蛋白一起攪拌,不能畫圈圈,容易消泡

8麵糊做好啦

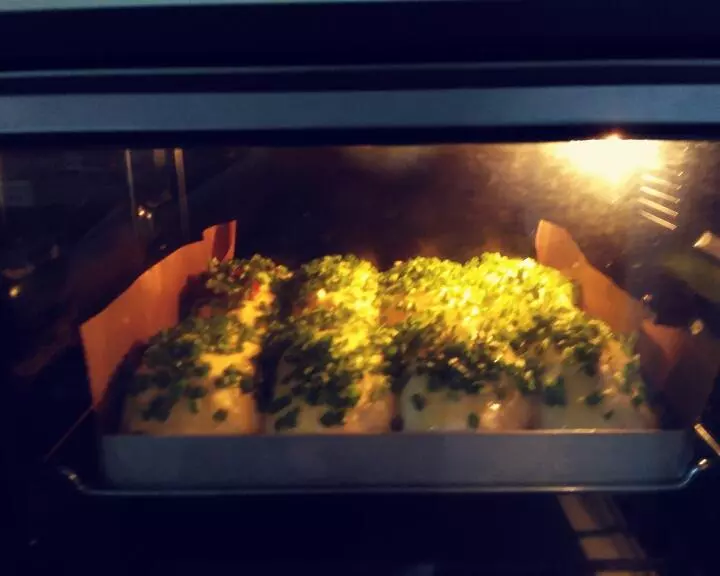
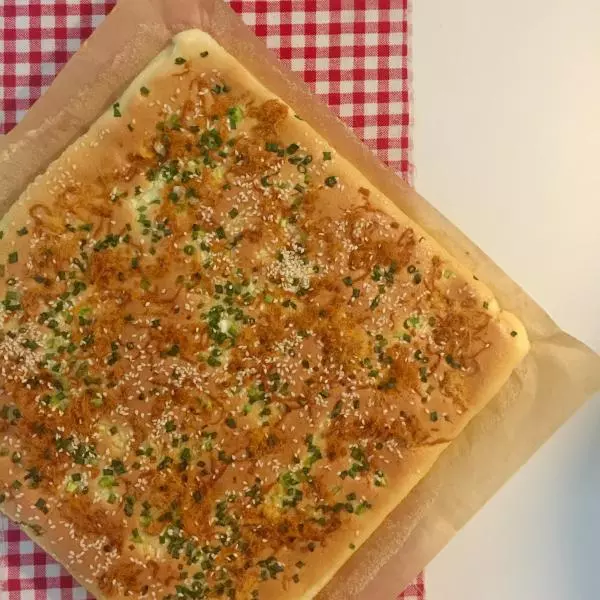
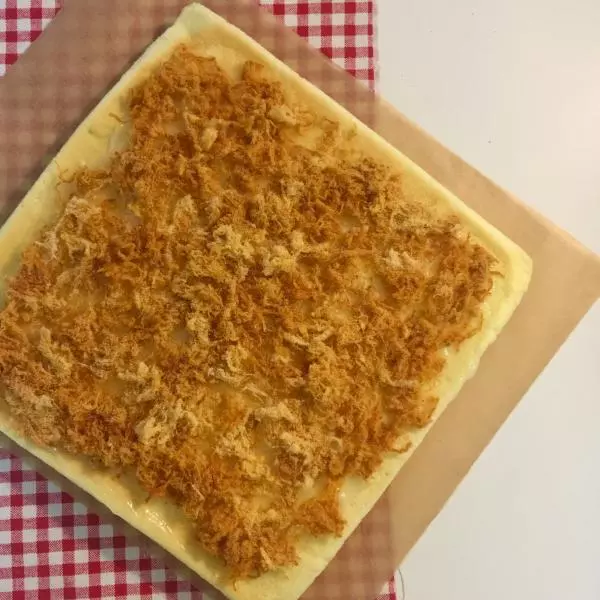
9倒入烤盤,用刮板刮平,加少許肉鬆
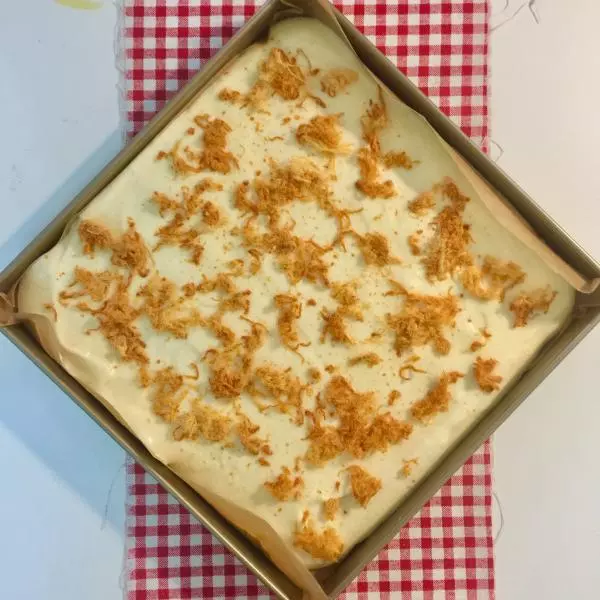
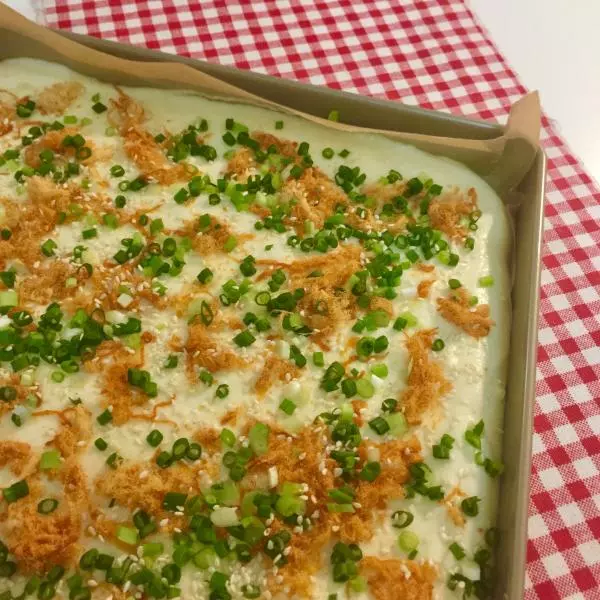
10依次灑上蔥花和白芝麻(可以加火腿粒)
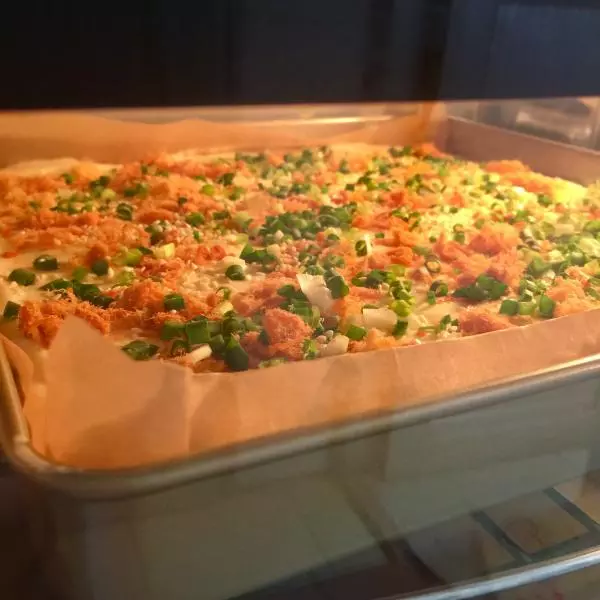
11放入預熱好的烤箱,上下火160度30分鐘左右(每個烤箱溫度不一樣,僅供參考)
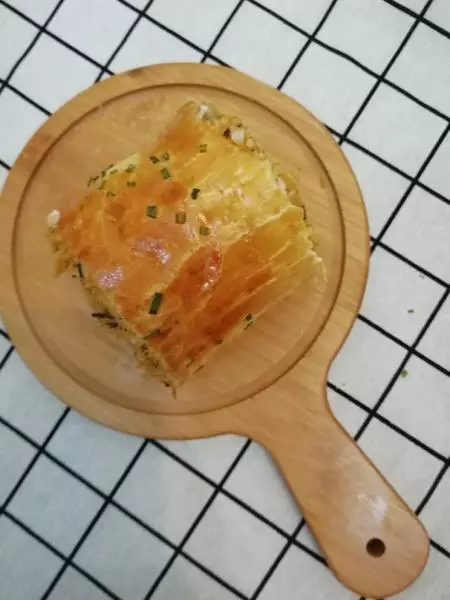
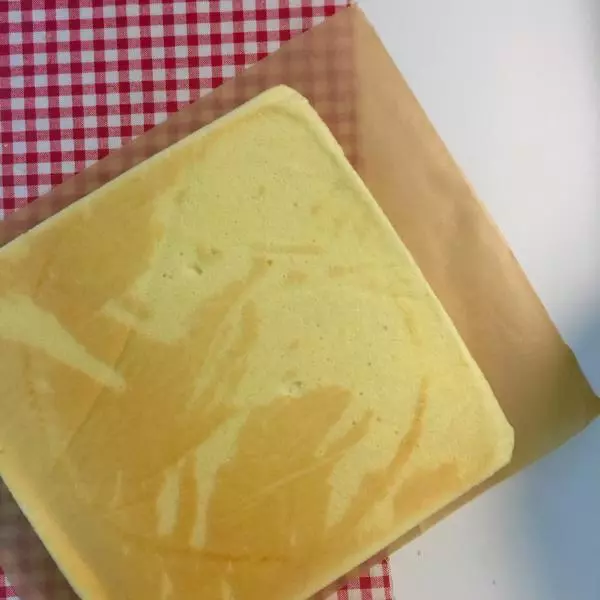
12出爐啦、用牙籤扎如果沒有蛋糕屑粘在牙籤上,證明烤好了,如果沒烤熟,可延長烘烤時間

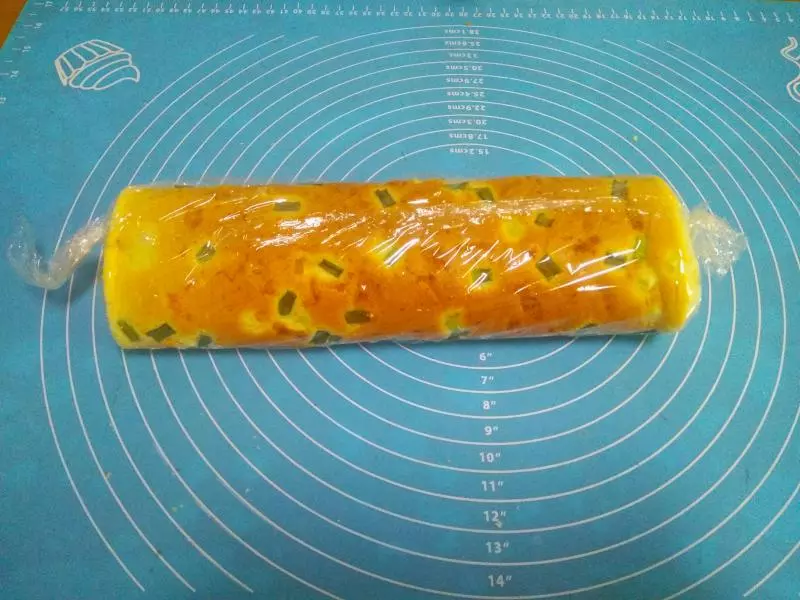
13將蛋糕四邊打開
14再備用另外一張油紙,將蛋糕放過來,撕開油紙
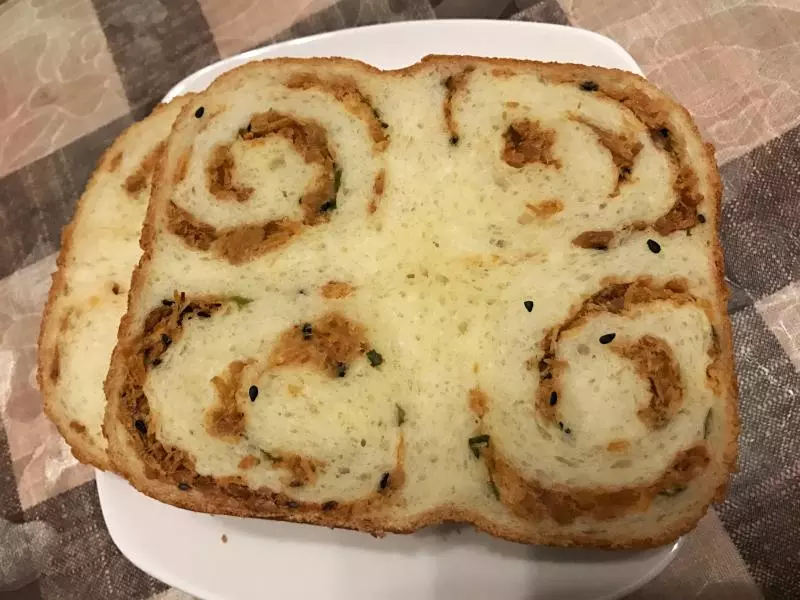
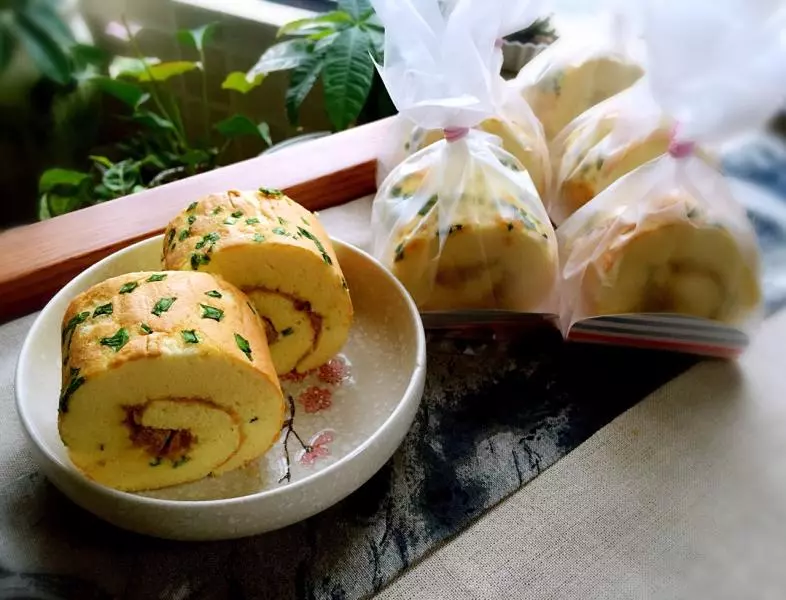
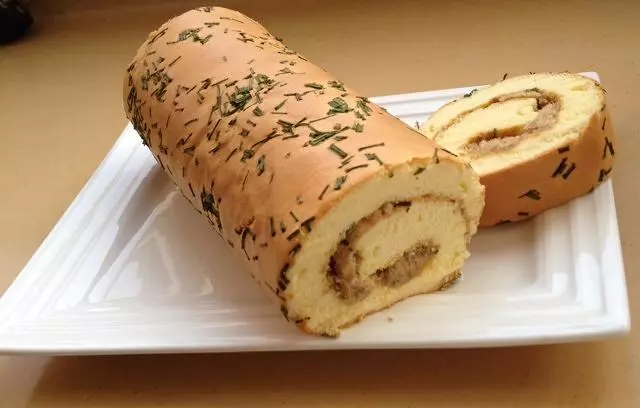
15放涼後,塗上沙拉醬,加入肉鬆
16卷好放入冰箱冷藏一個小時後再切效果更佳(我沒等冷藏卷好就立刻切)

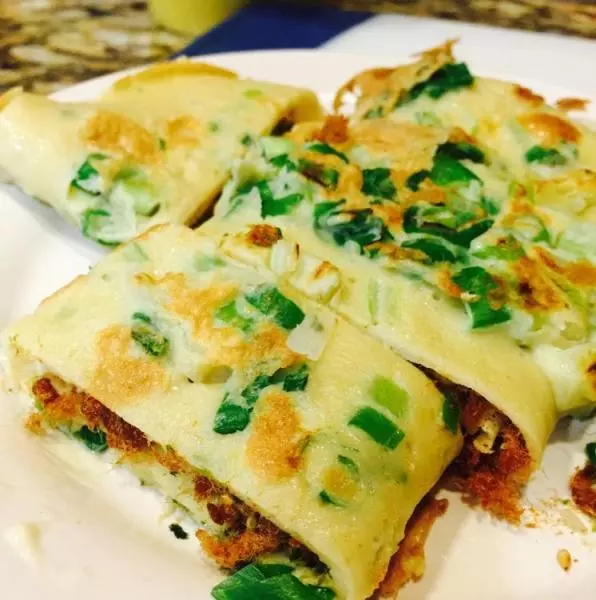
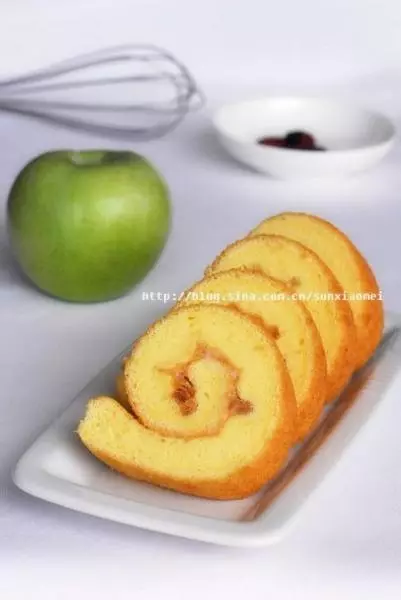
17切塊

18滿屋子香味

19開吃啦~