原料
雞蛋: 2個, 細砂糖: 30g, 牛奶: 200g, 低筋麵粉: 85g, 黃油: 15g, 鹽: 0.5g, 淡奶油: 400g, 細砂糖: 30g, 香草精: 適量
步驟
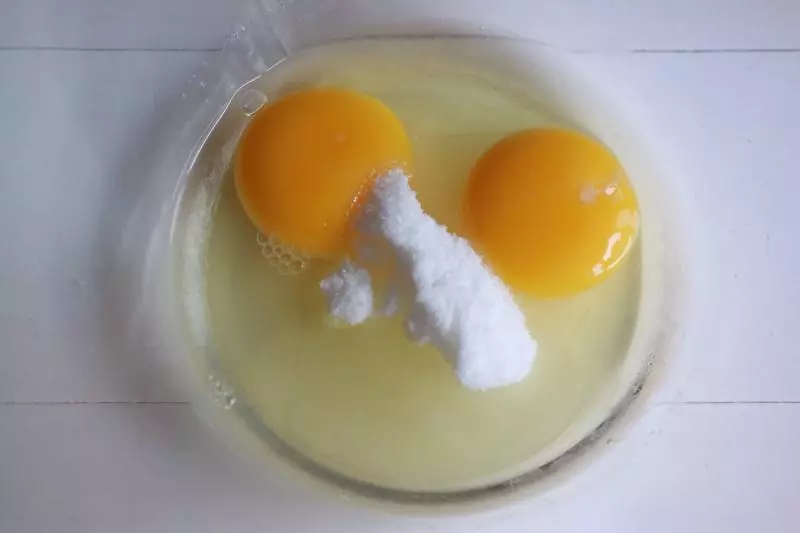
1雞蛋2個
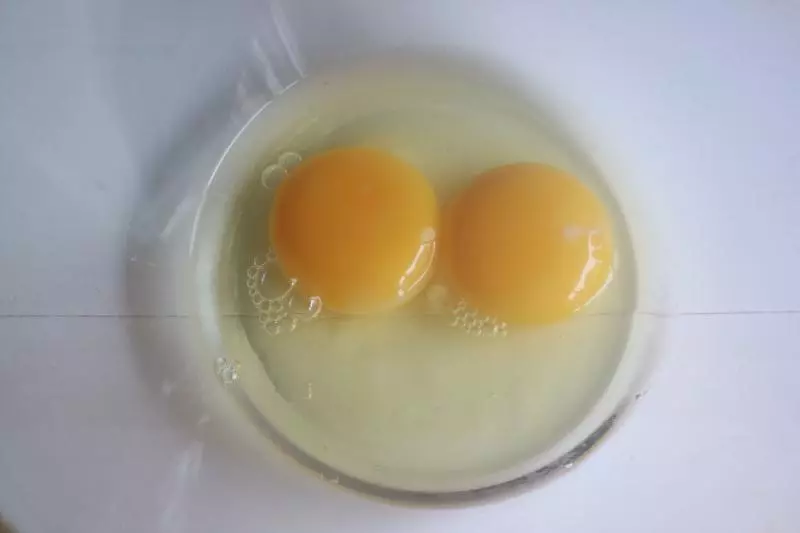
2加入細砂糖
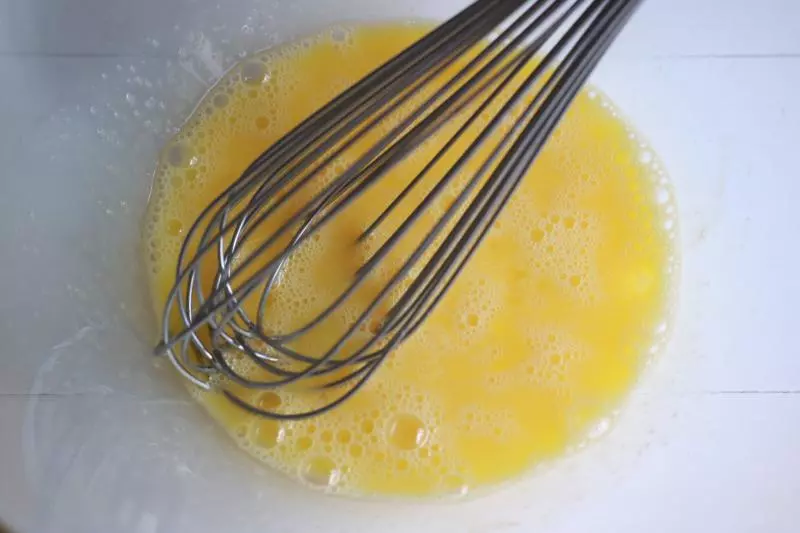
3用蛋抽稍許打散,不需要打發
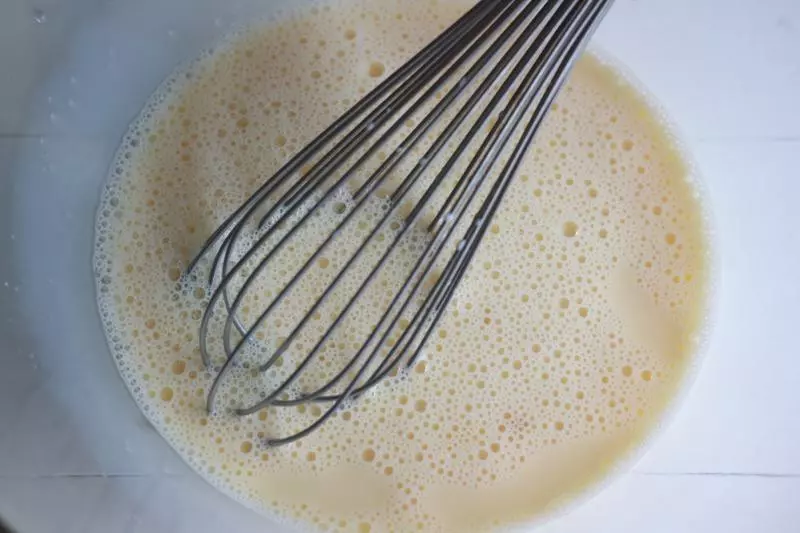
4接著加入牛奶繼續攪拌均勻
5過篩加入低筋麵粉
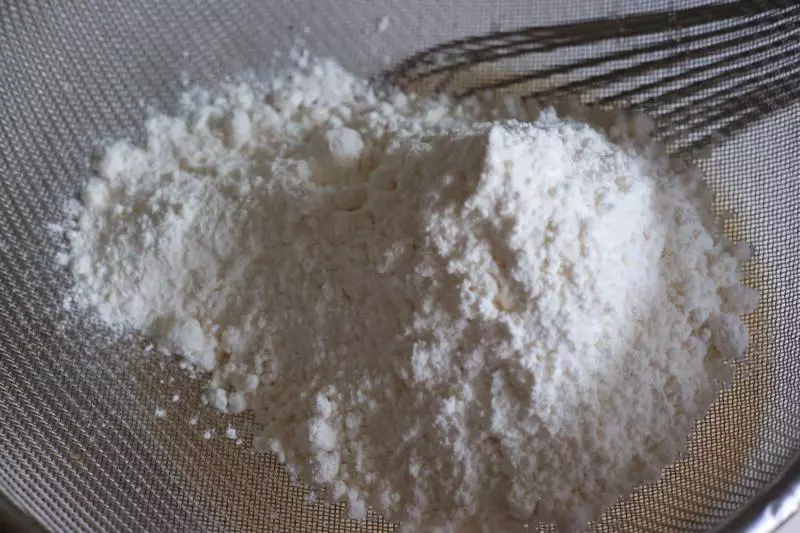
6用蛋抽輕輕的攪拌均勻
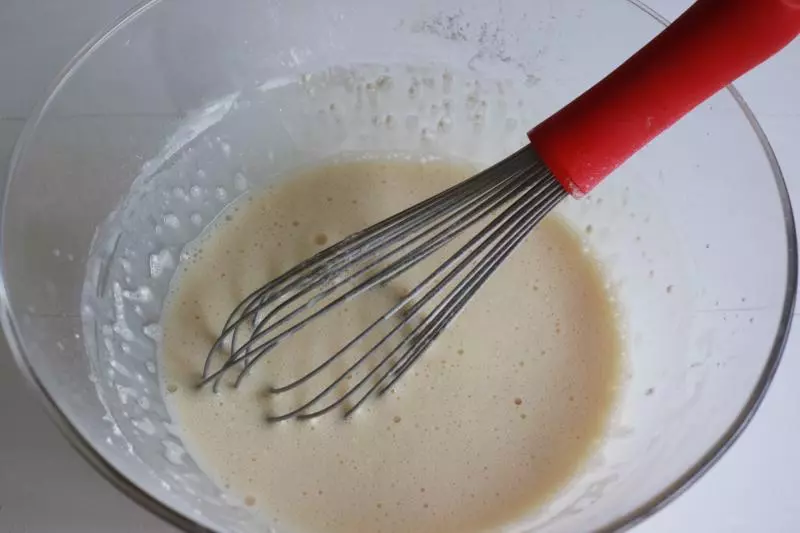
7加入融化的黃油
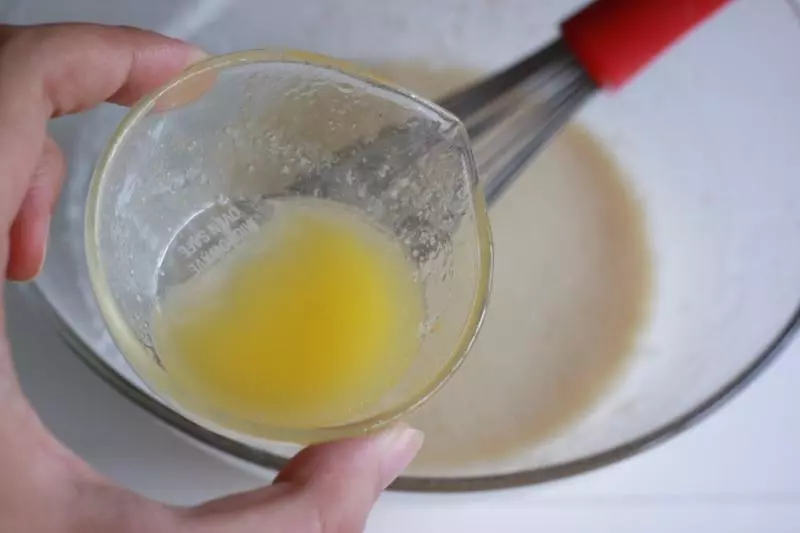
8以及鹽,繼續攪拌成均勻的麵糊

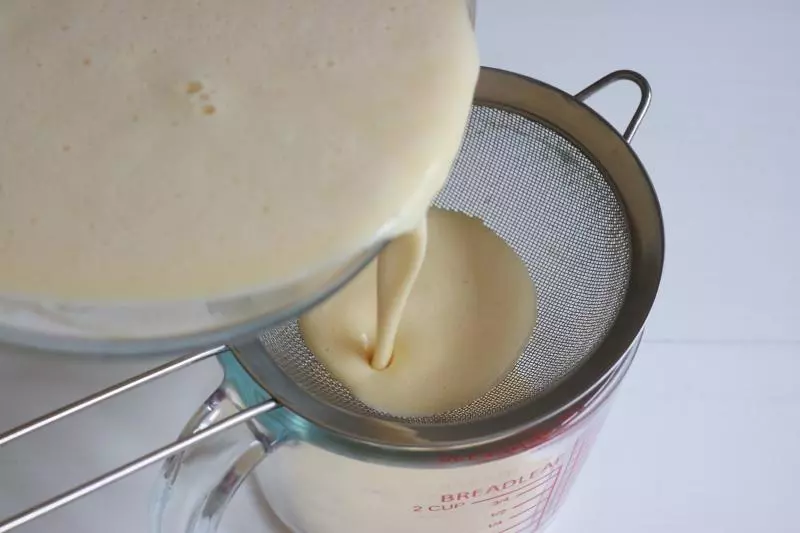
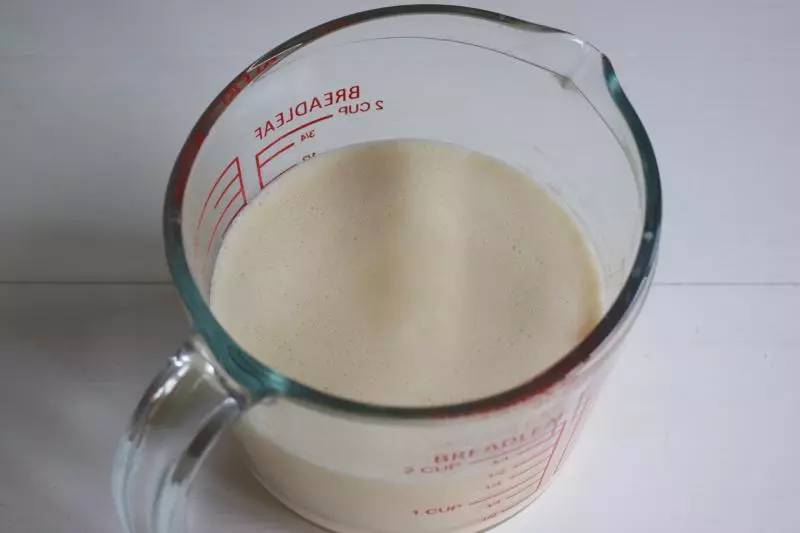
9攪拌均勻的麵糊過篩一次,會更加細膩
10過篩好的麵糊蓋上保鮮膜,放冰箱冷藏一小時
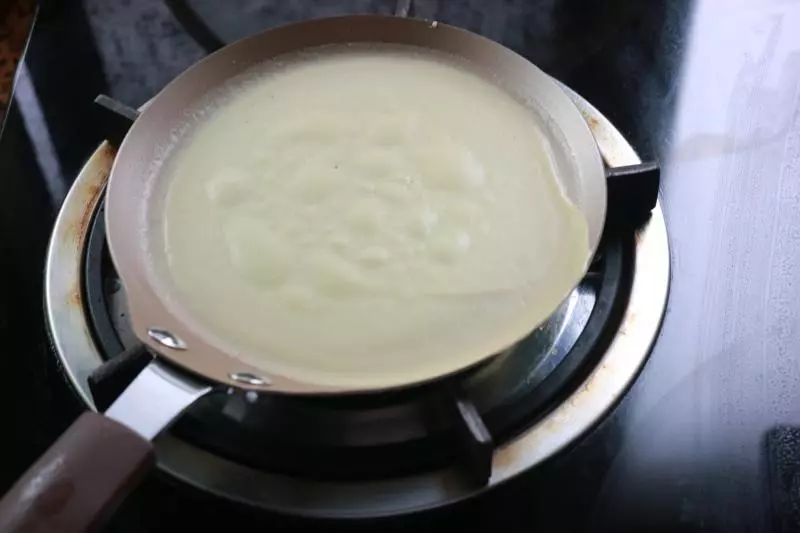
11冷藏好的麵糊就可以用不粘的平底鍋開始煎麵皮了
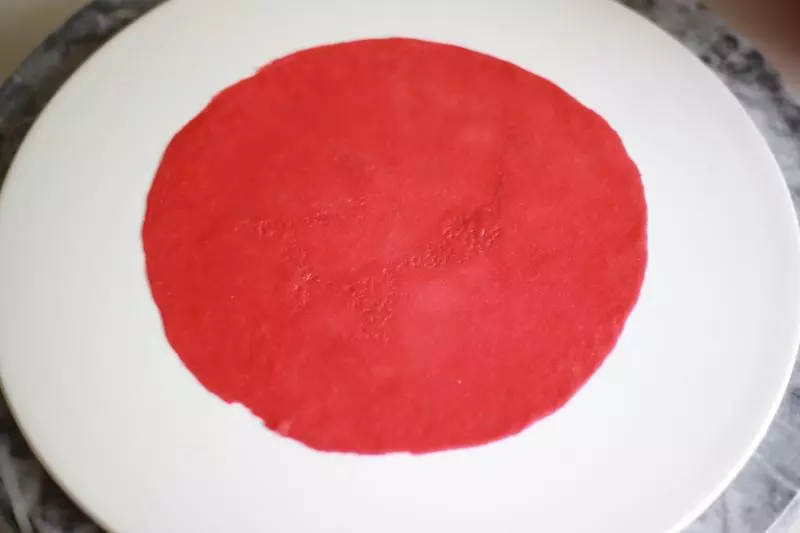
12每種顏色煎三張,然後慢慢的往麵糊里加紅絲絨溶液。一次不要加太多,從而達到漸變的效果

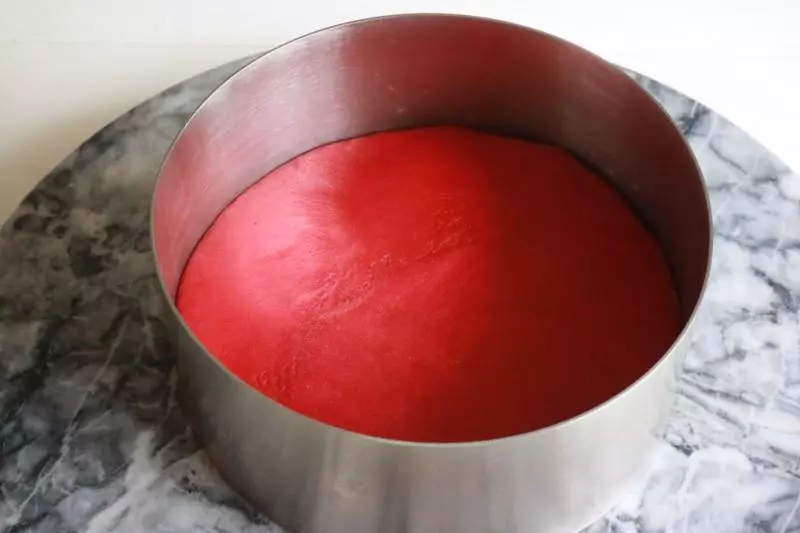
13煎好的麵皮疊在一起,用六寸慕斯圈修整一下邊緣
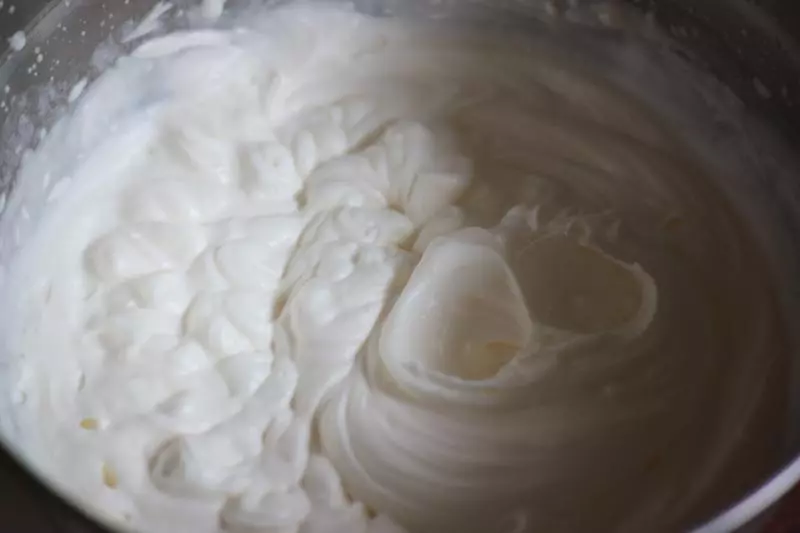
14淡奶油➕細砂糖➕香草精,打發至七分
15開始組裝 下面放深色,往上放淺色
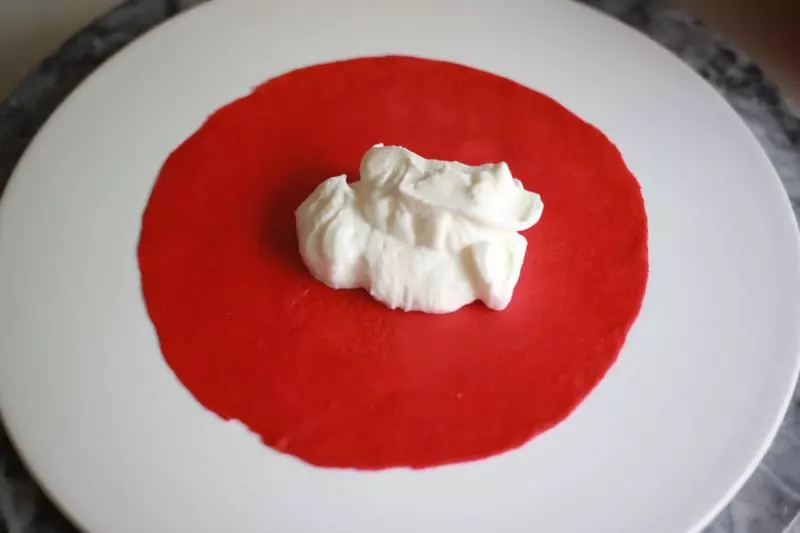
16放上少許淡奶油
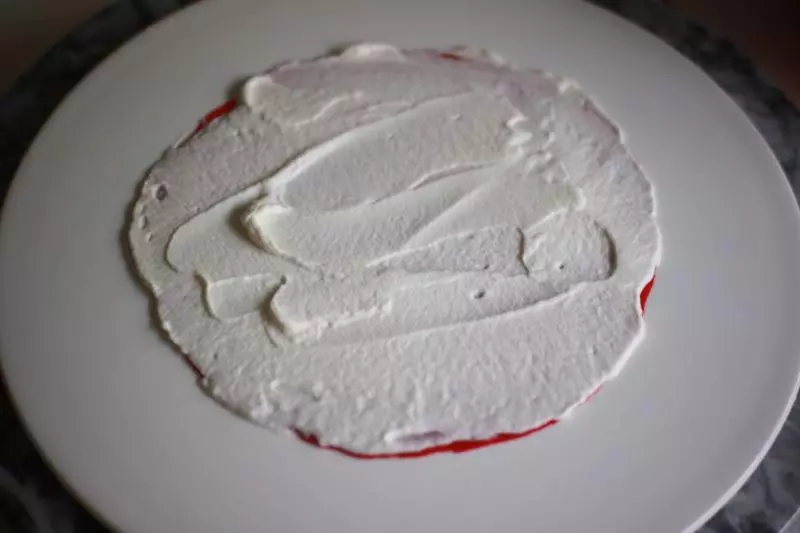
17用刮刀抹平
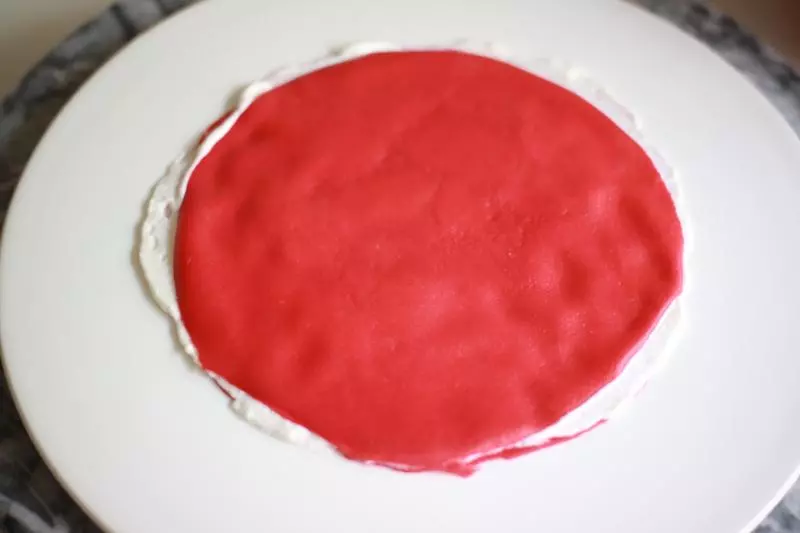
18再蓋上第二層
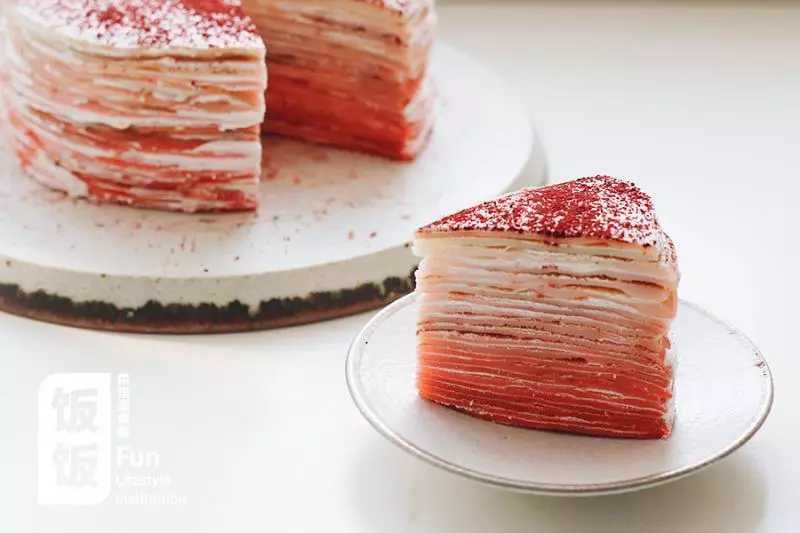
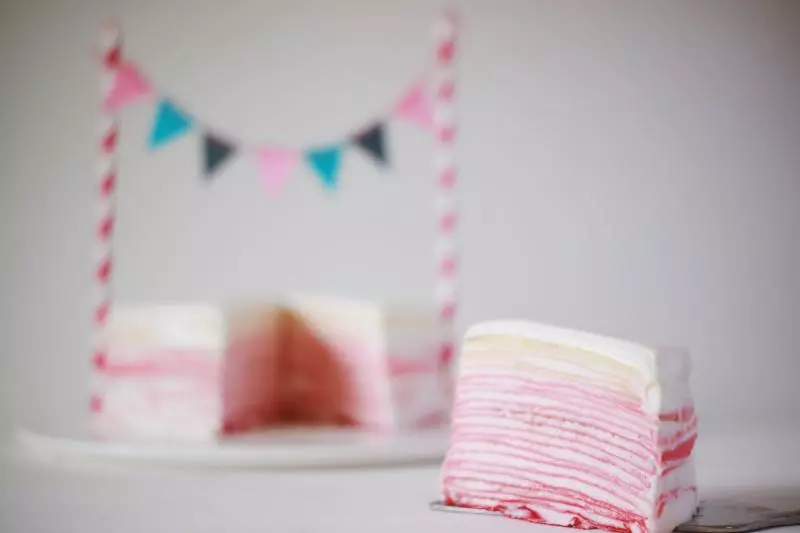
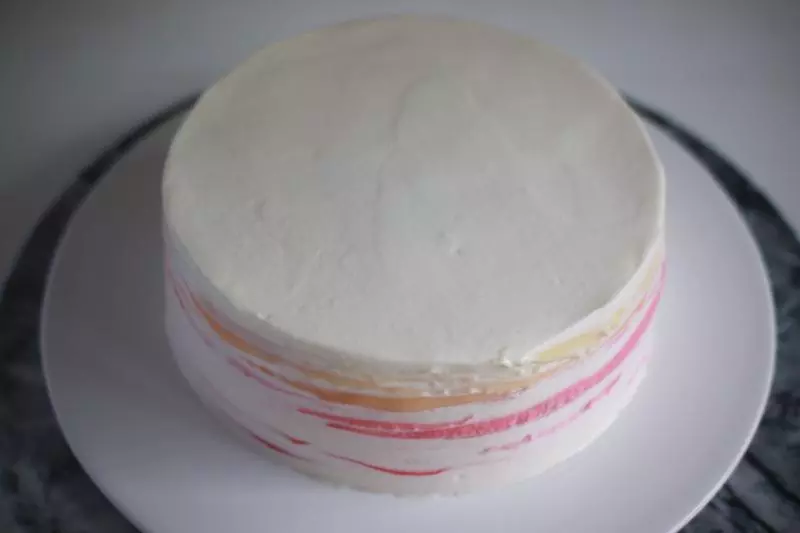
19按照這樣的手法抹好整個千層,最後剩下的一點我抹了表面和側面,側面沒有完全用奶油蓋住,這樣就形成了自然的漸變色花紋
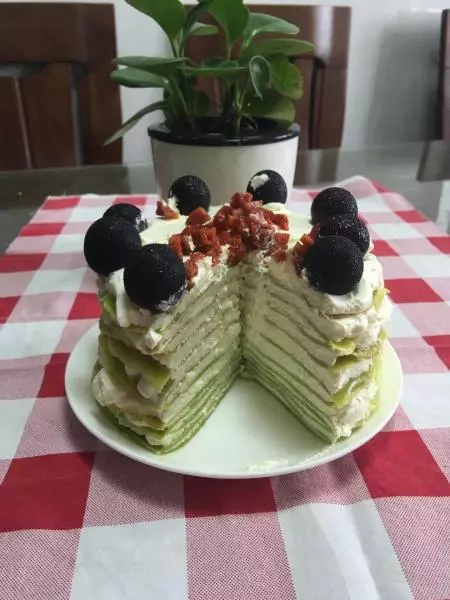
20再插上喜歡的裝飾,就做好啦

21切面是不是很美

22做出來的麵皮也是hin軟的哦~