简介
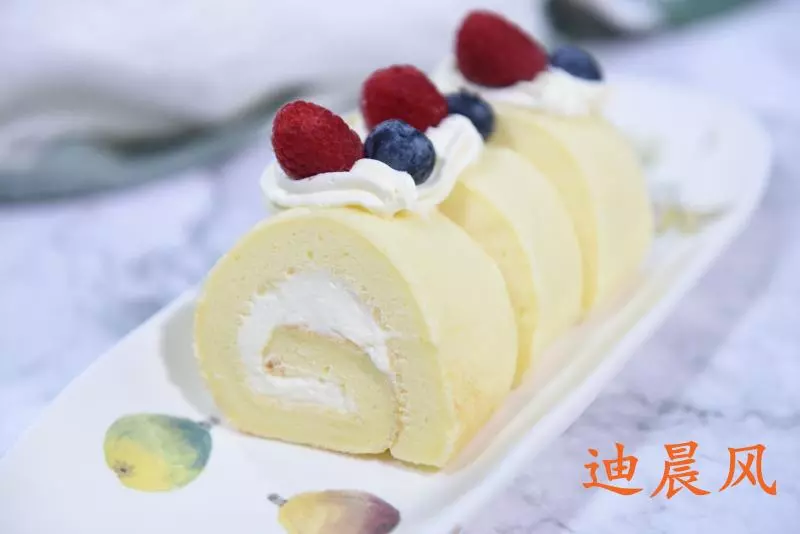
过节这段时间,俺家小美女们放假在家,都喜欢吃奶油蛋糕卷,这段时间俺也对蛋糕卷上瘾了,现在是每天做一个蛋糕卷,一天就把它消灭了。
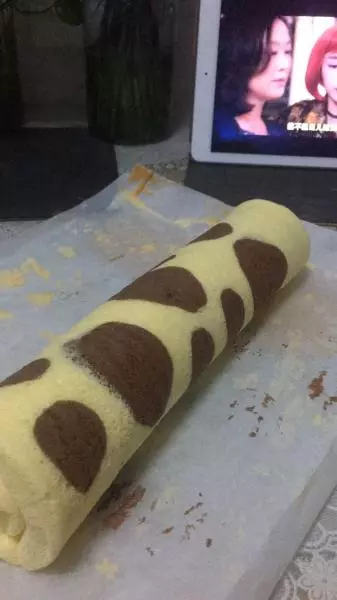
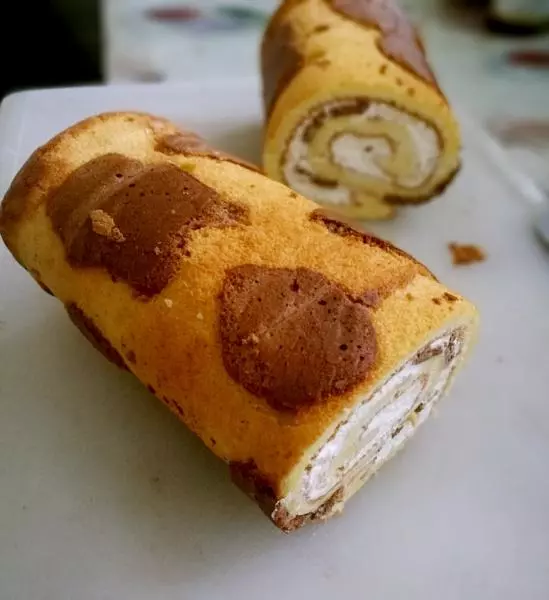
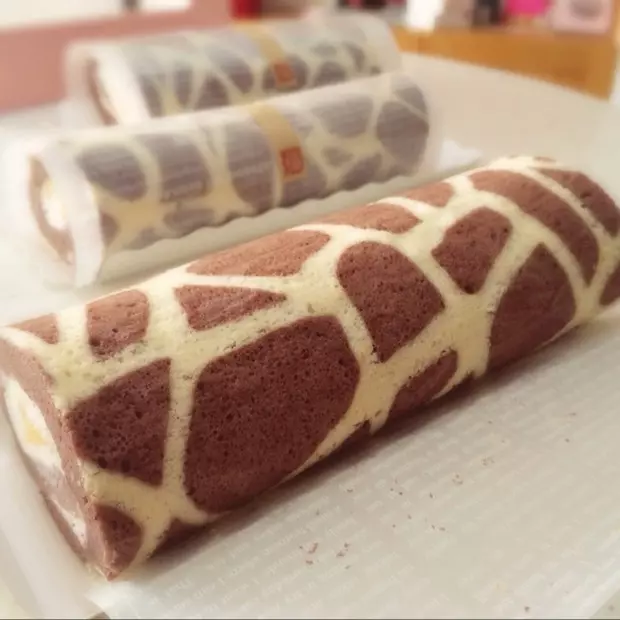
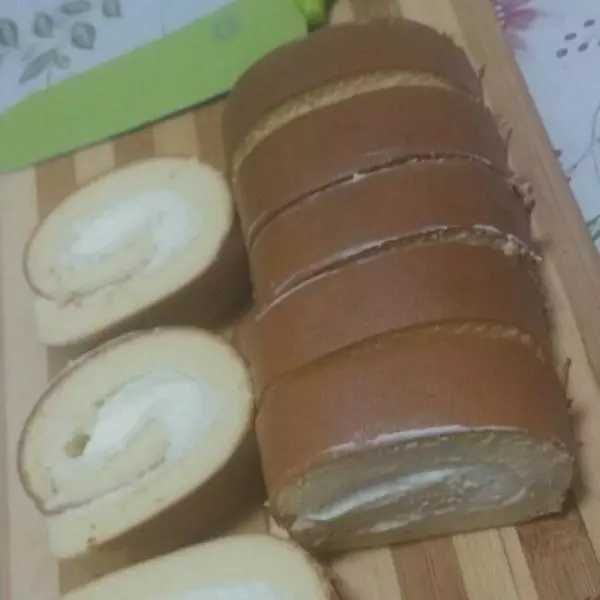
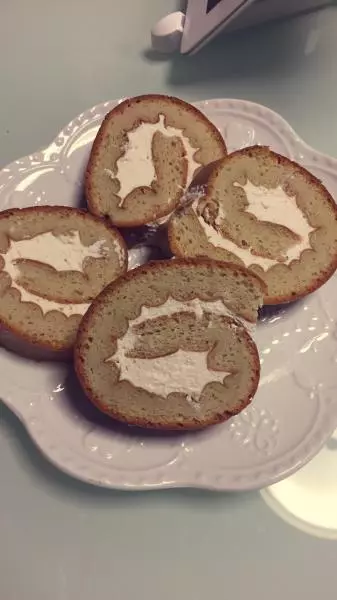
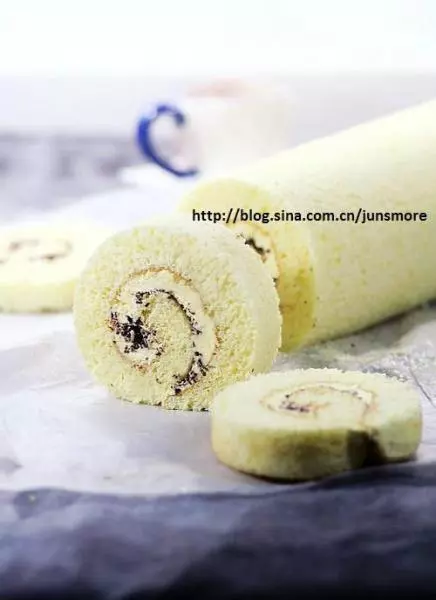
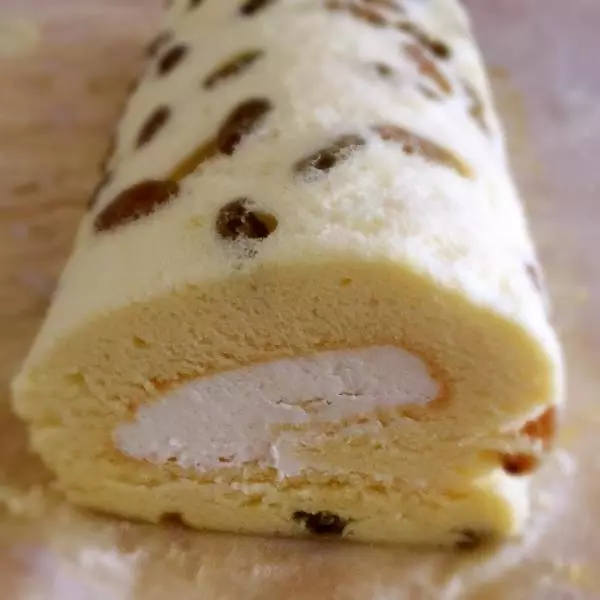
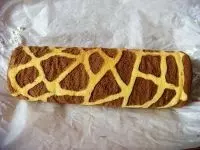
蛋糕卷做多了,就变化着花样的来做,哈哈,今天做了长颈鹿花纹的奶油蛋糕卷,做好后非常形象,像极了长颈鹿身上的花纹。俺家小美女们都说漂亮呢。
现在,孩子们还放假在家,做个这样的蛋糕卷吧,不仅好吃,更好看,孩子们肯定会喜欢的。
原料
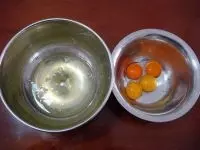
A:蛋白4颗,柠檬汁5滴,细砂糖50克, B:蛋黄4颗,细砂糖10克,牛奶60克,色拉油50克,低筋面粉70克,可可粉10克。
步骤
1用分蛋器把蛋白、蛋黄分开。
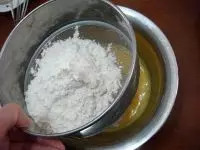
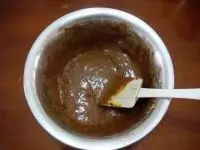
2蛋黄中加入10克糖。用手动打蛋器搅打均匀,再加50克色拉油搅打均匀,再将60克牛奶倒入,搅打均匀至油水融合,将低粉筛入蛋黄盆中。
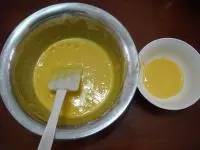
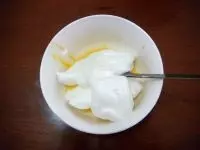
3搅拌均匀至无颗粒的浆糊状。用勺子取20克蛋黄糊于小碗中。
4将10克可可粉筛入蛋黄糊中,切拌均匀成可可糊。
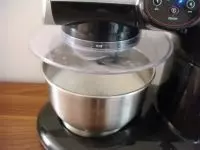
5蛋白放厨师机里面,加入5滴柠檬汁或白醋,分三次加入40克白糖。继续搅打,提起打蛋笼的蛋白尖峰长而不挺立,表示已经到了湿性发泡的程度,也就是九分发的程度。做戚风蛋糕卷,蛋白打到这个程度就可以了。
6把蛋白与可可糊分次加入。
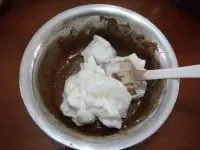
7搅拌均匀成蛋糕糊。
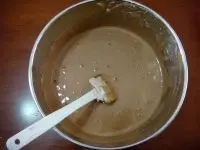
8取约为蛋黄糊两倍的蛋白于小碗内。用勺子翻拌及切拌成蛋黄糊。
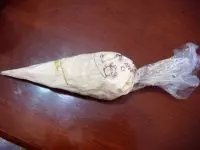
9将蛋黄糊倒到裱花袋内。
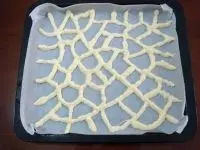
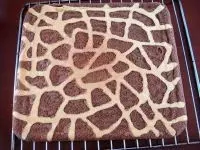
10在铺了油纸的烤盘上描绘出长颈鹿斑纹图案,放入预热好180度的烤箱1分钟拿出。
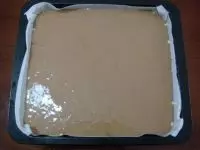
11将可可面糊倒入烤好斑纹的烤盘,抹平蛋糕糊表面,并拿起烤盘,在桌子上震出大气泡。
12放入已经预热好的烤箱中层,180度烤14分钟。我家烤箱温度偏高,我用了170度,14分钟,根据自家烤箱的脾气调整吧。。
13将烤盘从烤箱取出,倒扣在烤网上。乘热小心撕开四周的油纸。
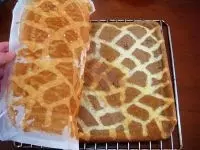
14让蛋糕片凉会儿。
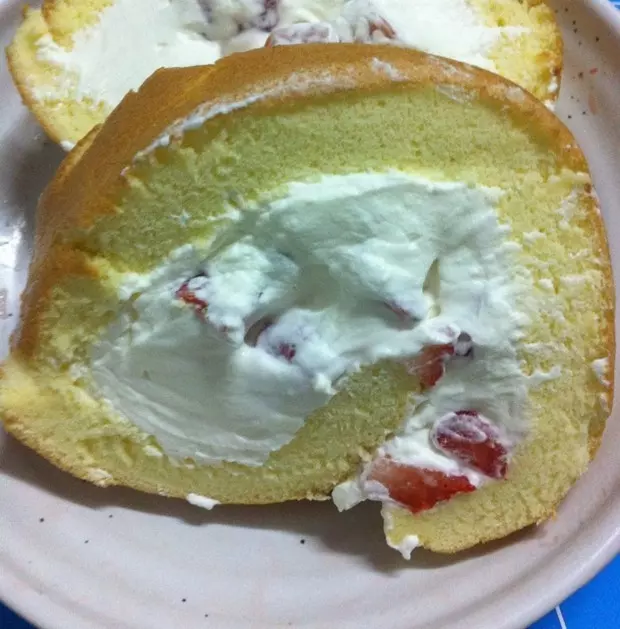
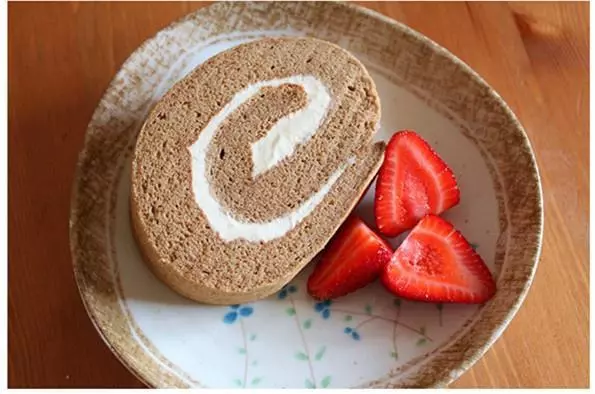
15将揭去油纸的蛋糕再次倒扣在新油纸上。现在蛋糕烤黄的那面向上。将奶油均匀地抹在蛋糕表面。
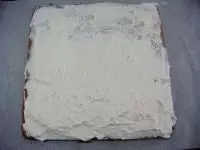
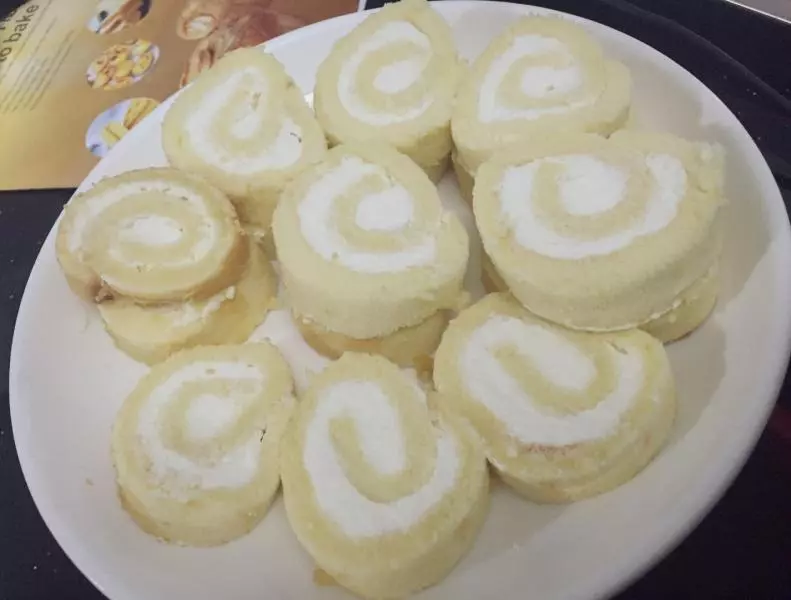
16把蛋糕卷起来。卷好后放冰箱定型30分钟。

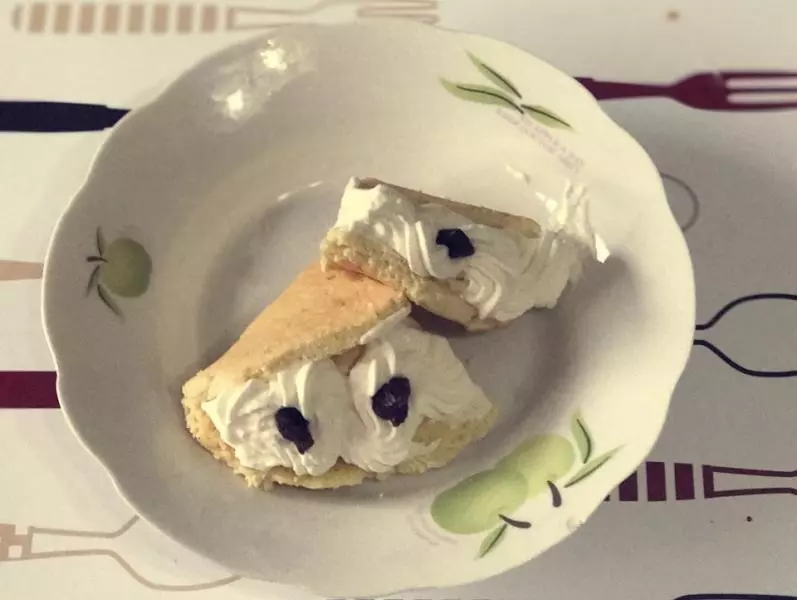
17定型好后,取出,揭去油纸,切块吃就可以了。
小技巧
如果不好卷,可以在蛋糕体上浅浅划上几刀,不过,我没有划,也可以卷起。