原料
奶粉: 10克, 水: 100克, 黑巧克力(淋面): 50克, 鸡蛋: 1个, 盐: 5克, 可可粉: 12克, 淡奶油(淋面): 50克, 酵母: 6克, 黄油: 25克, 高筋面粉: 250克, 细沙糖: 30克
步骤
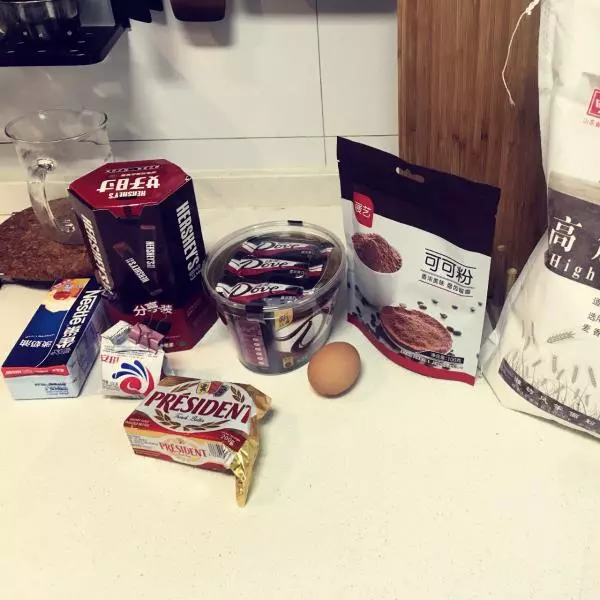
1原材料拍个集体照。奶粉忘记拍了。黑巧克力我对比了一下好时和德芙的口感,果断选择了好时。黄油其实建议用歌文非发酵无水黄油,但一块儿要六百多...想了想默默的拿出了我的总统黄油??♀️
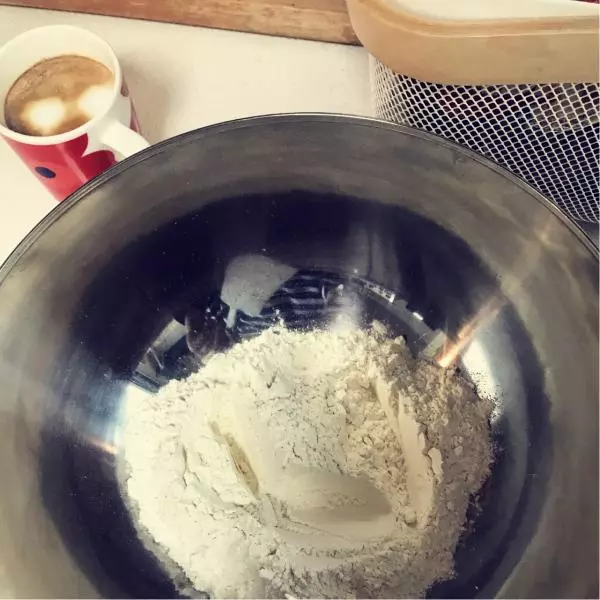
2先将250g高筋面粉在带盆称好。好多菜谱写的按比例混合高筋低筋还是混合面包粉蛋糕粉的...实践证明...没必要搞那么复杂。
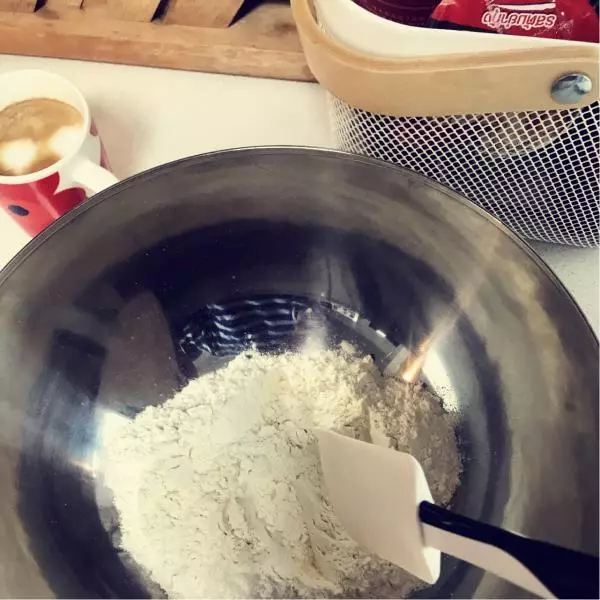
3用刮刀在面粉堆挖几个坑
4把称好的盐、糖、奶粉、酵母都埋了
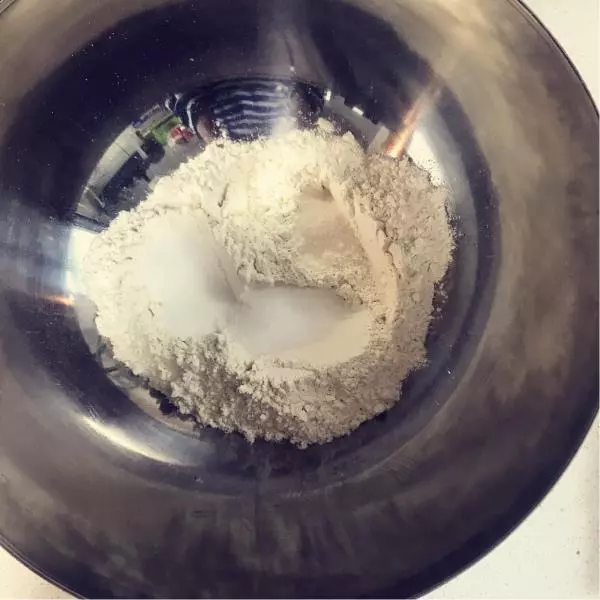
5像介样
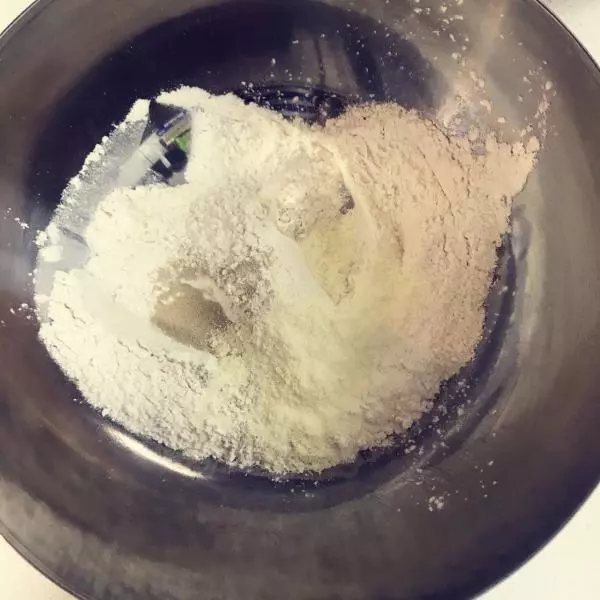
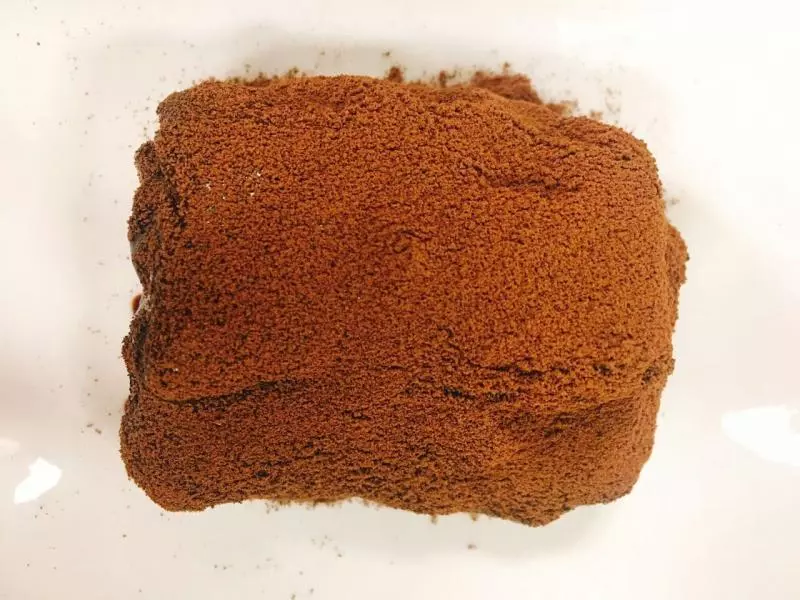
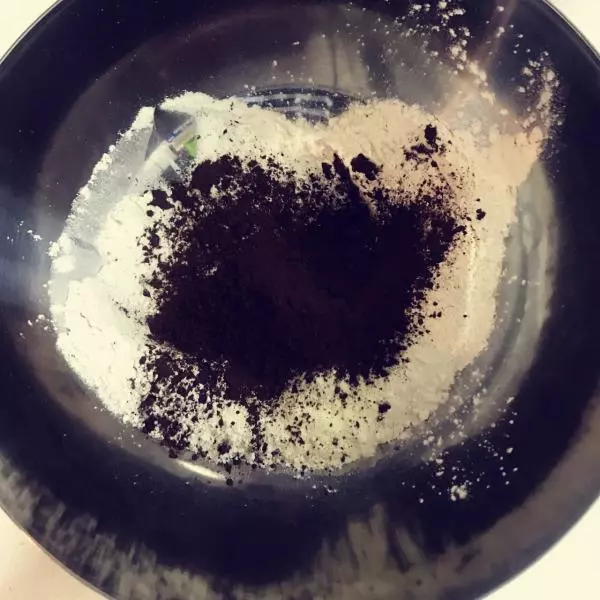
6再倒入12g可可粉
7打入一个鸡蛋
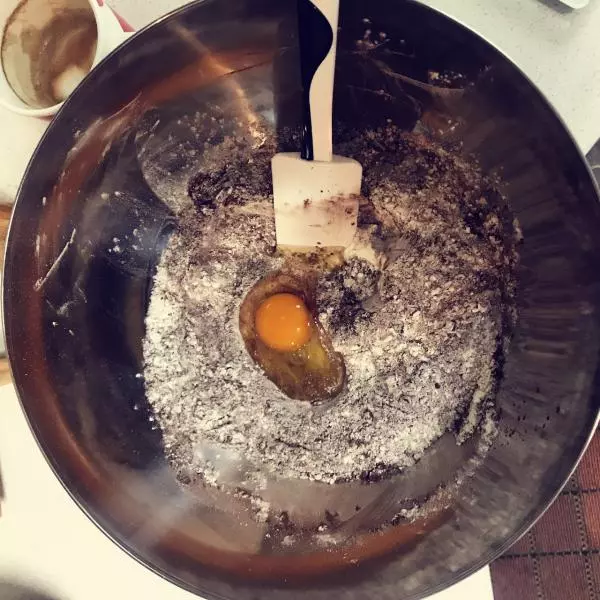
8用刮刀混合
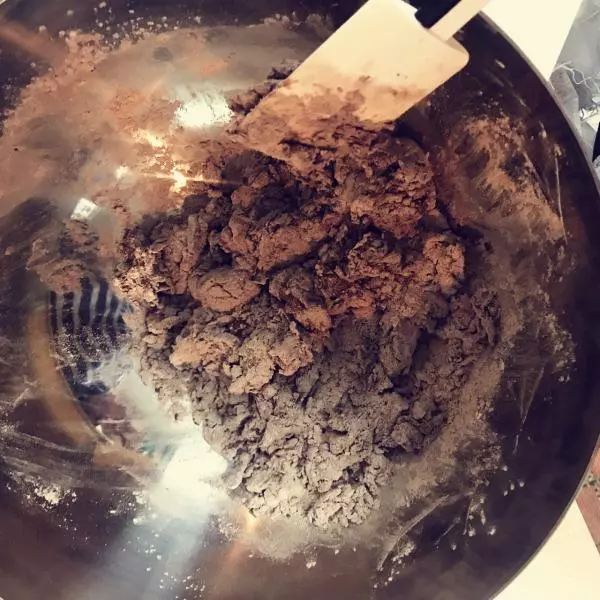
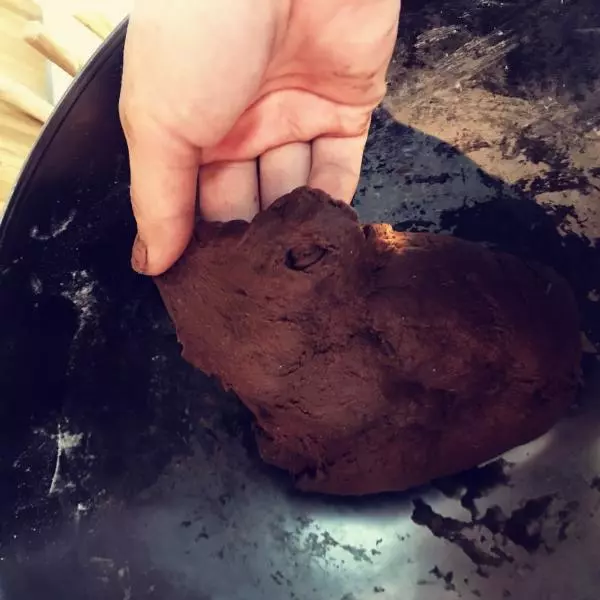
9混合均匀,揉成面团。说到和面...真的觉得是围着灶台好多年才能练出来的真功夫。讲究三光,手光面光盆光...我尽力了
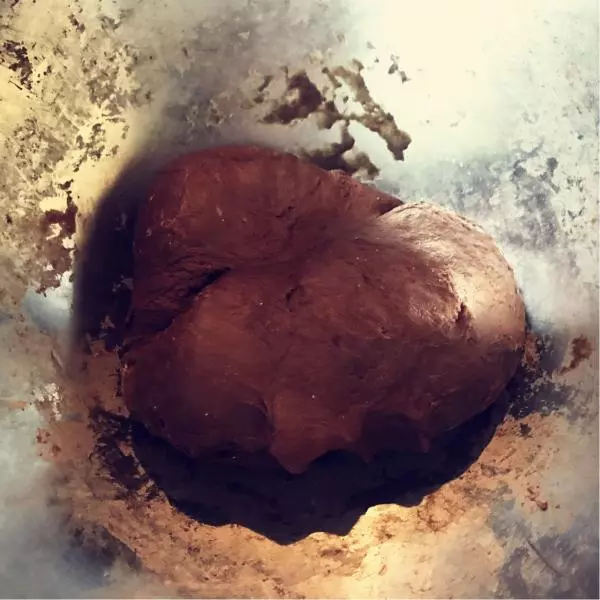
10面团揉到,可以拉开薄膜。是那种易破的薄膜。我这个不是很好
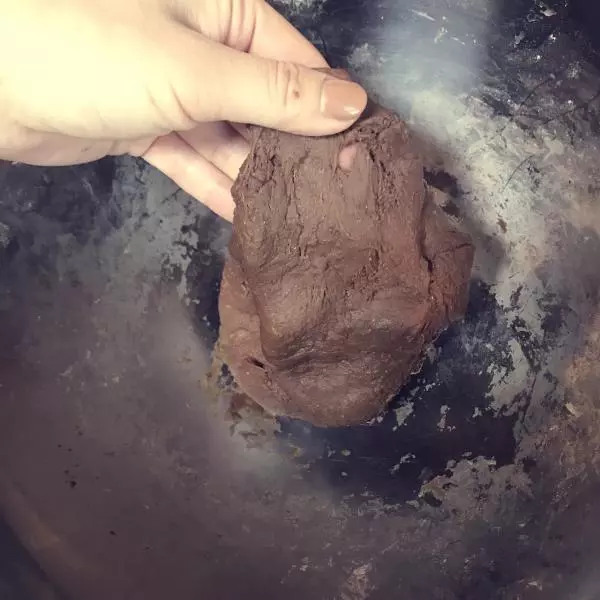
11扯...
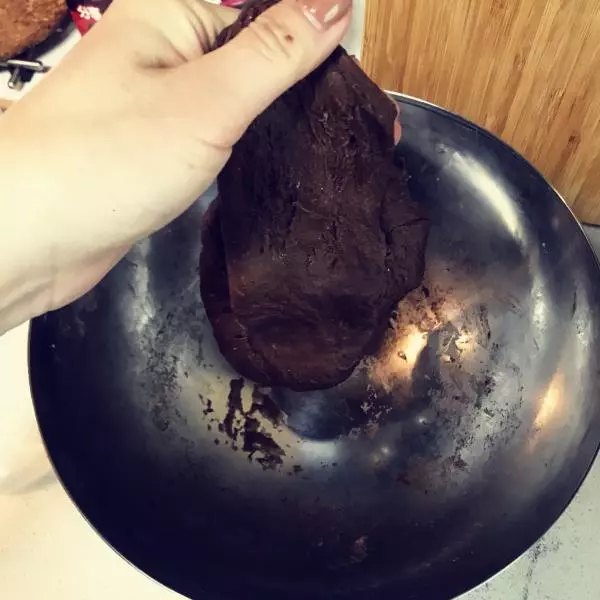
12尝试了拉薄膜,但基本就是个厚膜。
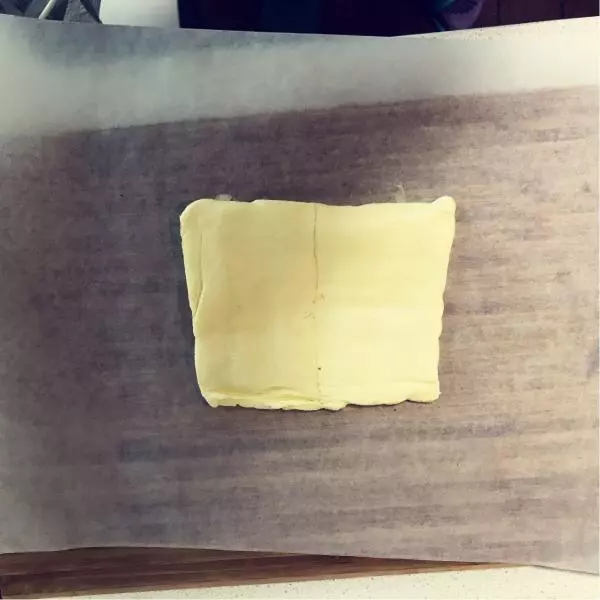
13用擀面杖把可可面团擀成像这样的长方形。尺寸大概是50*30。厚度0.5cm。
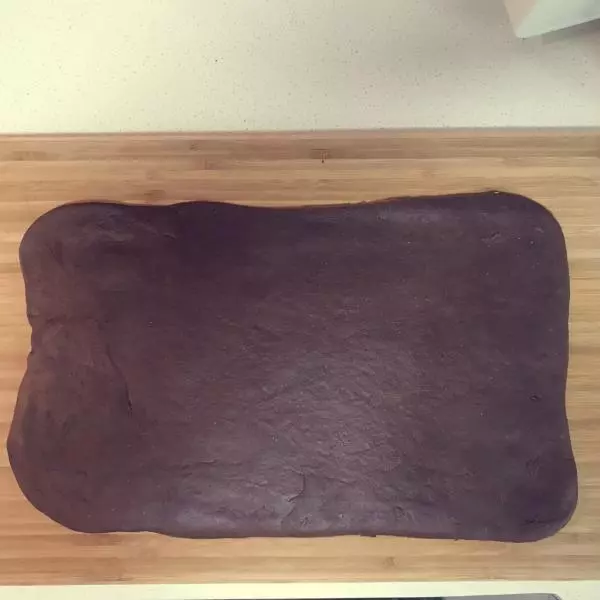
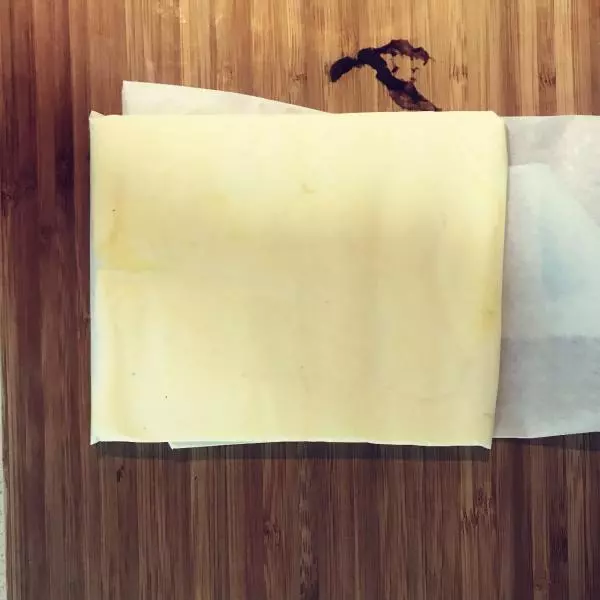
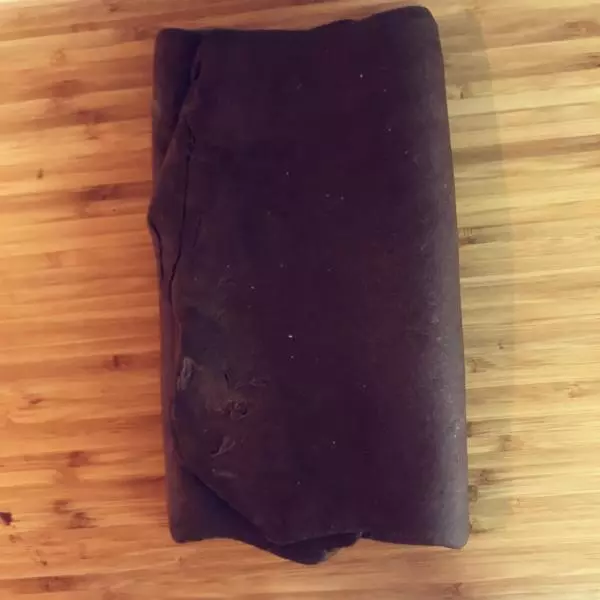
14然后用保鲜膜将面皮包住
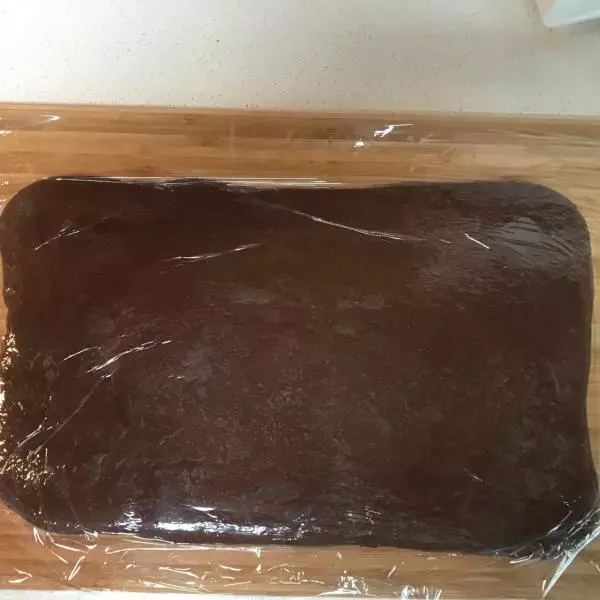
15嗯,包住。
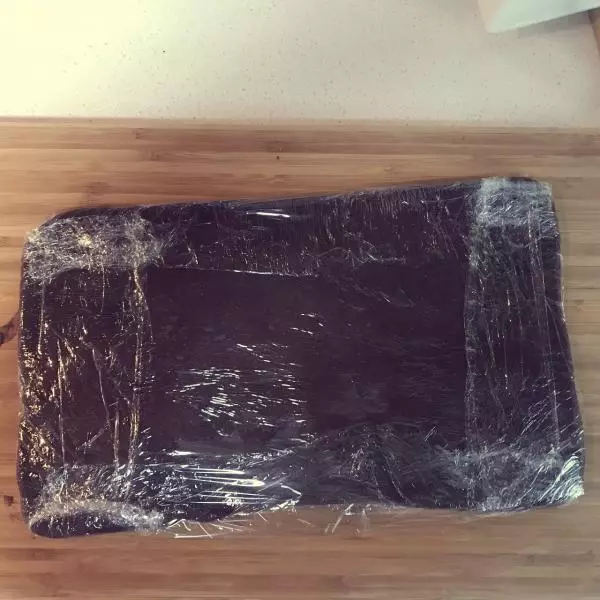
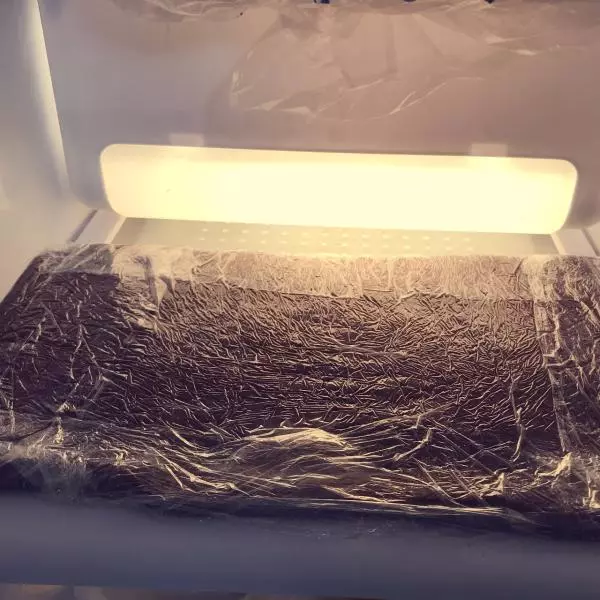
16冷冻25分钟。
17称25g黄油。建议非发酵黄油。
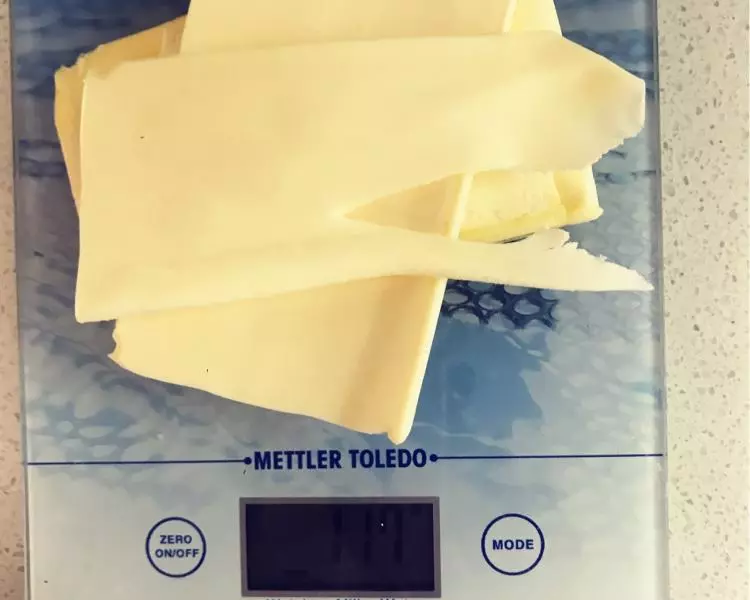
18将黄油片码成方形,放到油纸上。
19凑数的一个
20用擀面杖平铺压平黄油。直到变成一个整体的黄油片。大小大概是可可皮的一半。
21我用的总统黄油。总面积最大的一面切,厚度0.5cm。
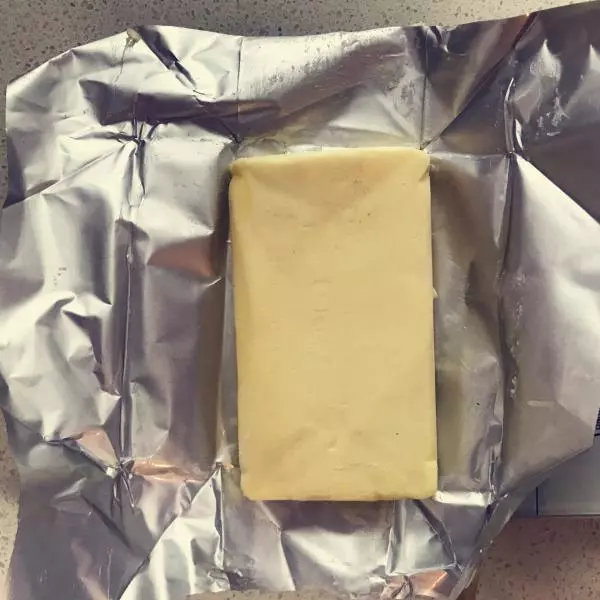
22将擀好的黄油片包在油纸中。
23如图。冷藏20min。
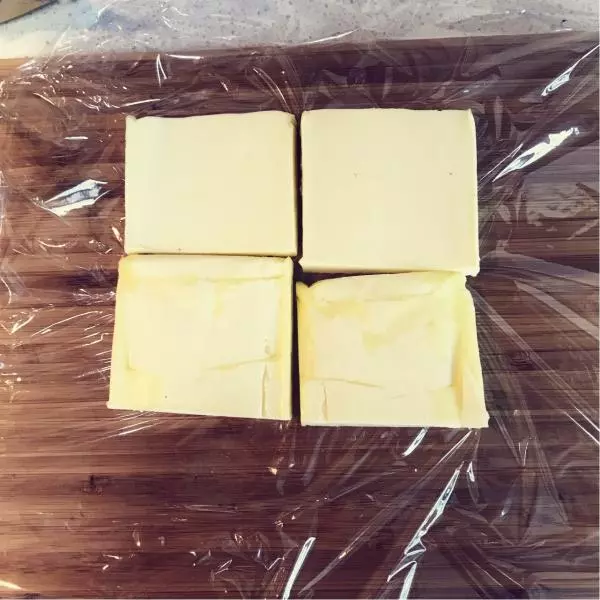
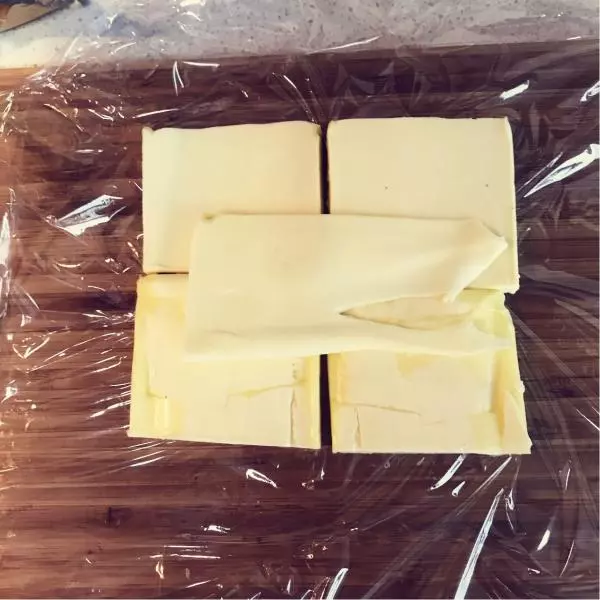
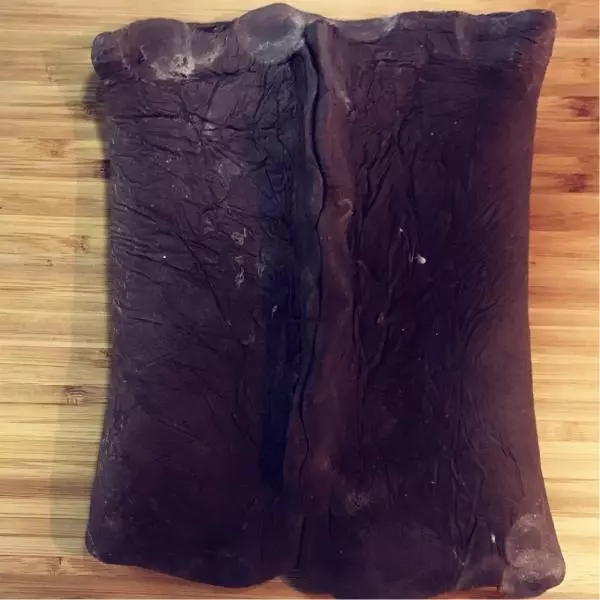
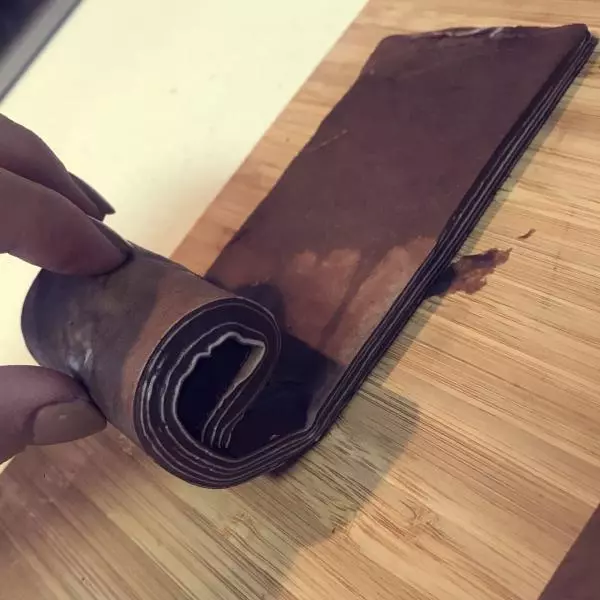
24将冷冻和冷藏好的两片取出,去掉各自的膜,像这样摆好。然后将两边多余的可可皮向内包裹。

25像酱。然后手捏封口。
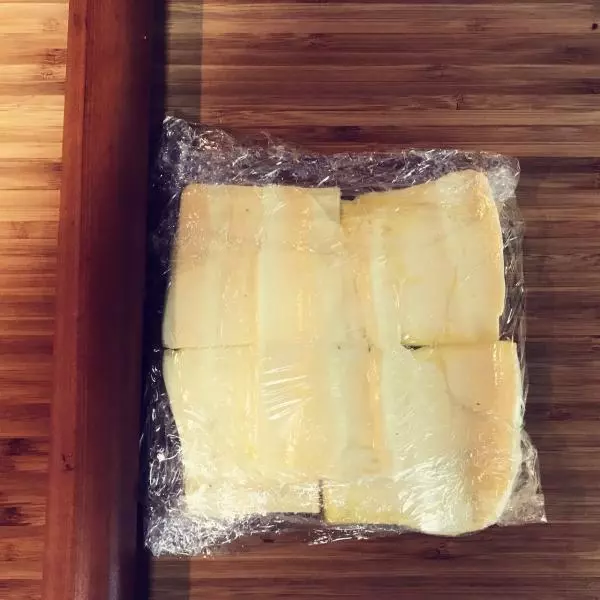
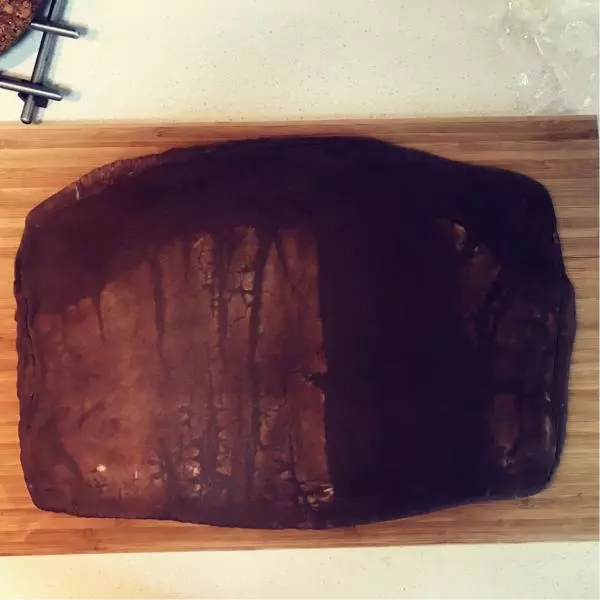
26将这个裹着黄油的面皮再一次擀平。到原来可可皮大小尺寸。
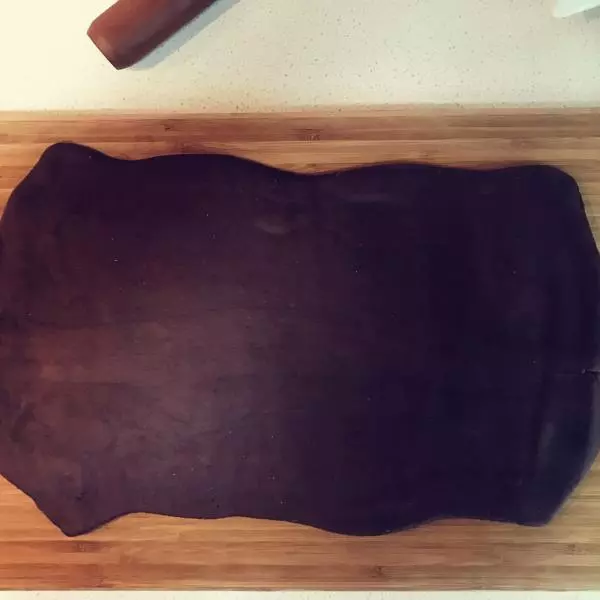
27三折包起来。放入冷冻格25分钟。此步骤重复三遍。
28第二次冷冻完,第三次擀好面皮...我这个看起来你不黄油没有太均匀。原因就是之前和面不够功夫,面没有到有足够弹性。
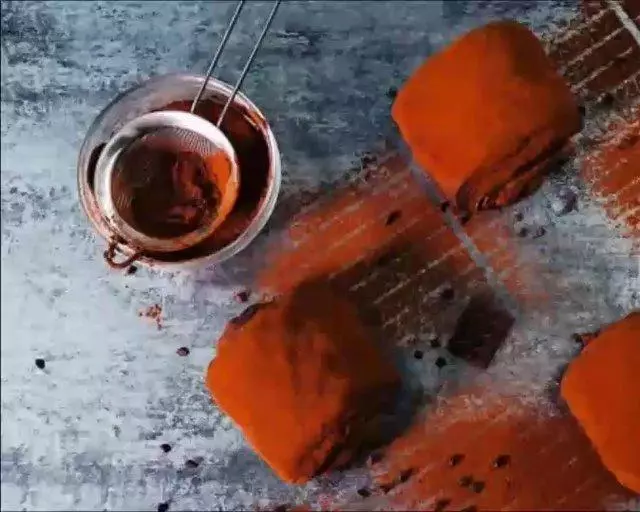
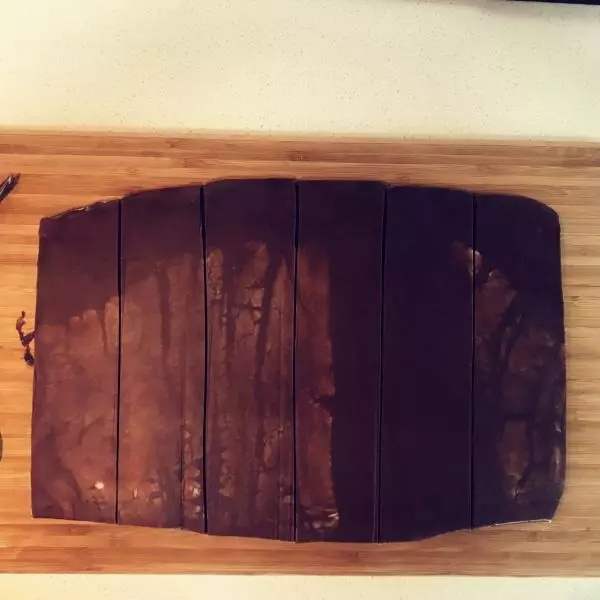
29用刀背先画一下,将面皮切成4.5cm宽度的长条。
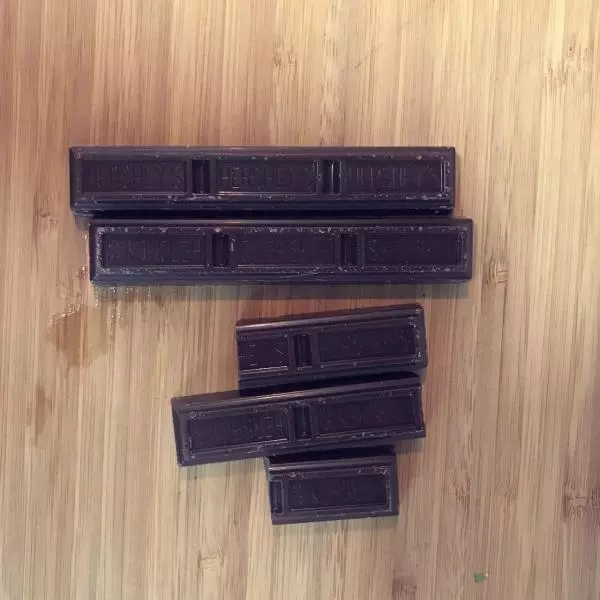
30拆巧克力。好时的黑巧克力条,一根可以包一个卷。
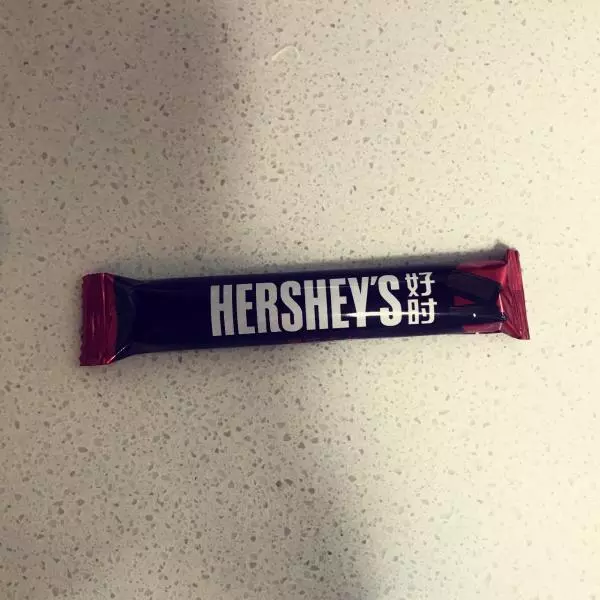
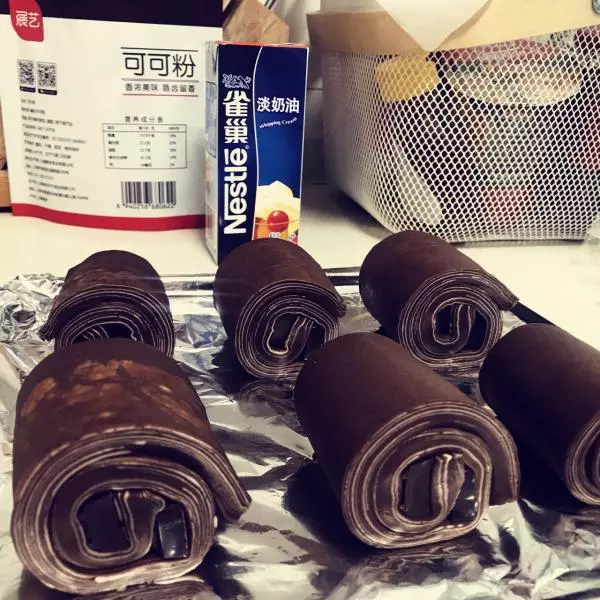
31将巧克力棒掰成两半,卷入面皮。像酱。
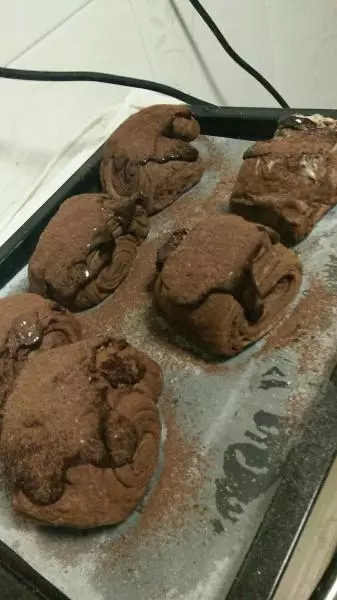
32卷完码好在烤盘里。像酱(其实我有心拍个视频了....)这么写好累,而且好像没说清楚??♀️
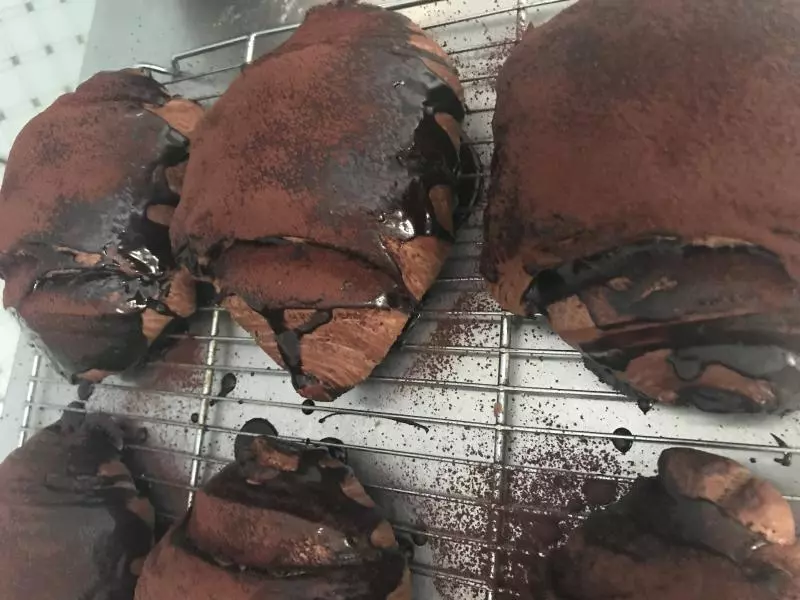
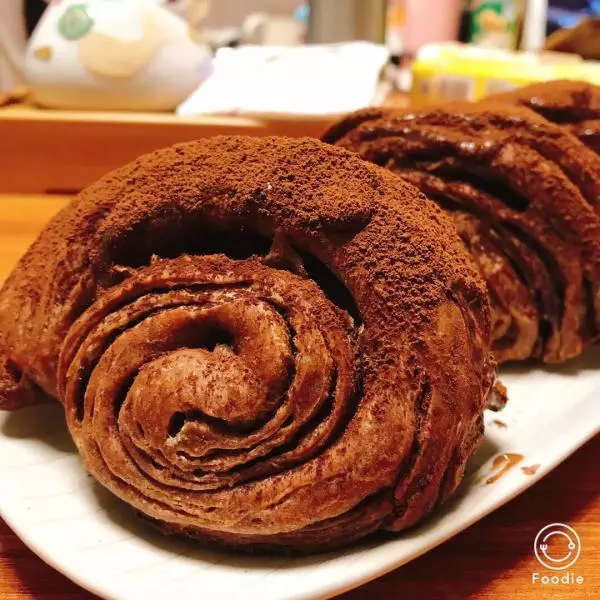
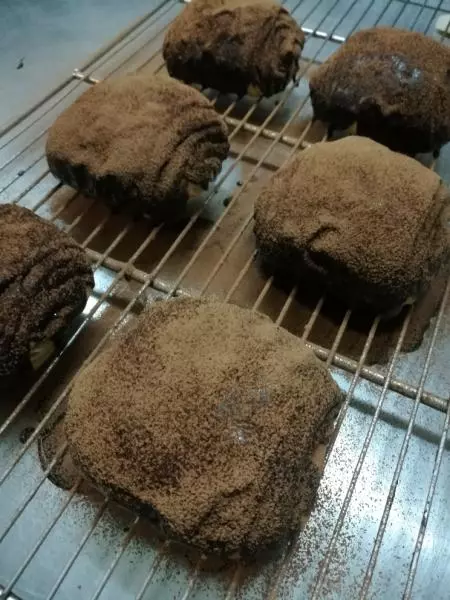
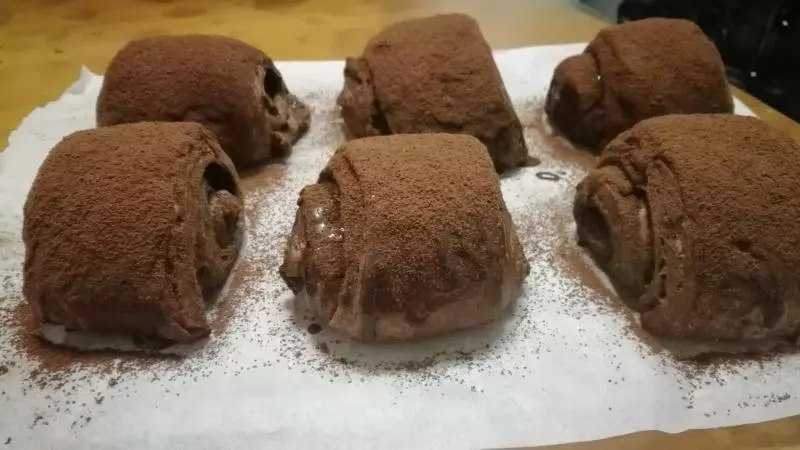
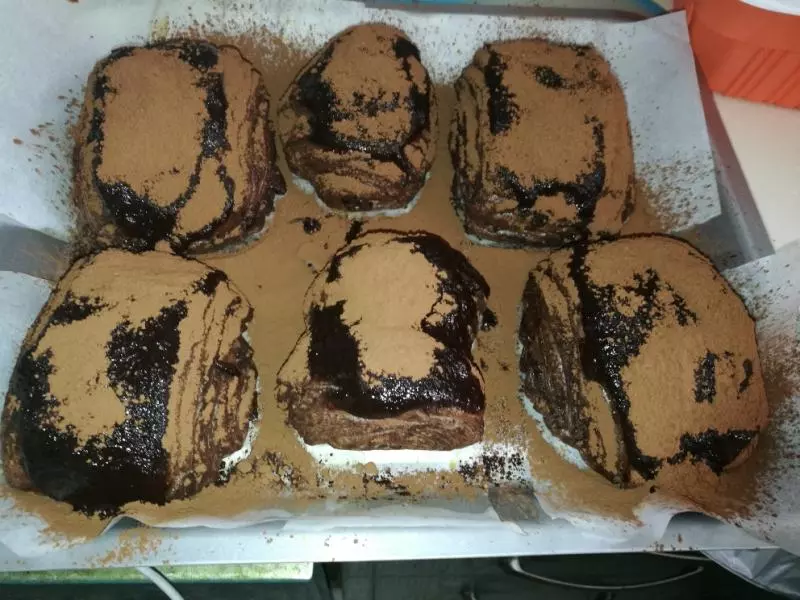
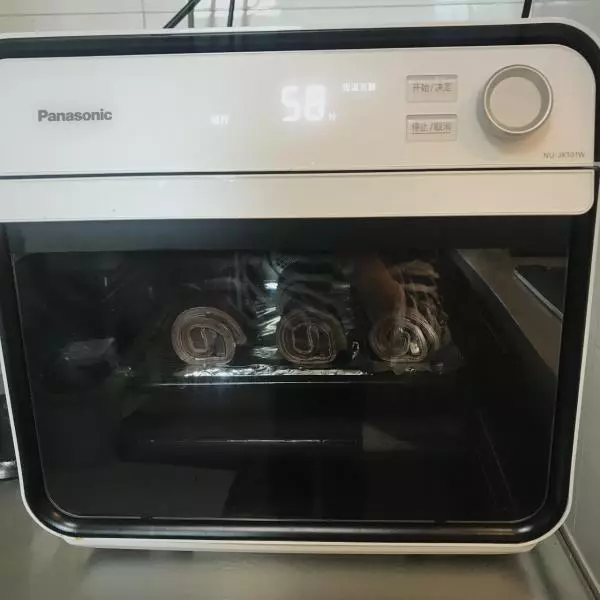
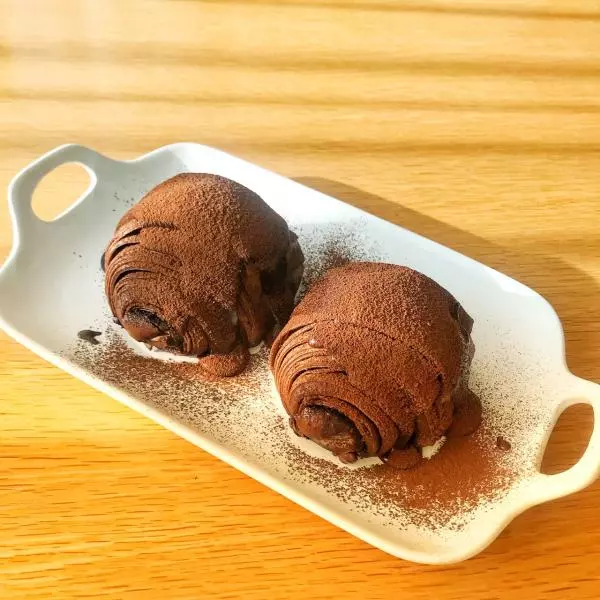
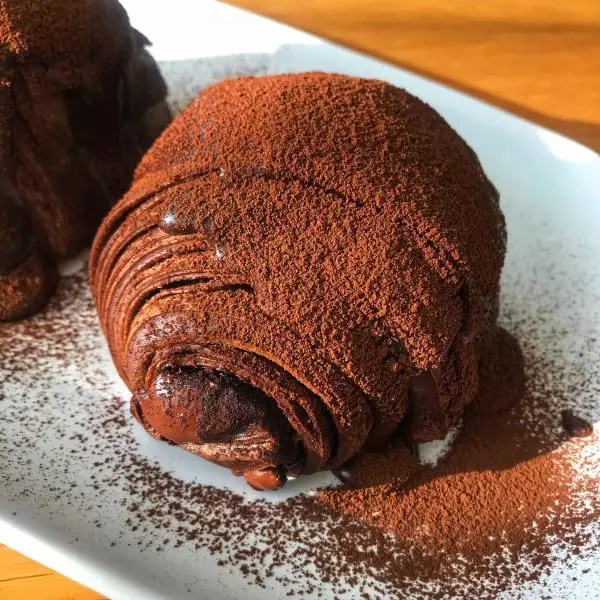
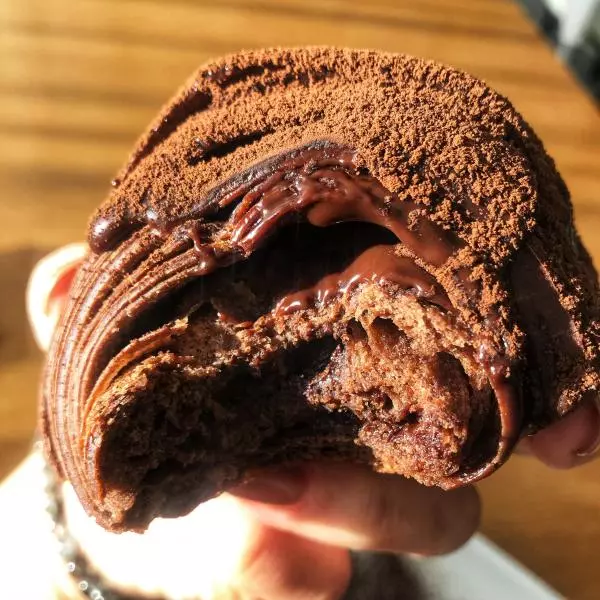
33要先酱面团放入烤箱发酵1h。如果你的烤箱像我的,有发酵功能,发酵时可以在烤箱里放一碗水。因为烤箱发酵温度大概40。但发酵脏脏包的温度一定要在30度以下。不然容易导致漏黄油,然后就失败惹。
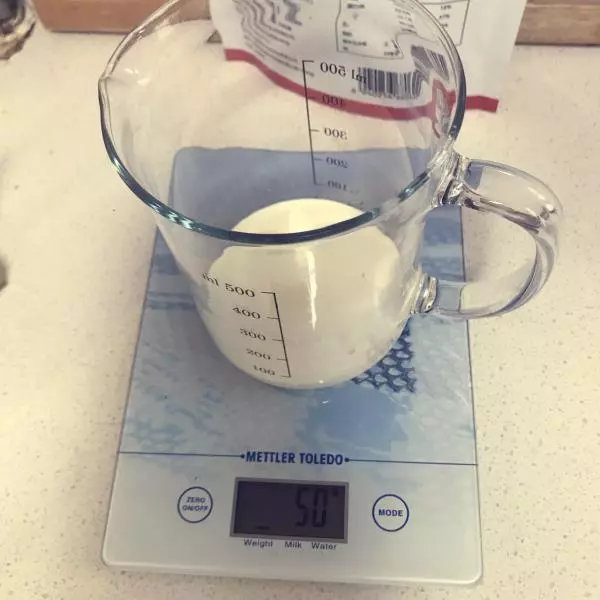
34下面是制作脏脏包淋面。称50g淡奶油,微波炉融化。
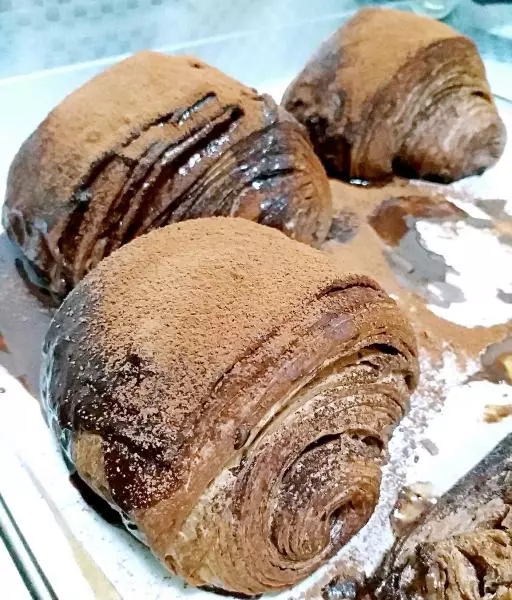
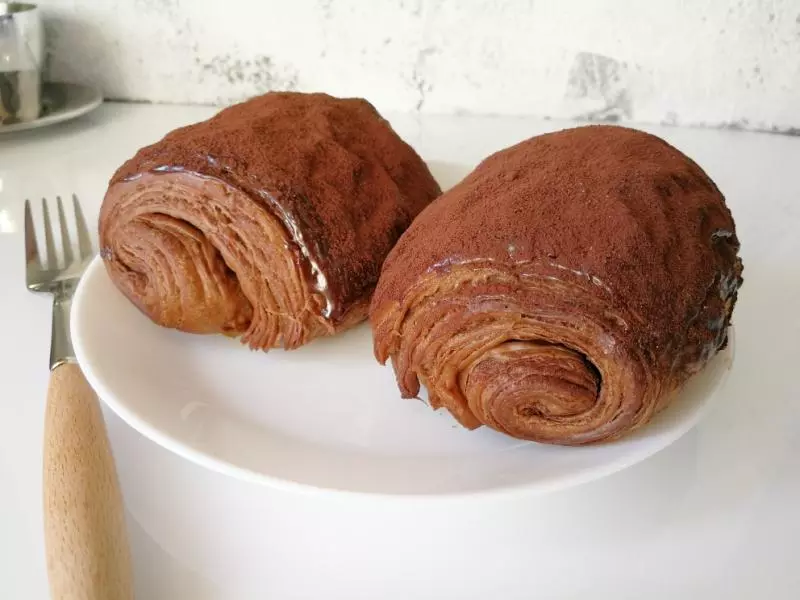
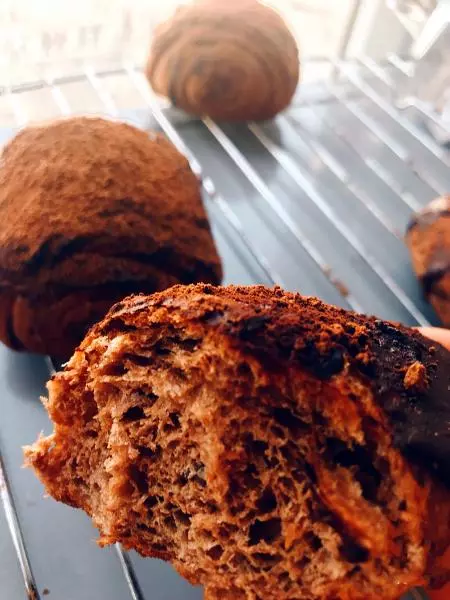
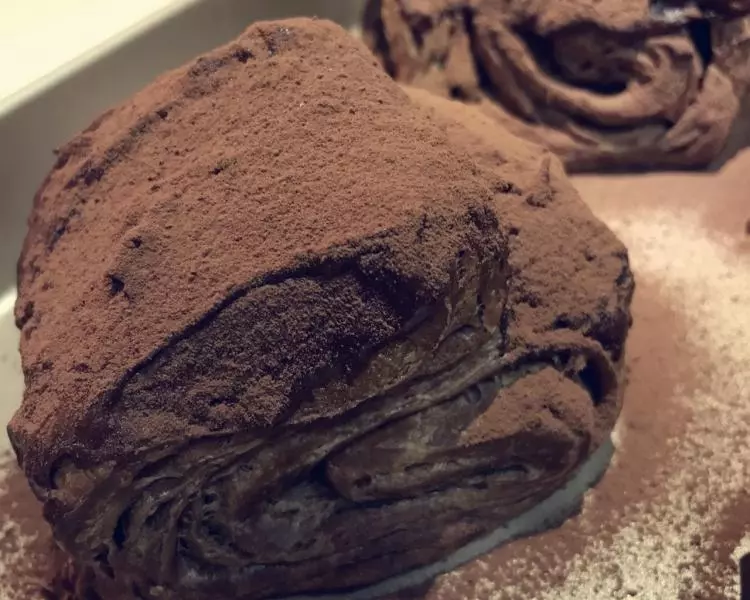
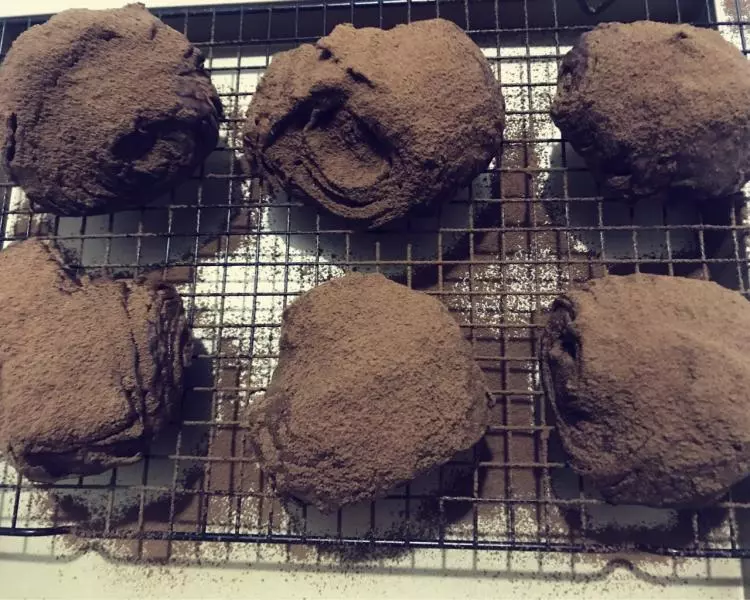
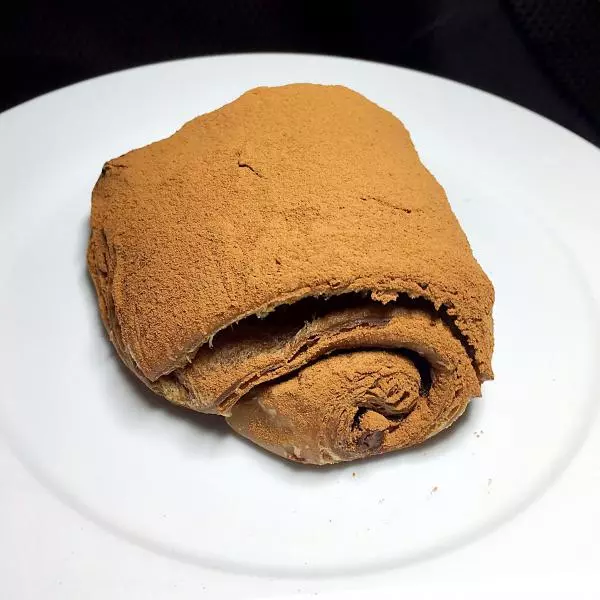
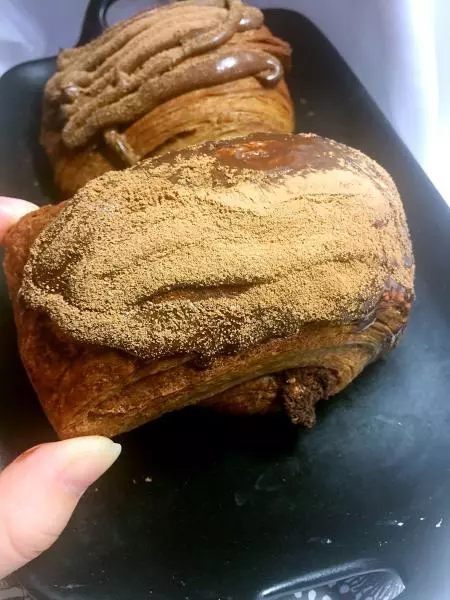
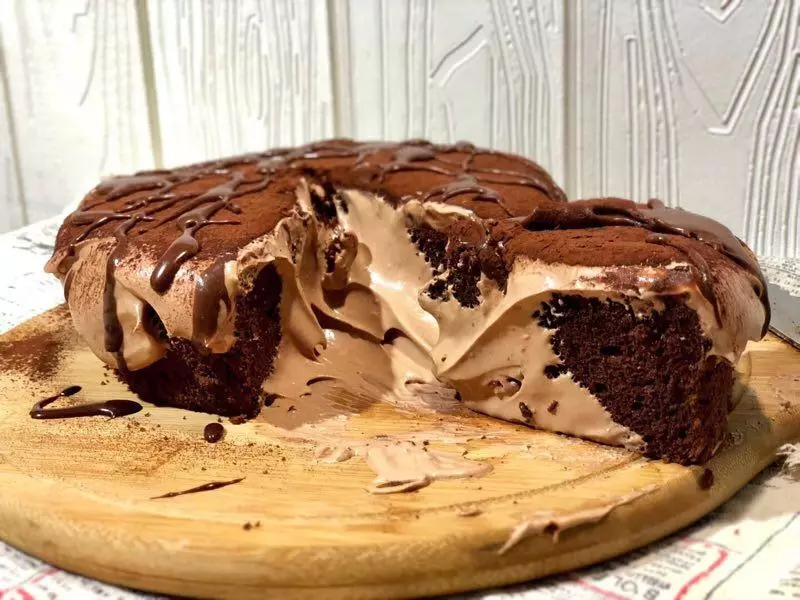
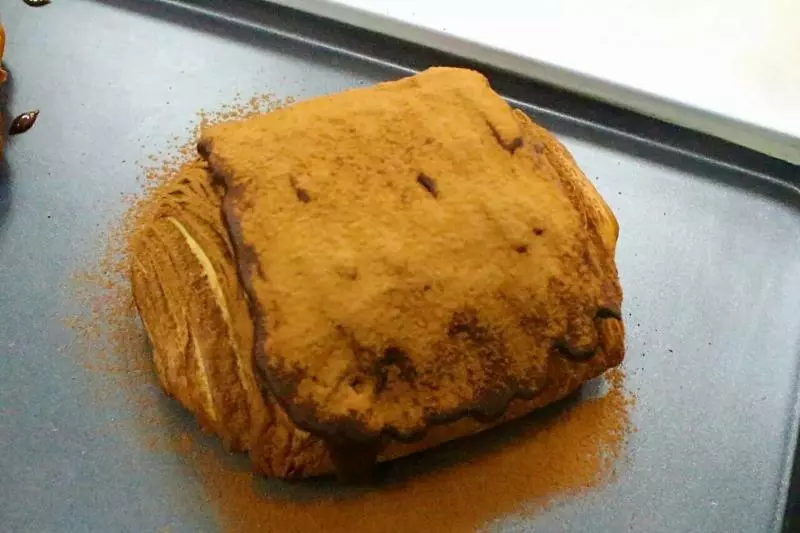
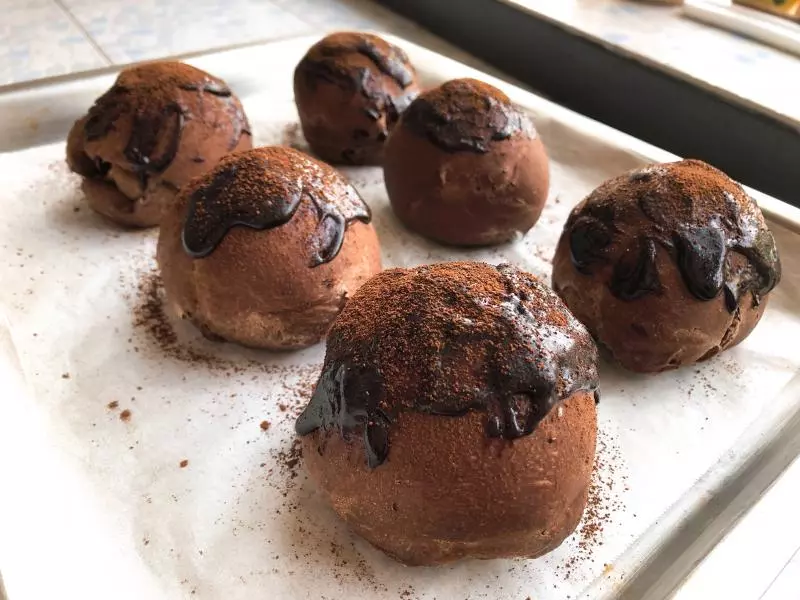
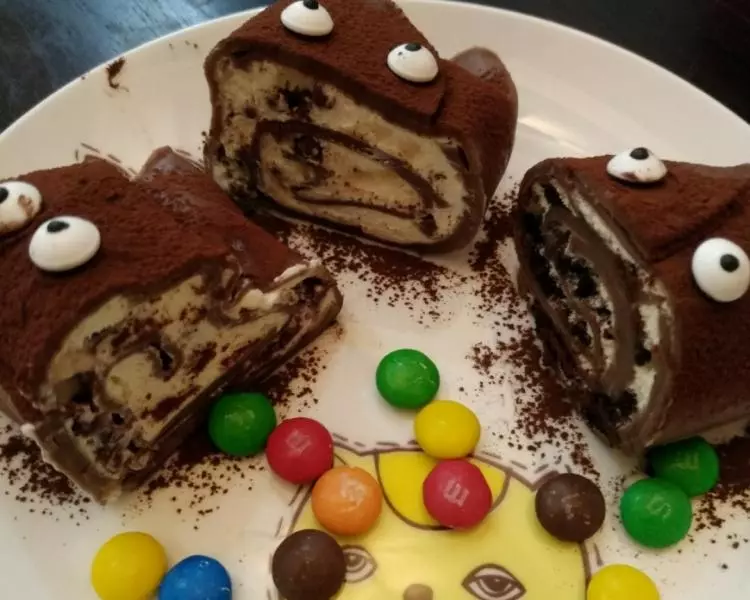
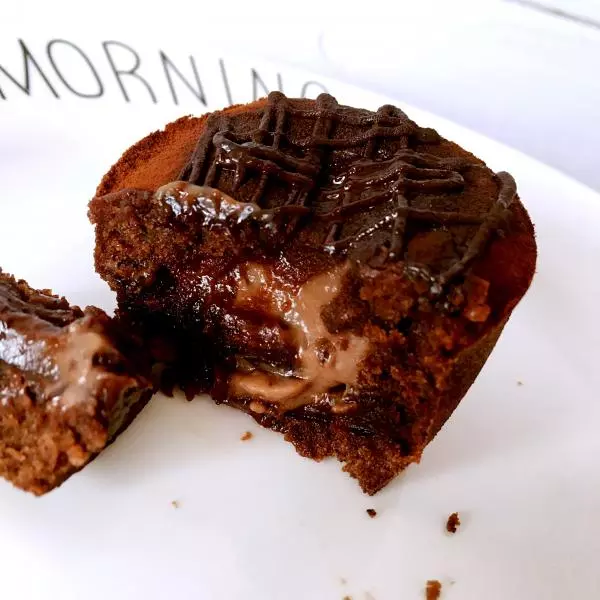
35加入50克黑巧克力碎化看搅拌均匀,就是巧克力酱淋汁了。然后我就都忘记拍照了? 面卷发酵完后,预热烤箱180度,20分钟。脏脏包雏形就好了。取出后淋上巧克力酱,再撒上可可粉。就可以开吃了。
36卖25一个我觉得不过份.....
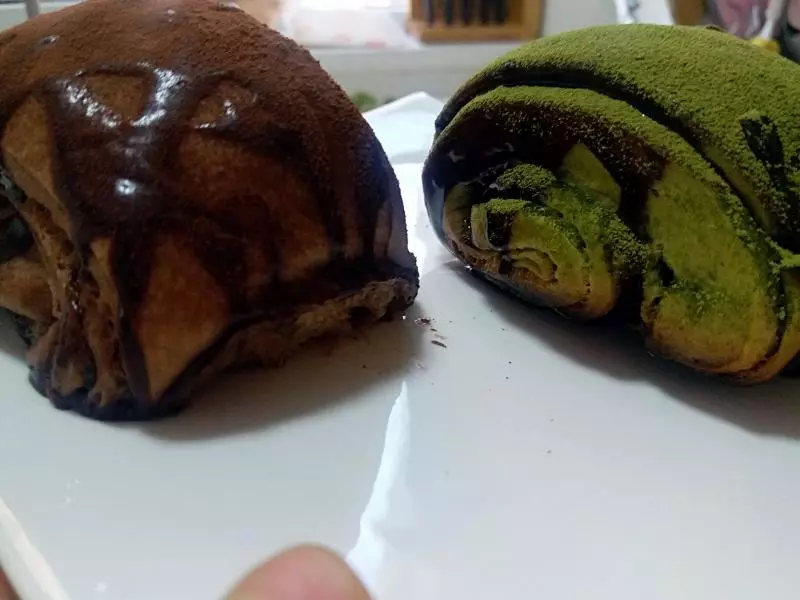
37坚持住不要胖。
38可能不太能坚持得住。
小技巧
其实需要写的小贴士还挺多的....但今天我已经坐了9个小时的车了非常烦躁.....等我冷静冷静再总结一下吧??♀️