原料
酥皮材料: , 黄油: 150克, 低筋面粉: 100克, 高筋面粉: 100克, 凉水: 100克, 盐: 4克, 卡仕达酱材料: , 牛奶: 250克, 淡奶油: 100克, 蛋黄: 2个, 细砂糖: 50克, 低筋面粉: 10克, 玉米淀粉: 10克, 香草荚(香草精): 一根(数滴)
步骤
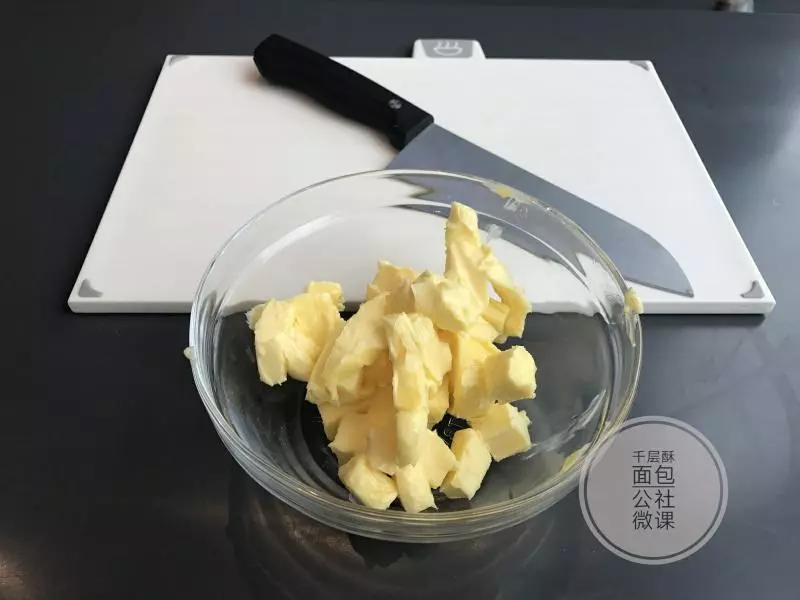
1黄油切块室温软化
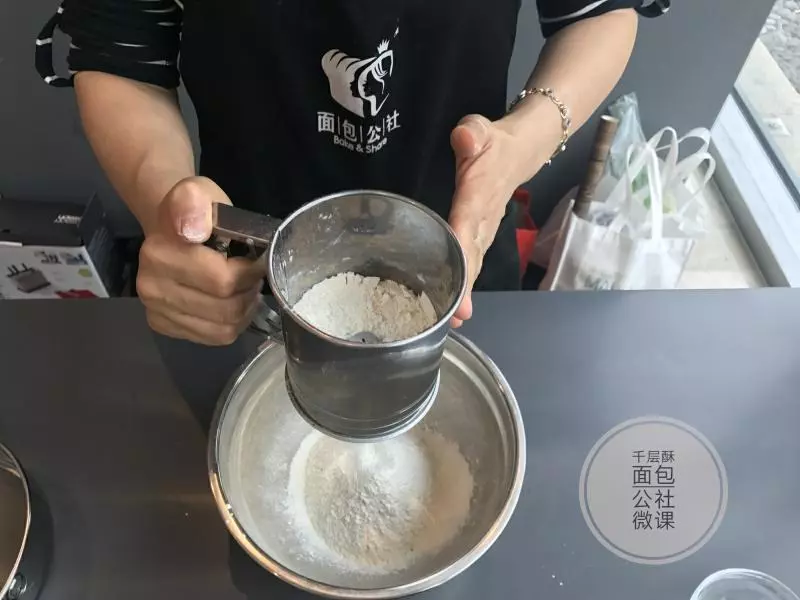
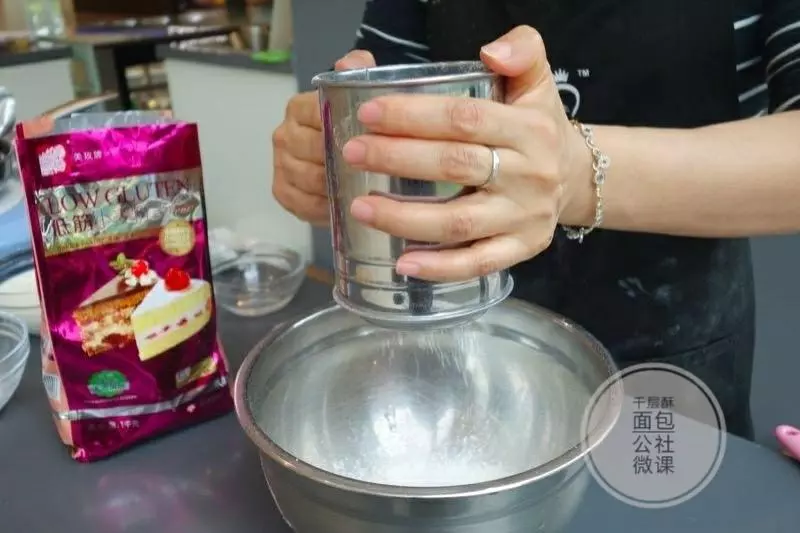
2混合低粉,高粉,盐 过筛两遍
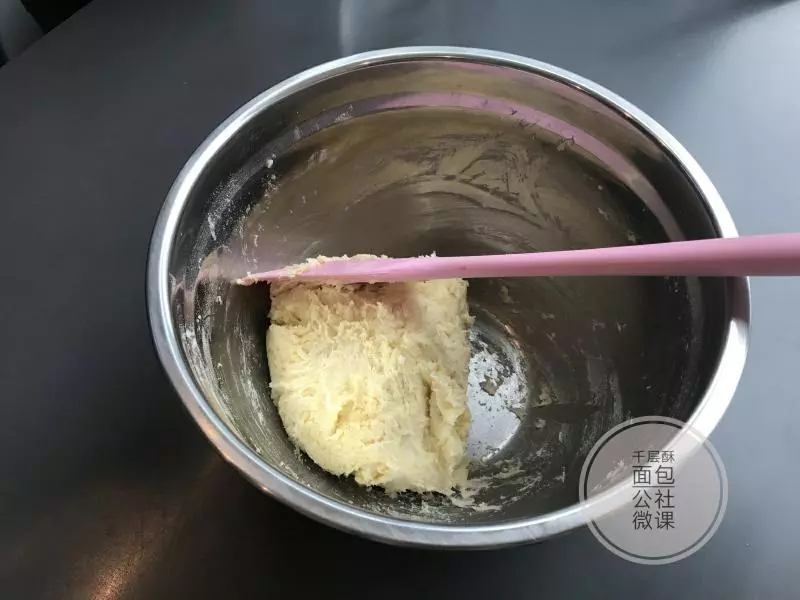
3加入软化好的黄油
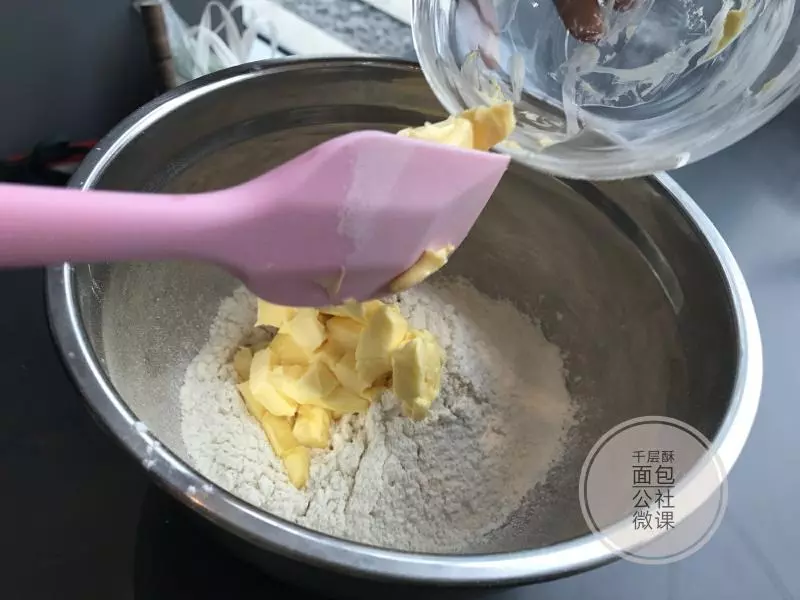
4刮刀切扮 使粉类包裹黄油混合成小颗粒 加入凉水

5拌匀面团 勿过度搅拌以免起筋
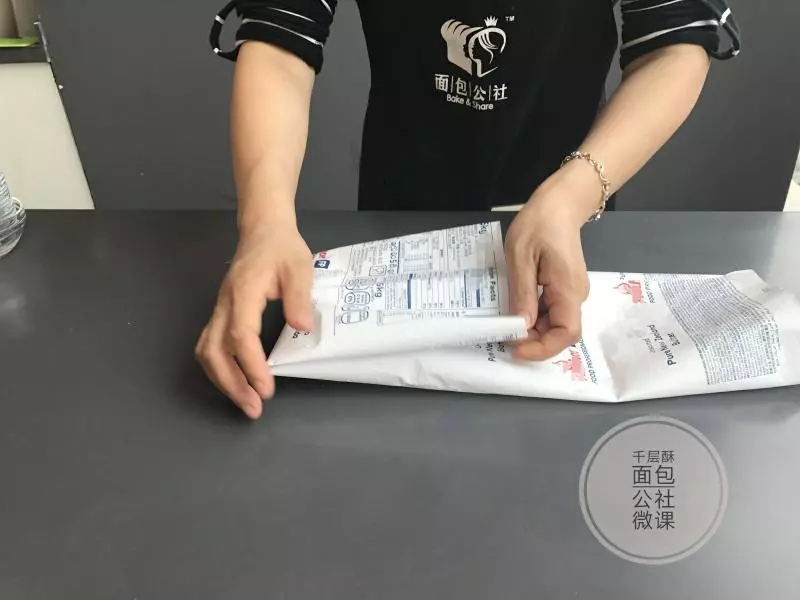
6用油纸或油布包住面团
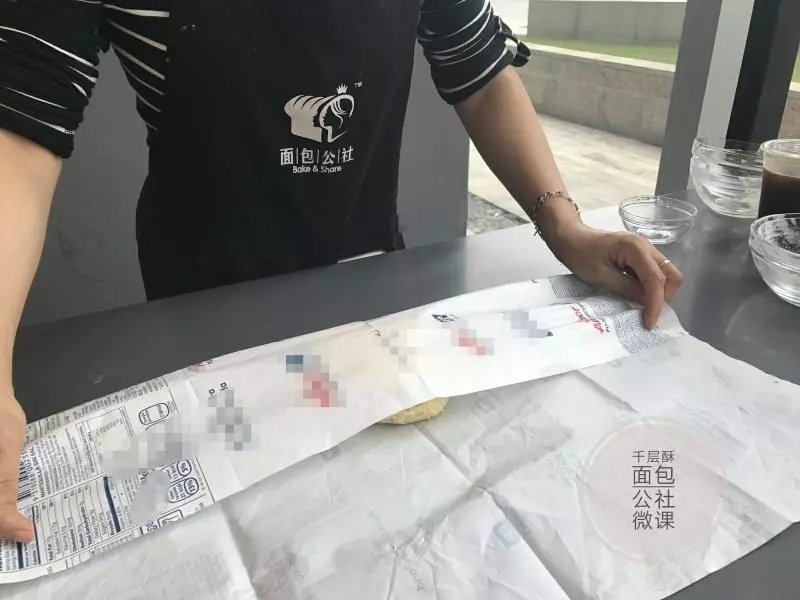
7叠成方形
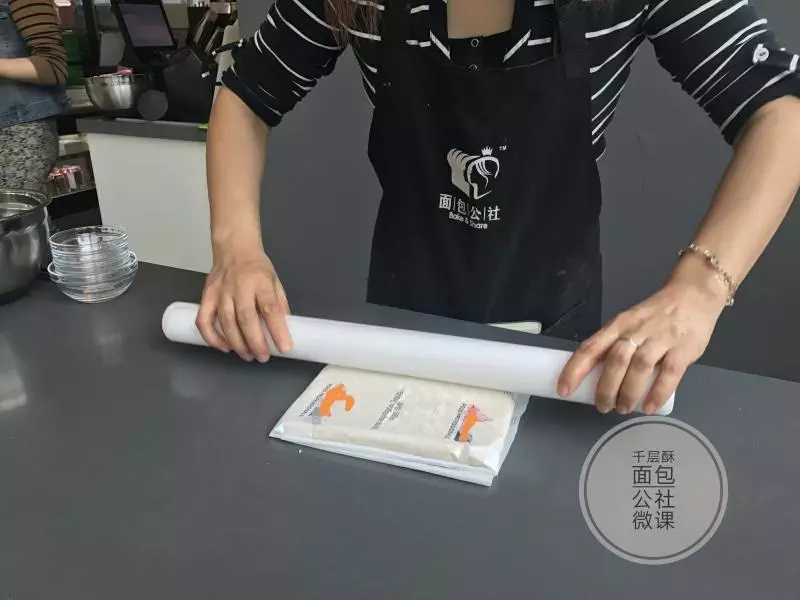
8压平面团,放入冰箱冷藏30分钟
9取出冷藏好的面饼,撒上高筋粉作手粉
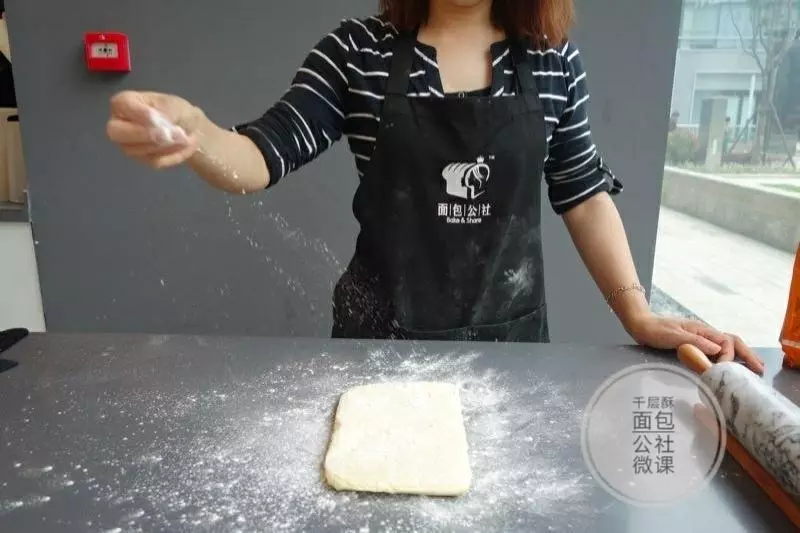
10擀成15厘米宽40厘米长0.5毫米厚饼皮
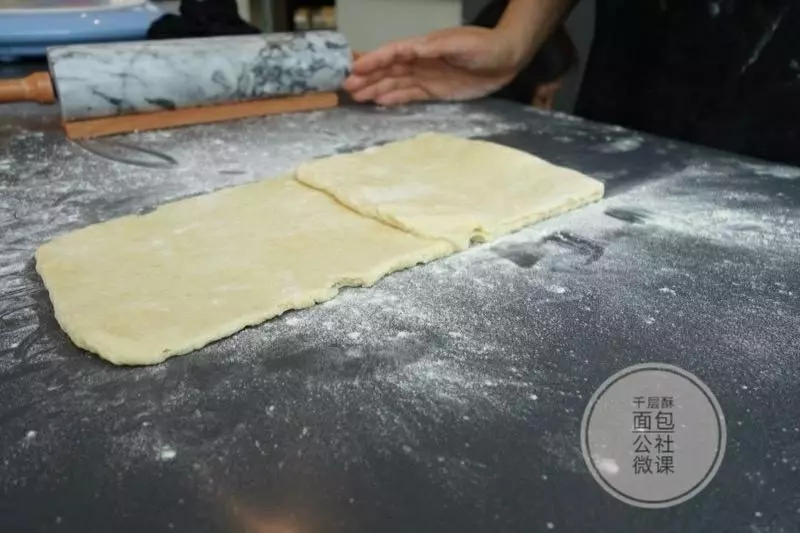
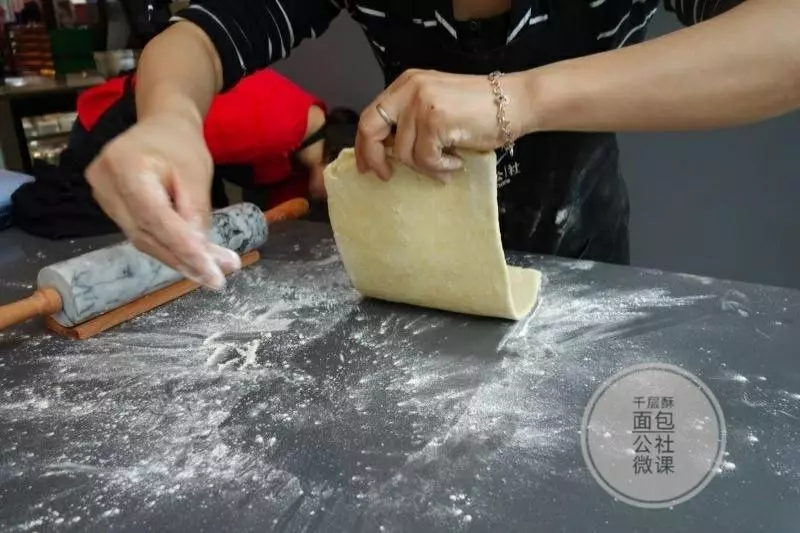
11两头向中间折叠一次
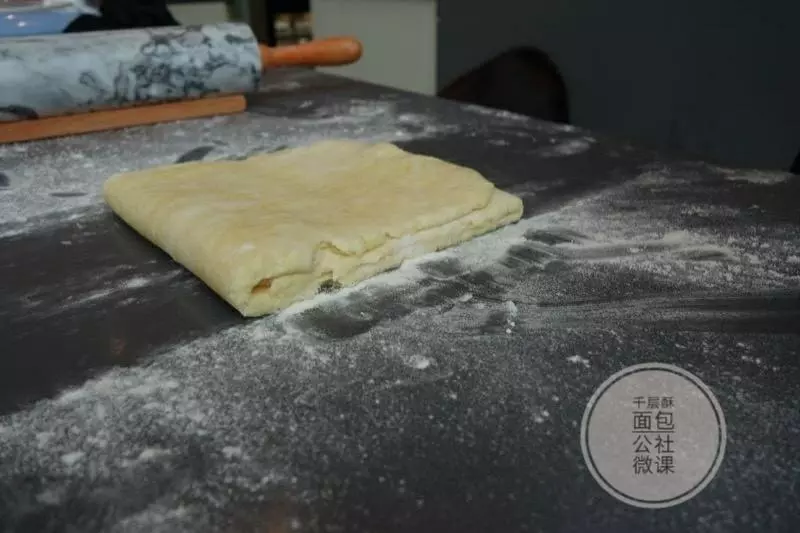
12再擀长到刚才的大小

13折叠第二次

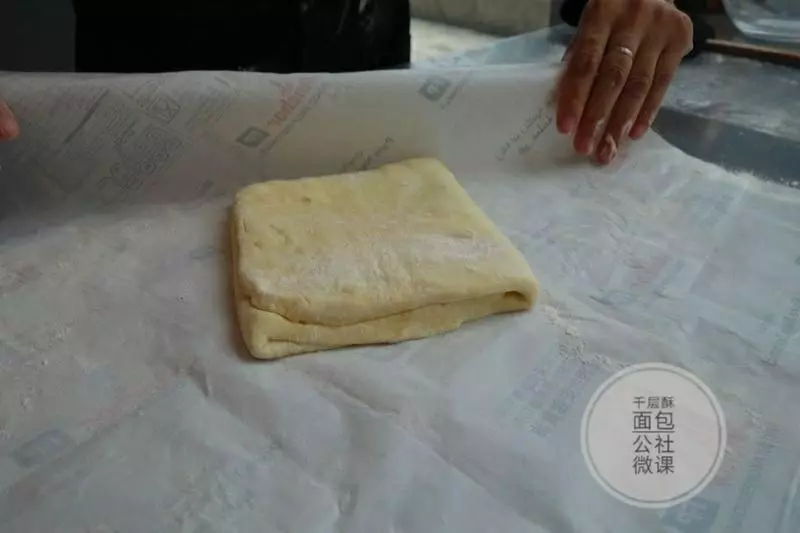
14再擀长

15再折叠第三次 用油纸包裹放入冰箱松弛半小时
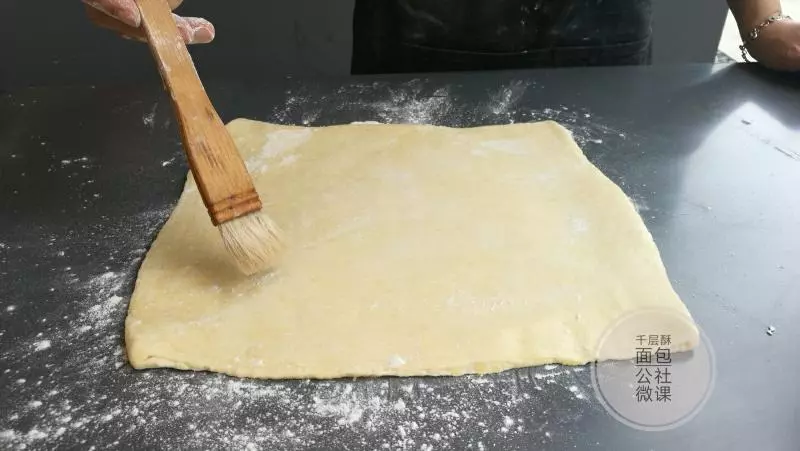
16取出松弛好的饼皮,表面撒上手粉
17擀成3毫米到5毫米厚度的大面皮 这个方子的用量做出的面皮大小可以放进一个35L的烤箱 刷去手粉
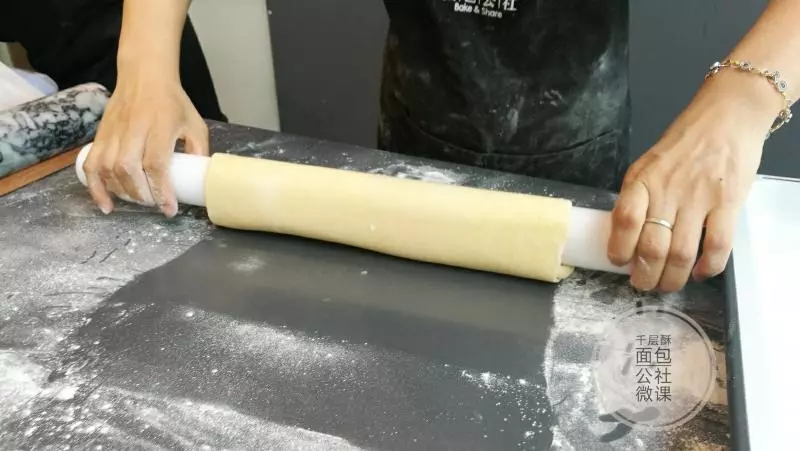
18利用擀面杖将面皮轻轻卷起平铺入垫好油纸的烤盘
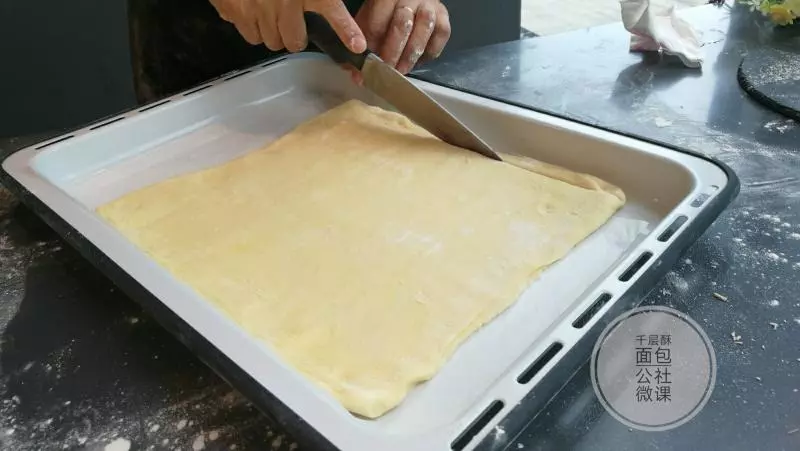
19切去四边不平整的面皮
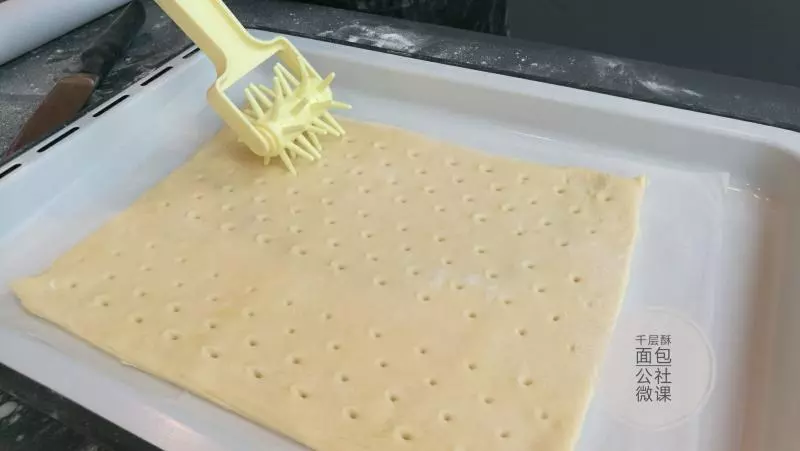
20戳出小洞 没有滚轮用叉子也一样
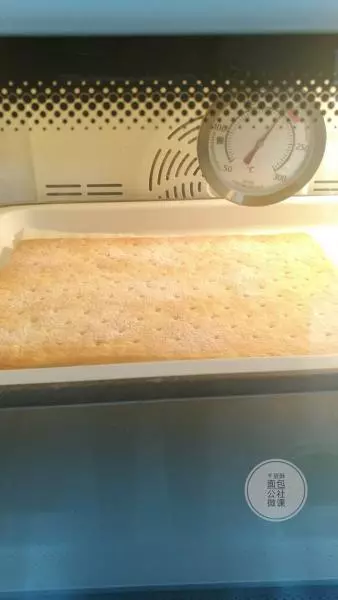
21在面皮上再盖一层油纸 放入已经预热好的195度烤箱 中层上下火35分钟

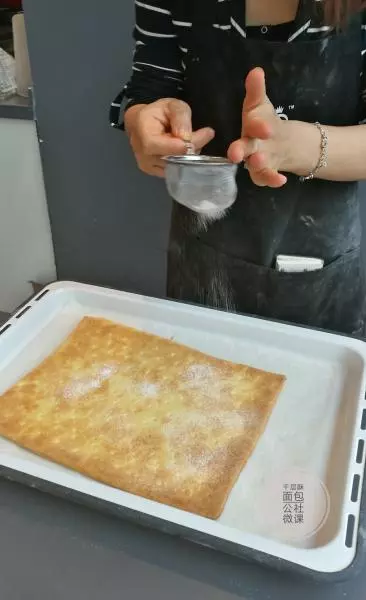
2235分钟后拿出酥皮揭去油纸撒上一层薄薄的糖粉
23继续烘烤10分钟上色
24上色后取出放凉

25蛋黄打散,加入混合过筛的低粉和玉米淀粉,用电动打蛋器低速混匀
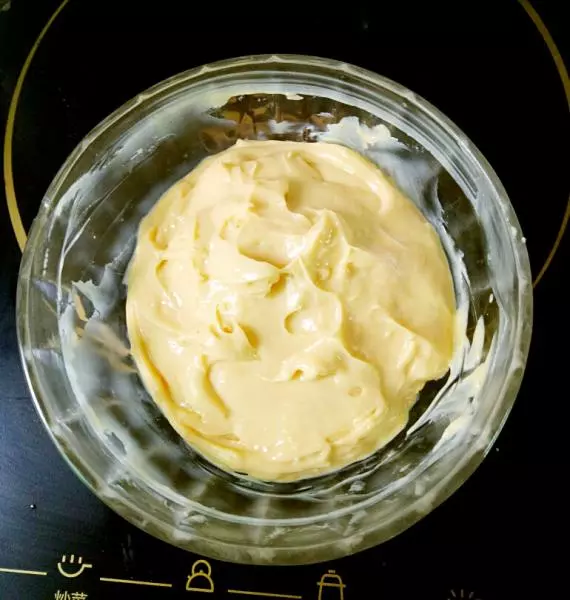
26牛奶加糖和香草荚子或香草精,加热煮沸
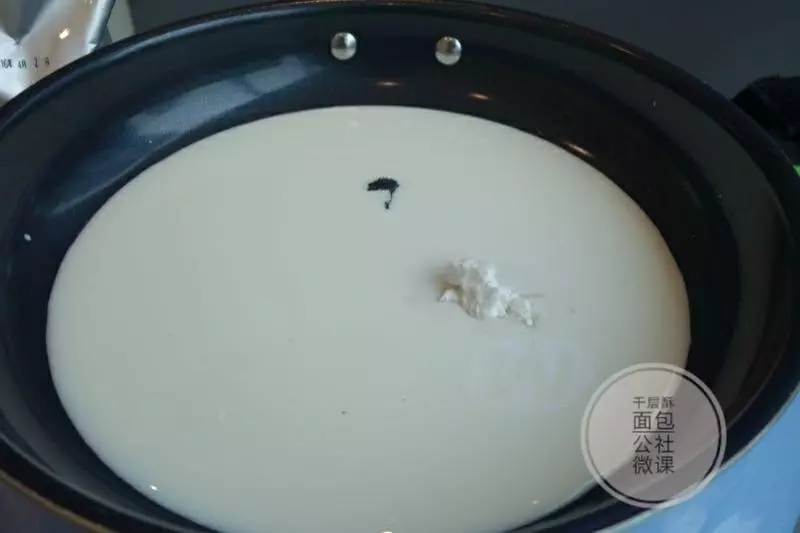
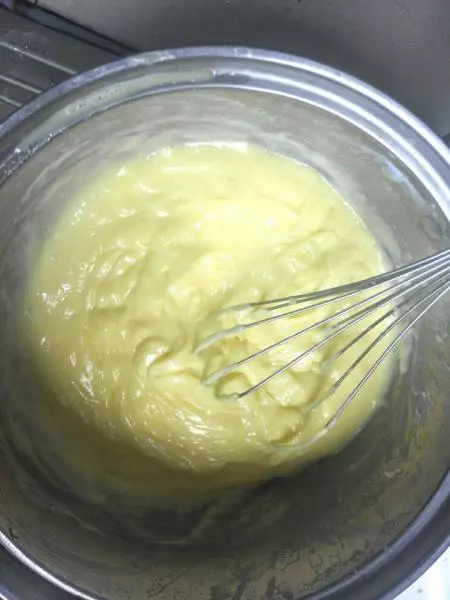
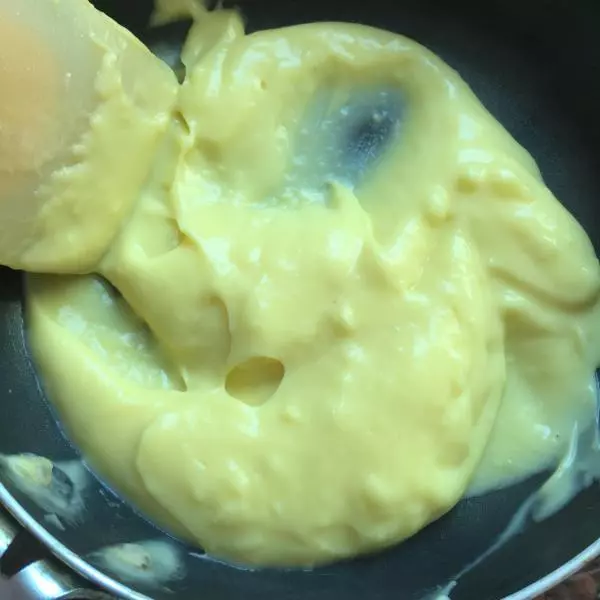
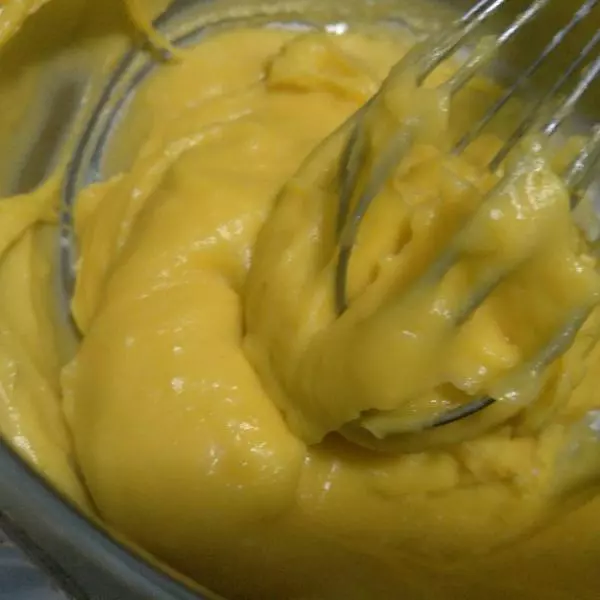
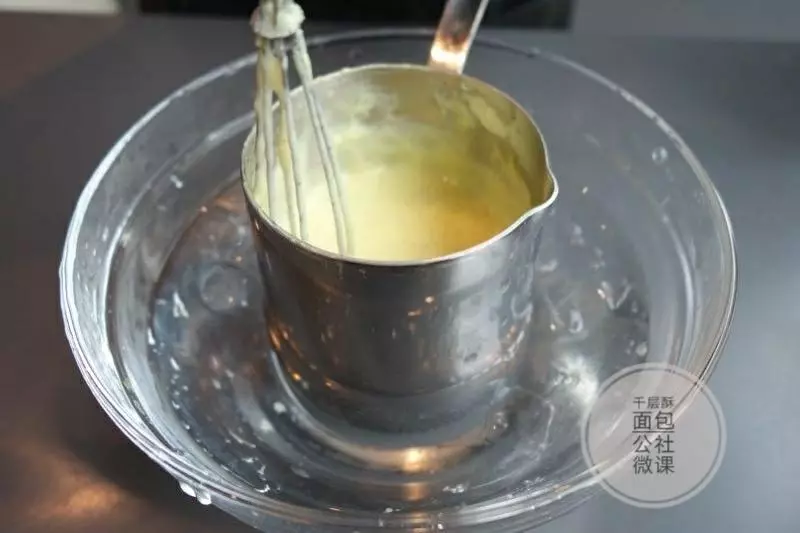
27将1/3热牛奶倒入蛋黄糊搅拌均匀,再倒回牛奶,小火不断搅拌防止黏锅 再次沸腾后离火,隔冷水冷却,中间不停搅拌至面糊粘稠
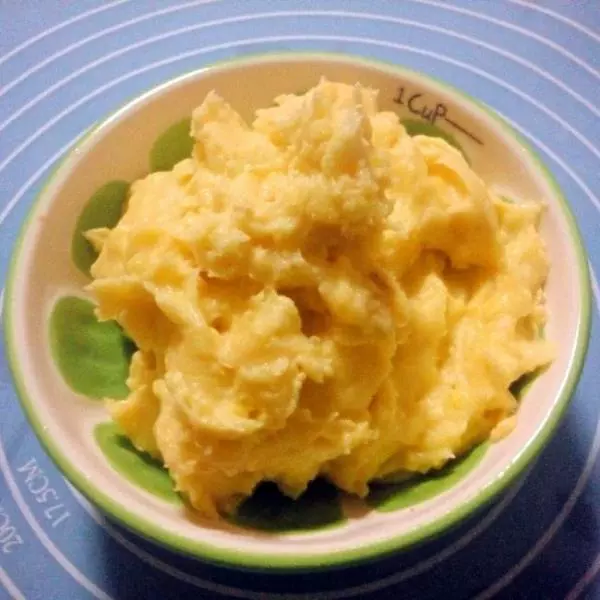
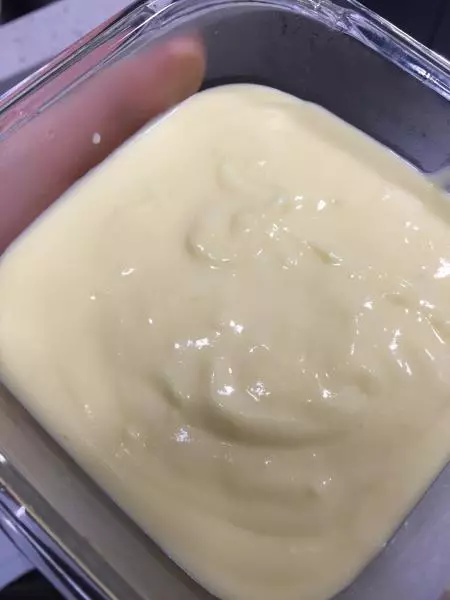
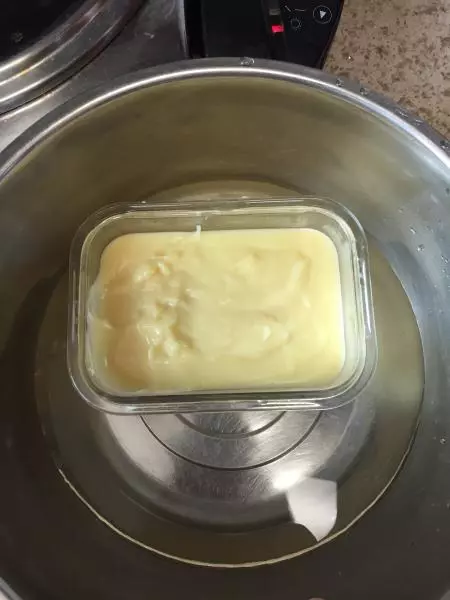
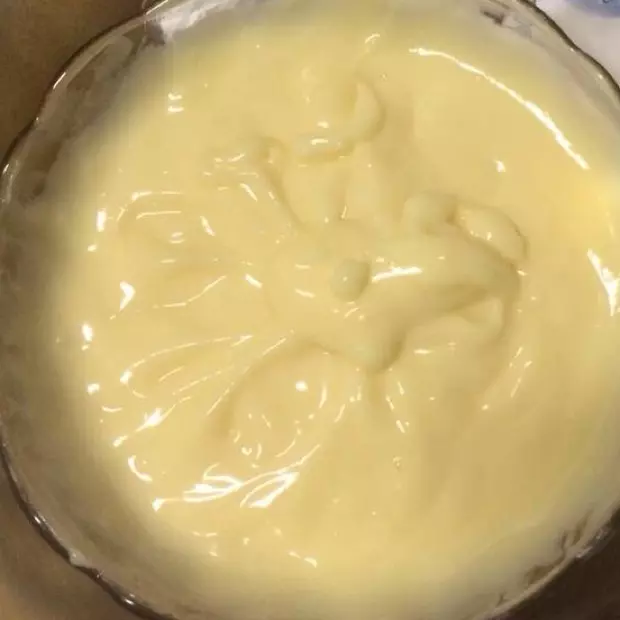
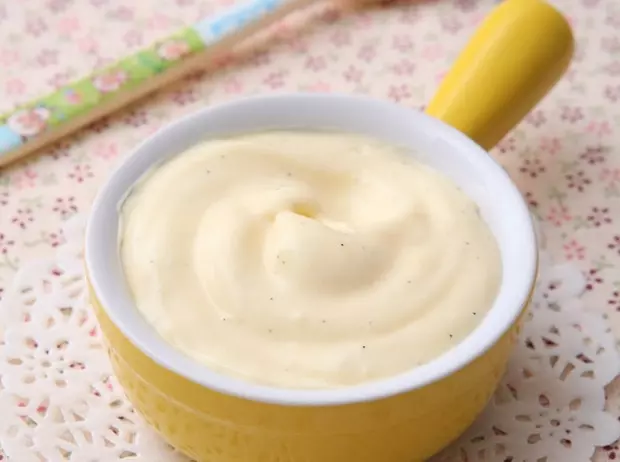
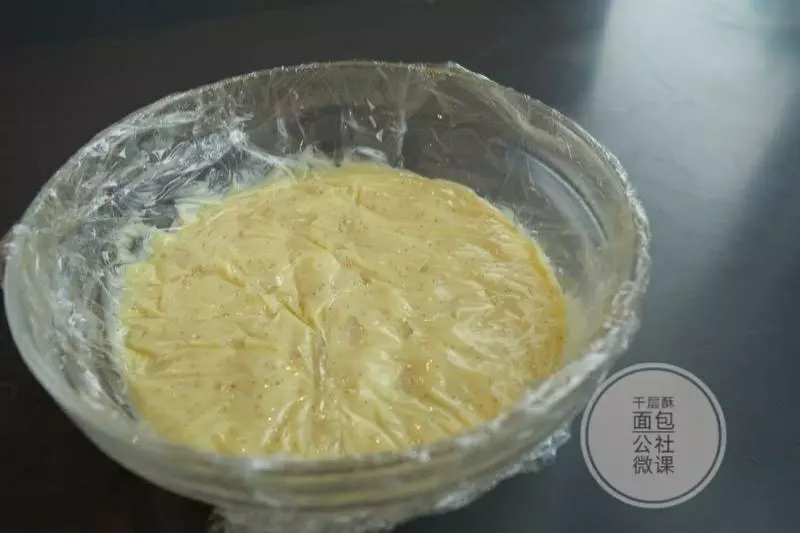
28冷却好的面糊用保鲜膜贴合覆盖入冰箱冷藏
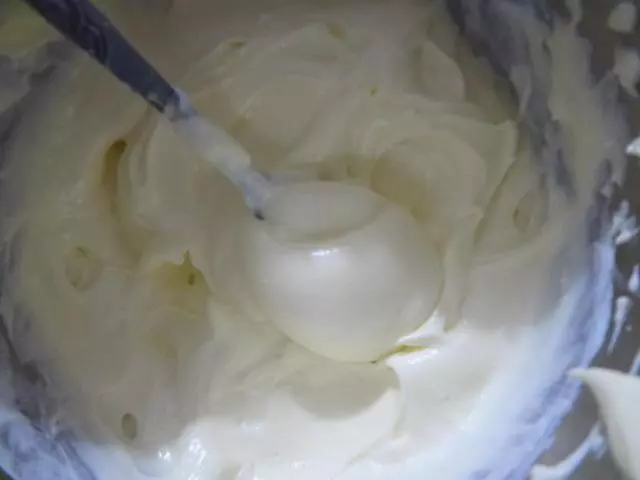
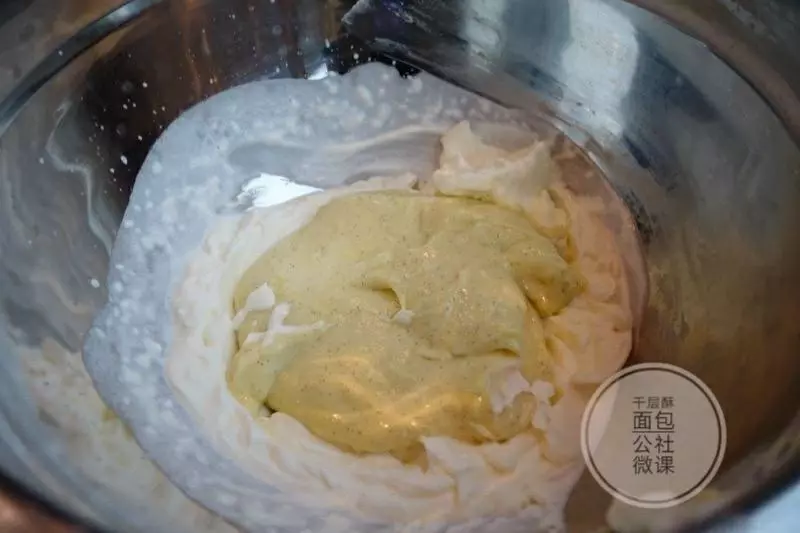
29打发奶油至8分
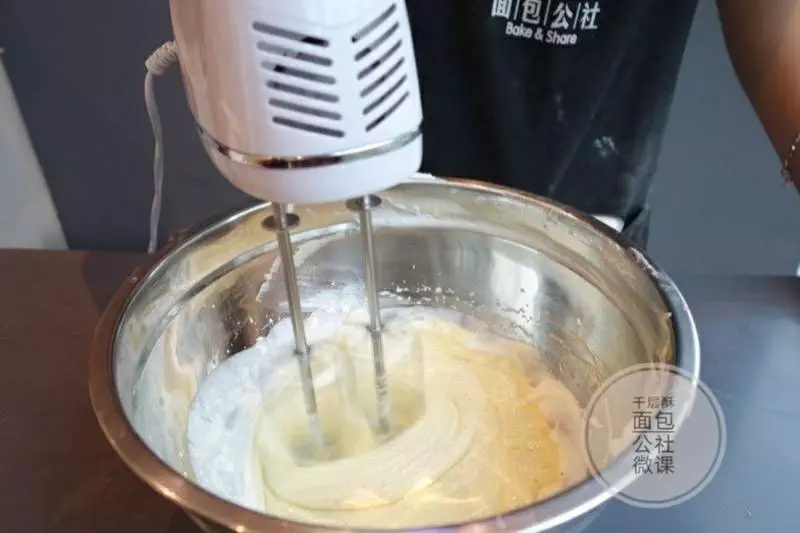
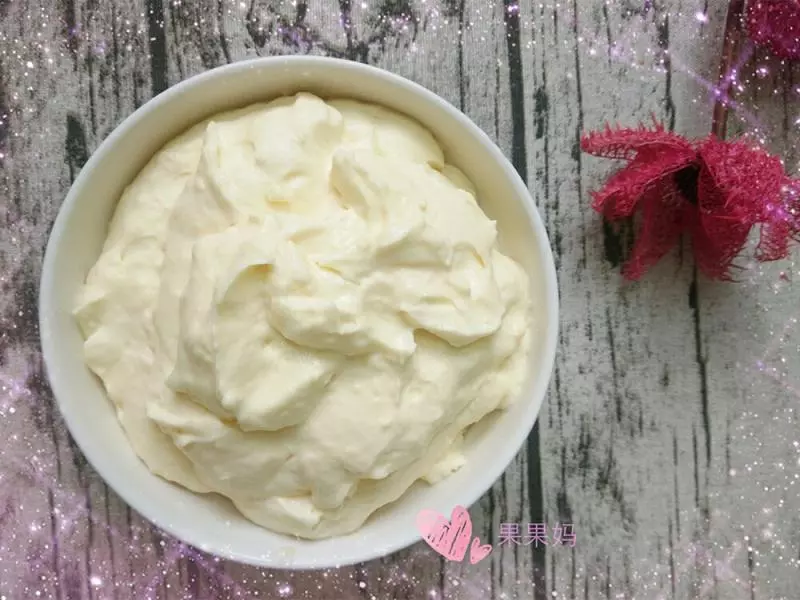
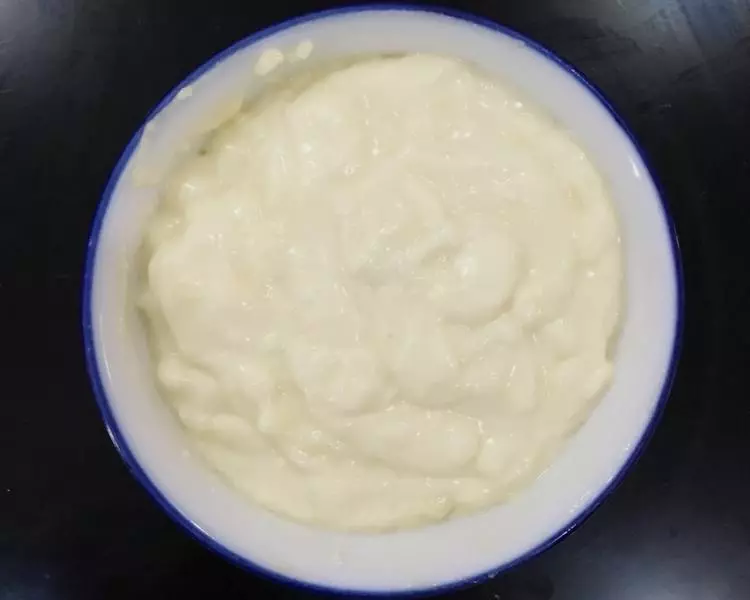
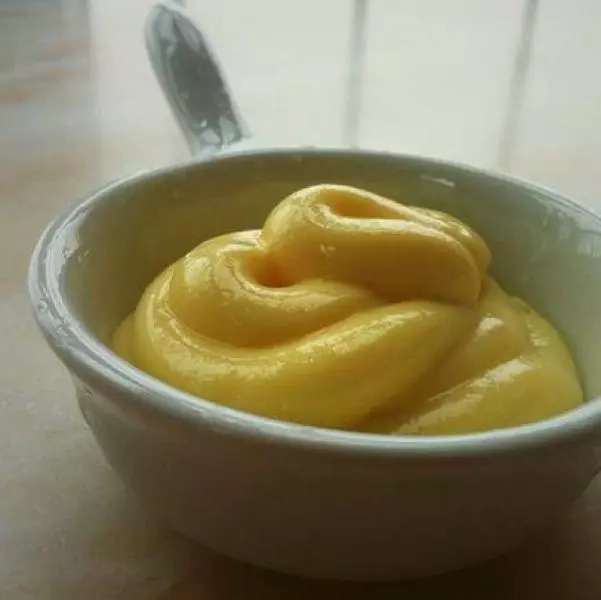
30取出面糊和奶油霜混合均匀,卡仕达酱完成
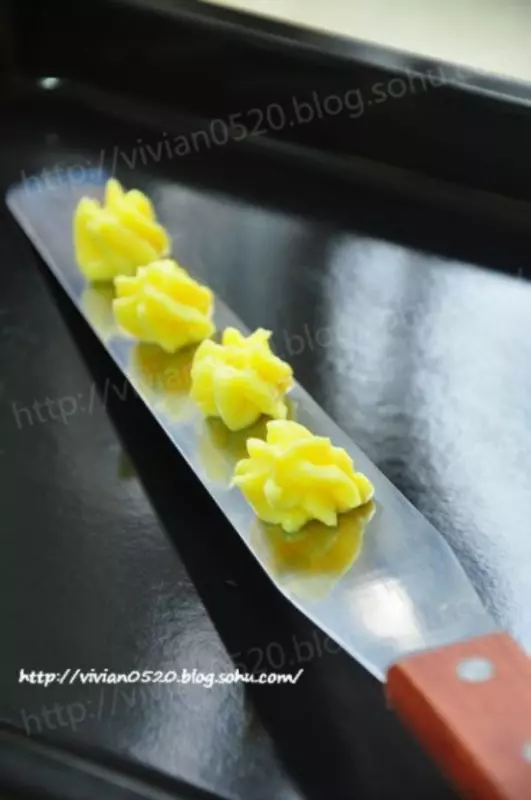
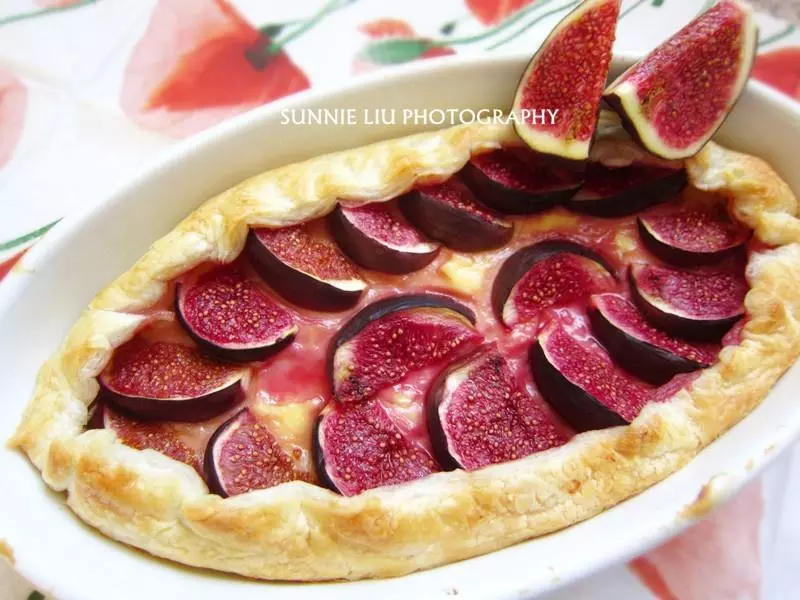
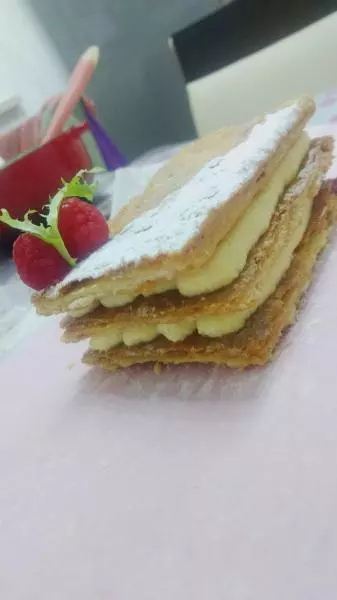
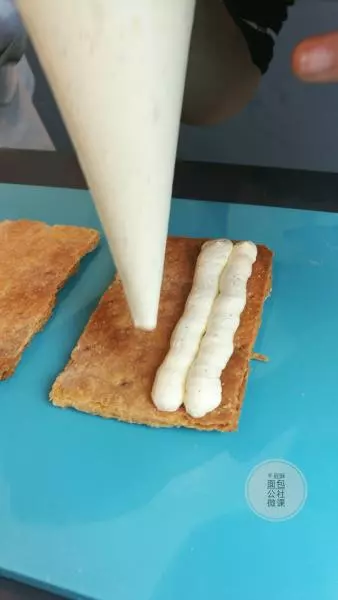
31冷却好的千层酥切片或自己喜欢的形状,挤上卡仕达酱
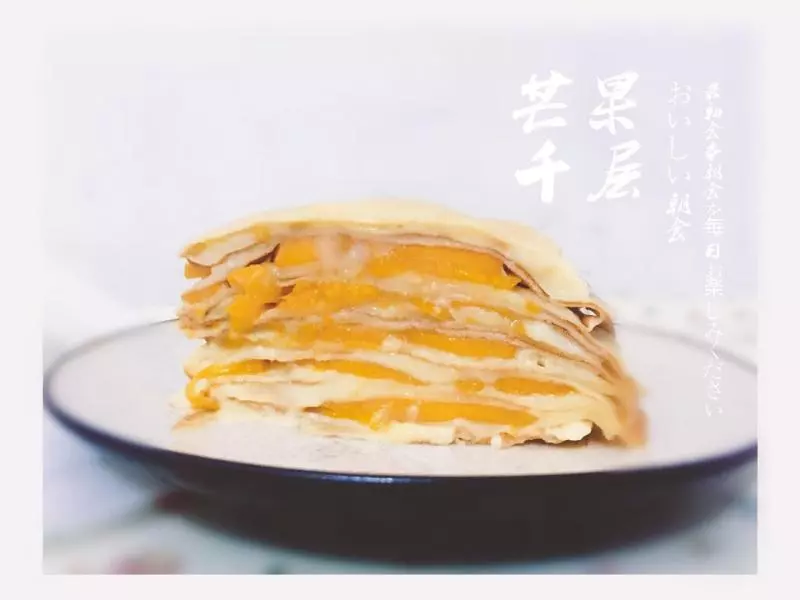
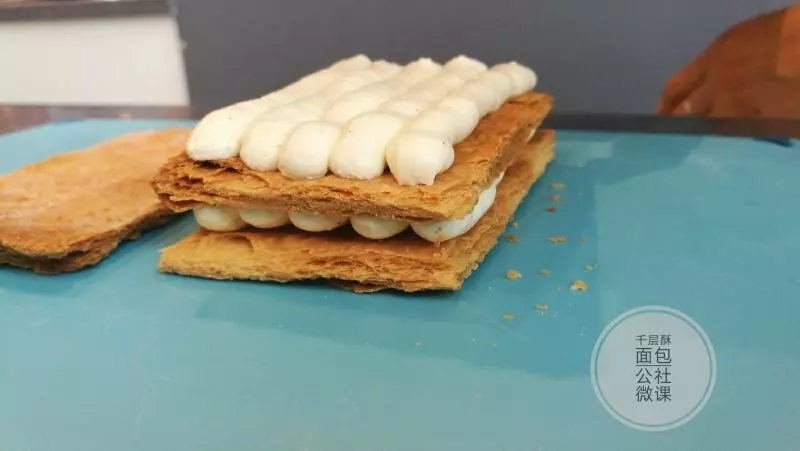
32叠加或加上水果
33发挥想象制作你想要的成品
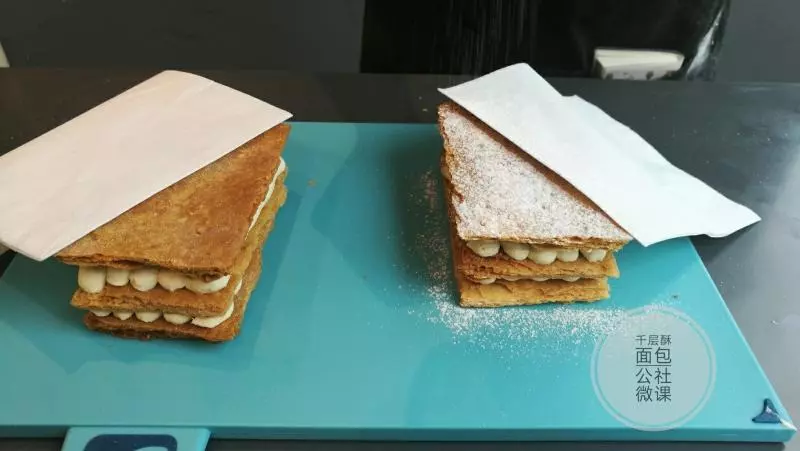
34美味完成