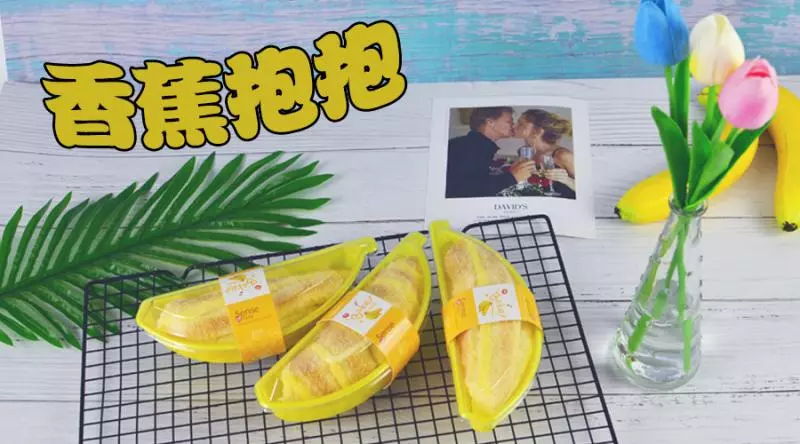
原料
低筋面粉: 40克, 细砂糖: 30克, 鸡蛋: 4个, 色拉油: 40克, 香蕉牛奶: 40克, 椰蓉: 适量, 黄油(卡仕达酱): 15克, 蛋黄(卡仕达酱): 2个, 淡奶油(卡仕达酱): 100克, 细砂糖(卡仕达酱): 25克, 低筋面粉(卡仕达酱): 15克, 香蕉牛奶(卡仕达酱): 200克, 玉米淀粉(卡仕达酱): 10克
步骤
1先做卡仕达酱:蛋黄加入细砂糖,搅拌至糖融化。

2筛入低筋面粉和玉米淀粉,搅拌至无干粉。

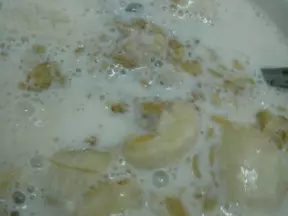
3香蕉牛奶加热至沸腾。

4缓缓倒入蛋黄糊面糊中,一边倒入一边快速搅拌均匀。

5混合好的牛奶蛋黄面糊过滤,小火加热搅拌至粘稠状态关火。

6趁热放入黄油,搅拌至融化均匀。

7隔冷水迅速搅拌冷却。

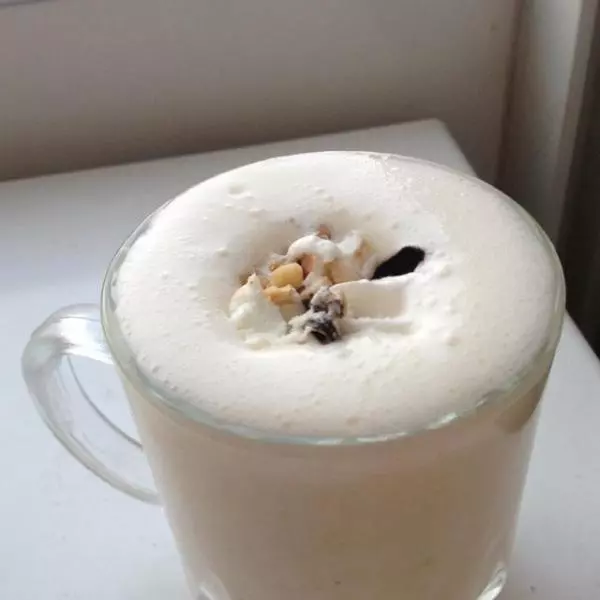
8淡奶油打发至六分发,加入冷却的面糊。
9拌匀成细腻光滑的卡仕达酱。

10分装成一大一小的裱花袋,大的放冰箱冷藏,小的室温放置备用。
11接着制作蛋糕,打发蛋白。

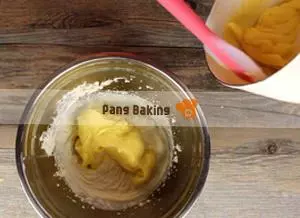
12蛋黄加油和香蕉牛奶,用打蛋器拌匀。

13筛入低筋面粉,略拌匀后用打蛋器拌匀。

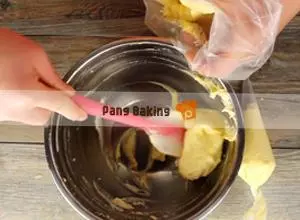
14取三分之一的蛋白加入蛋黄糊中拌匀。

15再倒回蛋白糊中拌匀,倒入烤盘中,刮平,撒上椰蓉。
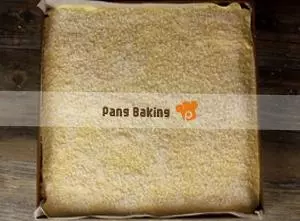
16将小包的卡仕达酱按斜线挤到蛋黄糊上。

17烤箱中层,上火180度,下火150度,15分钟,出炉不要马上倒扣,等它冷却再倒扣。

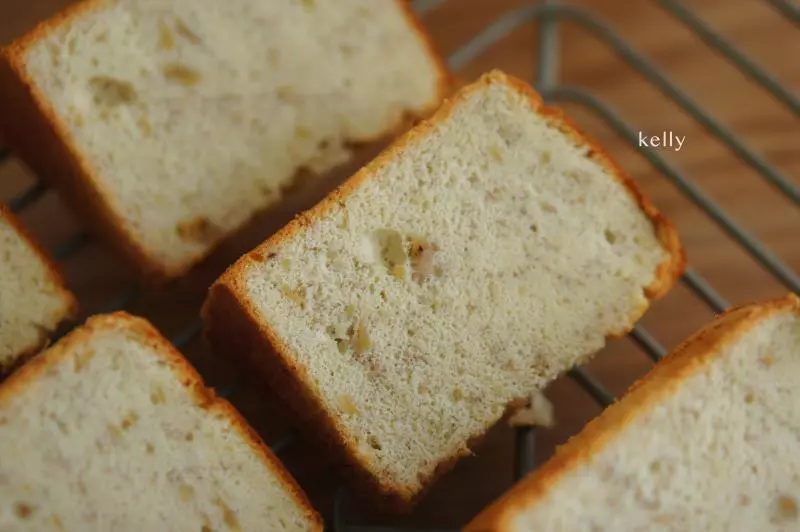
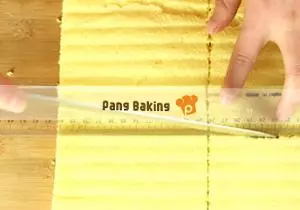
18将4条边都切整齐,把蛋糕片切成4块。
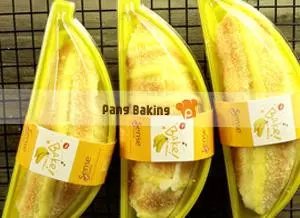
19翻过来花纹朝下,把冷藏的大袋卡仕达酱在蛋糕斜过角的中间一段,从一个角开始对角卷起来,放进包装盒。
小技巧
1.香蕉牛奶本身有甜度,糖的分量已经减少,请按自己口味调整。 2.椰蓉没有可以忽略,卡仕达酱会有多余,可用来做泡芙、蛋糕和面包的馅。 3.香蕉牛奶就是香蕉口味的牛奶,当然你也可以直接用普通的纯牛奶,然后把熟透的香蕉捣成泥再加入到第五步里面拌匀,如果做其它口味把水果换成喜欢的加入。