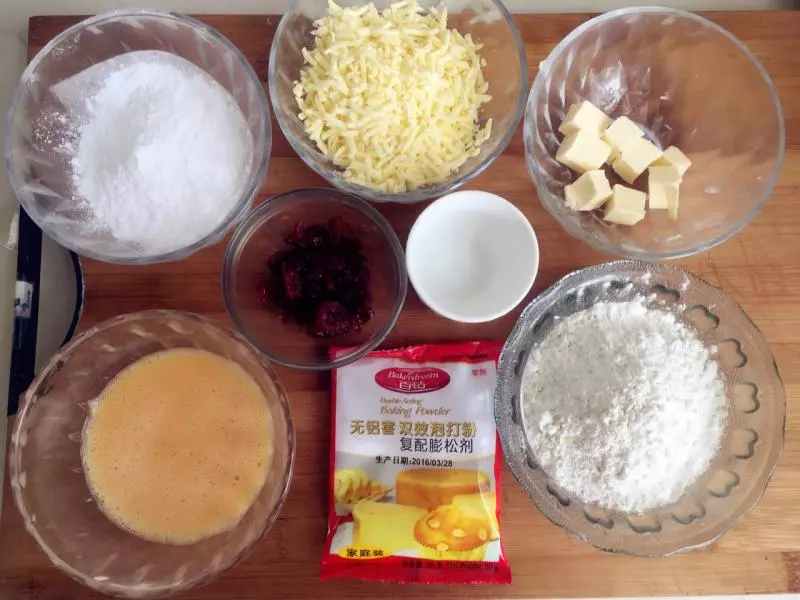
原料
低筋面粉: 110克, 黄油: 45克, 糖粉: 45克, 全蛋液: 1颗鸡蛋(不能全部倒入酌情), 盐: 适量, 无铝害泡打粉: 1克, 马苏里拉芝士: 70克, 蔓越莓干: 适量, 需要用到的工具:手动打蛋器,橡皮刮刀,面粉筛,烘焙秤,量勺。:
步骤
1准备好所有食材
2需要用到的工具

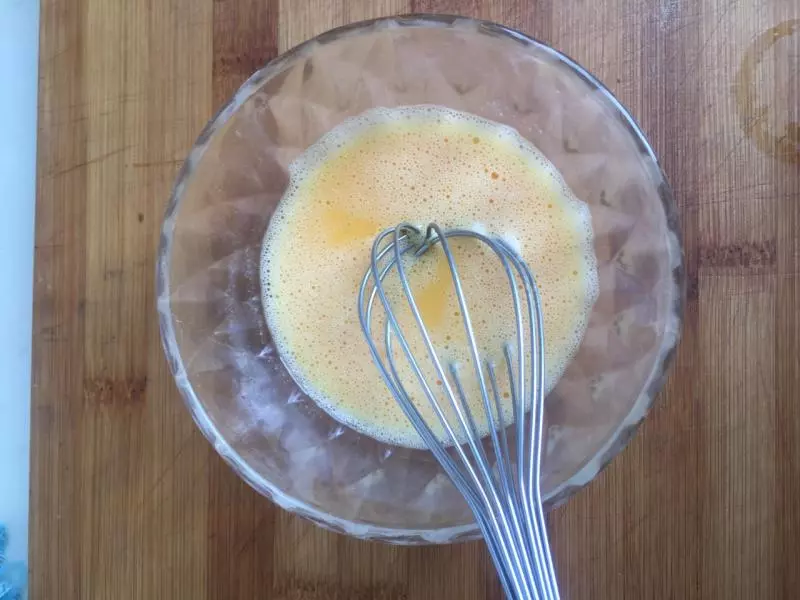
3把全蛋液搅打均匀
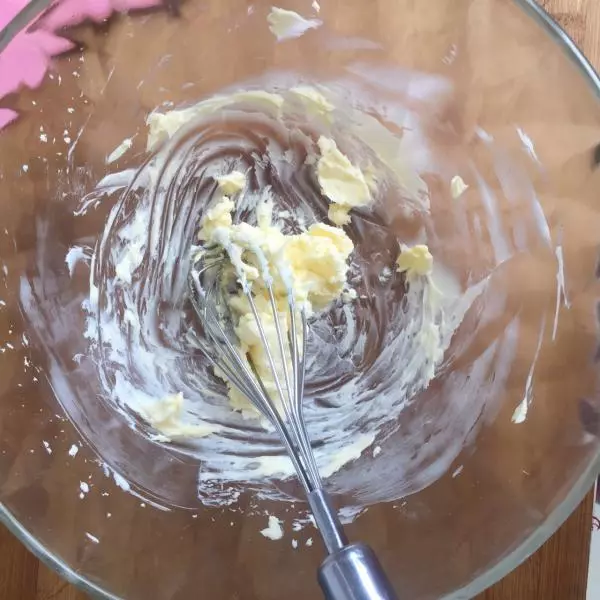
4用手动打蛋器打发室温软化好的黄油;
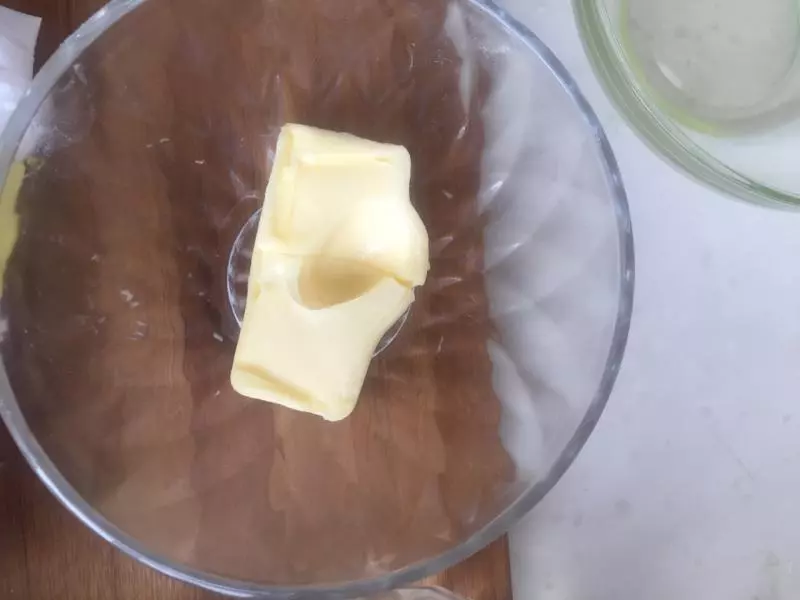
5这就是室温软化好的黄油,用手指一按,很柔软且未油水分离;
6黄油中加入糖粉和盐搅拌均匀;
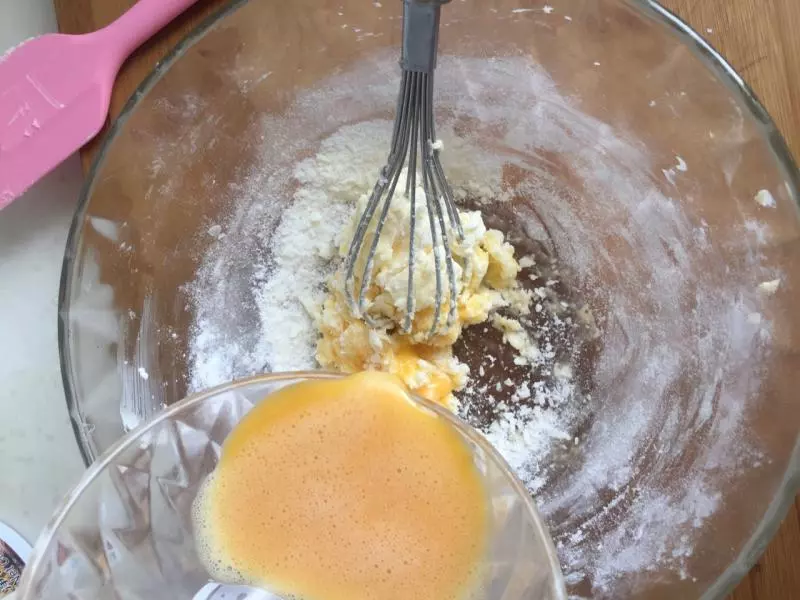
7分3-4次加入蛋液,每加入一次都要搅拌均匀;蛋液会剩下大概三分之一,全部加入面团会过软无法成团;
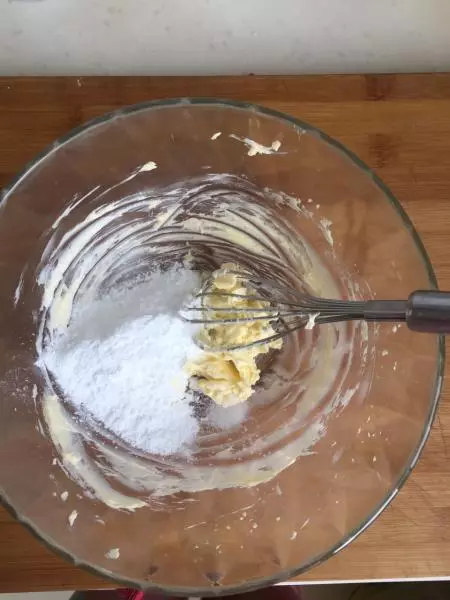
8面粉里加入泡打粉,搅拌一下
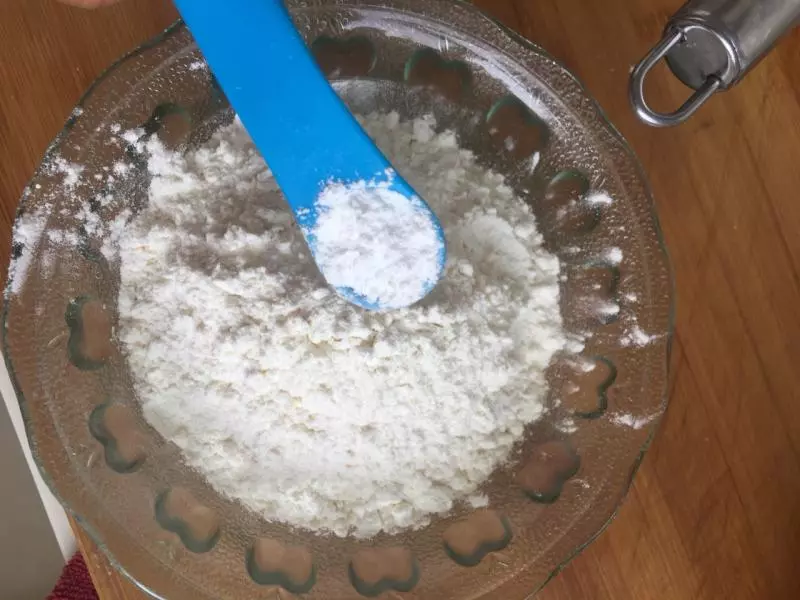
9筛入低筋面粉
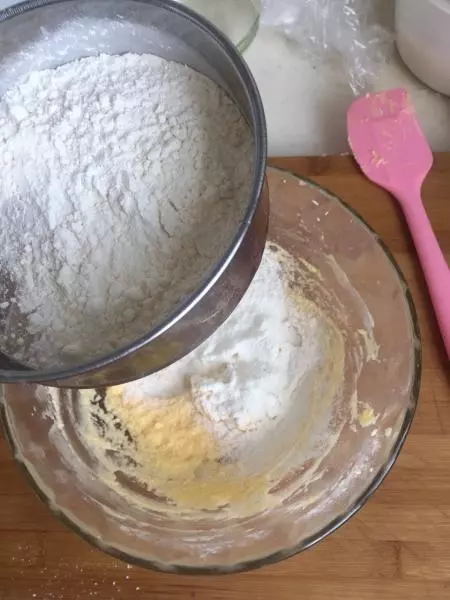
10用切拌和翻拌的手法搅拌至无干面粉;

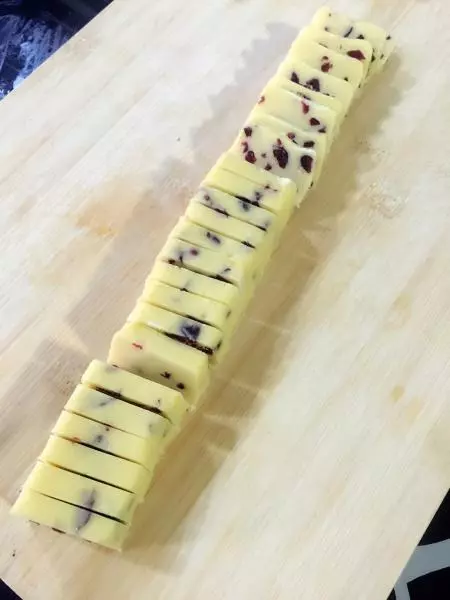
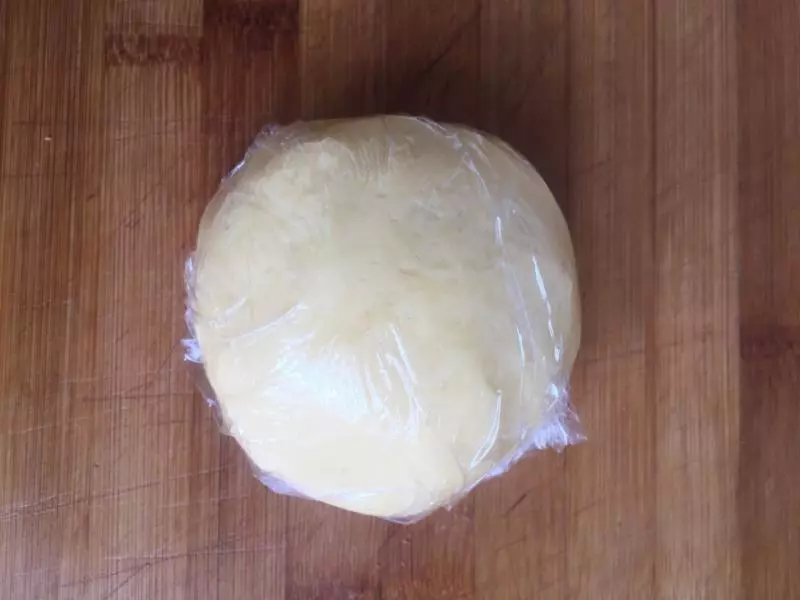
11手揉成光滑的面团,覆盖保鲜膜放入冰箱冷藏一小时左右
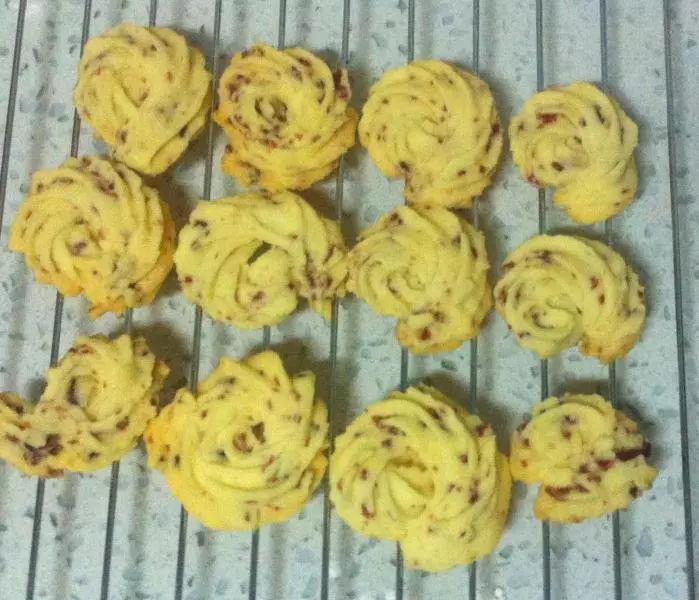
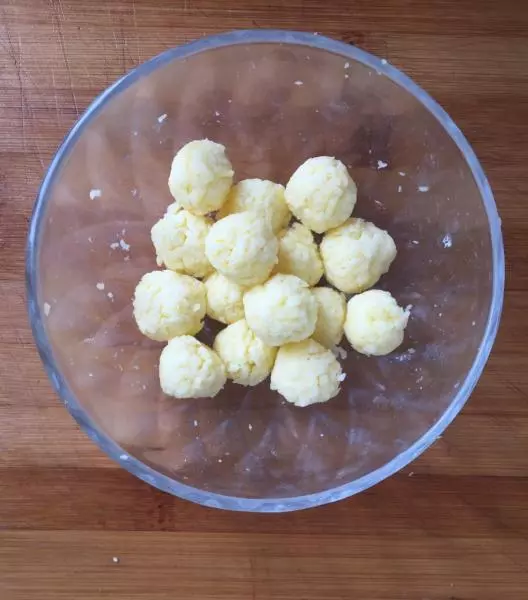
12将马苏里拉芝士捏成15个大小一样的小团;
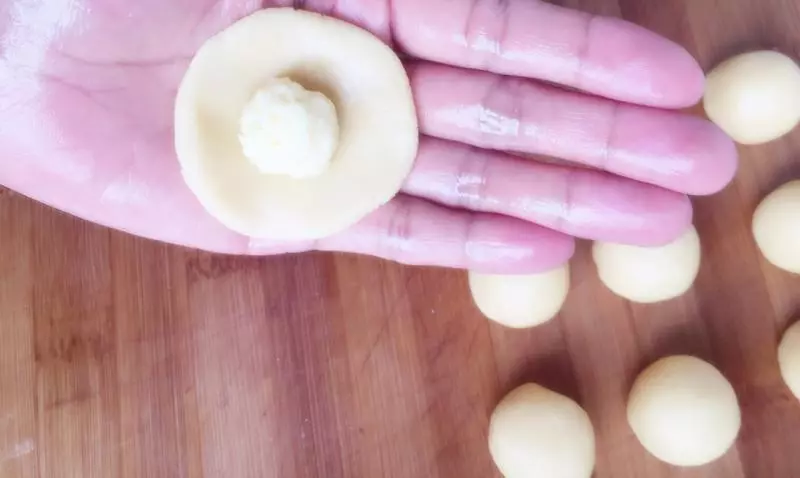
13面团冷藏好后取出等分成15个小面团,每个大概14克;

14像包包子一样把芝士包在面团里,如图所示
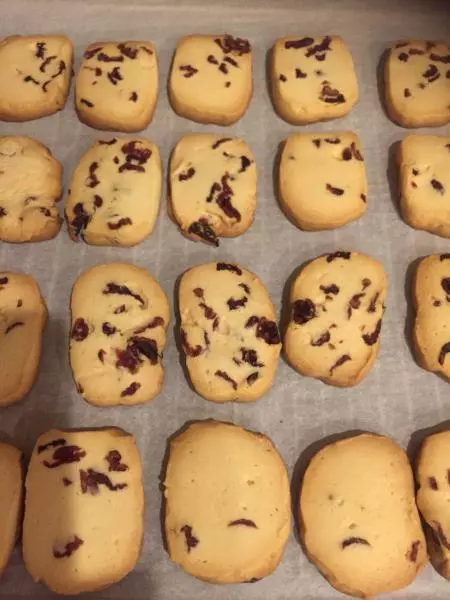
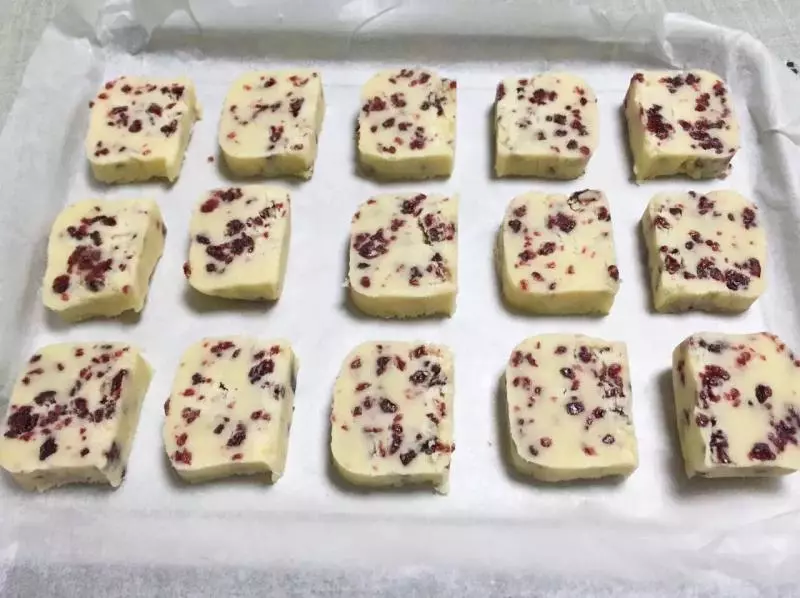
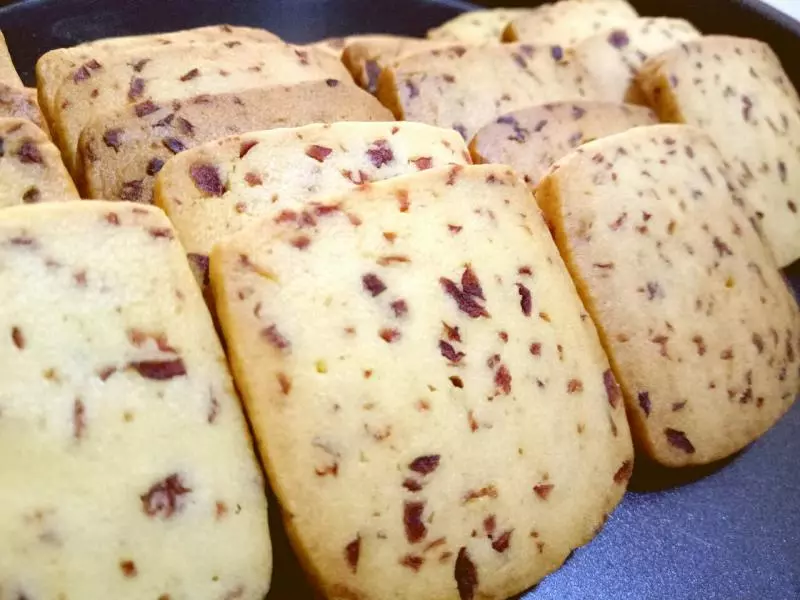
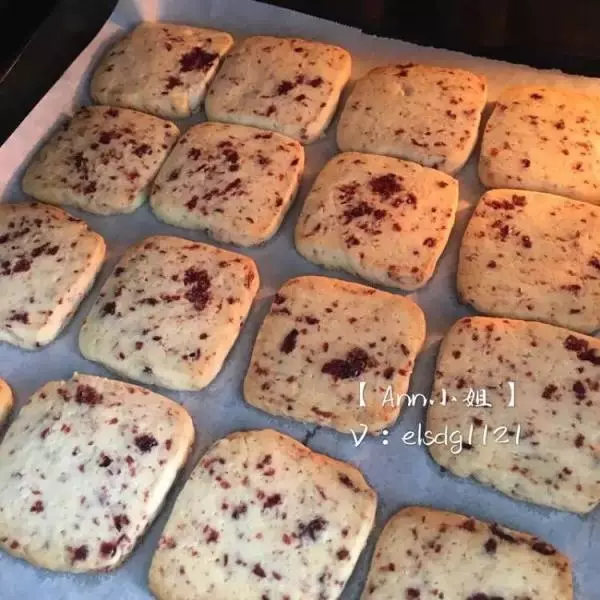
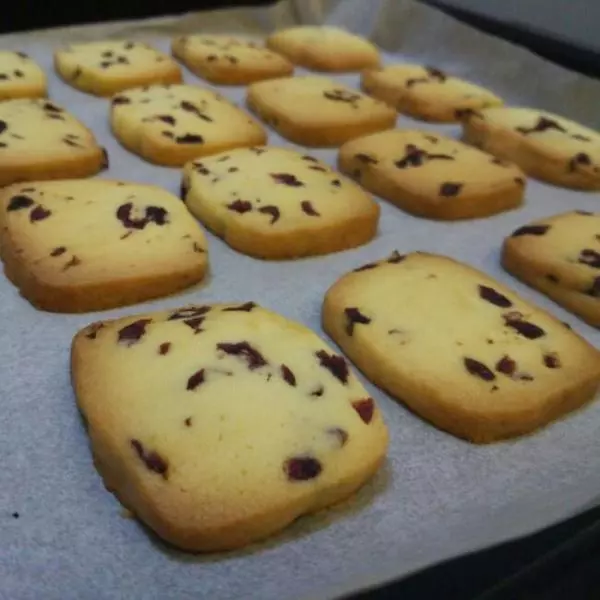
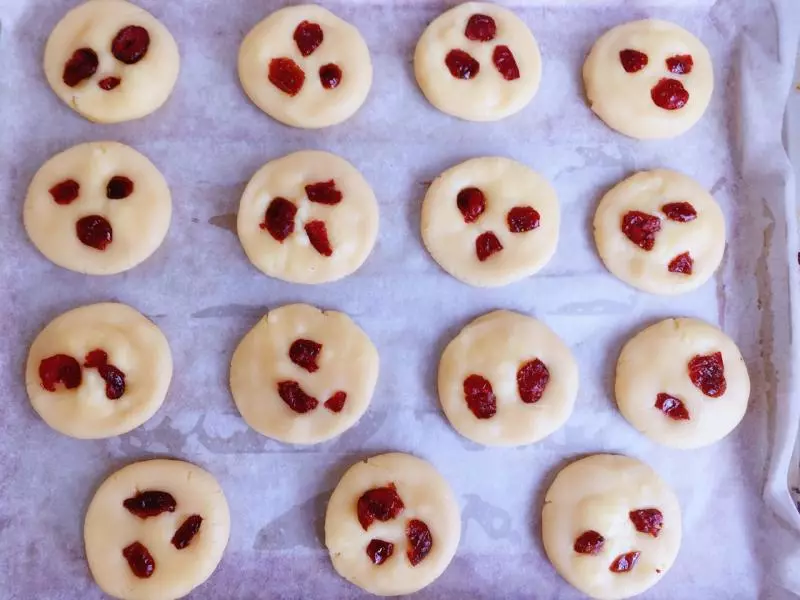
15烤盘上面铺好硅油纸,然后轻轻将面团按扁,上面按上蔓越莓干儿;
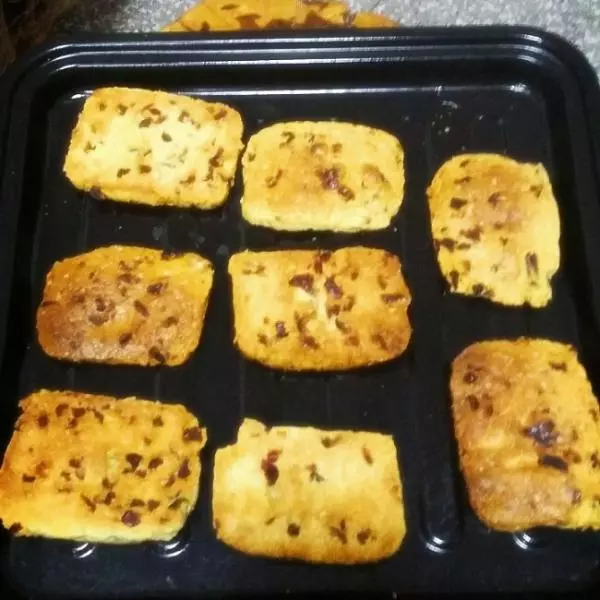
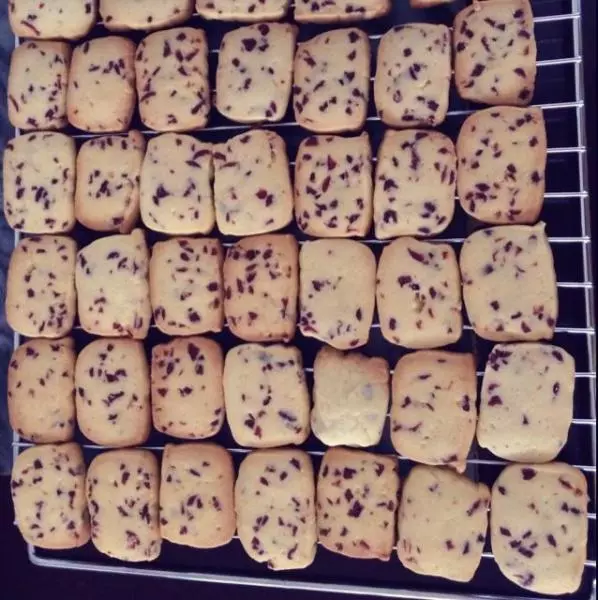
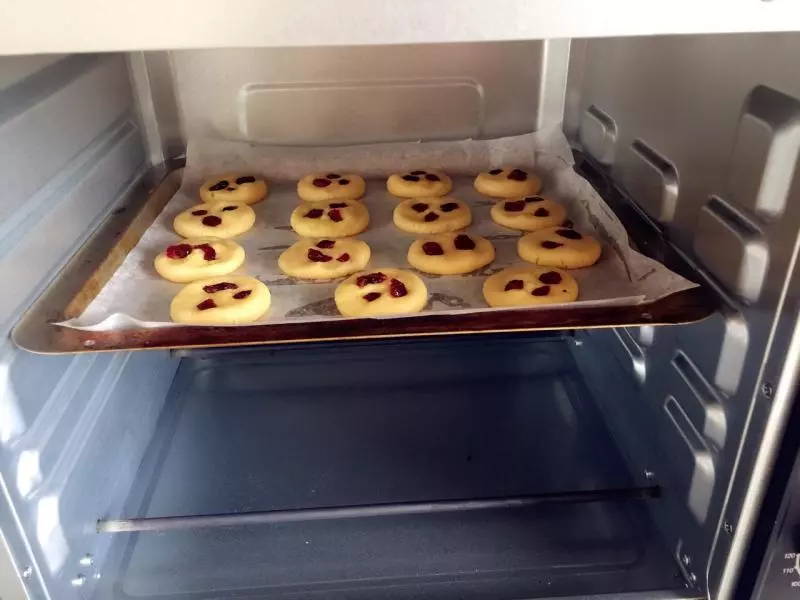
16预热结束,将曲奇胚送入烤箱,上下火180度中层,烤15-20分钟(烤箱不同温度不同)
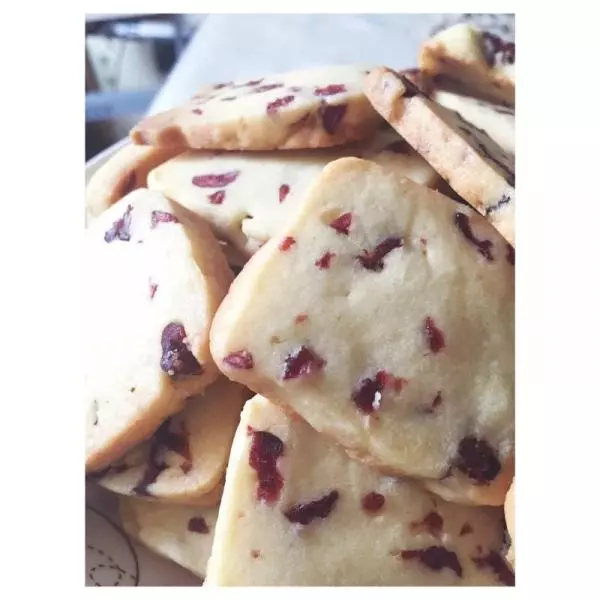
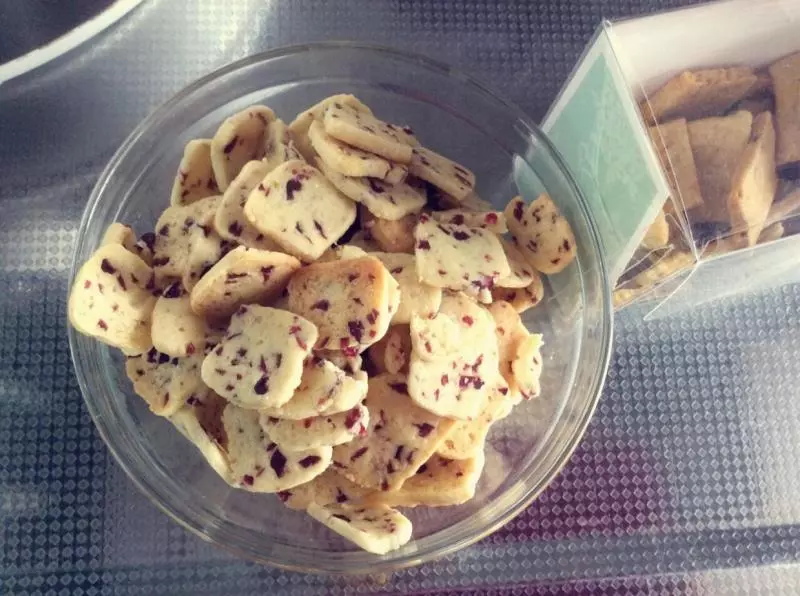
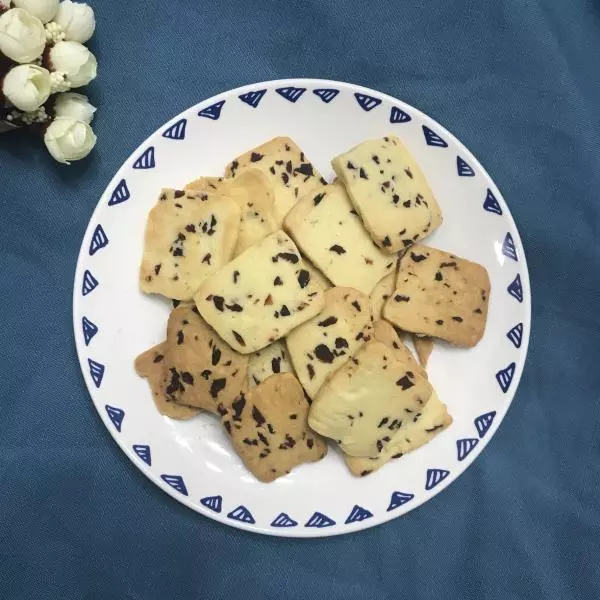
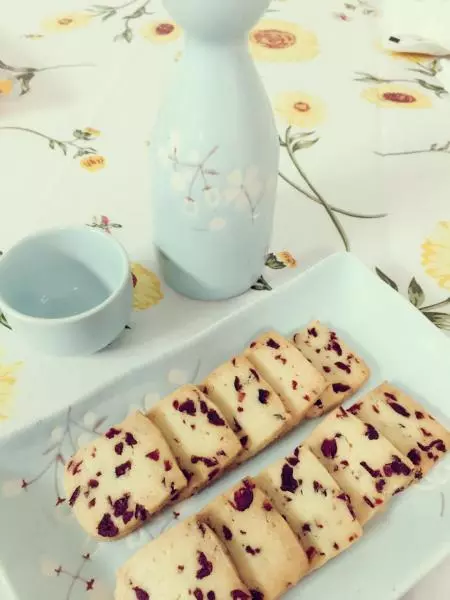
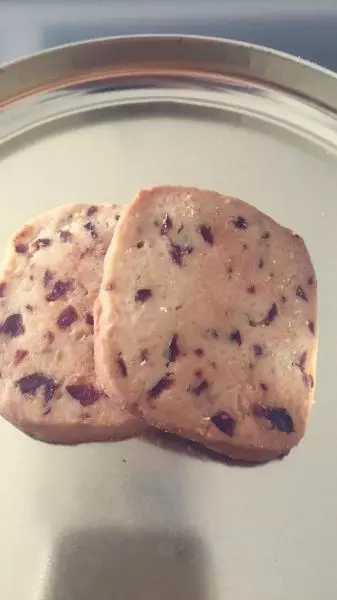
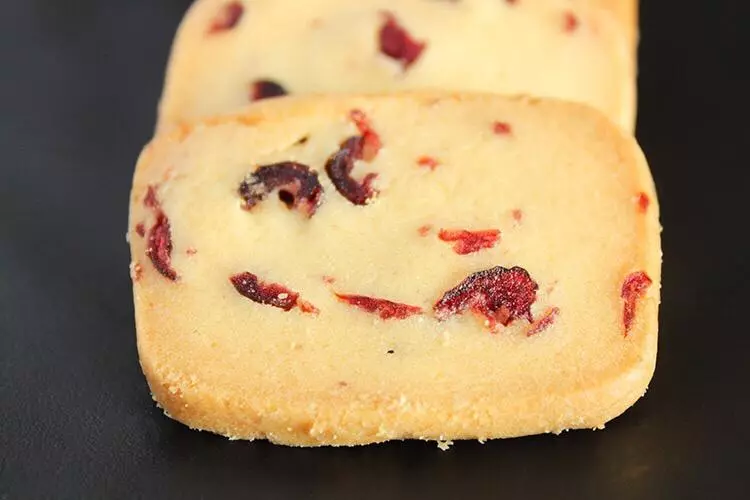
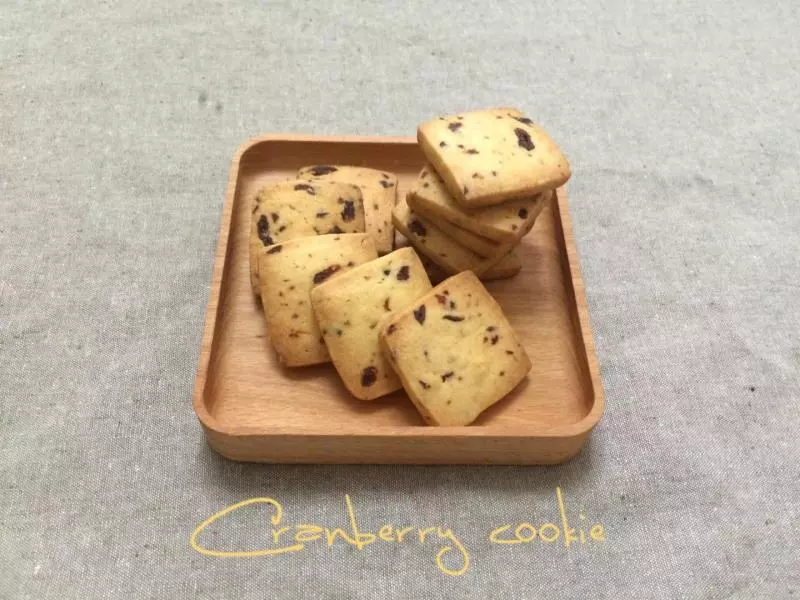
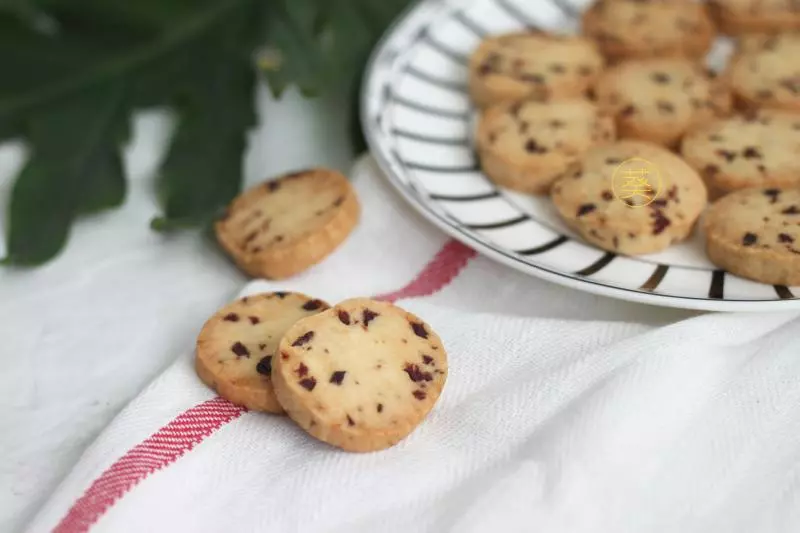
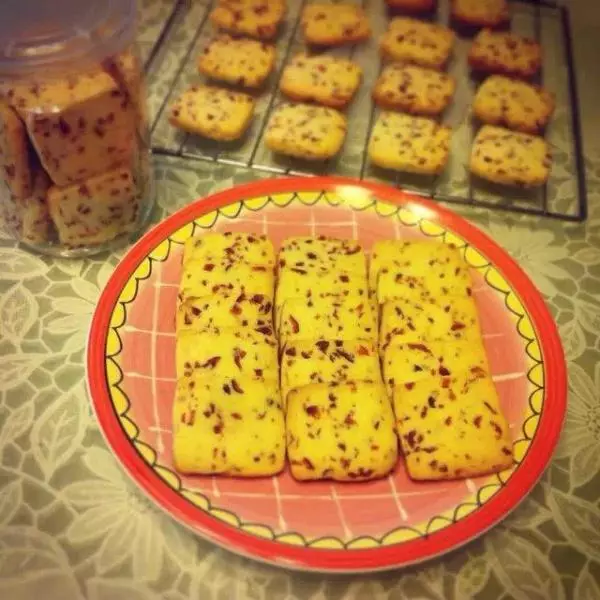
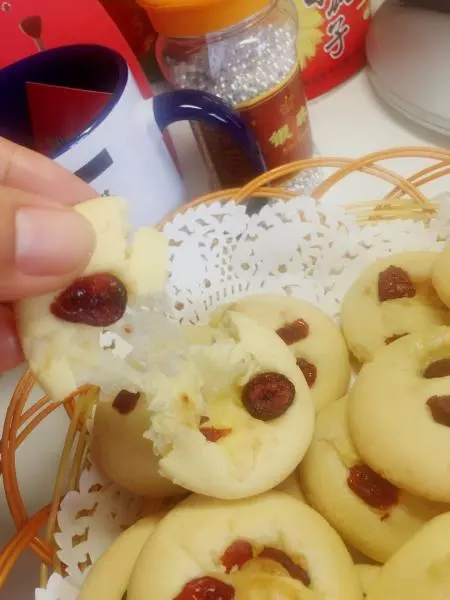
17出炉啦!
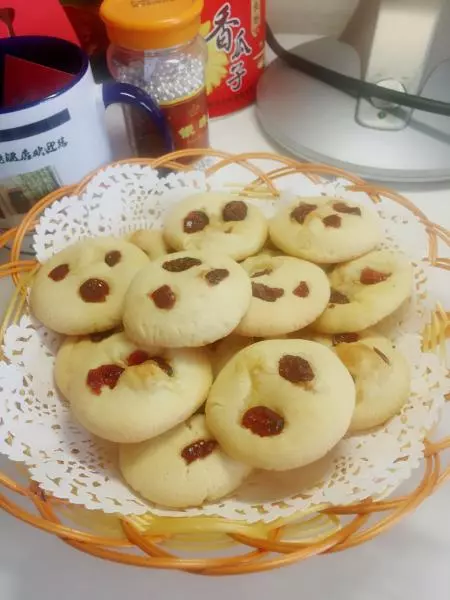
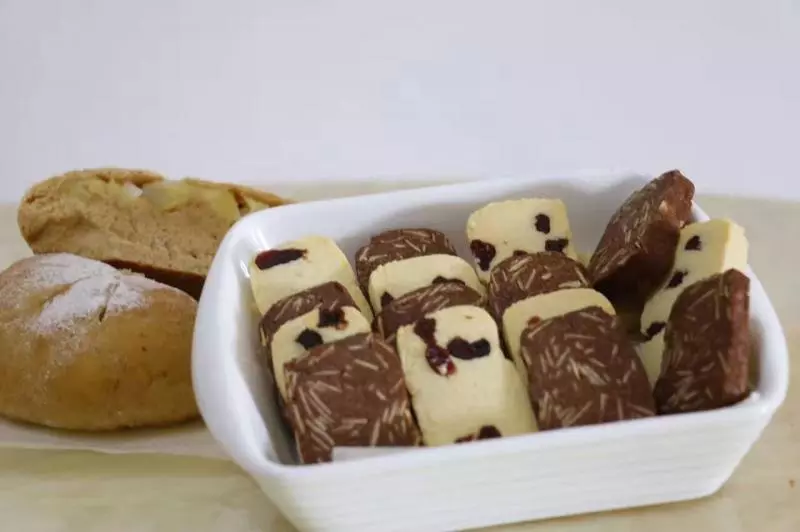
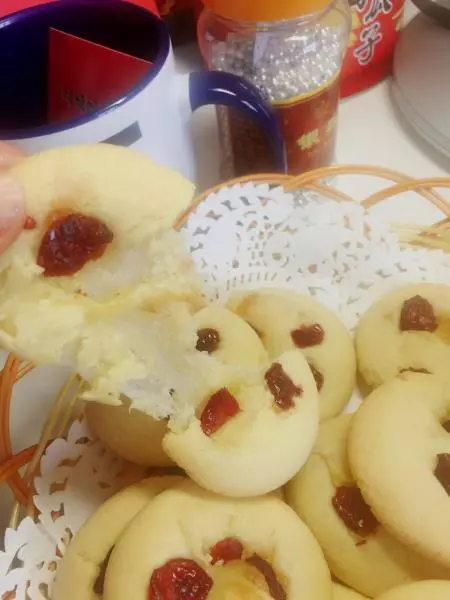
18会拉丝奥,味道好极了!
小技巧
1.这款曲奇适合和宝宝一起制作,有很多步骤都适合宝宝参与;2.最好乘热吃,拉丝效果更好