原料
高筋面粉: 200克, 吉士粉: 10克, 糖: 10克, 酵母: 4克, 水: 100克, 鸡蛋液: 30克, 盐: 2克, 黄油: 20克, 奶油奶酪(奶酪酱): 60克, 黄油(奶酪酱): 30克, 糖粉(奶酪酱): 20克, 蓝莓酱: 适量
步骤
1用后油法将面团揉至扩展阶段。
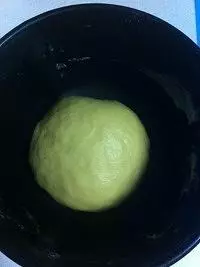
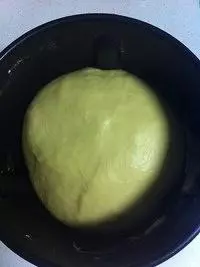
2室温发酵一个小时,至两倍大。
3将面团拿出排气后,平均分成5份。揉圆,松弛15分钟。

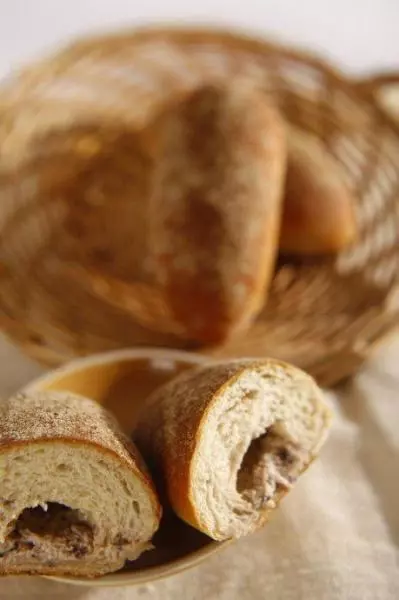
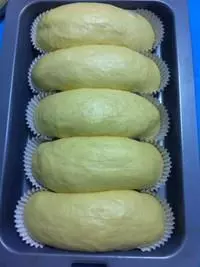
4松弛好的面团搓长,放入面包纸托内。

5其余的依次做好排开。
6进行第二次发酵,在烤箱内放入一盘热水,关上烤箱门进行发酵,直到面团变成原来的2倍大。
7在等待二次发酵的时间里,我们来做奶酪酱。将60克奶油奶酪,30克黄油,20克糖粉搅拌均匀。
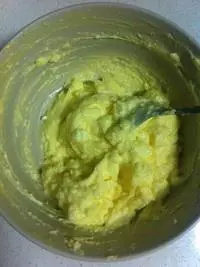
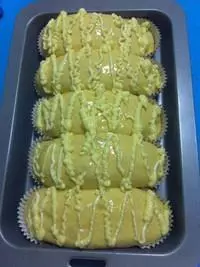
8装入裱花袋中。

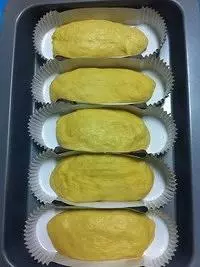
9在发酵好的面团上涂薄薄的一层蛋液。
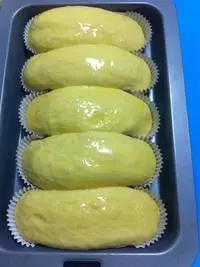
10挤上奶酪酱。
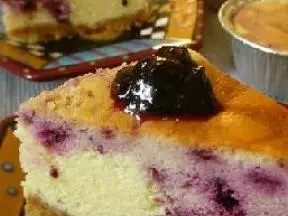
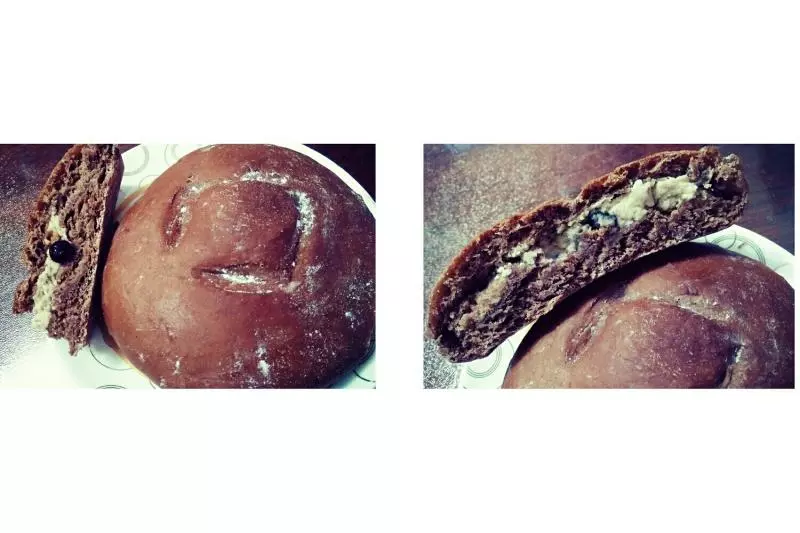
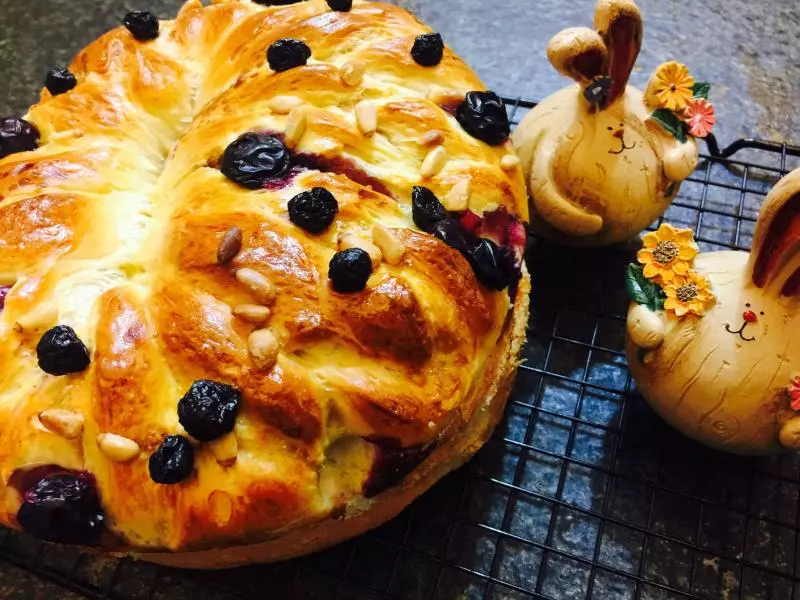
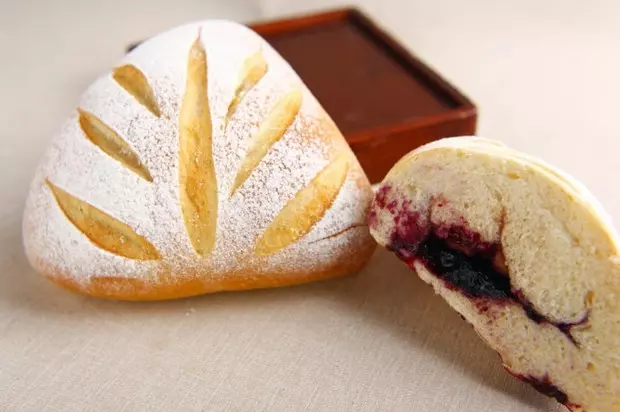
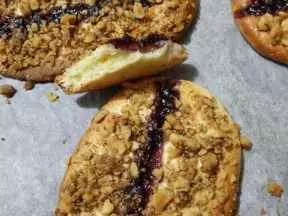
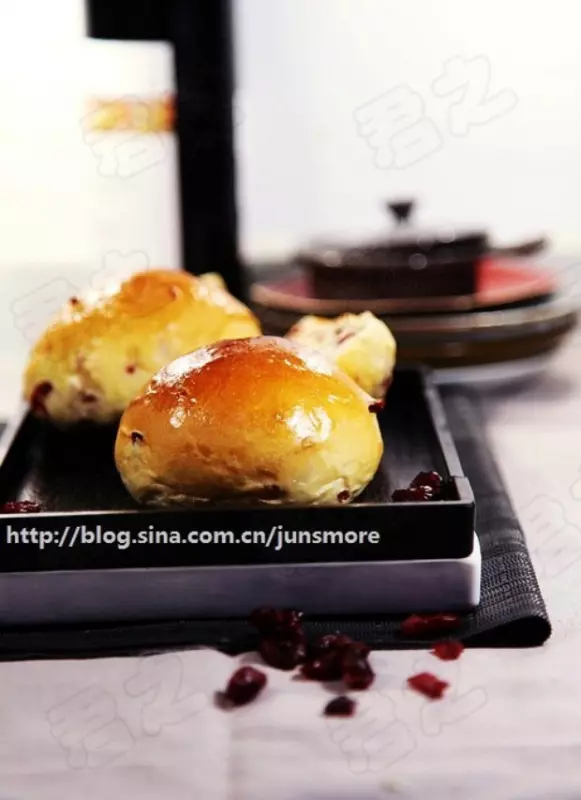
11放上蓝莓酱。
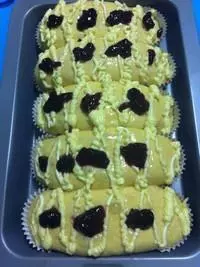
12入烤箱。中层,上下火,180度,15分钟。

13香喷喷的蓝莓奶酪面包就做好了!