原料
蛋黄: 3个, 柚子茶: 30g, 沙拉油(玉米油): 50ml, 水: 45ml, 柚子汁: 1小匙, 柚子皮末: 1/4 小匙, 低筋面粉: 80g, 蛋白: 4个, 细砂糖: 60g
步骤
1提前准备: a.分离蛋白跟蛋黄,将蛋白放置冷冻层直到表面凝结(10分钟左右,更有益于打发); b. 低筋面粉过筛; c.将柚子茶中的果肉切碎(我这步切碎直接就加进蛋黄中了)
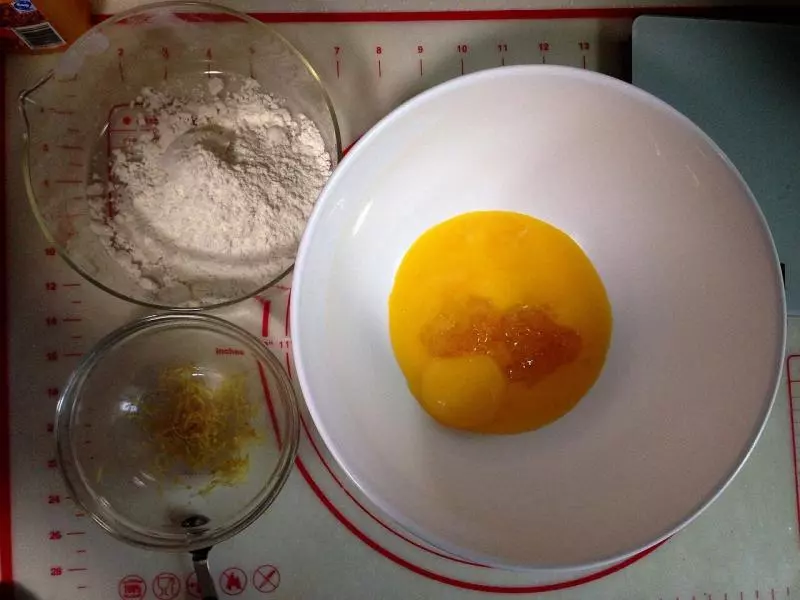
2蛋黄依次加入色拉油,水,柚子汁,柚子皮末混合搅拌至乳化粘稠状

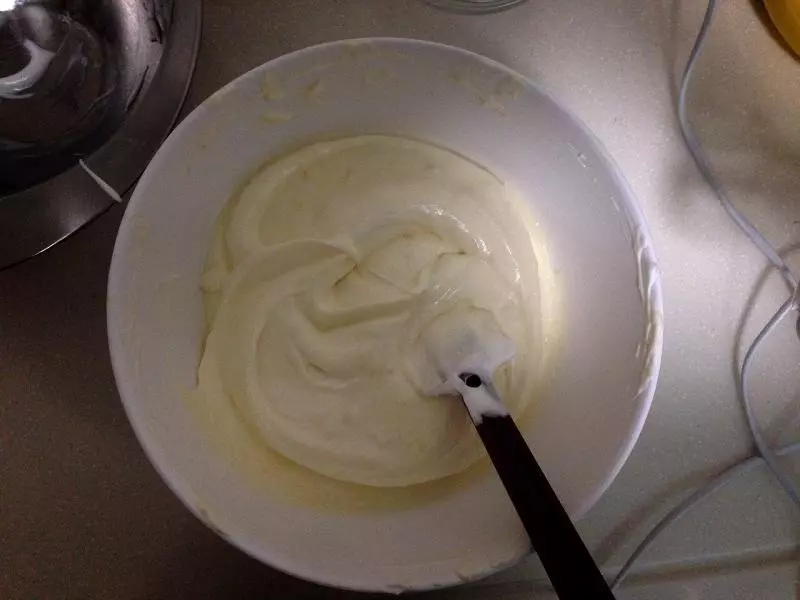
3筛入低粉,用手动打蛋器混合至光滑柔润蛋黄糊,比普通戚风蛋糕的蛋黄糊要稠);

4蛋白拿出,电动打蛋器打到大气泡,加入剩余砂糖的一半分量,继续打发;
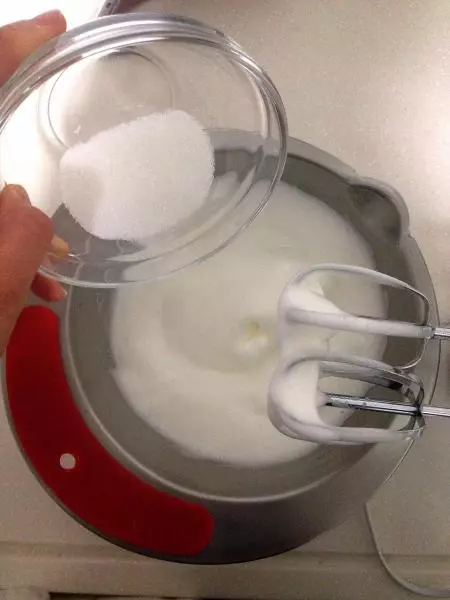
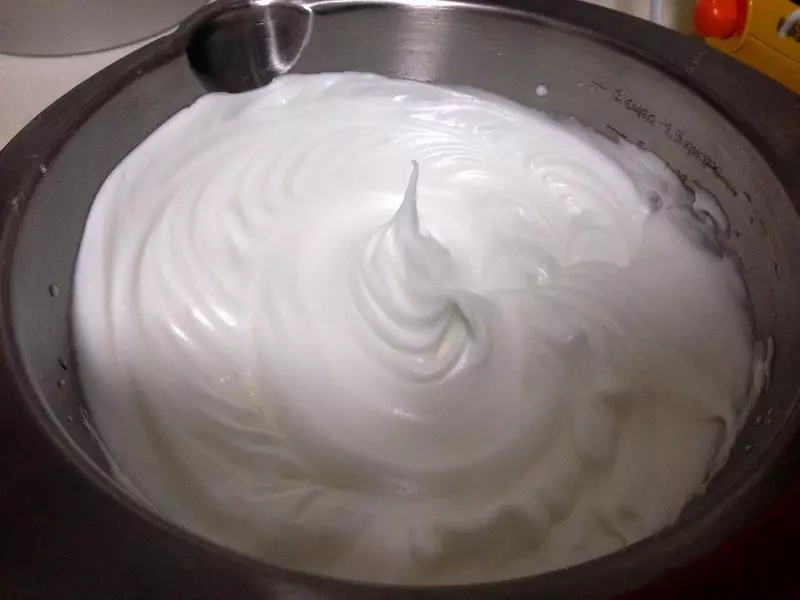
5到蛋白霜浓稠后加入剩余的砂糖继续搅拌直到打蛋器拉出可以有尖角即停止;
6将1/3的蛋白霜加入步骤3中,刮刀切拌均匀,接着倒回到剩余蛋白霜盆中切拌均匀;
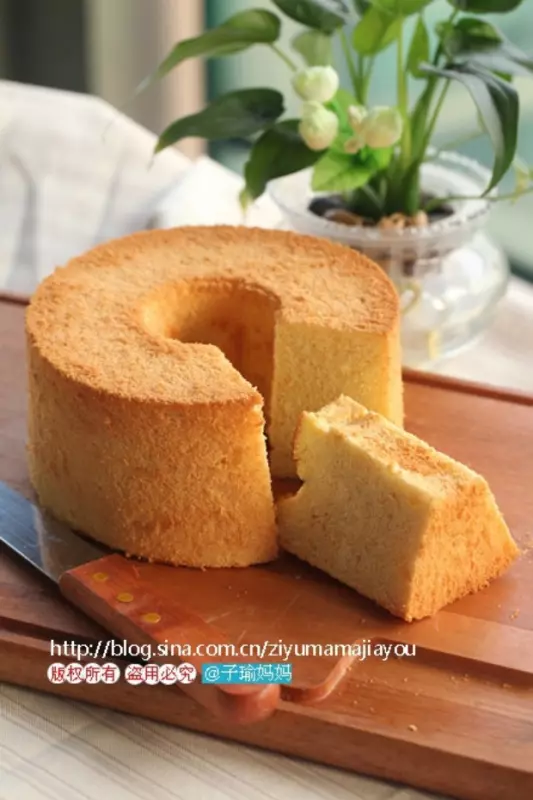
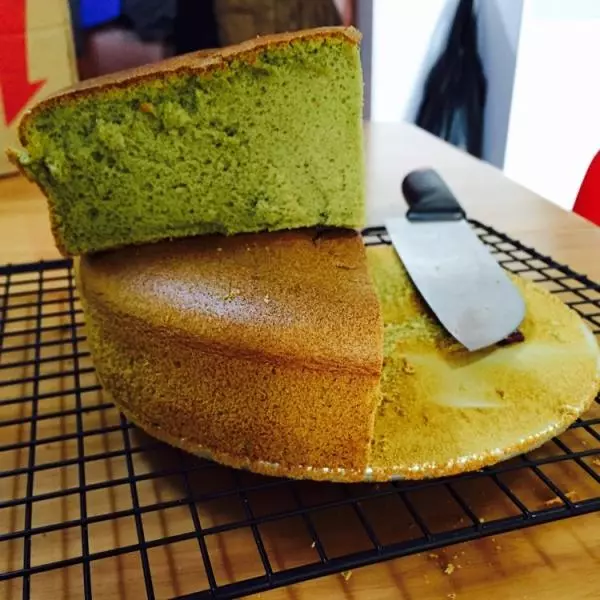
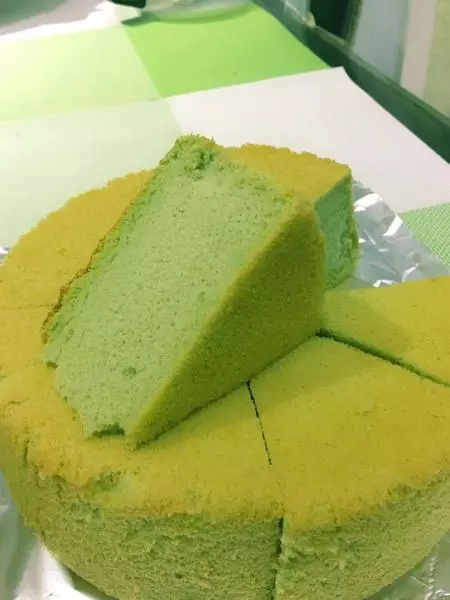
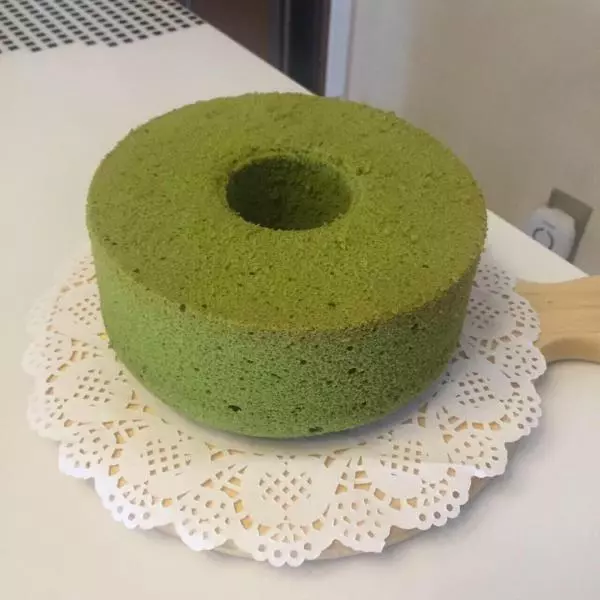
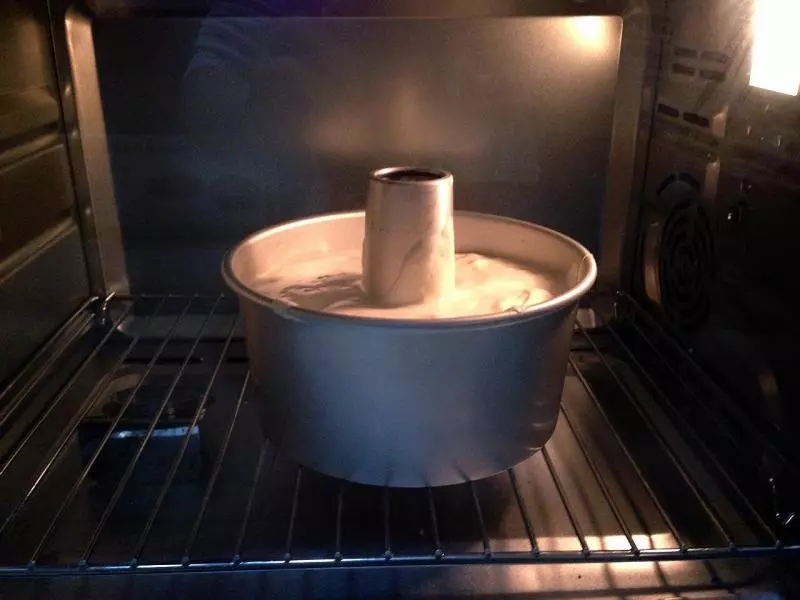
7将拌匀的蛋糕糊倒入模具中,入烤箱之前在台面上轻轻震几下去除大气泡,放进预热好180度的烤箱,烘烤30分钟;
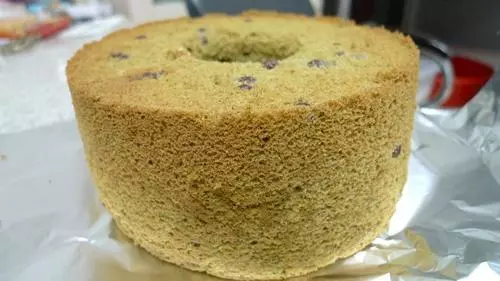
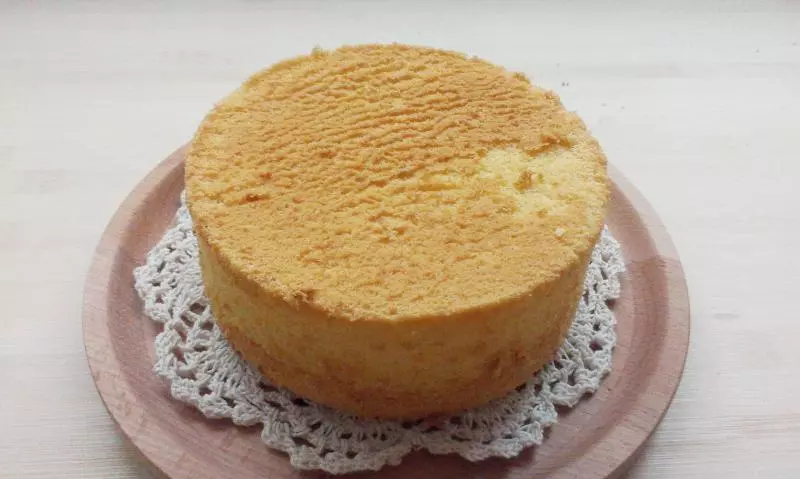
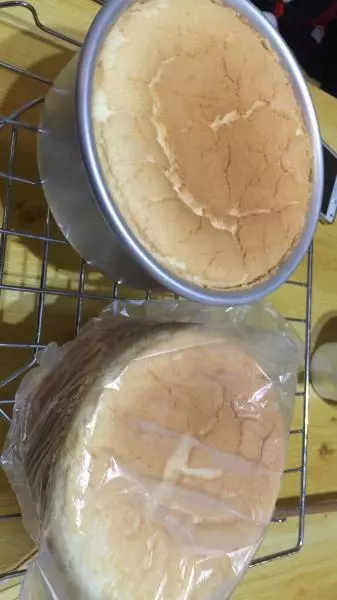
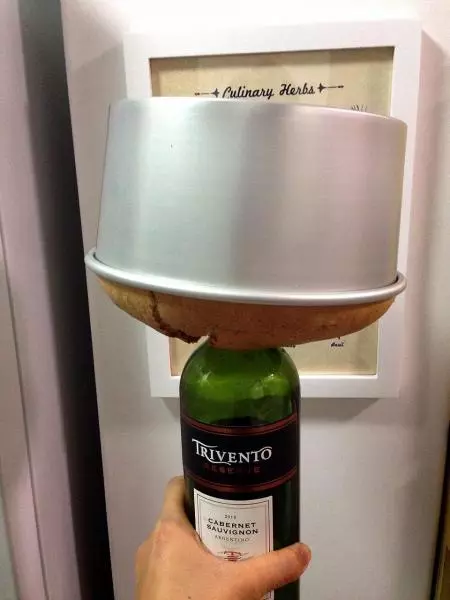
8出炉后距离台面40cm高处将蛋糕模自由落体摔下,之后倒扣到瓶子上进行冷却。(最好搁一晚上再脱模哟!!)
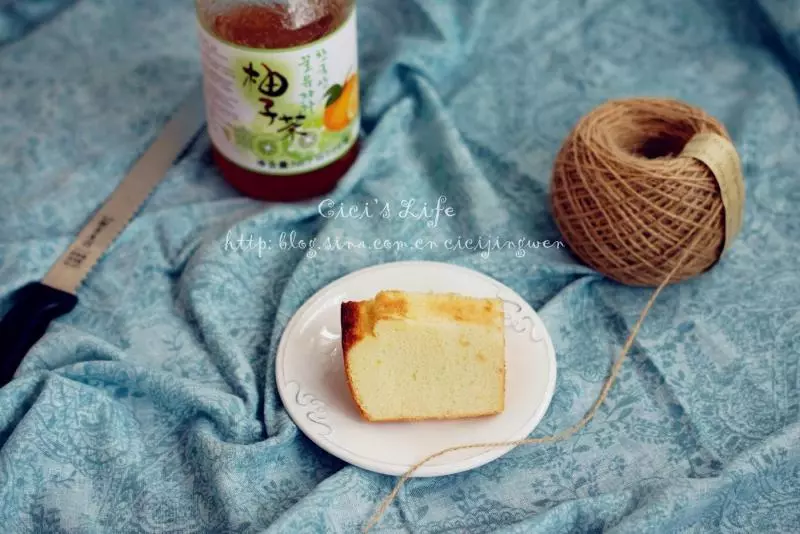
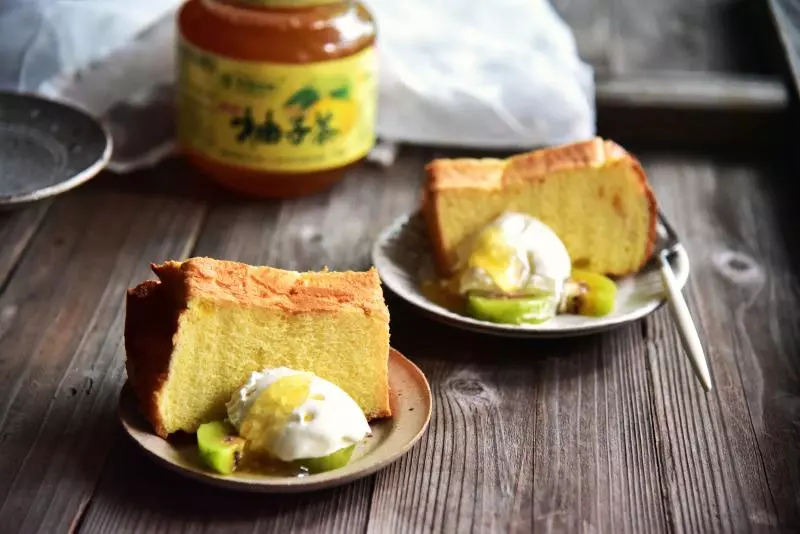
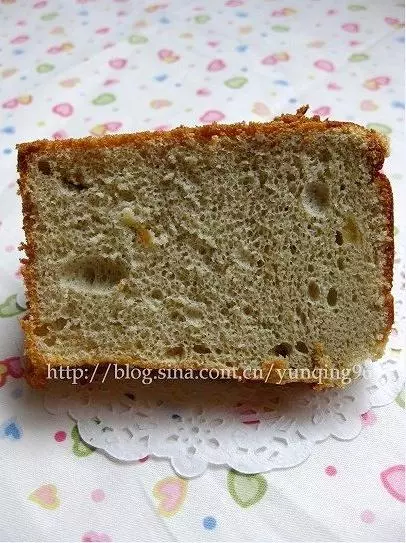
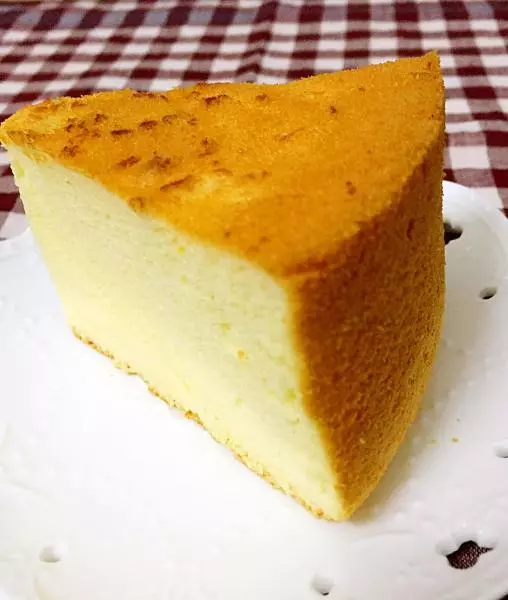
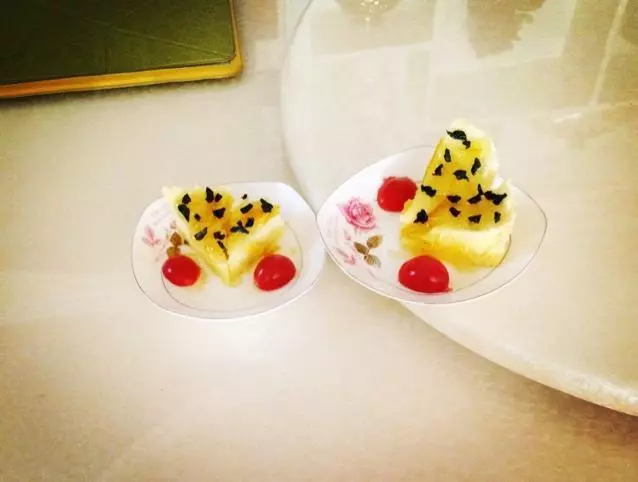
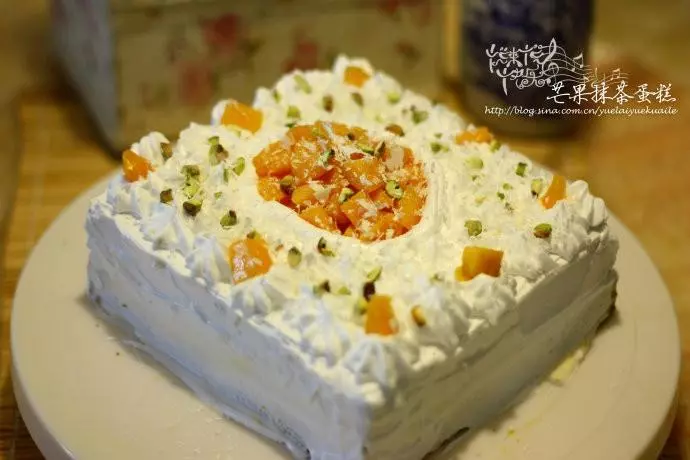
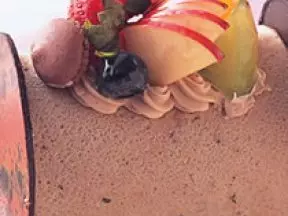
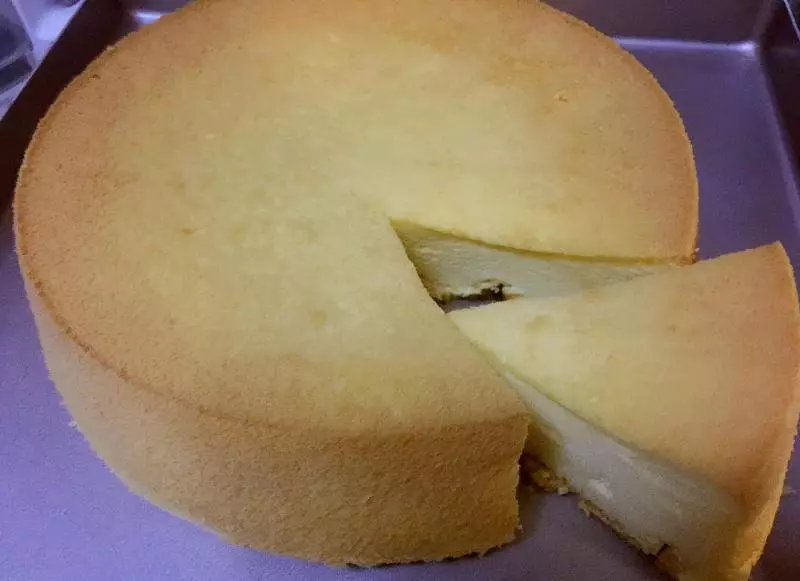
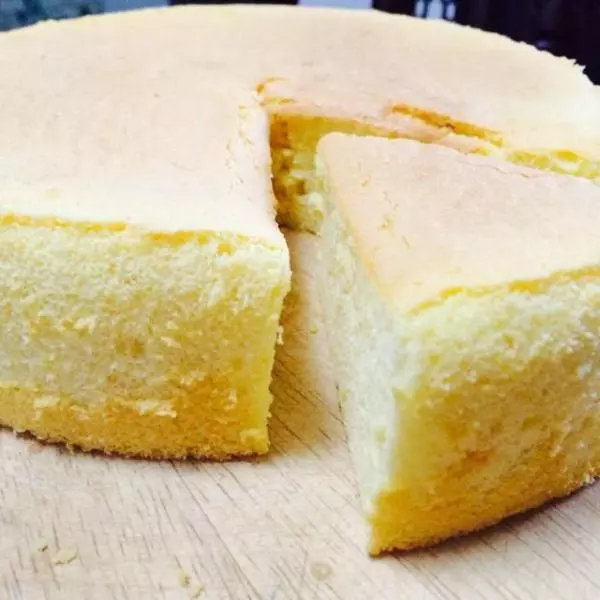
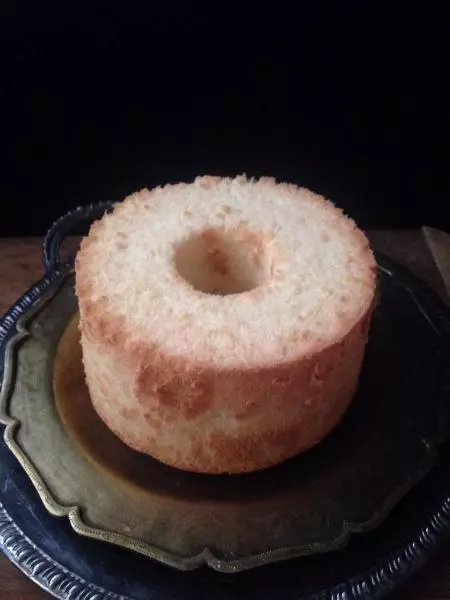
9裸照一张!
小技巧
1.模具是浅井的17cm中空;烤箱是卡仕35L M型加热管; 2.蜂蜜柚子茶我就是买的最常见的一款,京东就有,大家自己做的蜂蜜柚子茶也可以用。柚子皮末的话切下来柚子皮有一小瓣的量稍微搓下来点就够了。 3.对于乳化及翻拌的手法,如果大家想要更详细的请看@ 的戚风菜谱!图文并茂超级详细!