原料
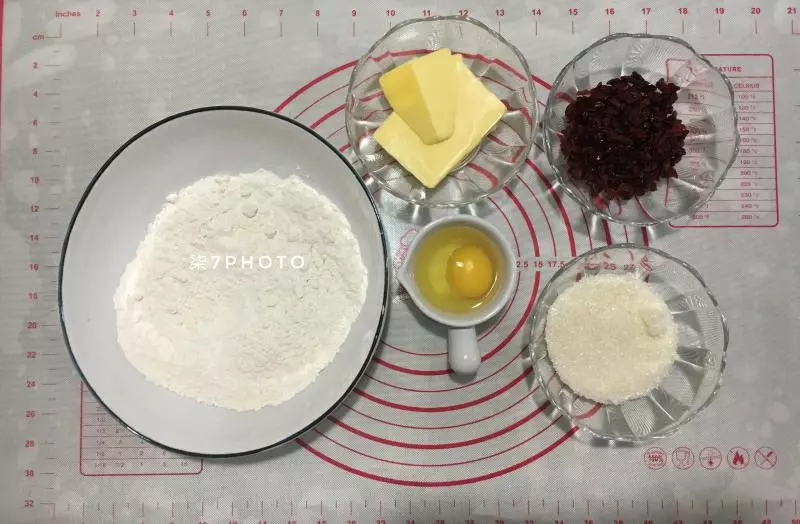
蔓越莓: 40克, 黄油: 75克, 糖粉: 60克, 蛋液: 50克, 低筋面粉: 120克
步骤
1准备好材料。
2黄油融化后加入白沙糖。搅拌融化。

3加入鸡蛋之后再次搅拌均匀。

4搅拌之后加入低筋面粉中,继续搅拌无颗粒状。

5搅拌均匀很重要。无任何颗粒状!

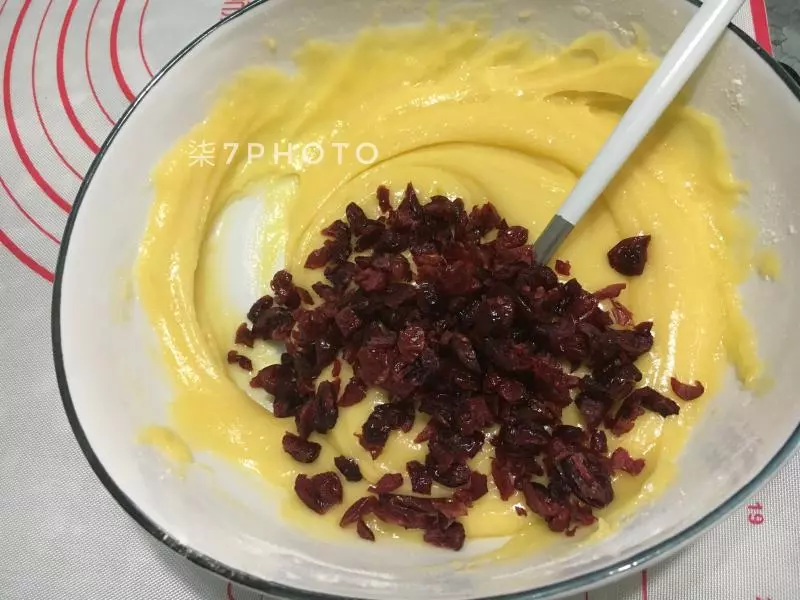
6蔓越莓切碎,但是不要太碎!加入搅拌好的面糊中,继续搅拌。让面糊和蔓越莓混合均匀。
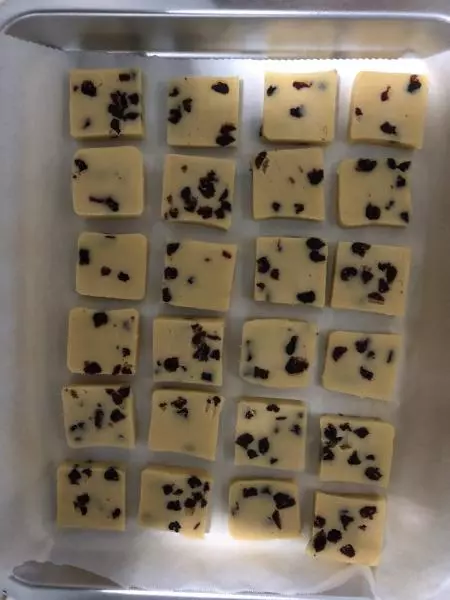
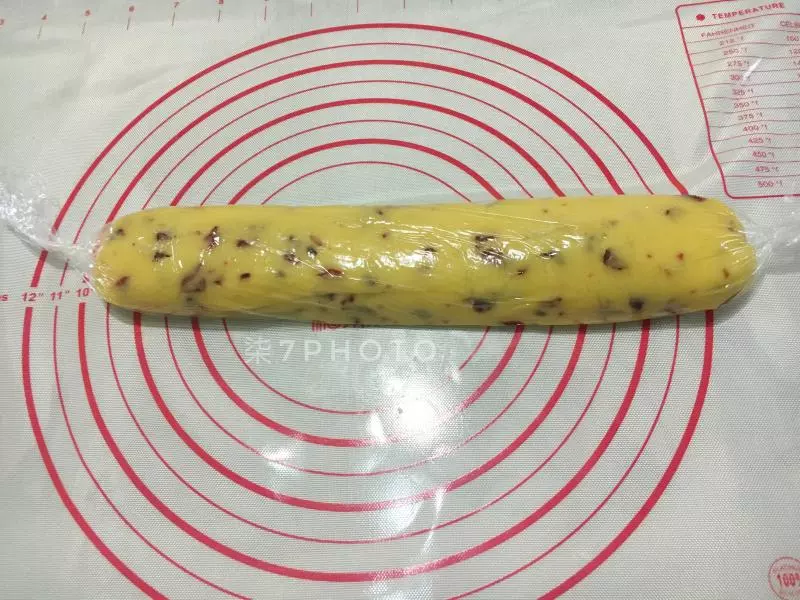
7搅拌均匀之后,油布上揉成长方体,并用保鲜膜包上,放进极冻1-2小时之内。拿出来切成片状。
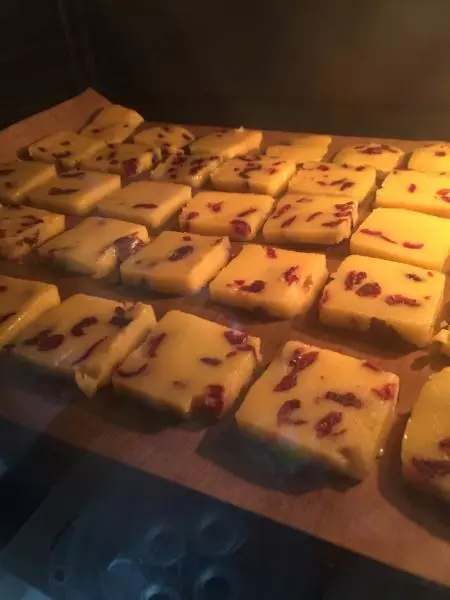
8依次放入铺上油纸的烤盘上。这个时间预热170度烤箱。
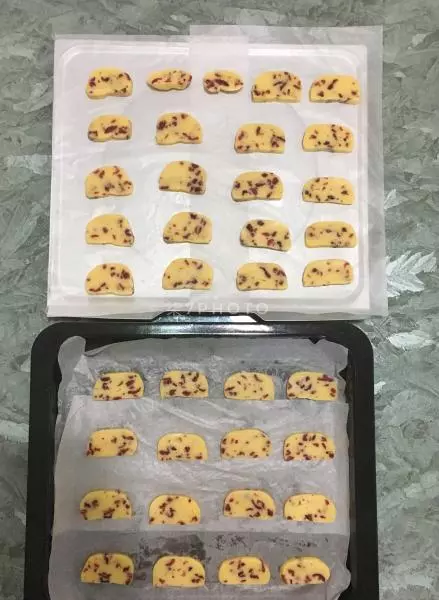
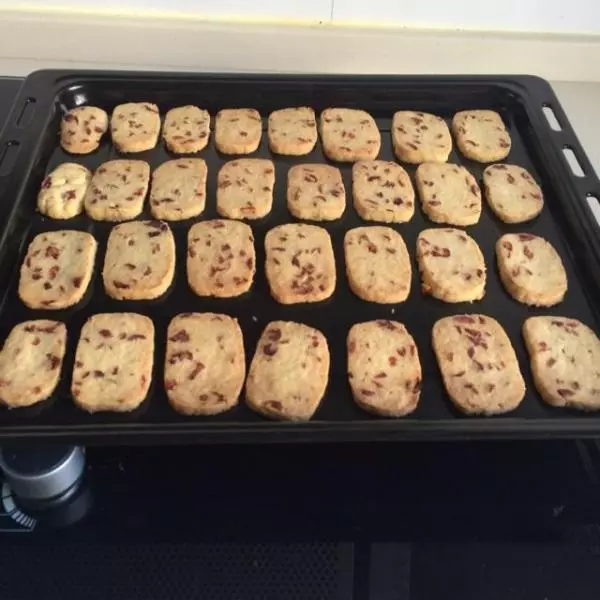
9我家的烤箱是长帝,瓦数1600瓦。上管温度170°,下管160°,烤15分钟。中途可以换下上层。时间,温度,每个烤箱的情况不同,仅仅作为参考。

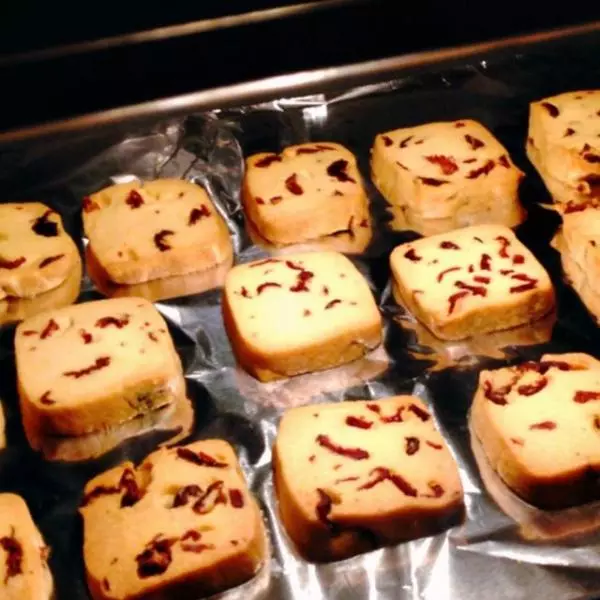
10烤好之后,摆冷却盘冷却。

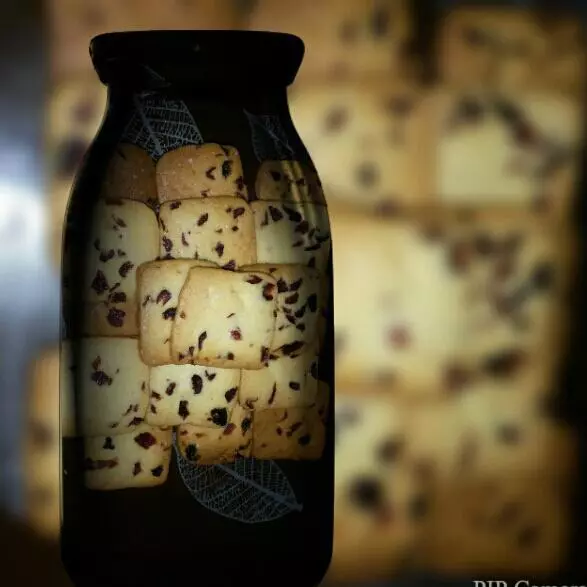
11定妆照。

12一口一个酥的蔓越莓饼干就好了!

13365度无死角啊。干净撸起来吧!