原料
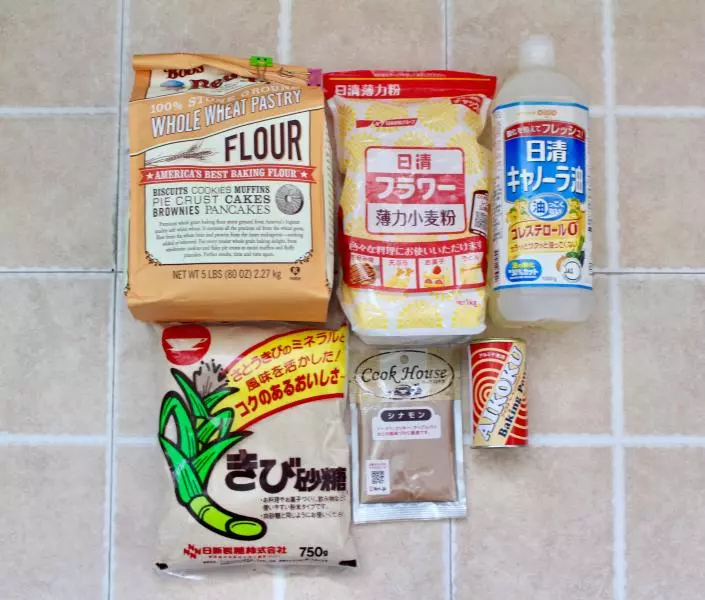
低筋面粉: 100克, 全麦粉: 30克, 黄蔗糖: 2大勺(一大勺15ml), 盐: 一小撮, 肉桂粉: 少许, 泡打粉: 1小勺(10ml), 菜籽油: 2大勺(一大勺15ml), 胡萝卜: 半根(约70克), 豆浆: 2大勺(一大勺15ml), 核桃仁: 20克, 绢豆腐: 半块(200克), 蜂蜜: 2大勺(一勺15ml)
步骤
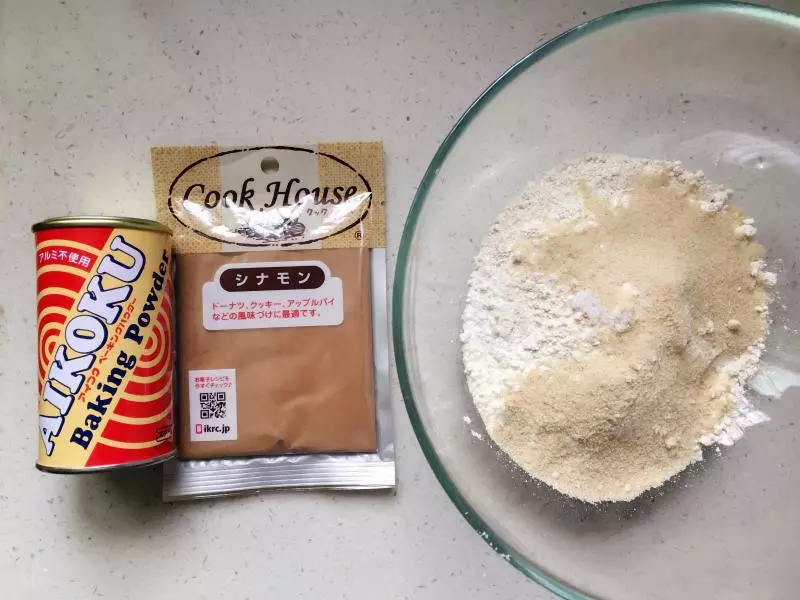
11.准备材料。鲍勃红磨坊石磨全麦粉,日清低筋面粉,日清菜籽油,黄蔗糖,肉桂粉,泡打粉。 2.烤箱预热180度。
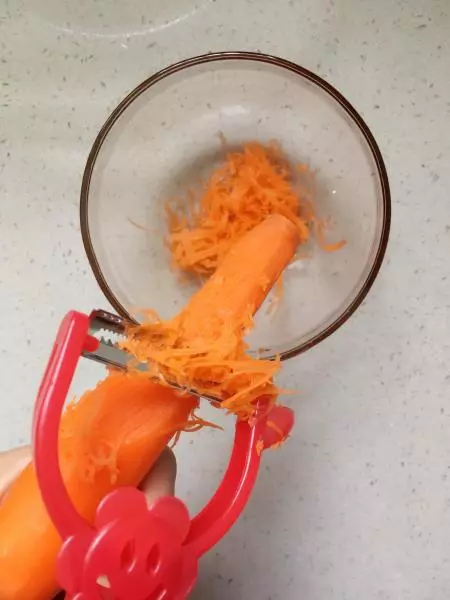
21.将核桃仁切成小块。 2.将胡萝卜擦碎,为了防止水分流失,尽量擦的粗一些。(家里没有工具,我就磨成丝了囧)
3差不多就是这样的程度了。
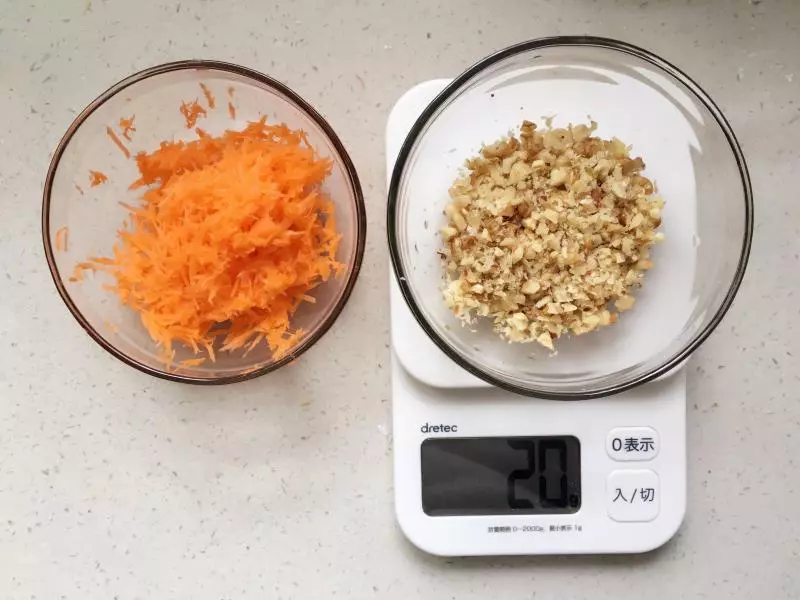
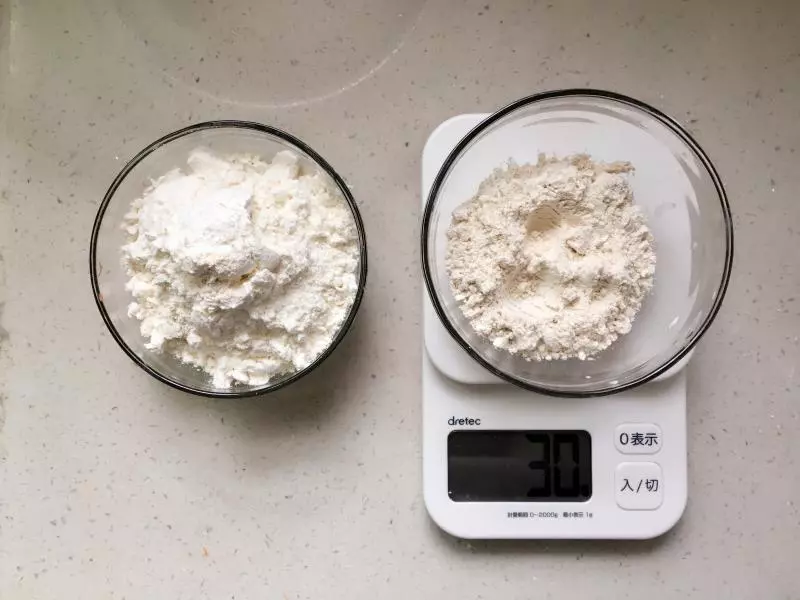
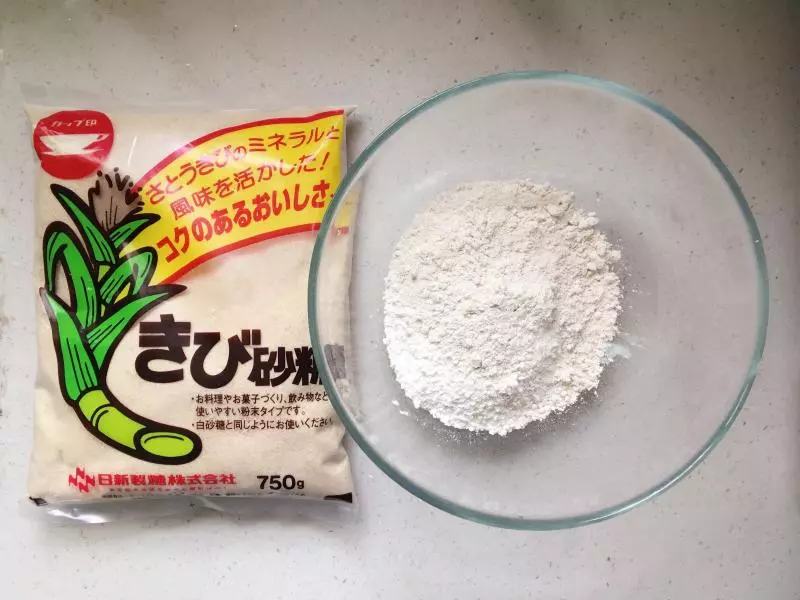
4将食材精准称重。
5黄蔗糖用的是中岛老师推荐的,还原了甘蔗原有的甜味。
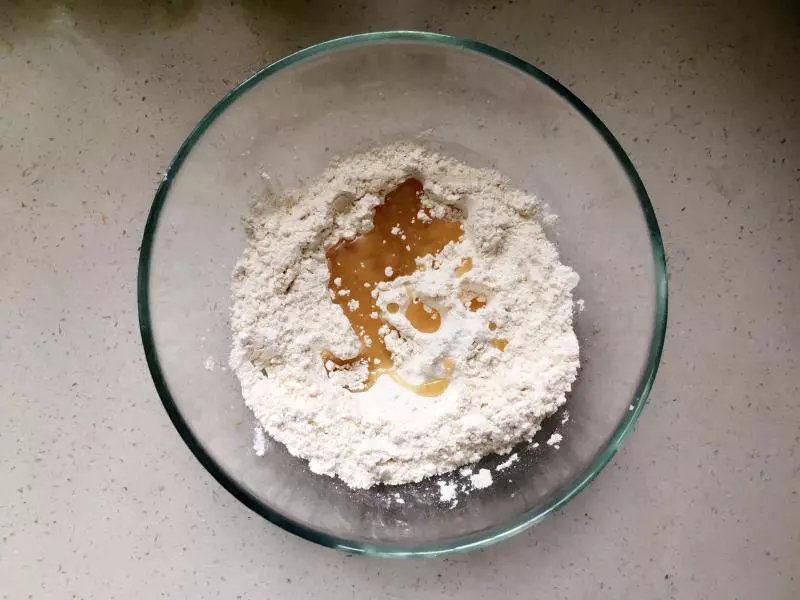
6所有粉末原料全部混合进搅拌碗中,用手拌匀。
7加入菜籽油,用手抓拌至面粉不粘手。
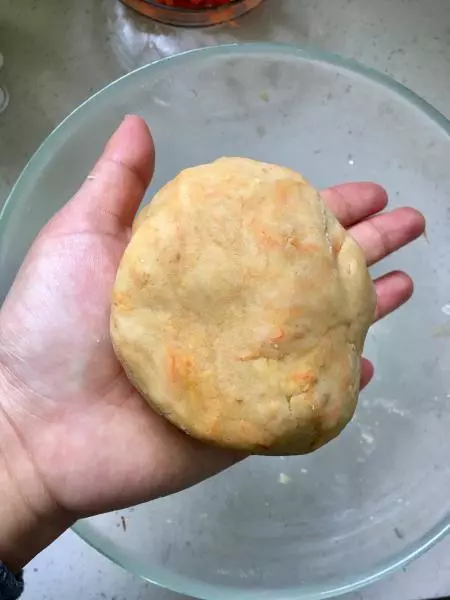
8放入擦碎的胡萝卜,一点一点加入豆浆搅拌,直至用刮刀挑起部分面团,面团下坠,形状犹如耳垂,这样的软度恰到好处,加入切碎的核桃仁,混合均匀。(我这个面团有点太干了,囧)
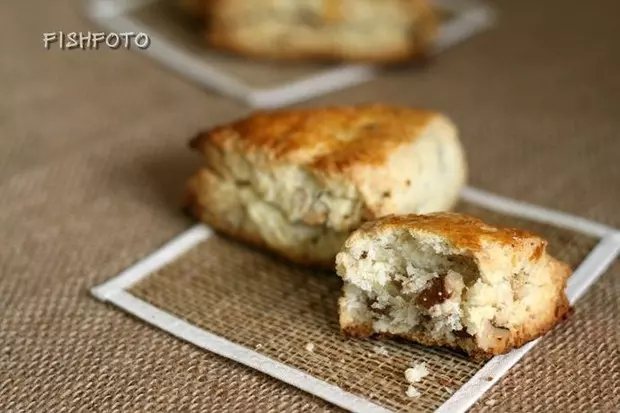
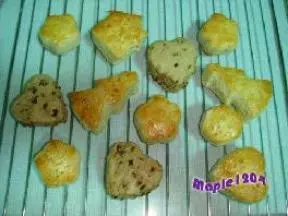
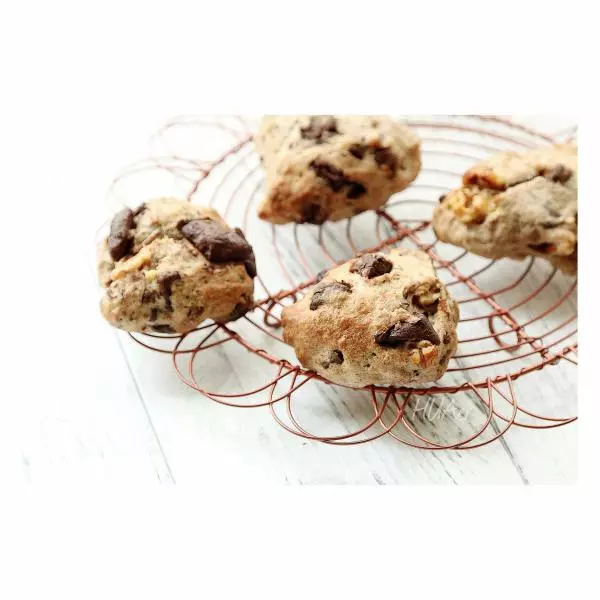
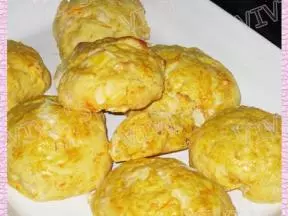
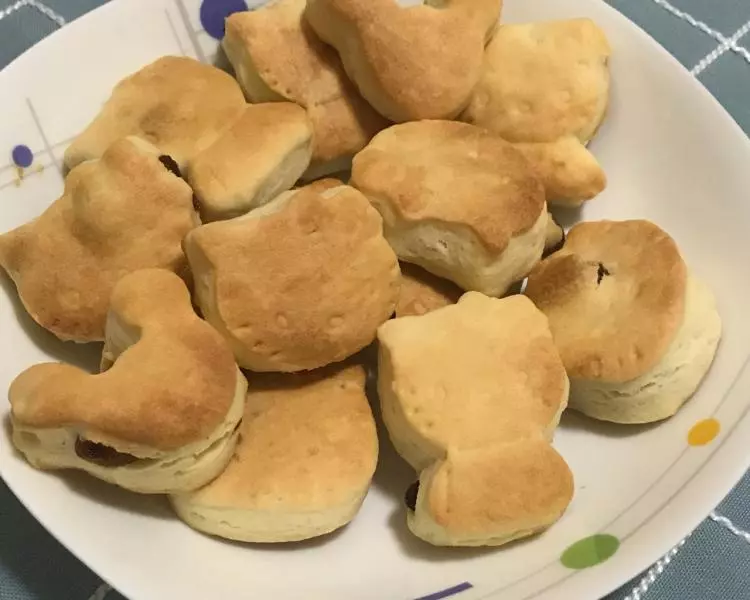
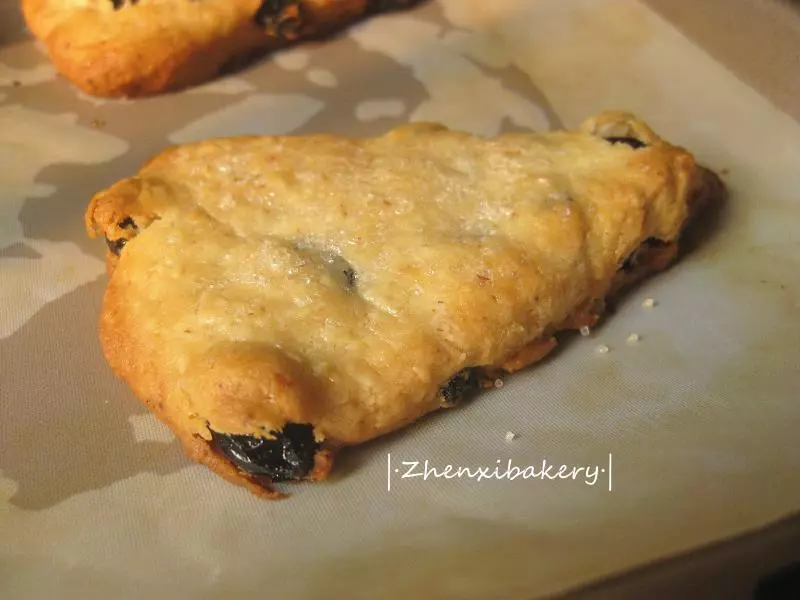
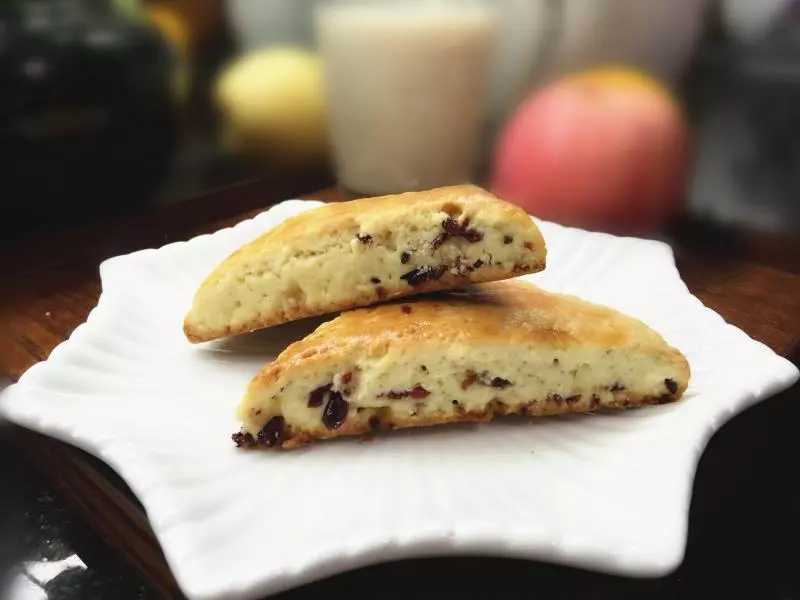
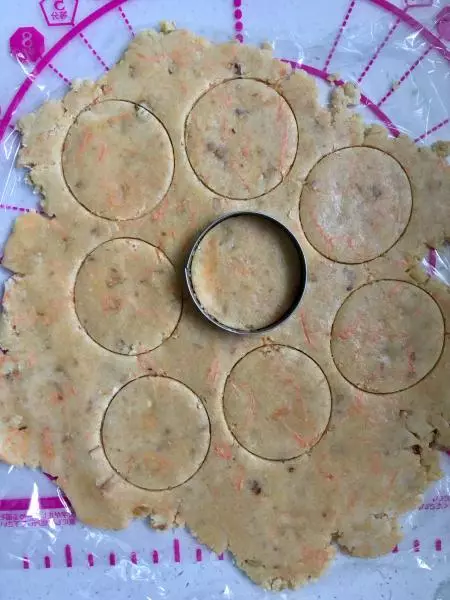
9用擀面杖将面团擀成厚约6-7厘米的片状,用圆形切模切片。配方的量可做8个直径5厘米的司康。(我擀的太薄了,所以导致后来烤出来也没发出来司康的样子囧尽量厚一些)
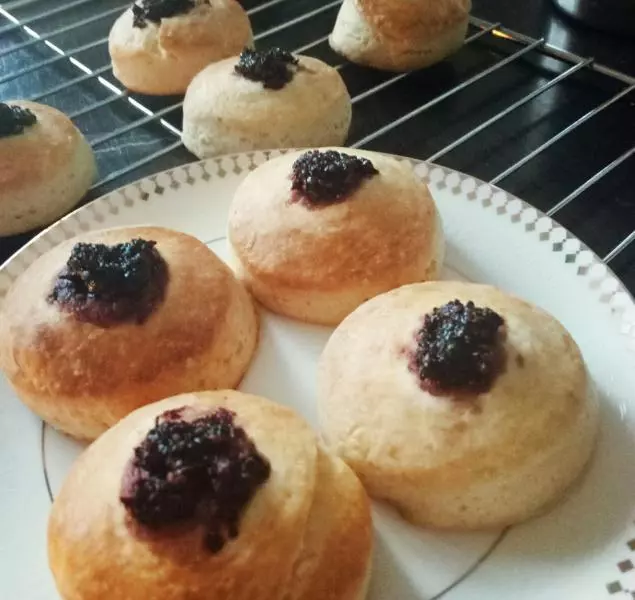
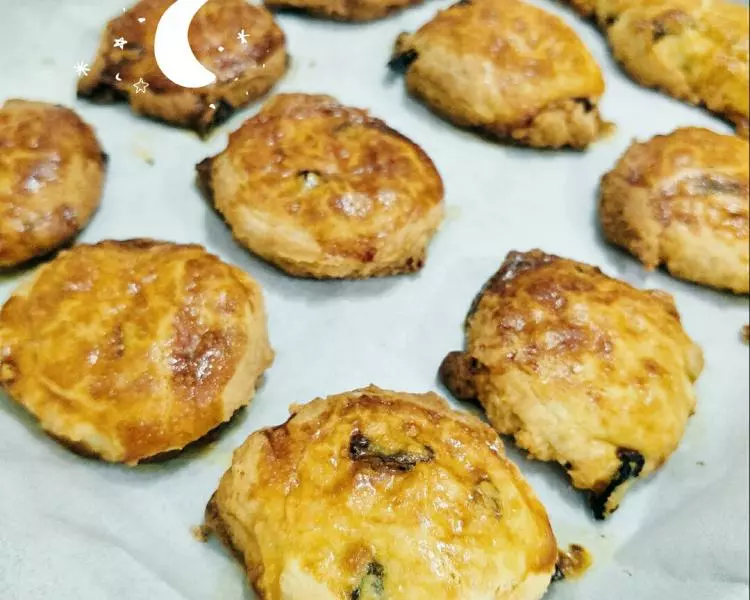
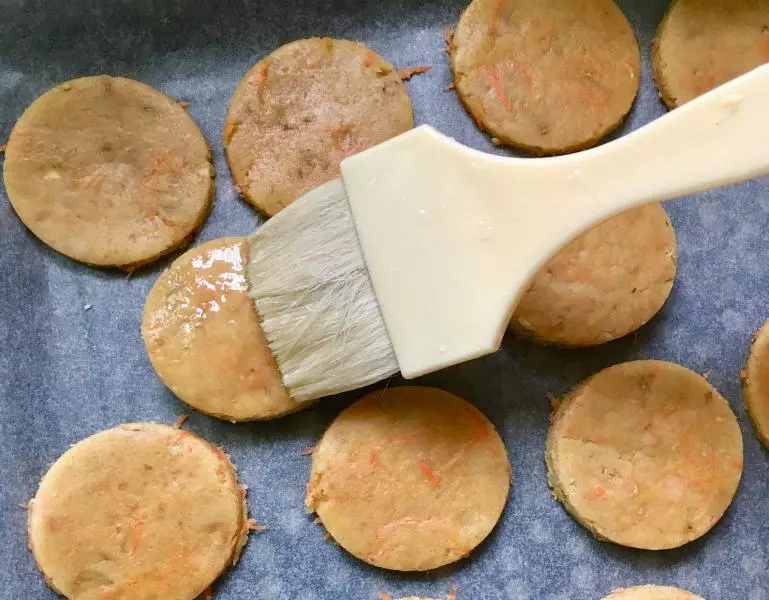
10刷上蛋清,增加光泽度。 放入预热180度的烤箱烘烤20分钟。
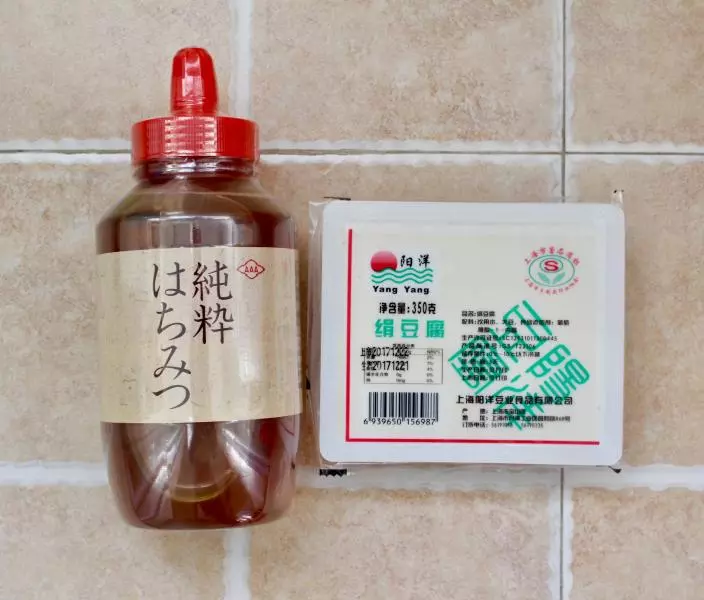
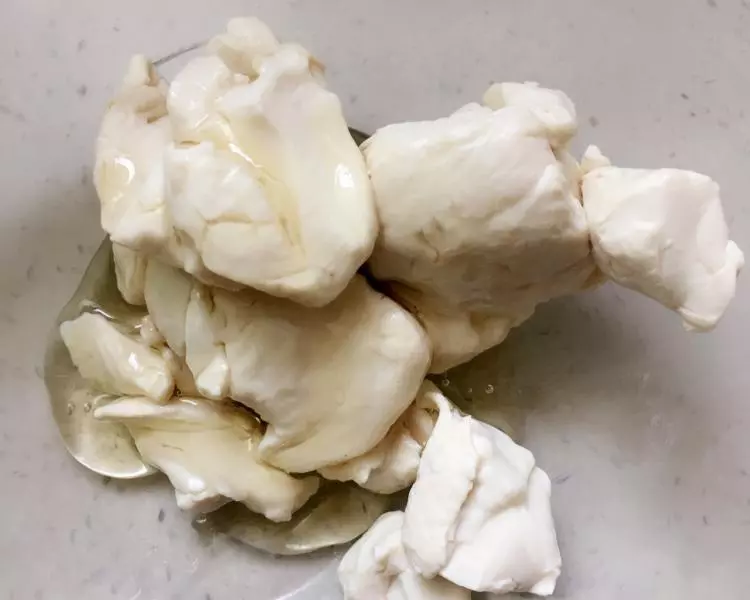
11制作豆腐奶油! 准备材料,用到的仅是蜂蜜和绢豆腐。(中岛方子里的是日本的木棉豆腐,这个在中国就替换成绢豆腐吧,估计口感肯定是有差异的)
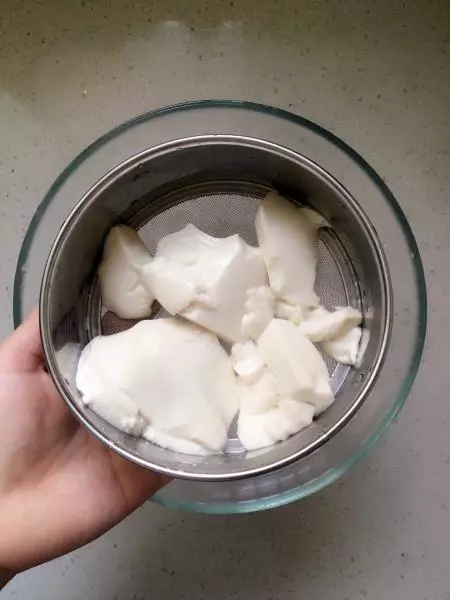
12锅中加水煮沸,放入豆腐,保持水滚开,煮约5分钟。捞出来沥下水分,我是放在粉筛里沥干的。
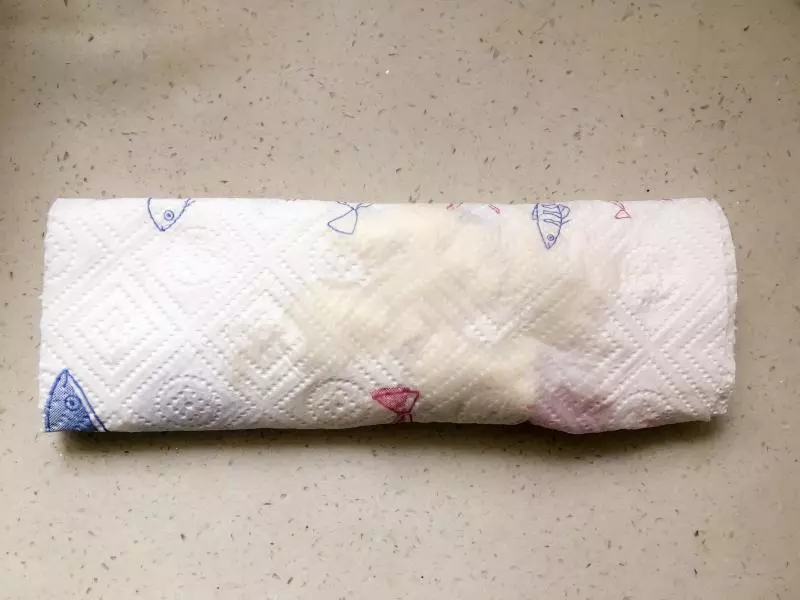
13基本沥干水分后,用厨房纸包好,净置大约1小时,吸去多余的水分。(这里可能需要多用一些纸去吸水,豆腐要尽可能完全控干水分,这样做好的豆腐奶油才会像奶油乳酪一样口感香醇浓郁)
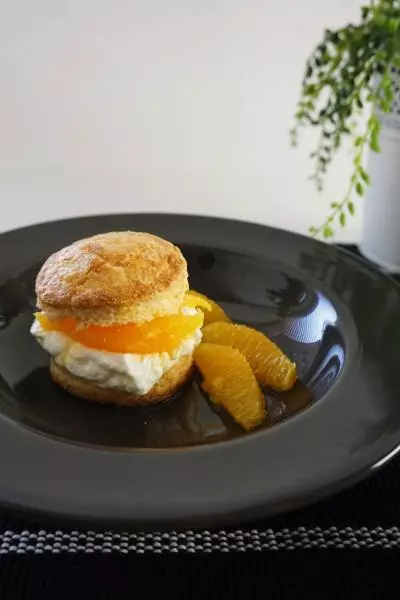
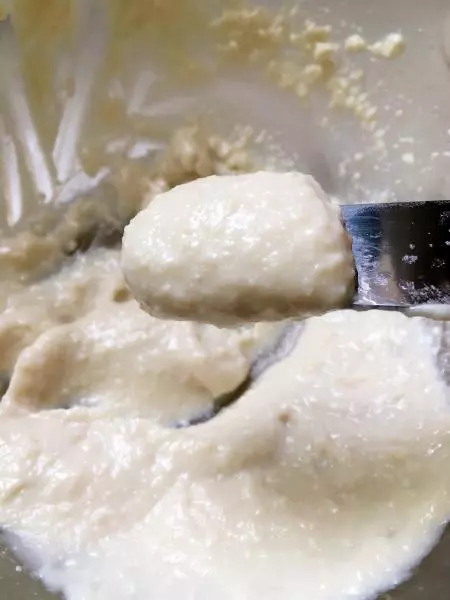
14打开厨房纸,将豆腐放入搅拌碗,加入蜂蜜,搅拌成糊状。
15差不多到这样的程度吧。 尽管没有中岛书里的豆腐奶油打出来的样子那么有顺滑感,可能是因为豆腐关系吧,还是有颗粒感的样子,这样的素奶油第一次打,挺神奇的,味道还意外的不错。
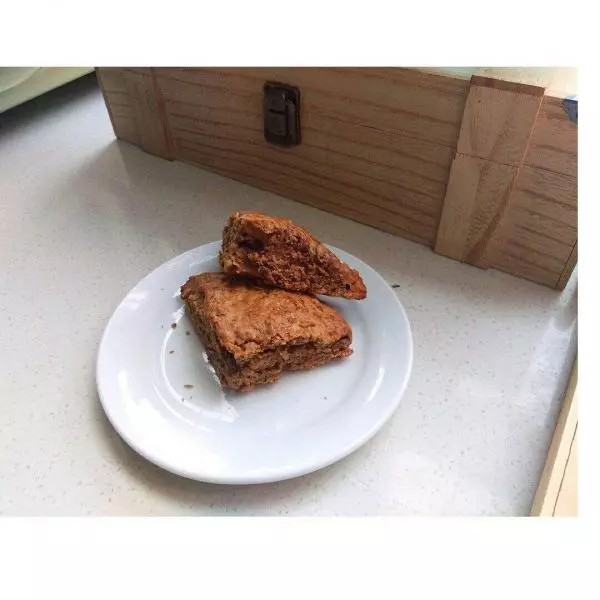
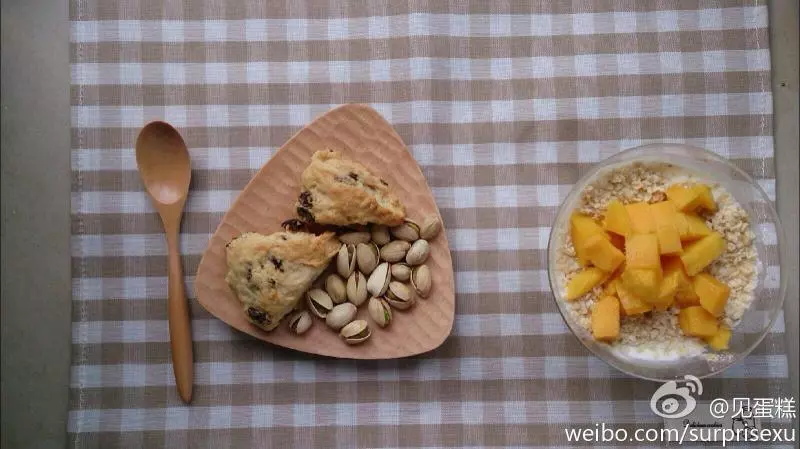
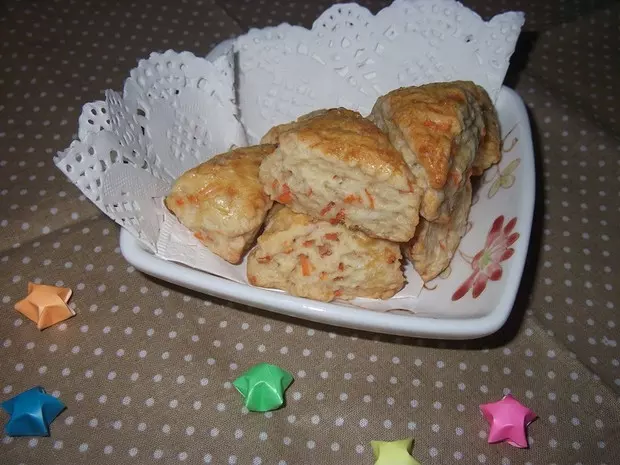
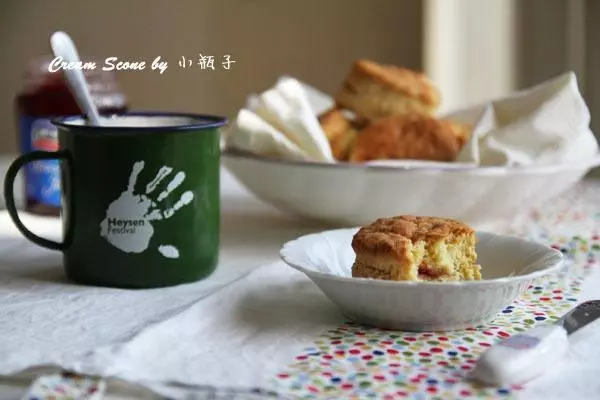
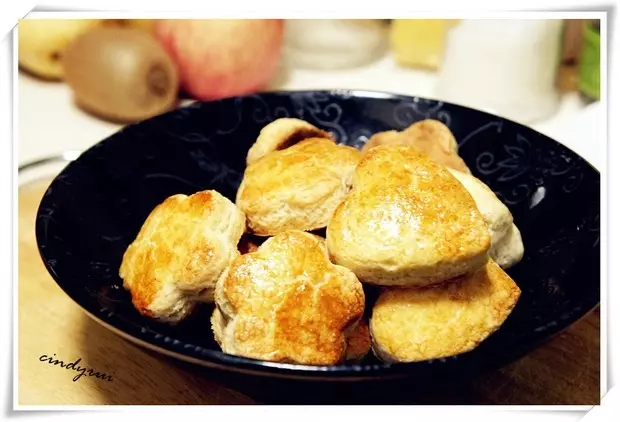
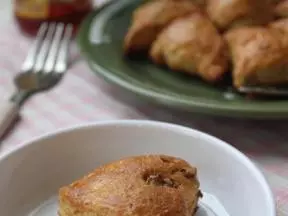
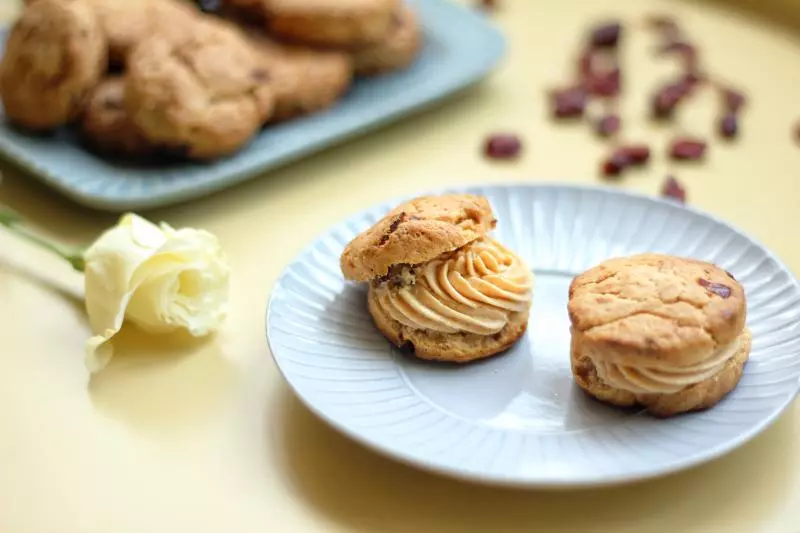
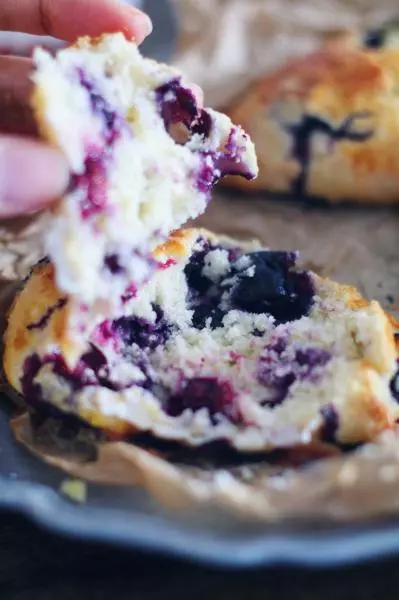
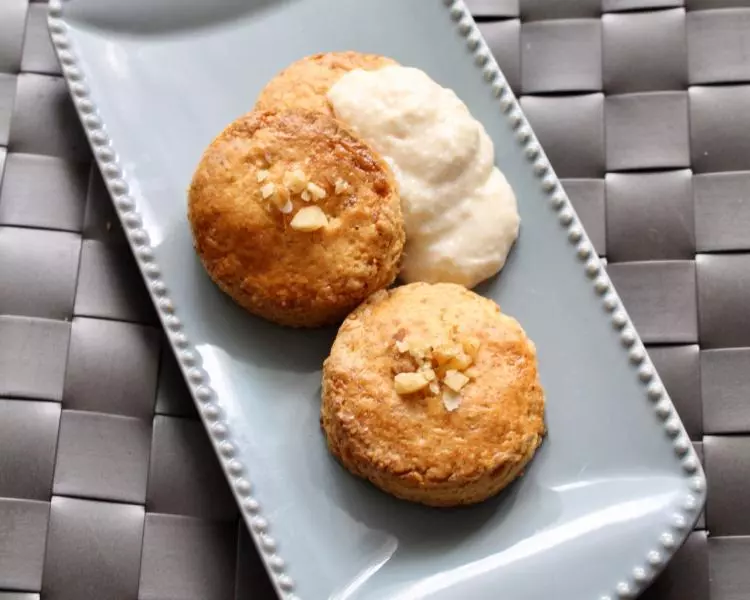
16这样的搭配一口下去,冷热搭配,满足!
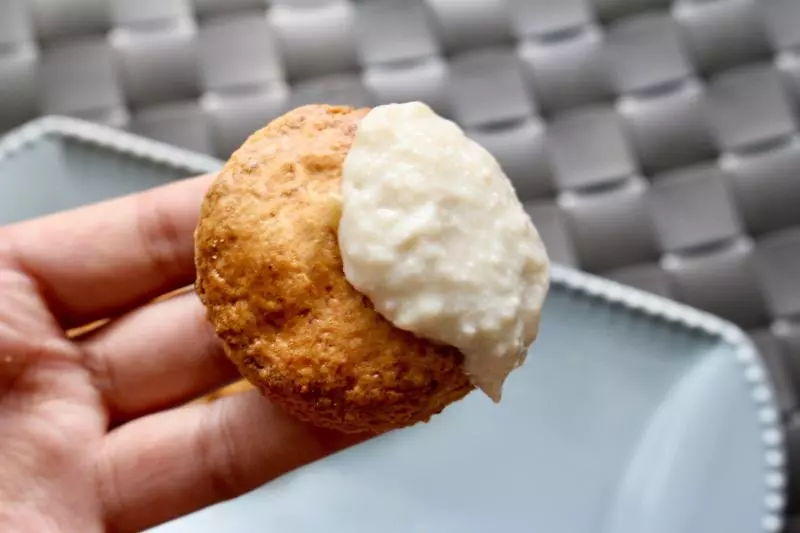
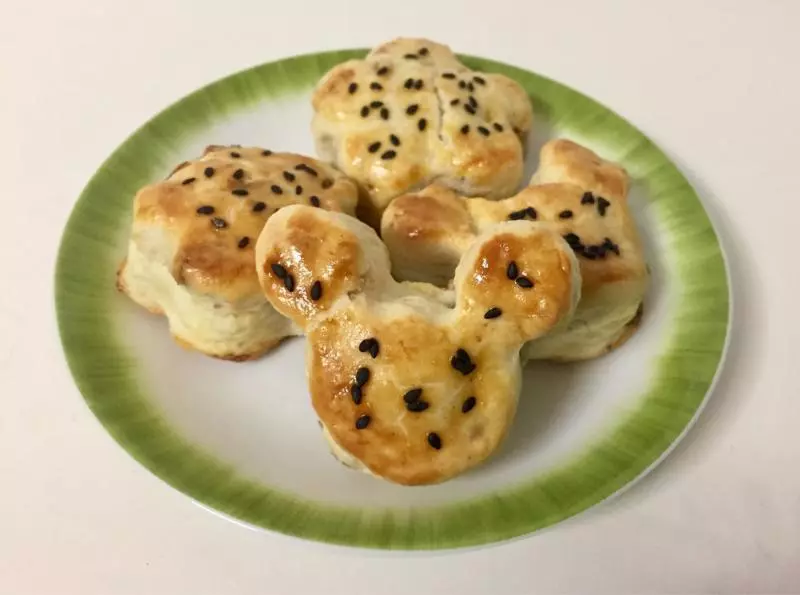
17完成✅

小技巧
1.豆腐奶油的话,因为是纯靠豆腐和蜂蜜打发,所以豆腥味还是有的,介意的朋友可以加一点黄油一起打试试。另外,尽可能的吸干豆腐的水分,不然很难打发成型。 2.根据胡萝卜的水分含量调节面团的软硬度,确定豆浆的用量。我自己第一次没经验,面团偏薄也偏硬,所以烤出来的成品感觉更像司康饼干了,但是味道是真不错,个人非常喜欢点心中带一点点肉桂的味道,当饼干吃也不错啦哈哈。