原料
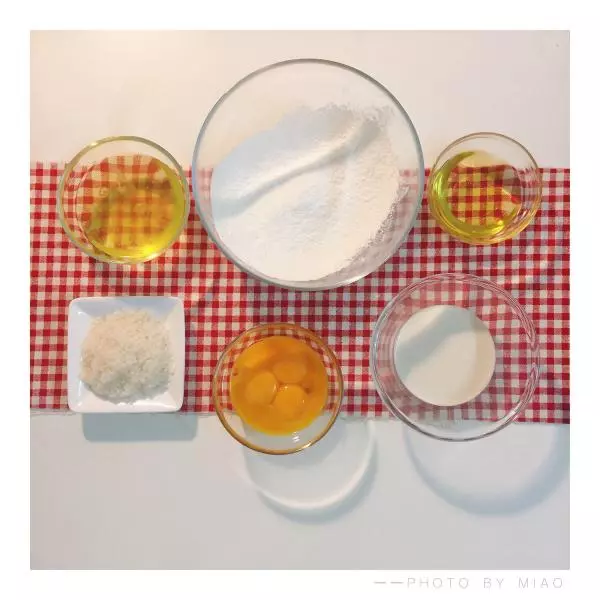
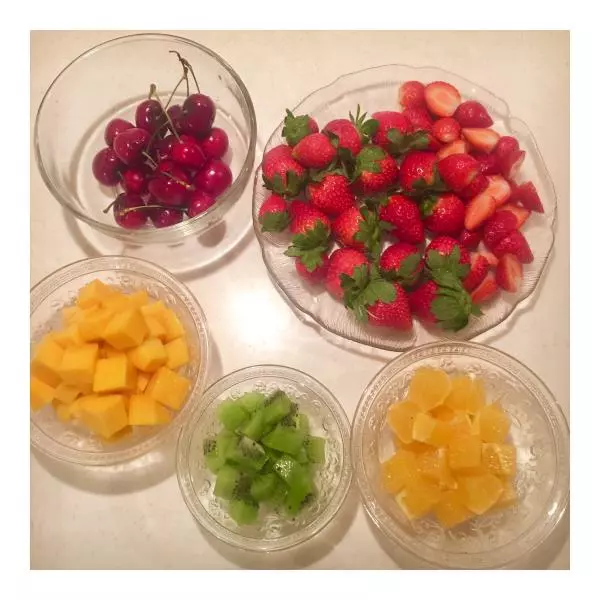
蛋黄: 4个, 低筋面粉: 98g, 玉米油: 64g, 牛奶: 80g, 白砂糖: 22g, 蛋白: 4个, 细砂糖: 56g, 柠檬汁(或白醋): 几滴, 奶油: 450g, 水果: 车厘子、草莓、芒果、奇异果、香橙
步骤
1将所有需要用到的材料秤好分别放在不同容器;
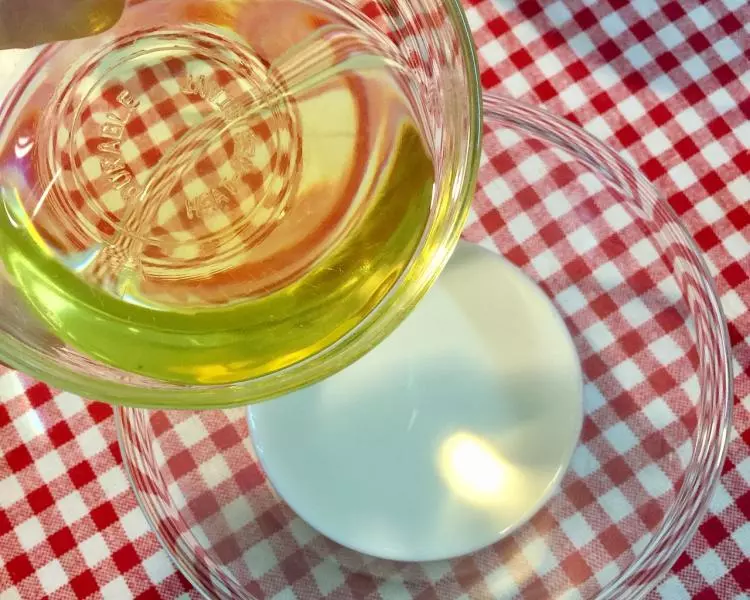
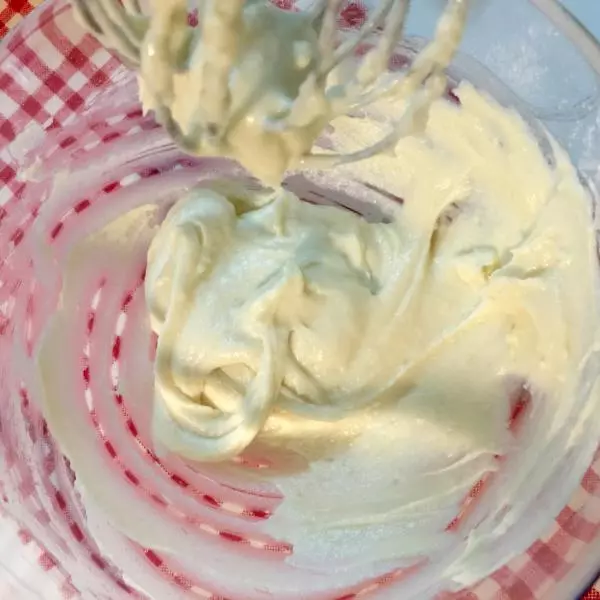
2首先先做蛋黄糊,将玉米油和牛奶混合;
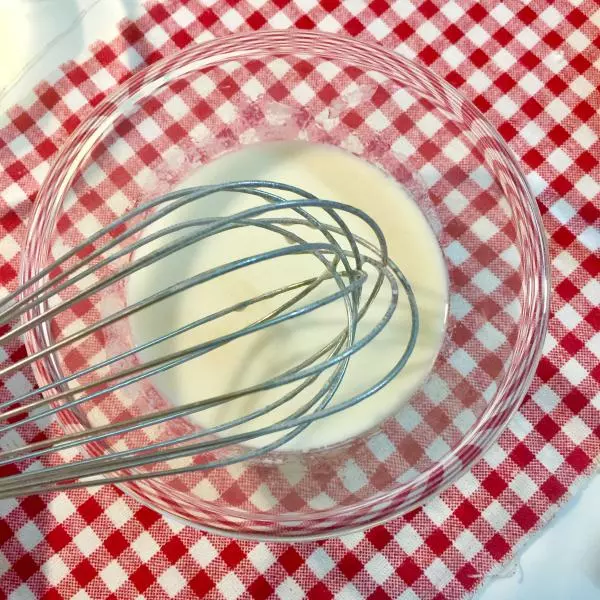
3搅拌乳化;
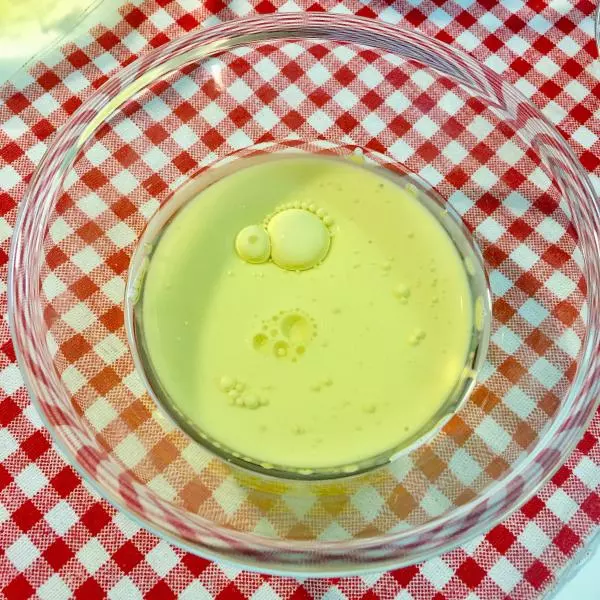
4搅拌直至看不到玉米油;
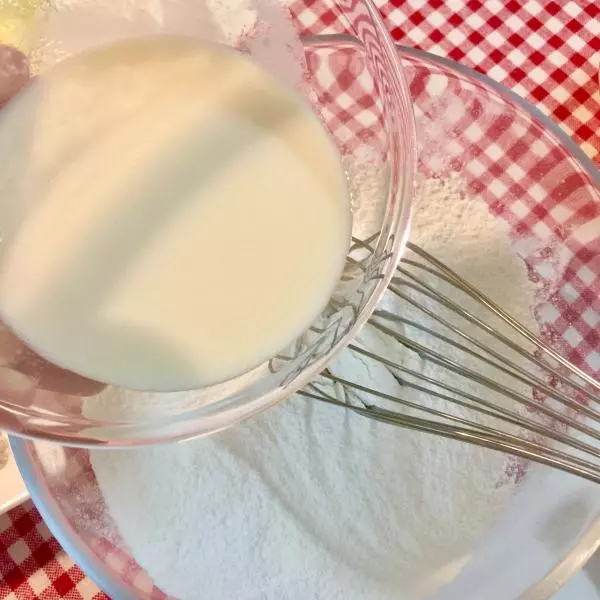
5接下来将过筛好的低筋面粉倒入混合好的牛奶玉米油里面;
6“Z”字形搅拌面糊,直至无面粉颗粒;
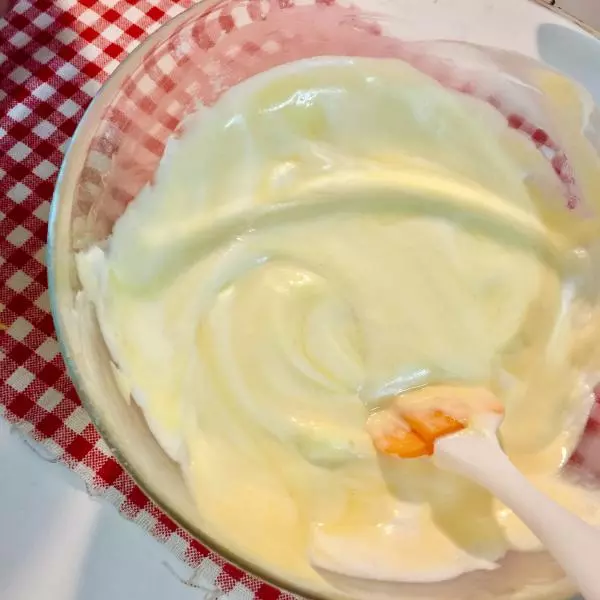
7最后加入蛋黄搅拌均匀(最后下蛋黄是避免蛋黄糊有面粉颗粒,还可以让蛋黄糊更顺滑);
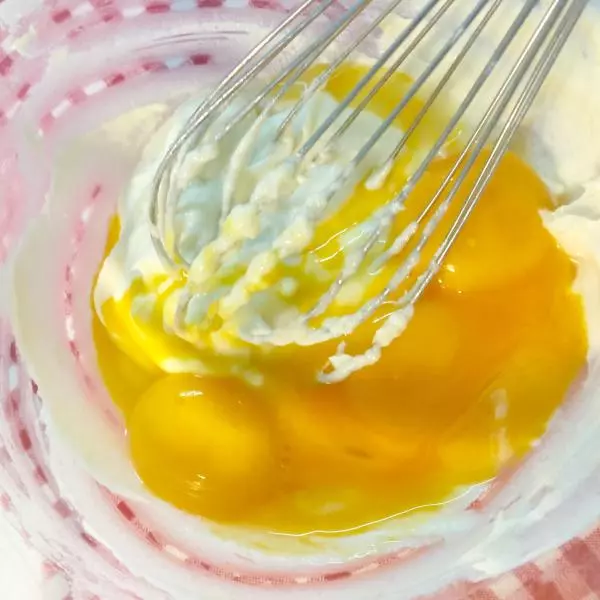
8“Z”字形搅拌面糊,尽快搅拌均匀,避免面粉起筋;
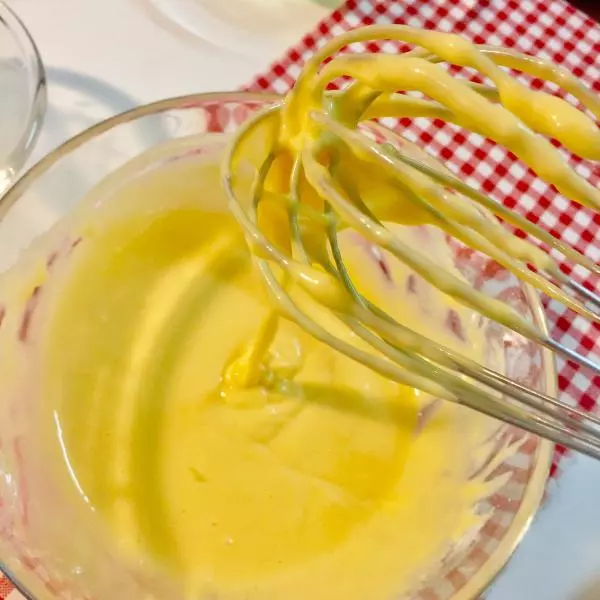
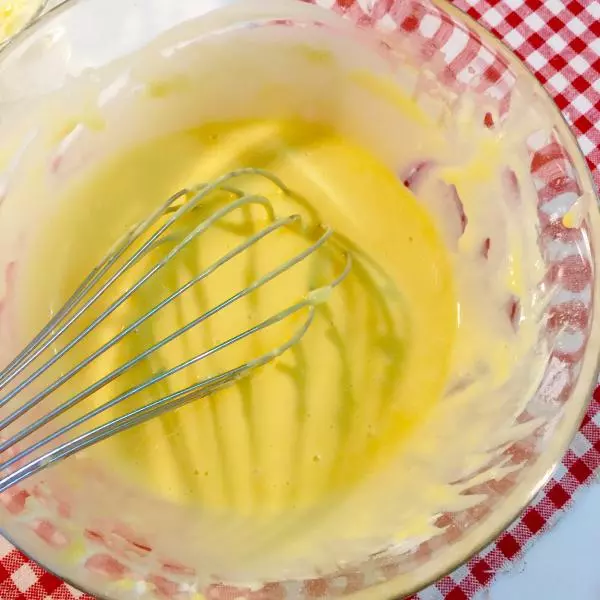
9搅拌好的蛋黄糊放在一旁待用;
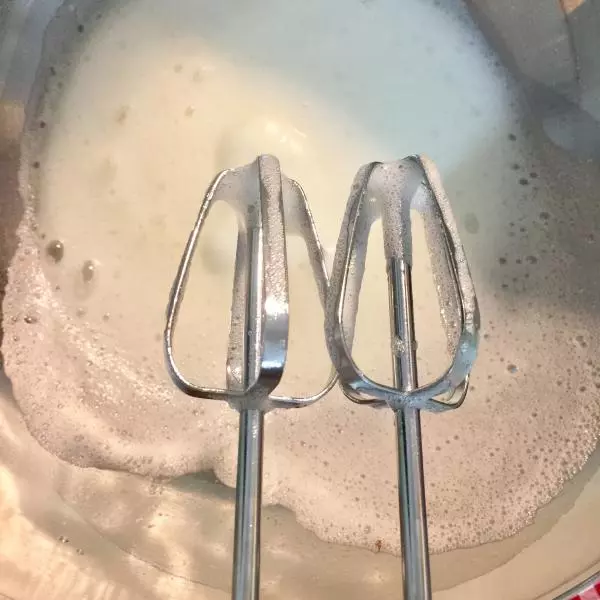
10打发蛋白,一定要把每一处的蛋白都打发到。低速打发蛋白全部变成大泡泡时加入几滴白醋再加1/3白糖;

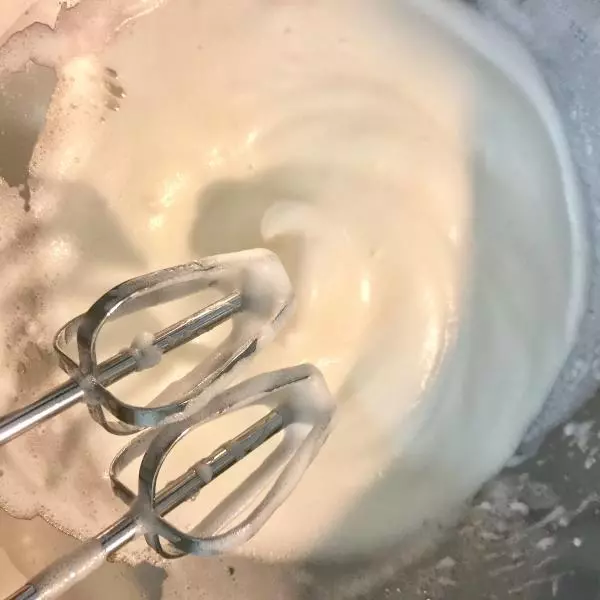
11继续打发,中高速打发,剩下的白糖分两次加入,一次在大泡泡变小时再加入1/3白糖;
12最后一次加糖时,使用低速继续打发;这个时候就可以预约烤箱上下管160度10分钟;
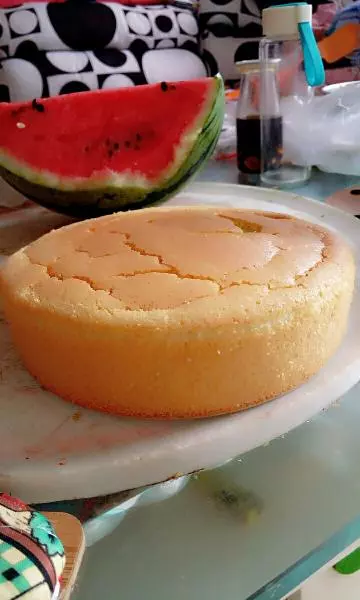
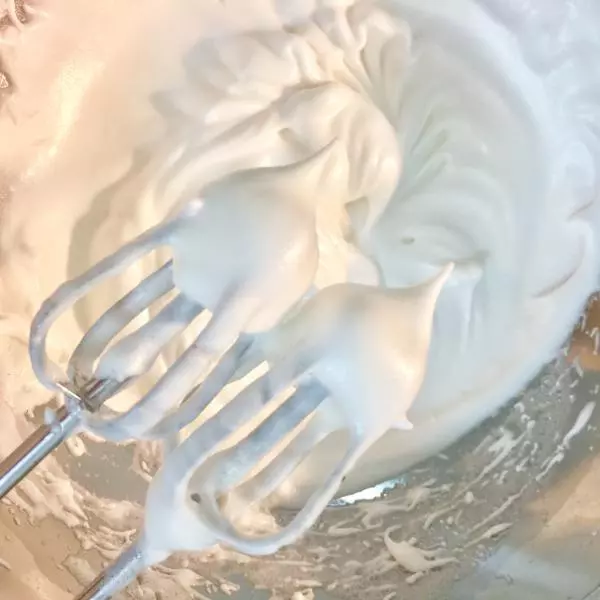
13直至提起时打蛋器时,蛋白霜的尖尖有一点点弯曲就可以了。这次我打的有点过了,提起打蛋器是直立的尖端,烤的时候容易开裂。
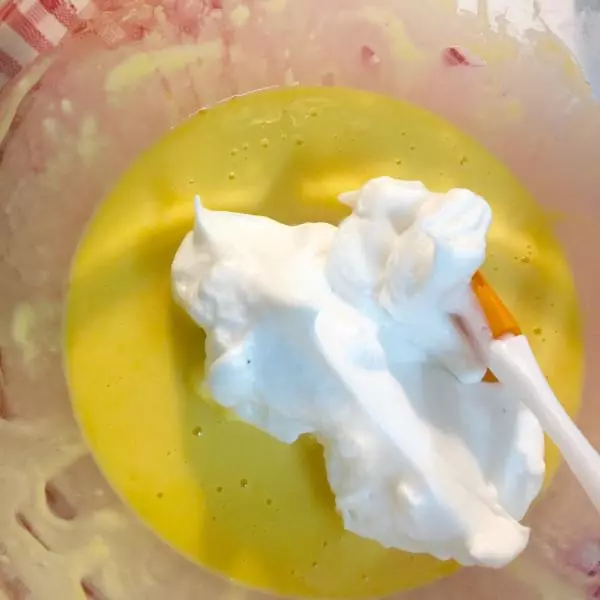
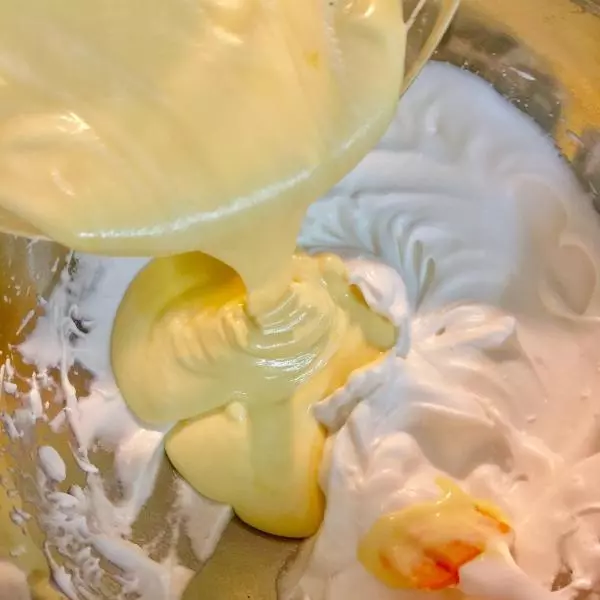
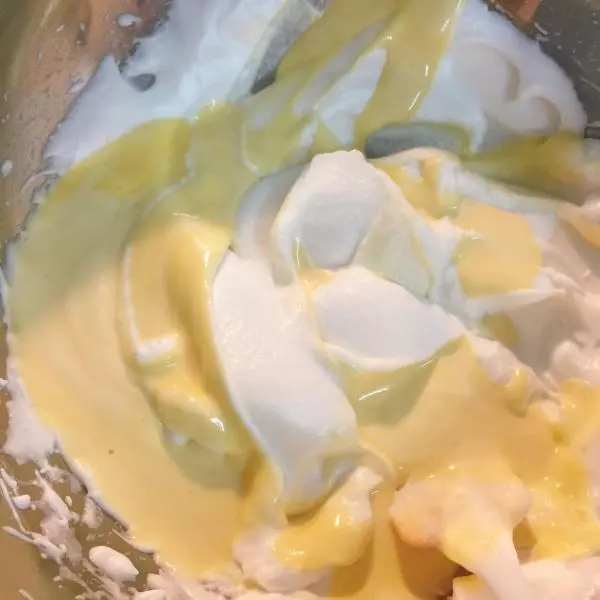
14混合蛋白霜和蛋黄糊,先取1/3蛋白霜与蛋黄糊混合,用切拌和翻拌的手法,混合至没有的蛋白霜为止;
15快速搅拌,避免蛋白消泡;
16将刚才混合好的蛋糊倒入蛋白盆,用同样的手法翻拌;
17同样快速搅拌,避免蛋白消泡;
18混合至没有的蛋白霜就完成了;

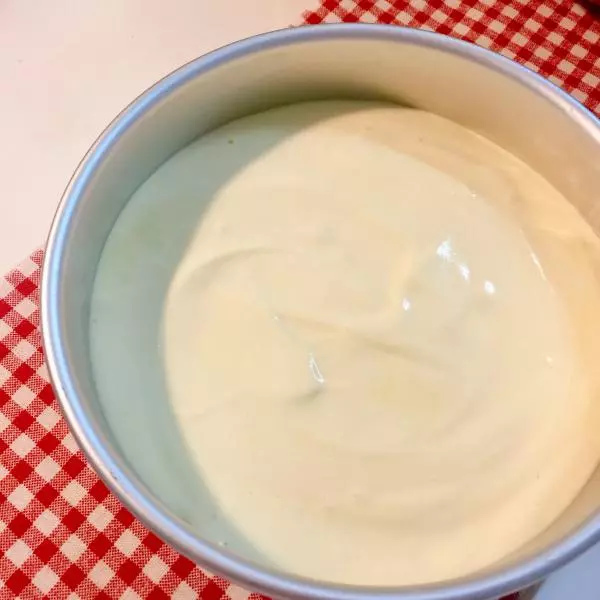
19将搅拌好的蛋糊倒入圆形模具;
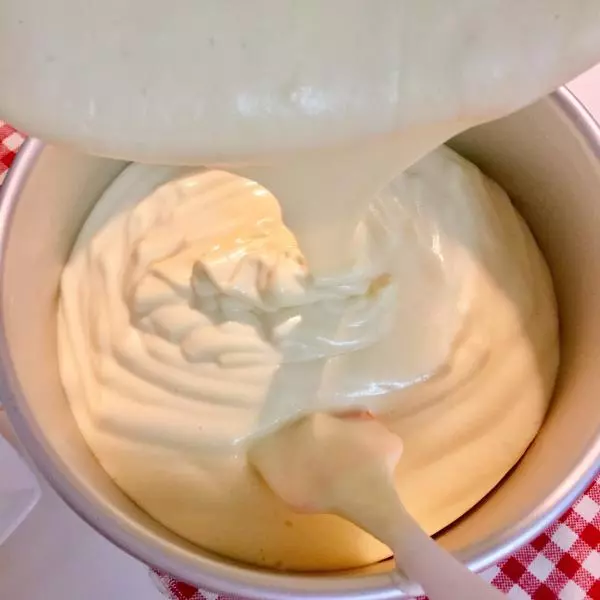
20然后将模具轻轻摔到桌面上轻轻震几下,震出大气泡,用牙签挑破表面小气泡。若怕内部有气泡可以用牙签在插入面糊内部画圈;
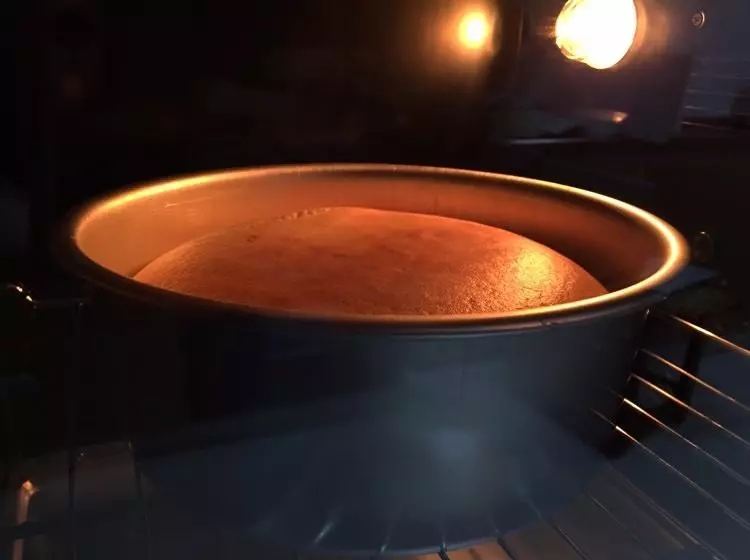
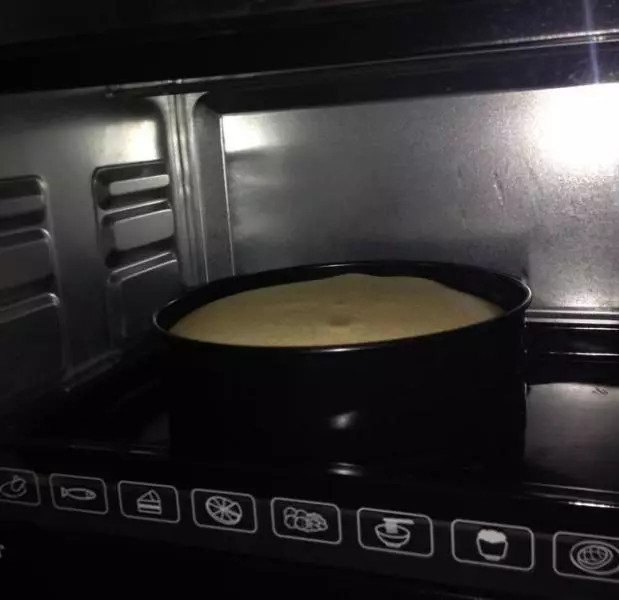
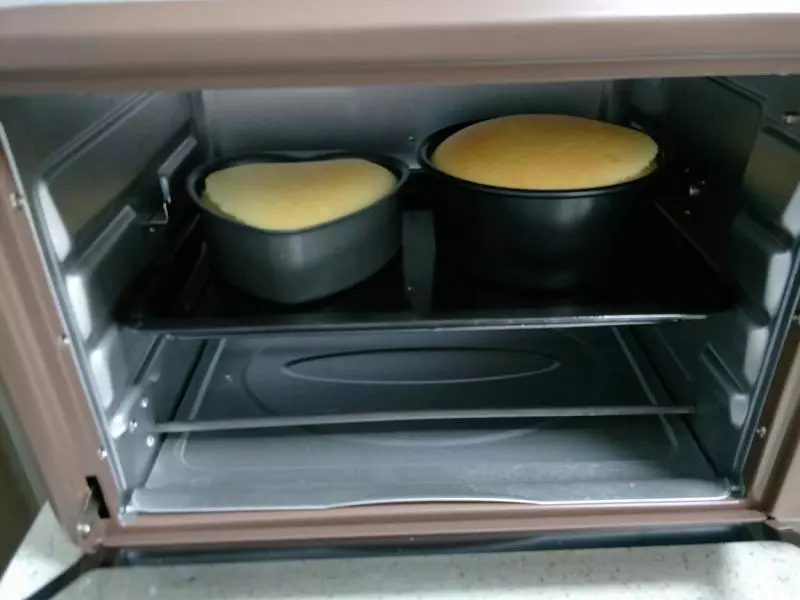
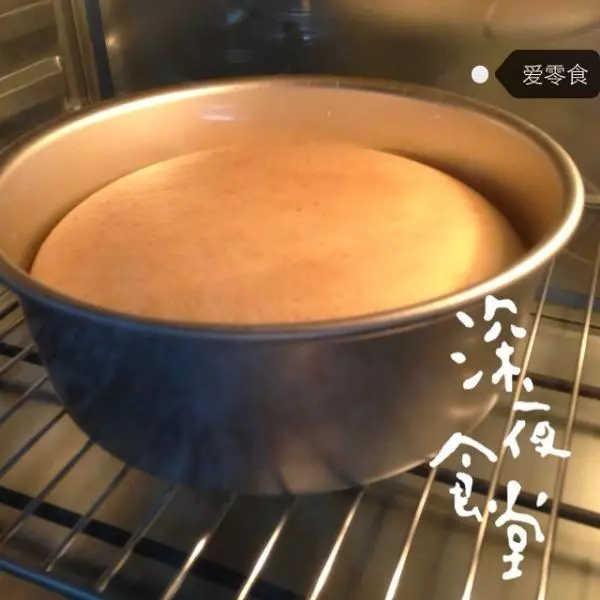
21成功的面糊应该是到模具6成到8成的位置,如果没有这么多则是消泡了。将模具入预热好的烤炉的中层(30L烤箱),150度上下火50~60分钟。
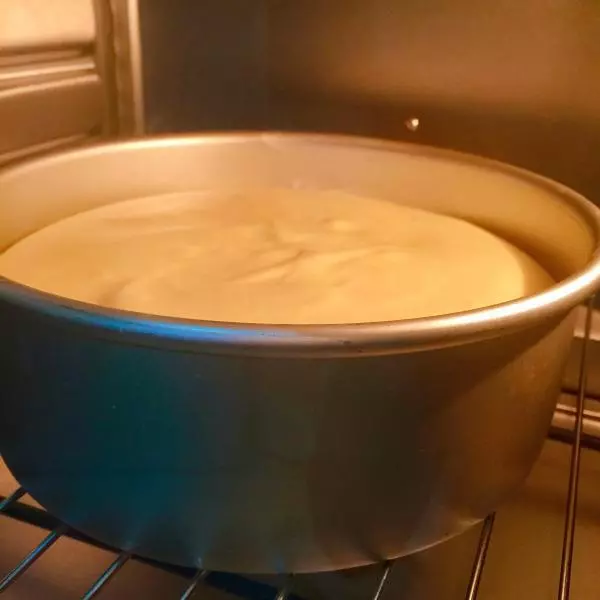
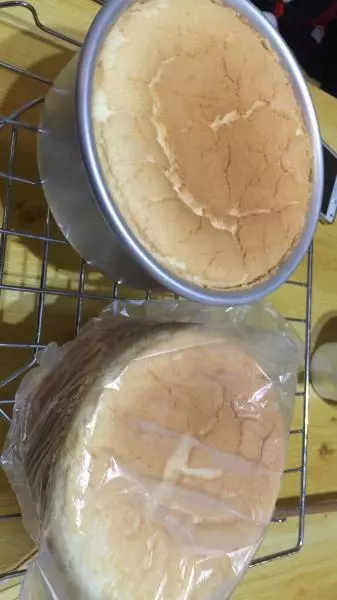
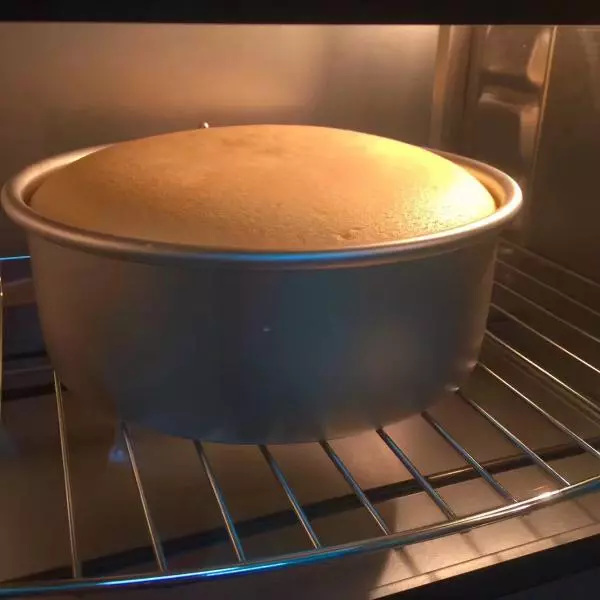
22烤至30分钟左右的状态。怎么判断戚风是否熟了,用牙签插入蛋糕,牙签上没有蛋糕屑,证明已经熟了。如果还挂有屑加时间烤至熟;
23烤好的蛋糕,拿出蛋糕后马上举起模具,在距离桌面30cm处落下,震出热气,然后马上倒扣;
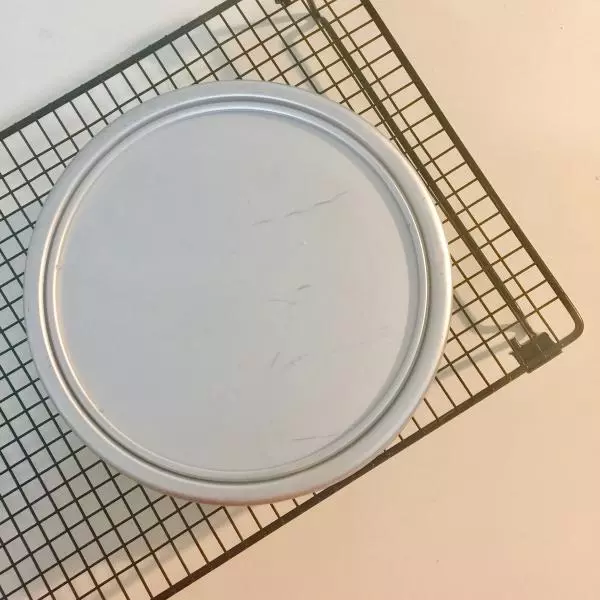
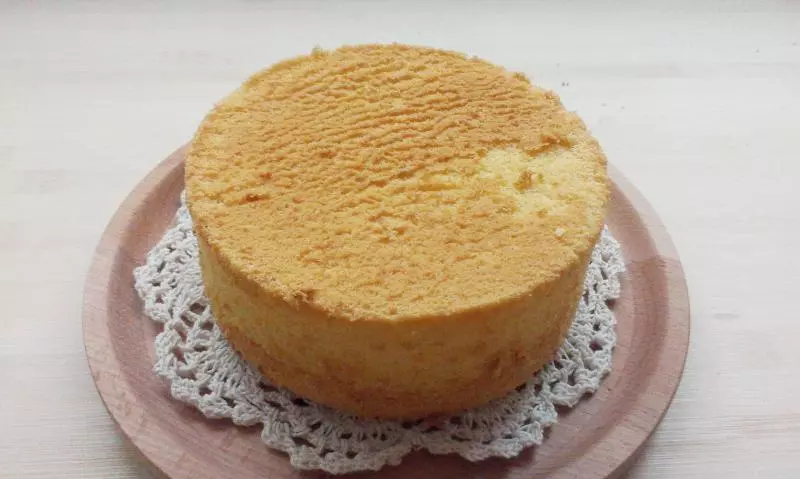
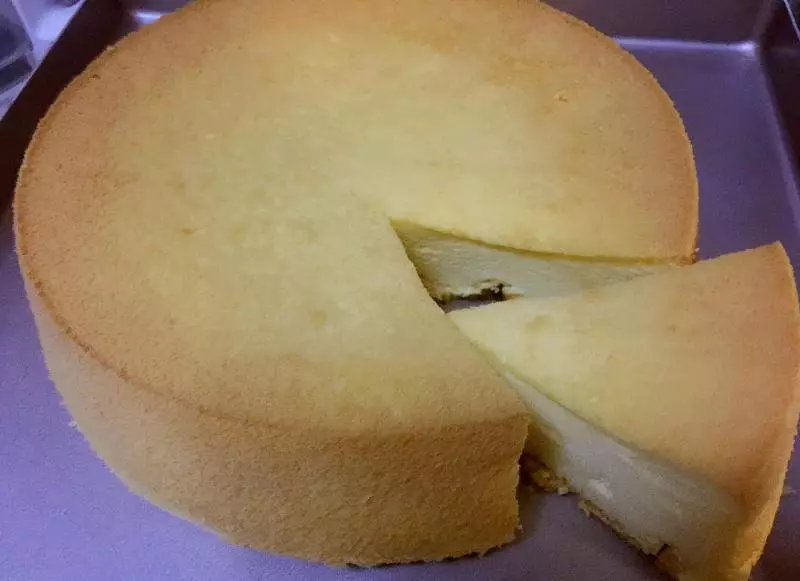
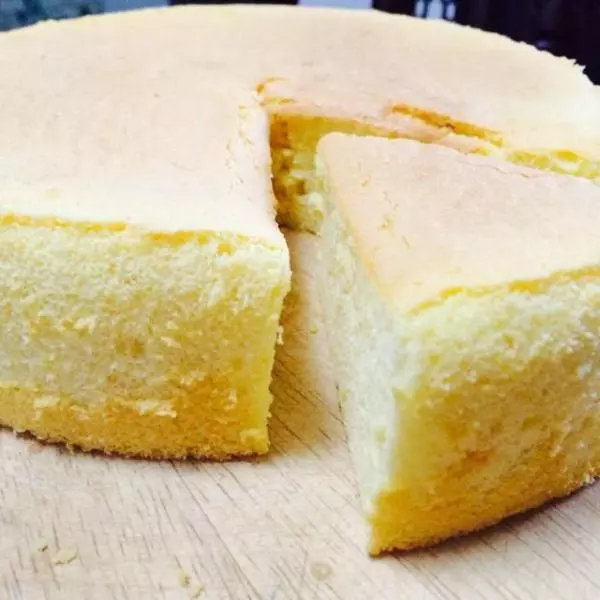
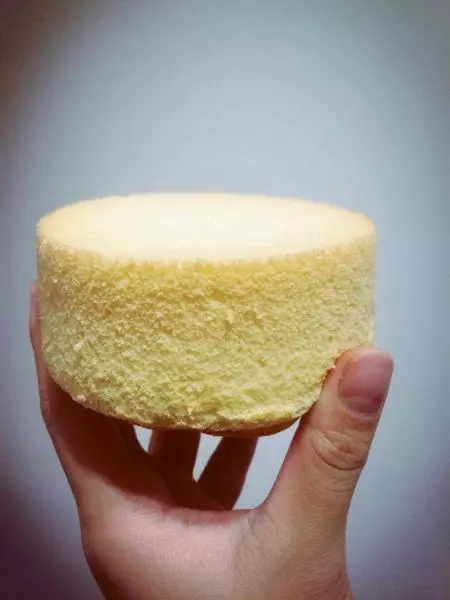
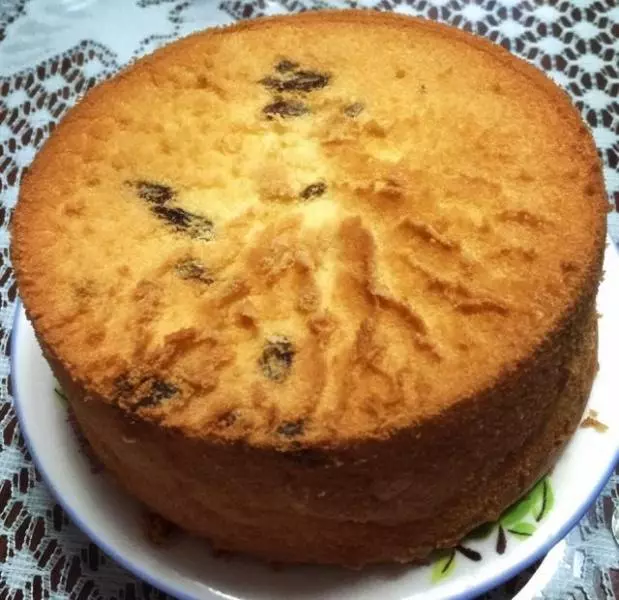
24倒扣至少2个小时以上,等蛋糕完全凉透即可脱模。热的时候脱模会回缩,蛋糕会收腰。

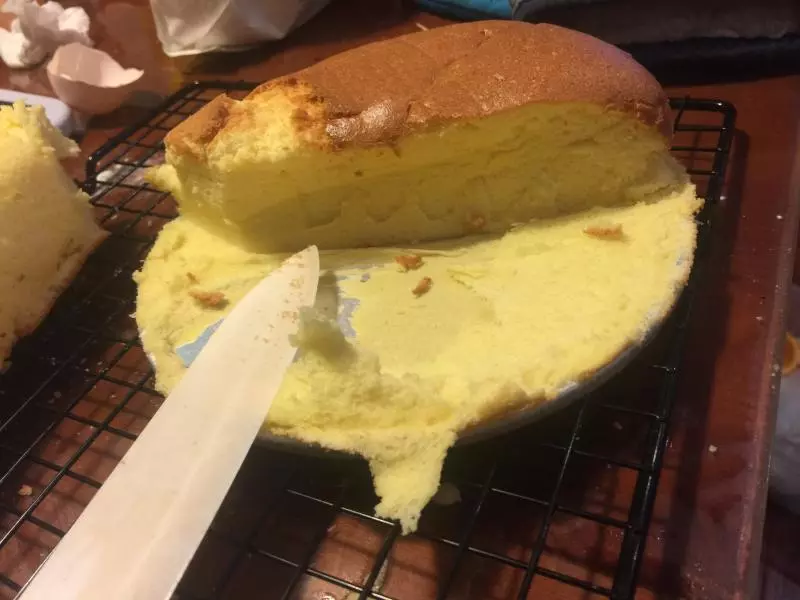
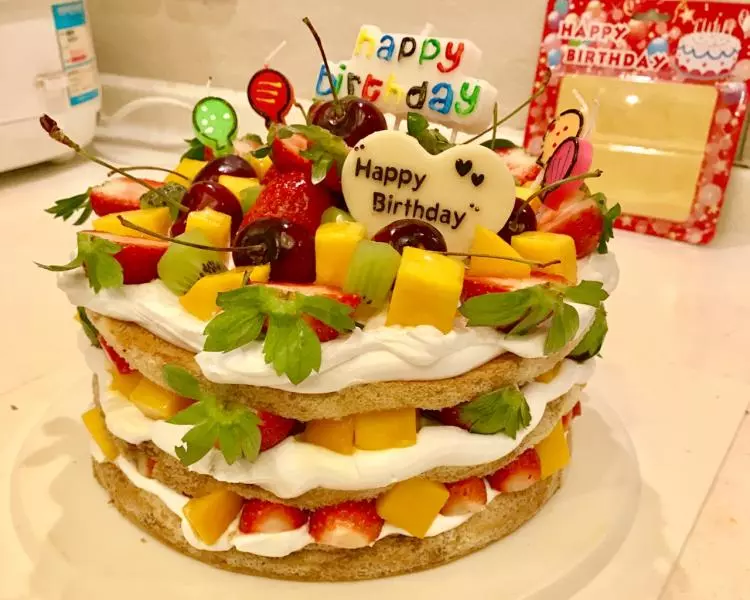
25接下来就开始制作裸蛋糕,水果洗净切丁备用;
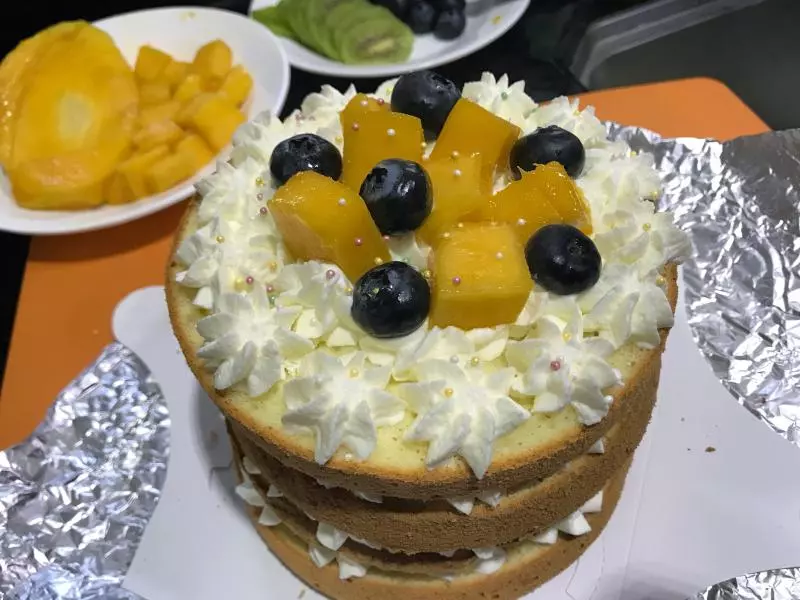
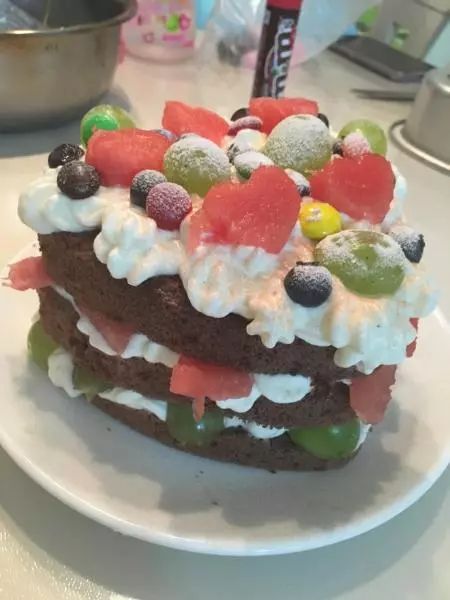
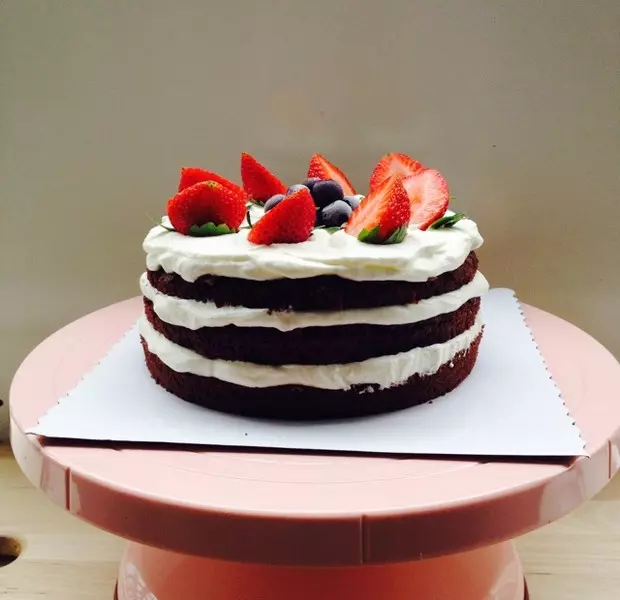
26蛋糕胚切成3层,第一层涂上打发好的奶油,接着铺上夹心层水果;
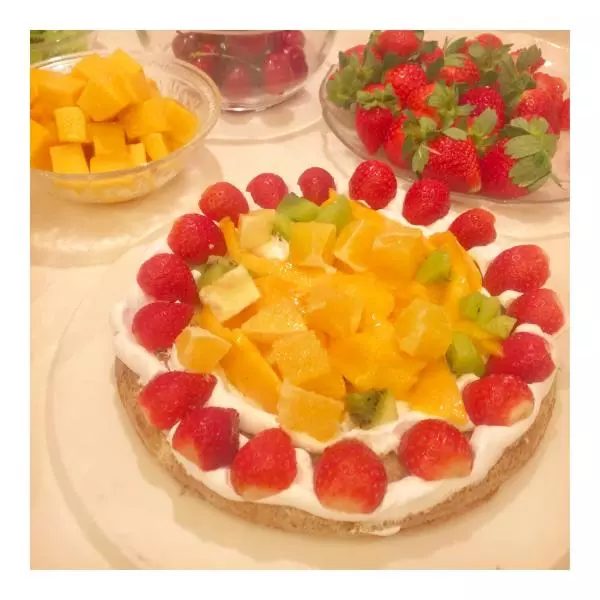
27再铺上第二层蛋糕胚,和第一层一样铺上奶油水果;
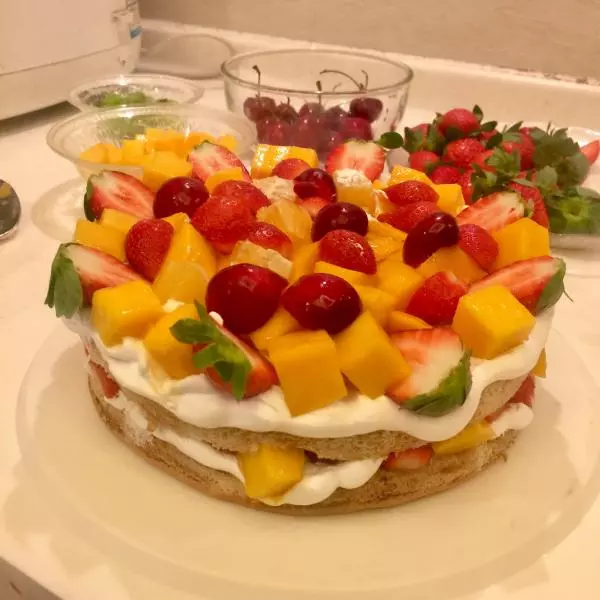
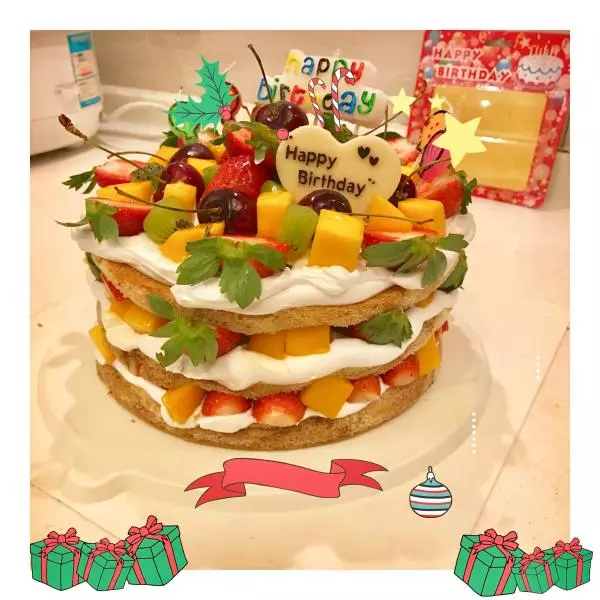
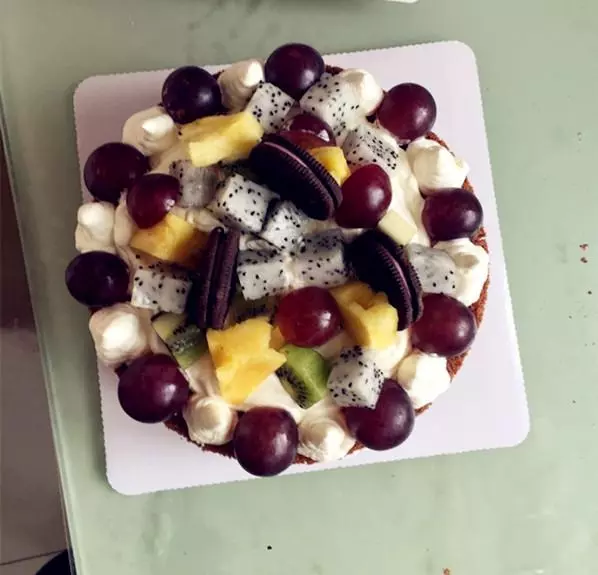
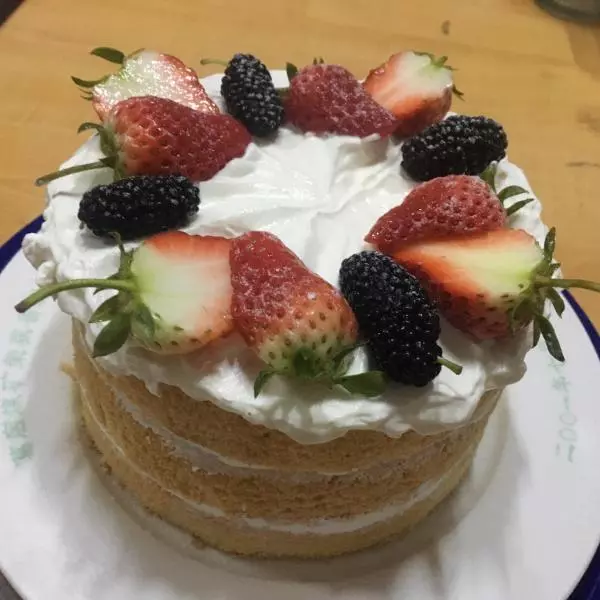
28最后一层摆上自己喜欢的水果造型;
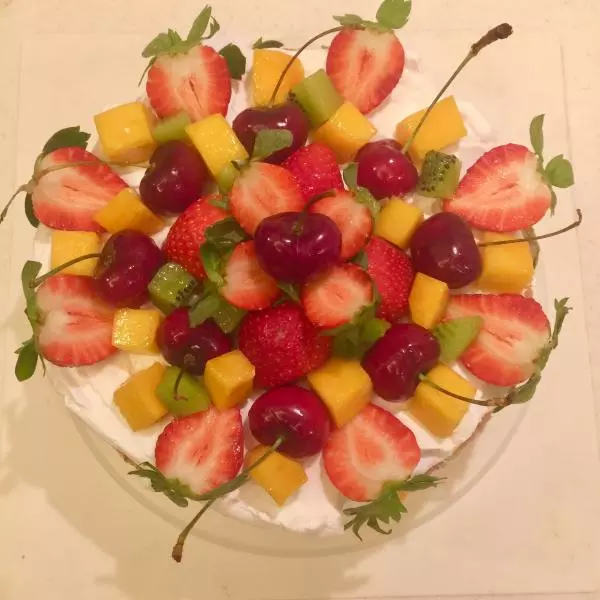
29最后插上生日装饰品,裸蛋糕就完成啦~
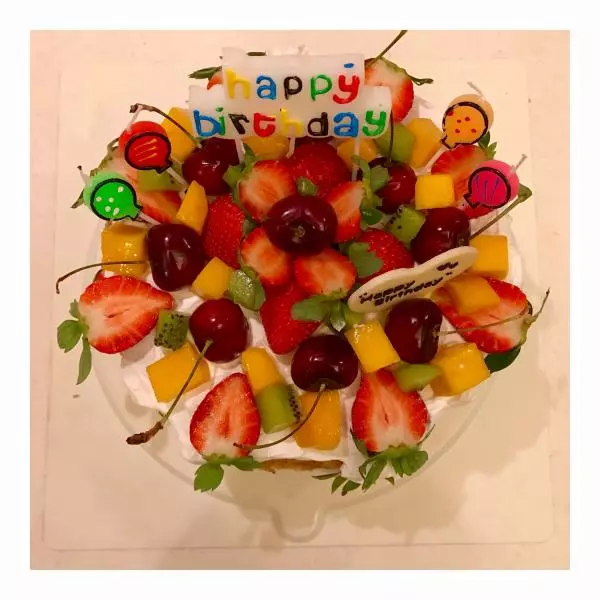
30献丑啦~?