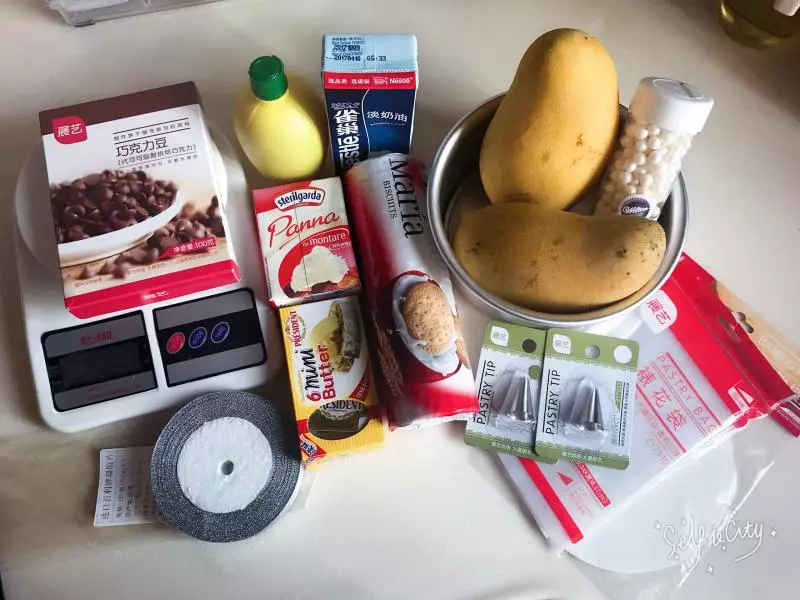
原料
芒果: 2个, 奶油: 1盒, 饼干: 1袋, 柠檬汁: 少许, 细砂糖: 30克, 黄油: 2块, 吉利丁片: 1片
步骤
1整理一下所需要的材料,全部准备好……
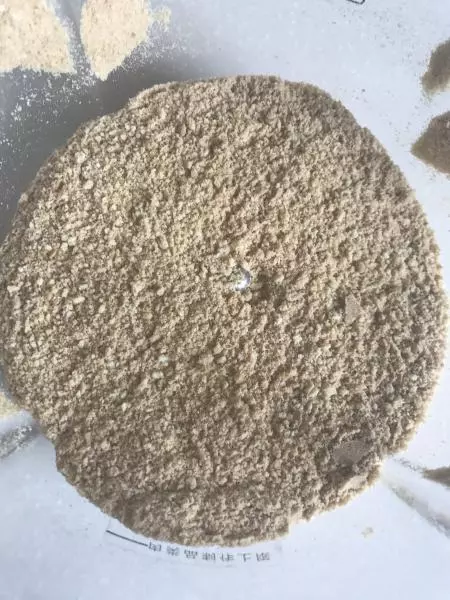
2消化饼干料理机打碎,也可以用奥利奥或者其他喜欢的饼干!无盐黄油隔水融化,加入饼干拌匀!放入蛋糕模中压实,我用的6寸!
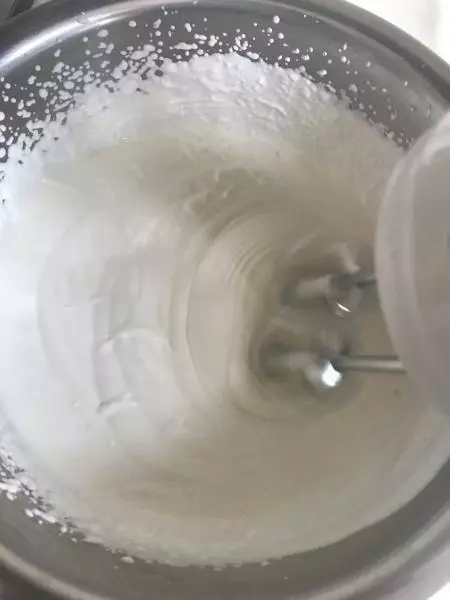
3打发淡奶油,到出纹路短时间不消失即可!打发一定要掌握好,时间长或短都会影响慕斯口感!
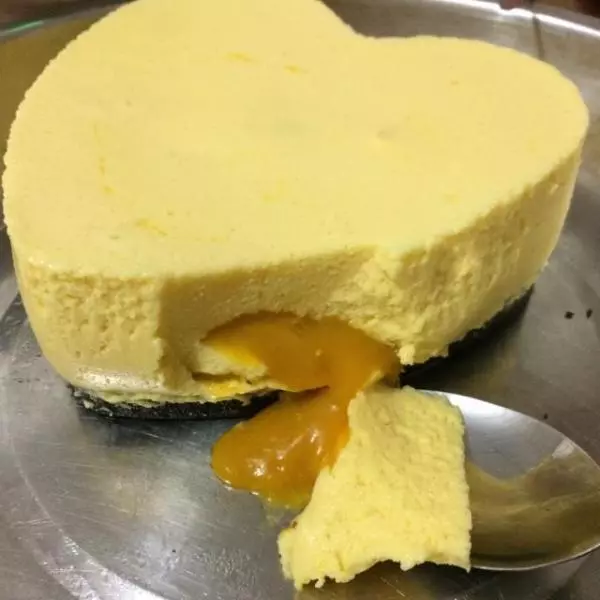
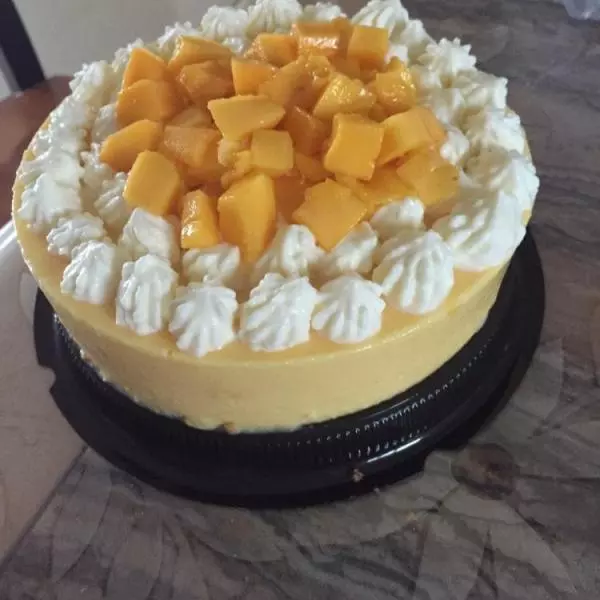
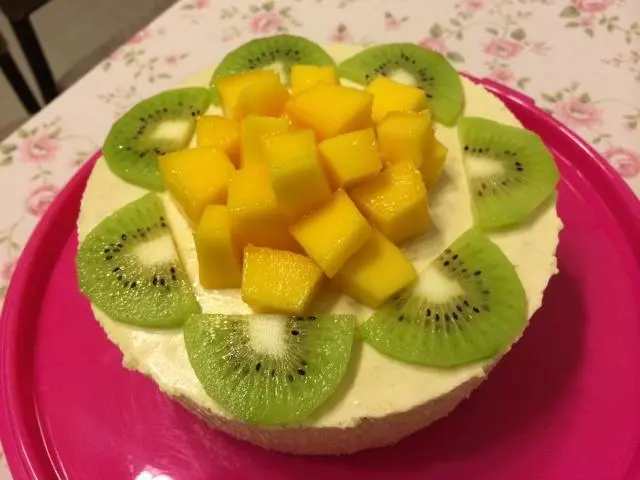
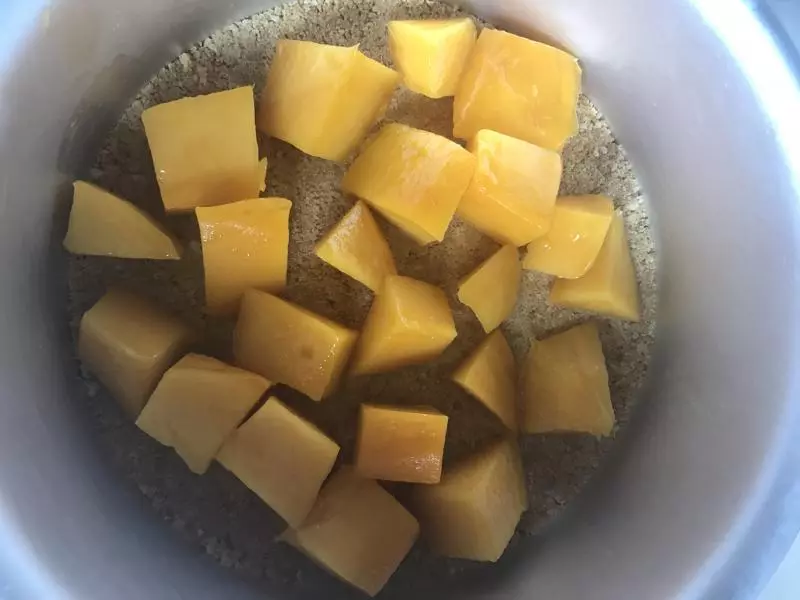
4处理芒果,完整大块的留着切丁切片,边角的打碎!
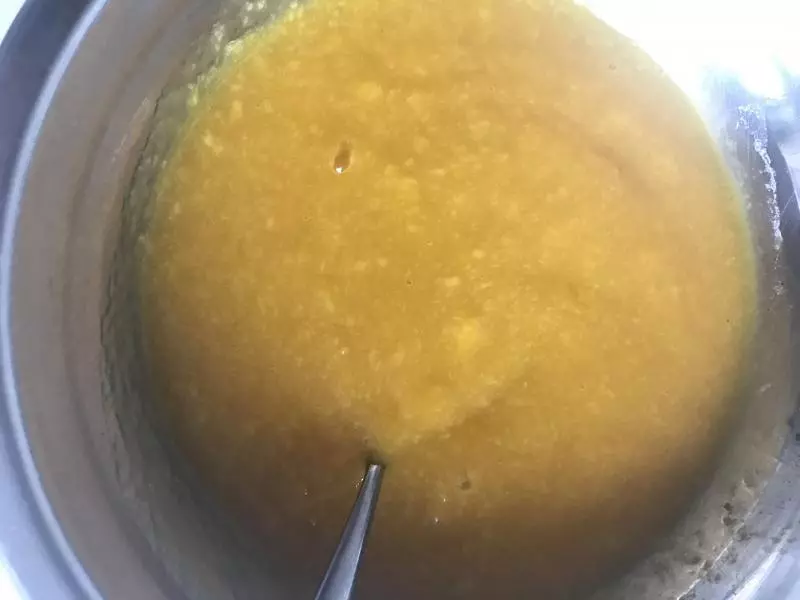
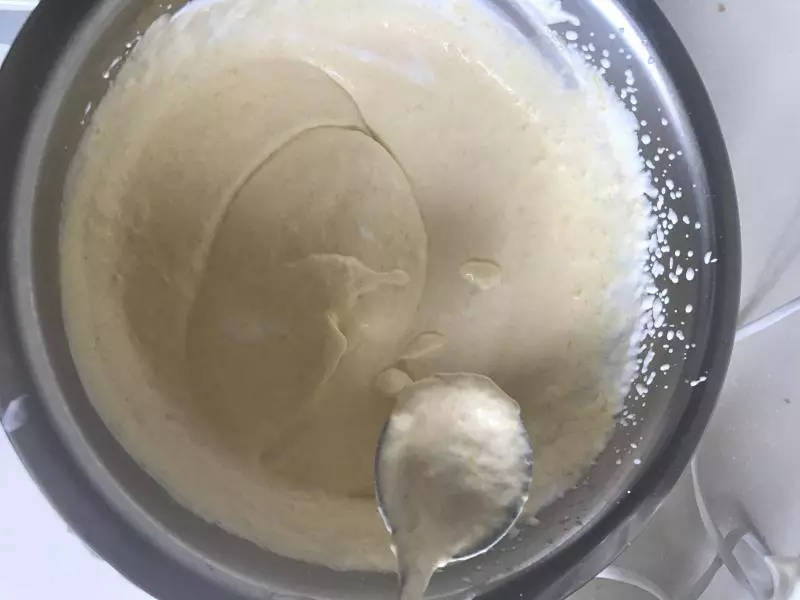
5制作慕斯糊,吉利丁片提前隔水融化!将芒果酱加入打发好的淡奶油,加入吉利丁液,搅拌均匀、备用!
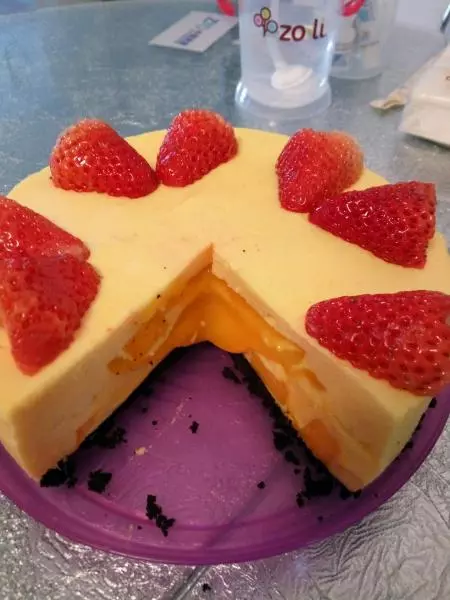
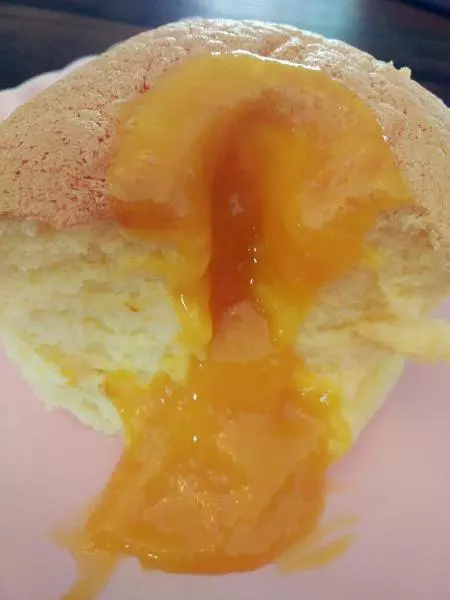
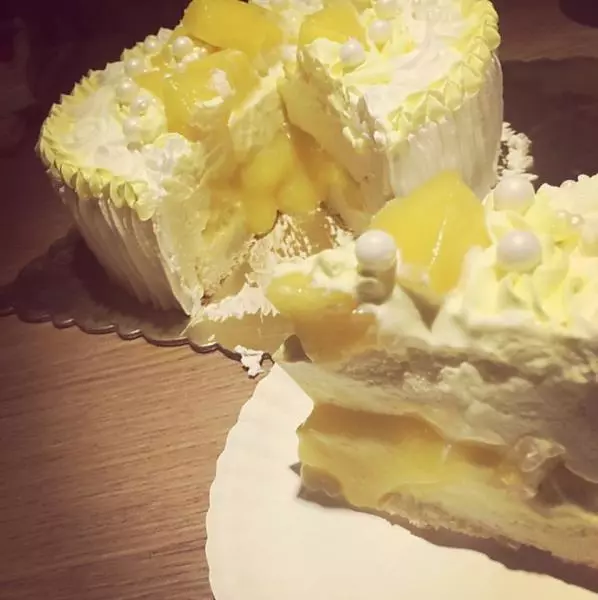
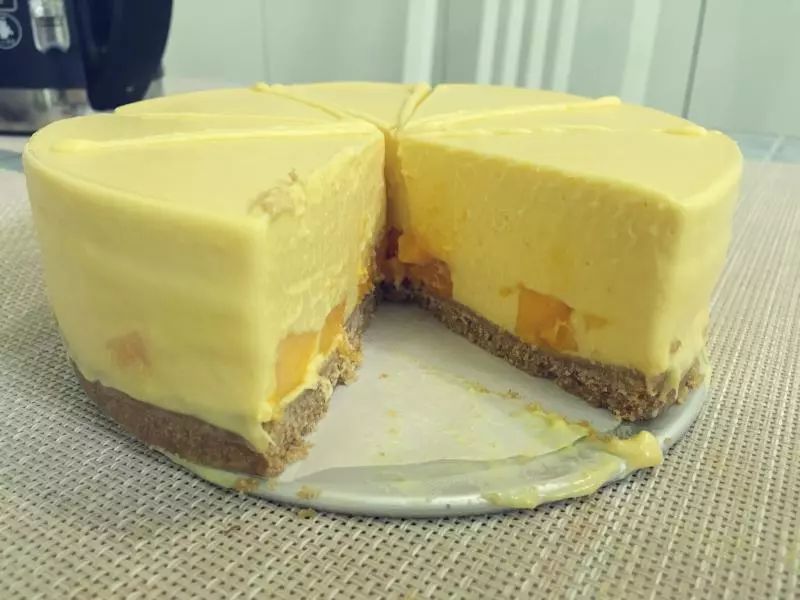
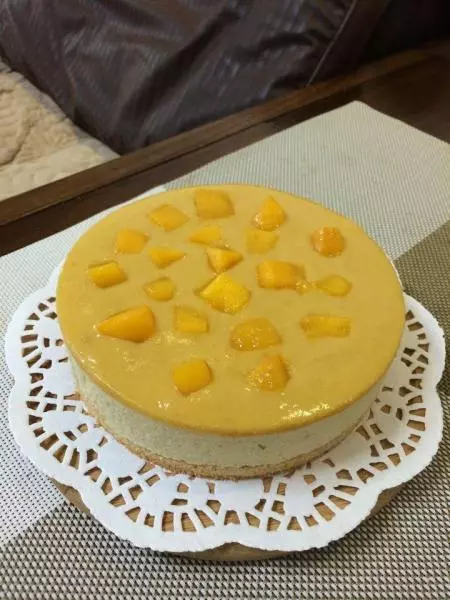
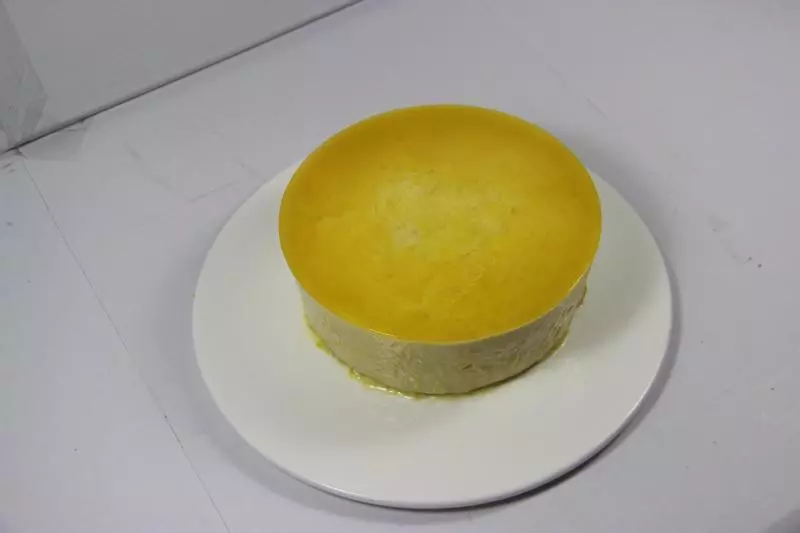
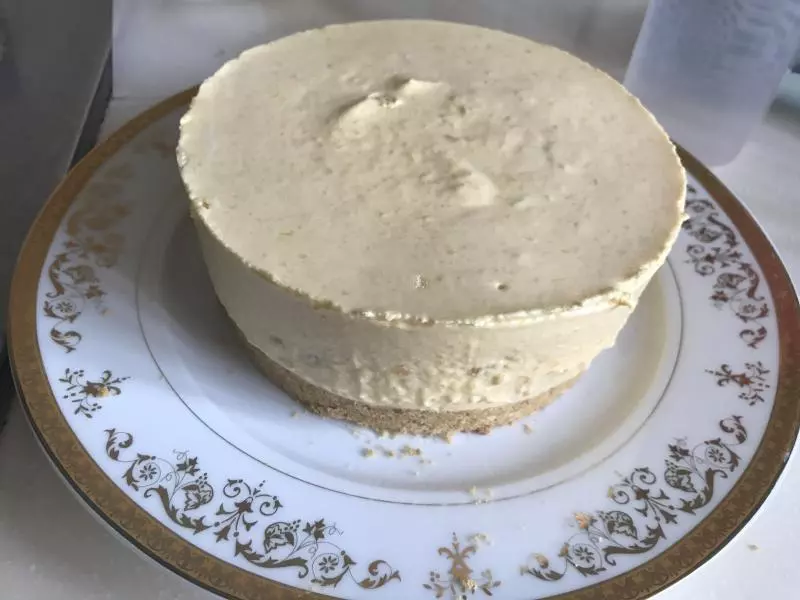
6饼干层上面加入芒果丁,倒入慕斯糊!再加一层芒果丁,再倒入一层慕斯糊!想要流心效果最中间层的中心倒入芒果酱即可!做好后震几下去除气泡,整齐表面,放入冰箱冷藏4小时!
7脱模,用吹风机!也可以用热毛巾敷!
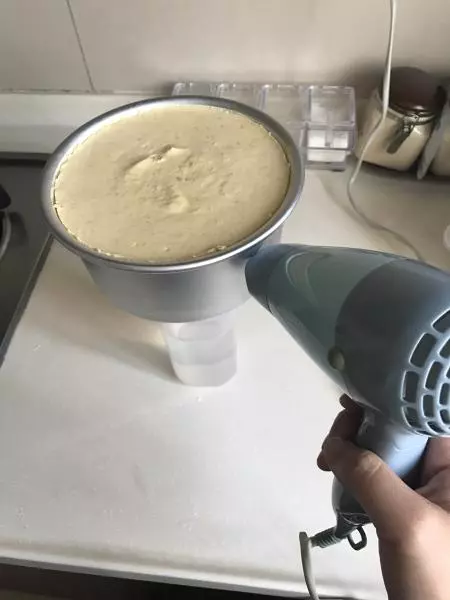
8下面放一个杯子!
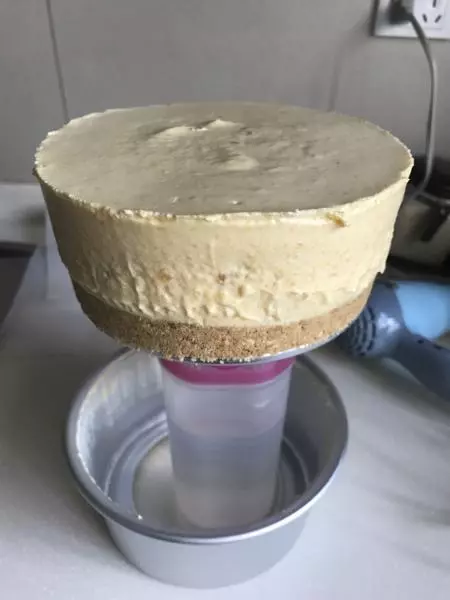
9脱底模,脱模成功就可以装饰了!
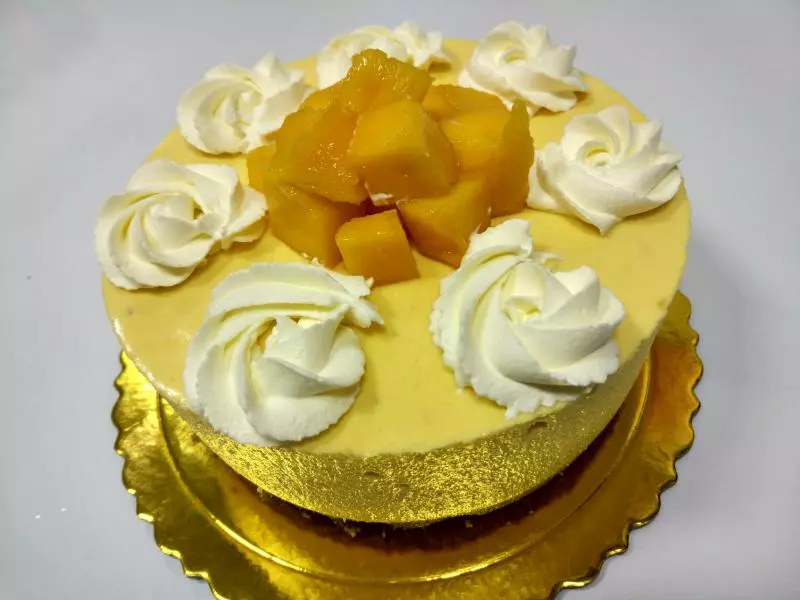
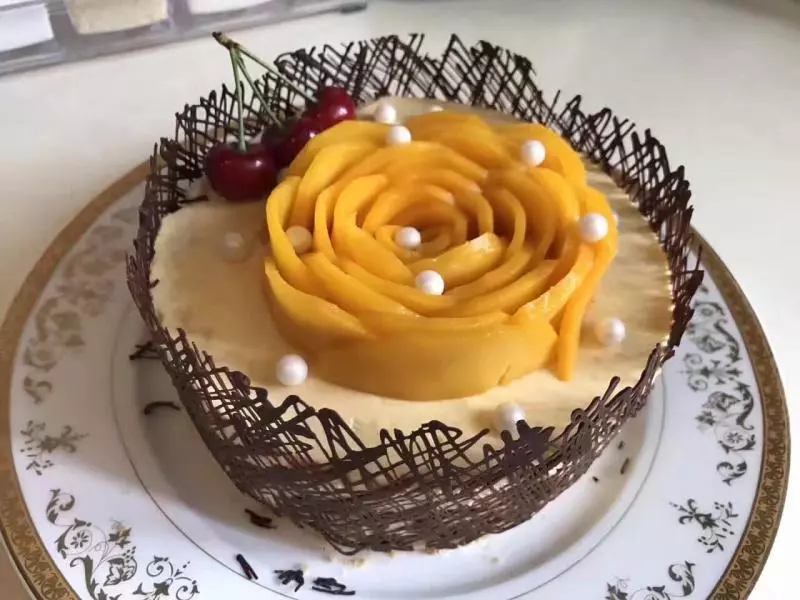
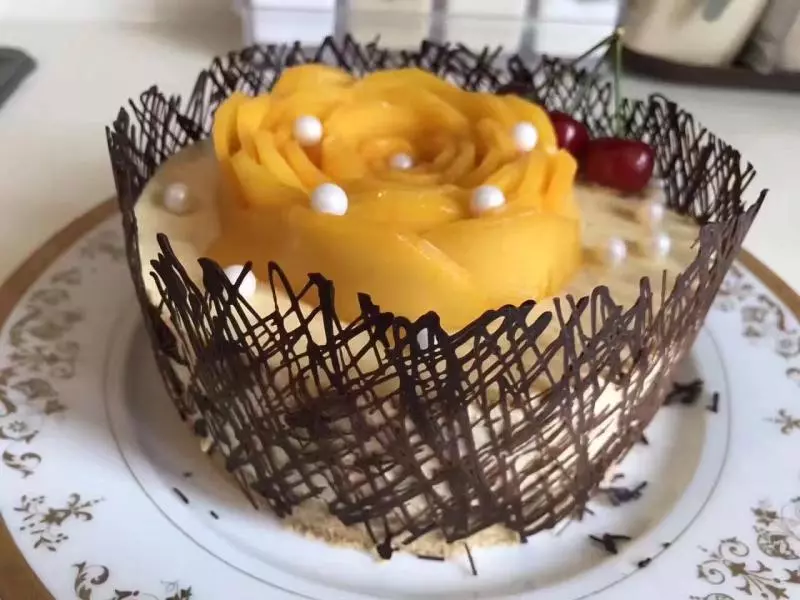
10准备奶油和巧克力装饰!
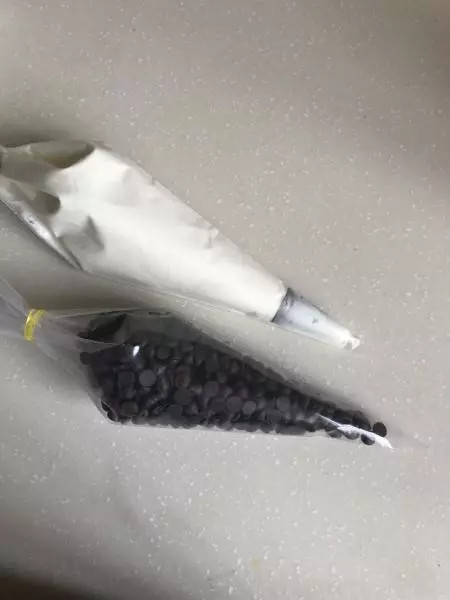
11这次做的巧克力围边!提前量好蛋糕的围度和高度准备好吸油纸!
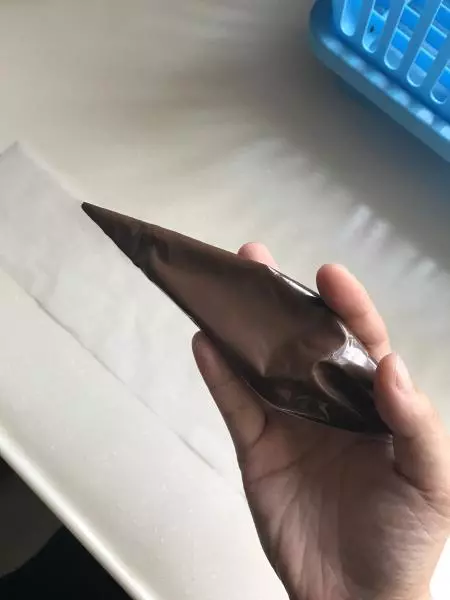
12吸油纸上裱巧克力酱,越凌乱越好看,自然美!
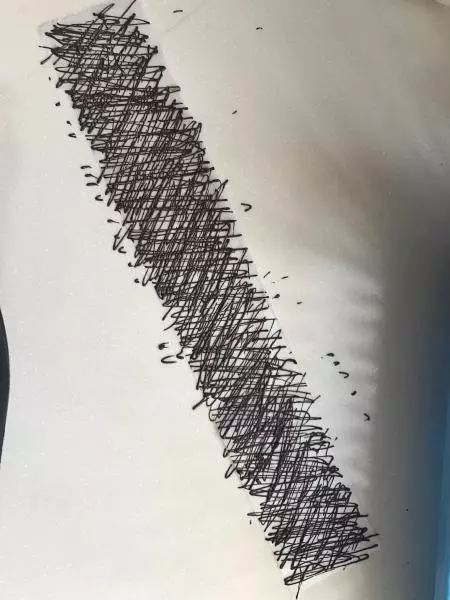
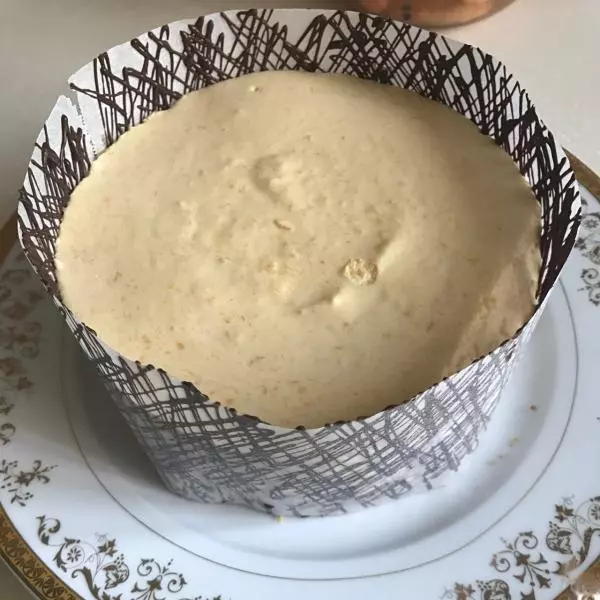
13小心围在蛋糕周围!放入冰箱冷藏!巧克力变硬就可以了,脱吸油纸的时候小心碰断巧克力!
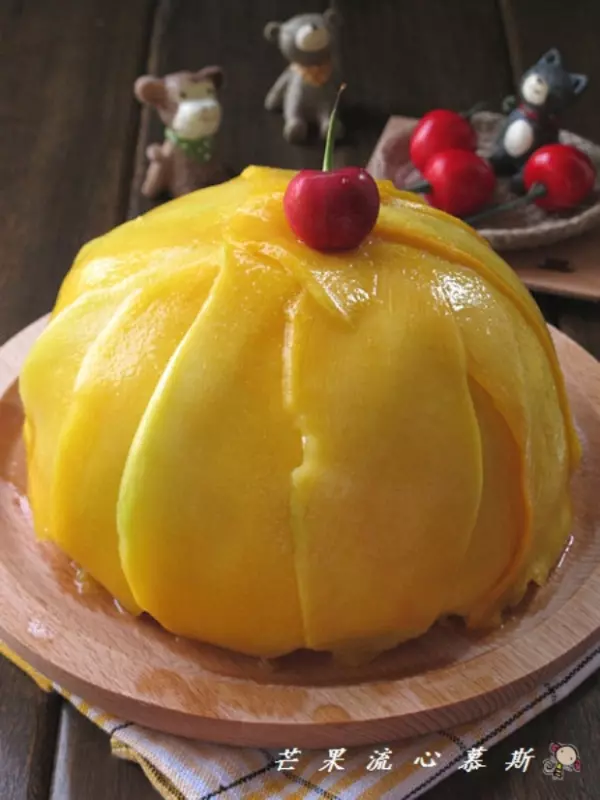
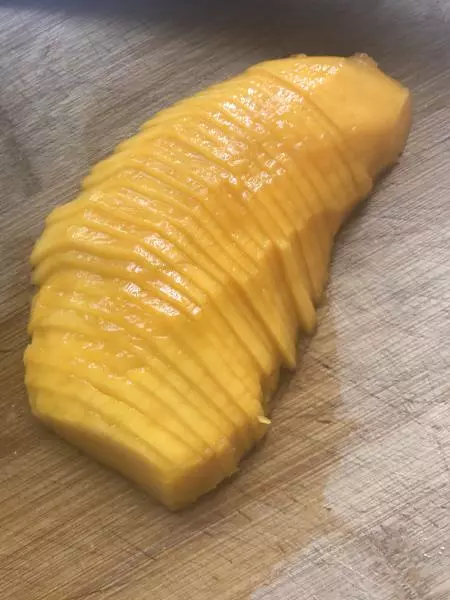
14趁着冷藏的时间就可以准备芒果花装饰了,芒果切薄片!
15一层层仔细围上去!
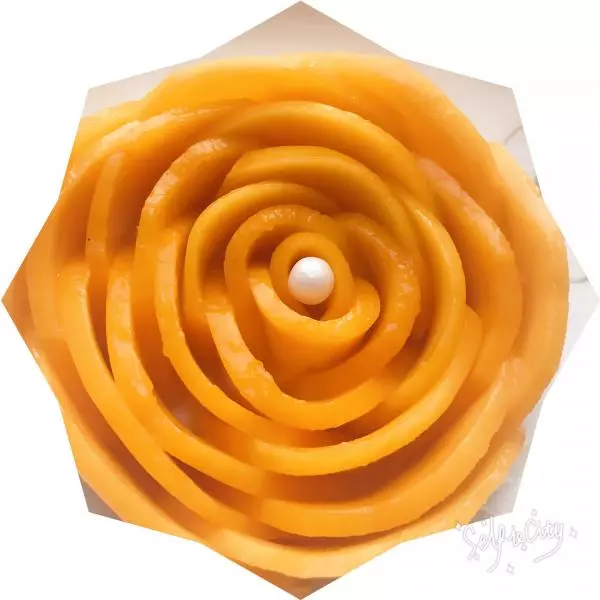
16装裱成自己喜欢好的样子!
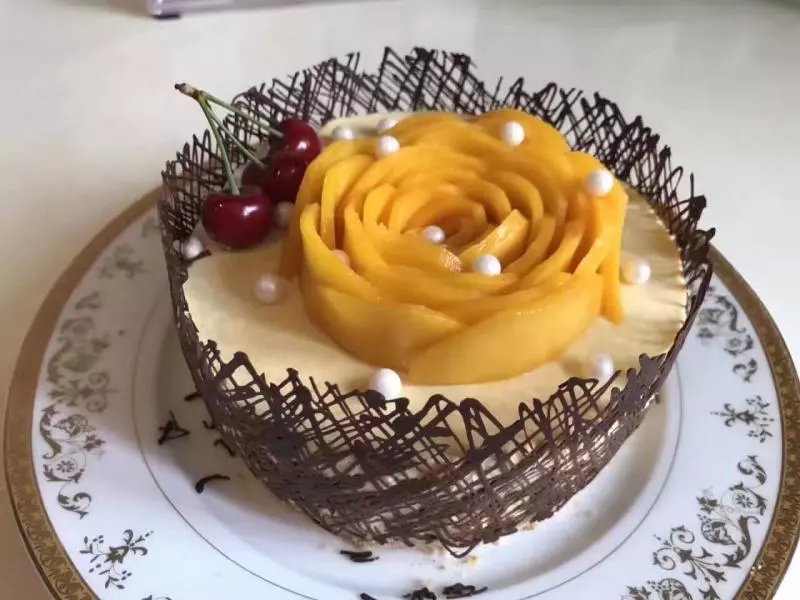
17是不是美美哒!
小技巧
慕斯蛋糕相对容易掌握,每一步仔细做就能做好!