原料
麵粉: , 黑芝麻: 克, 低筋麵粉: 克, 鹽: 克, 黃油: 克, 豆沙: 克, 蛋黃: 個, 鹹蛋黃: 個, 糖粉: 克, 水: 克, 中筋麵粉: 克
步驟
1鴨蛋買的黃泥蛋
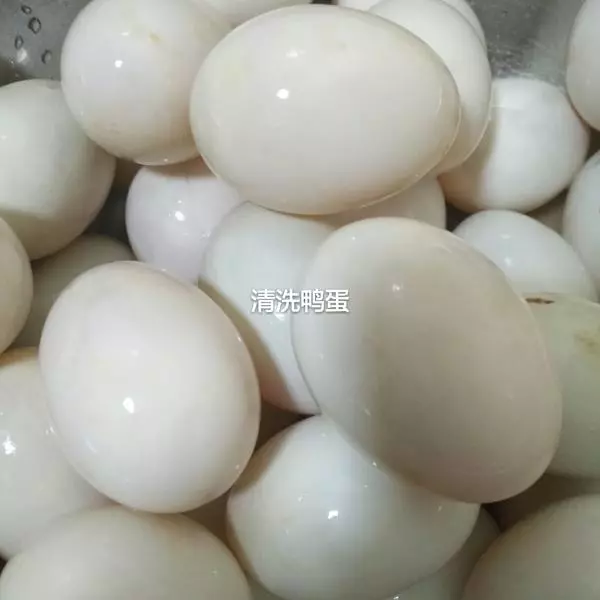
2蛋黃洗一下

3噴白酒150℃

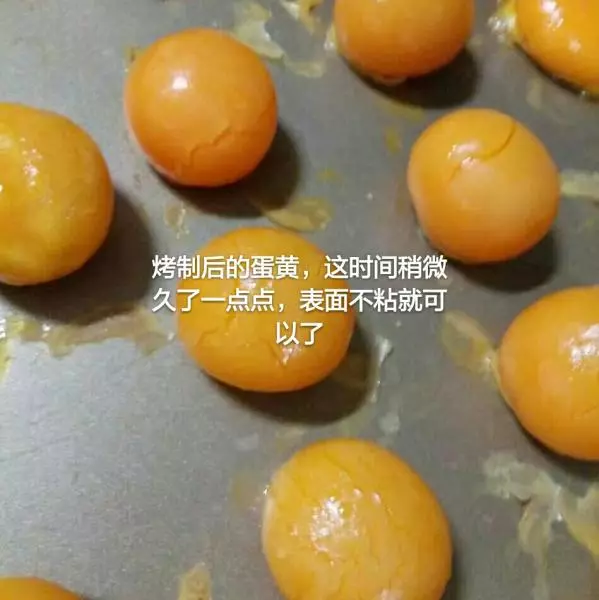
4烤至表面不粘
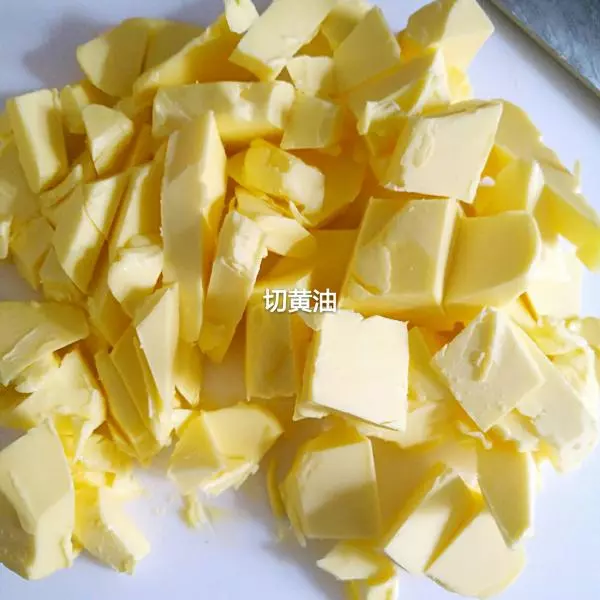
5黃油提前軟化
6加糖鹽。

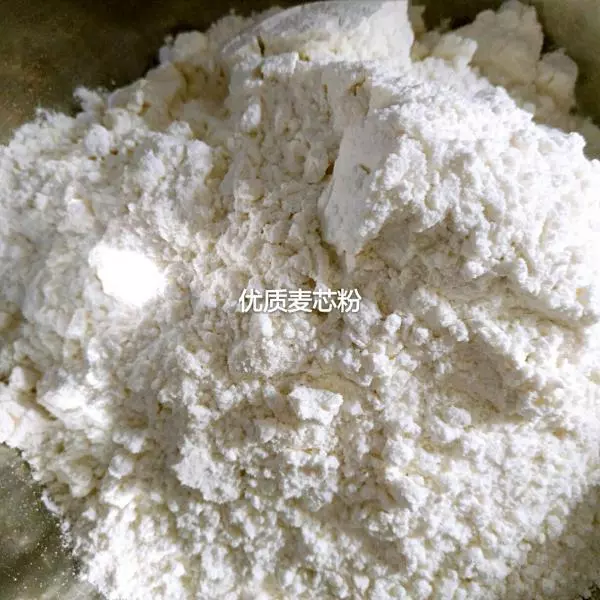
7麵粉
8攪拌過程中一點點的加水
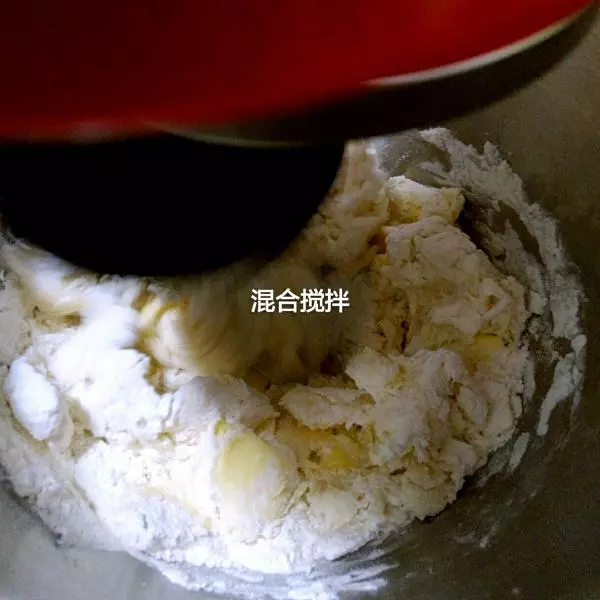
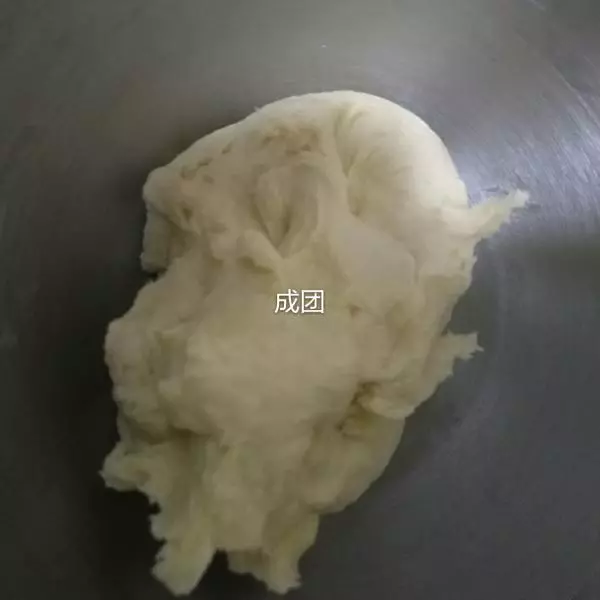
9一點點加水就很好成團。控制麵糰濕度
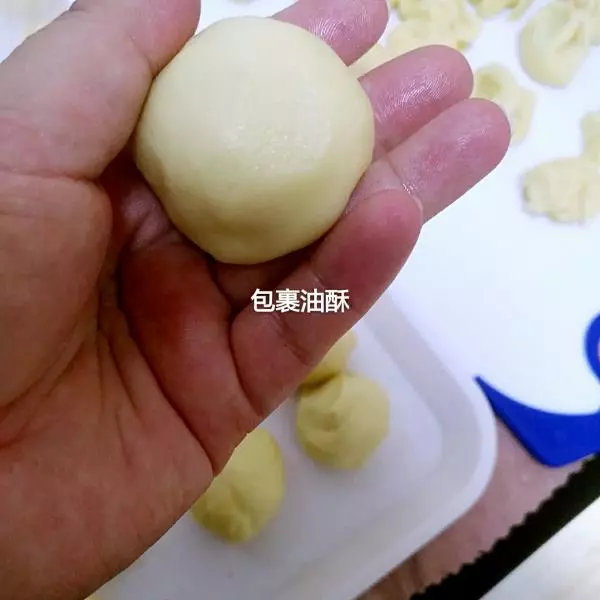
10油酥麵糰忘記拍照了。黃油低粉混合成油酥麵糰
11必須包裹嚴實,不能進空氣
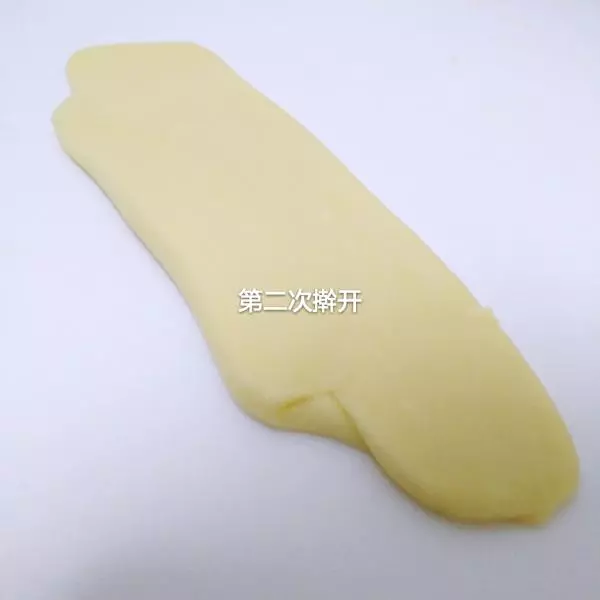
12擀開

13擀開
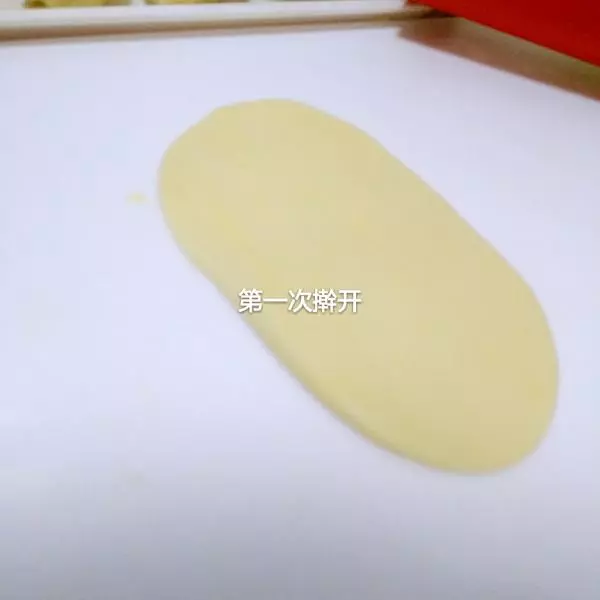
14擀開

15擀開
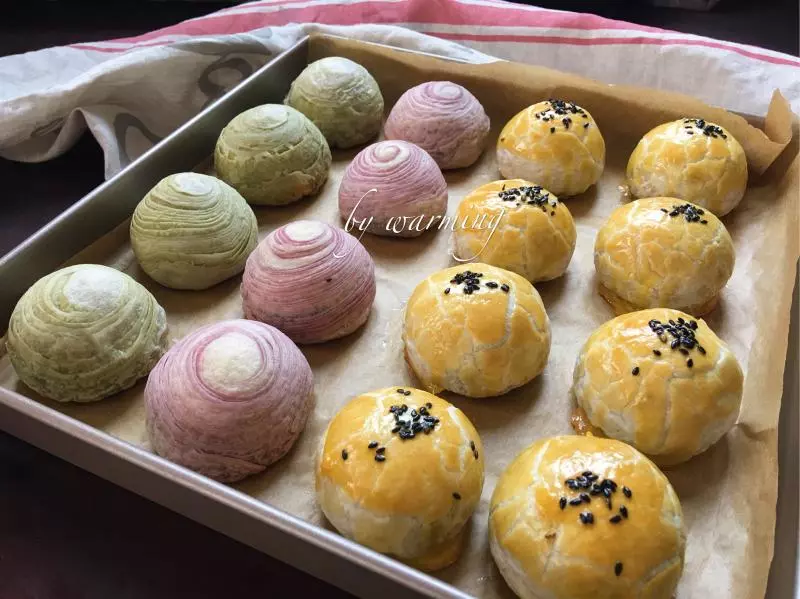
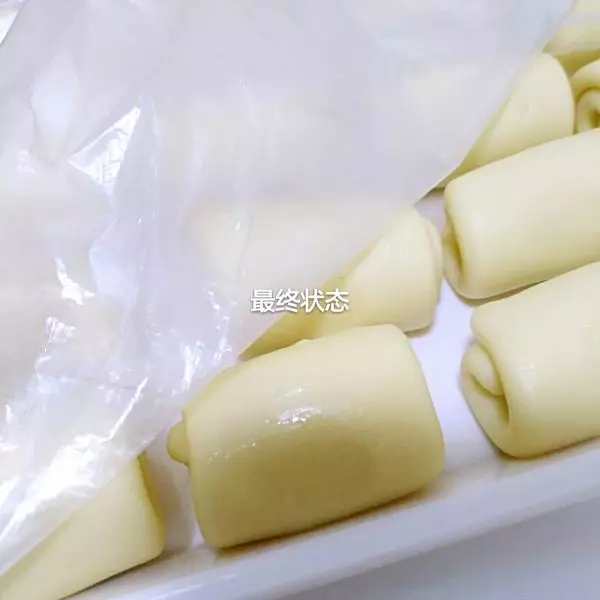
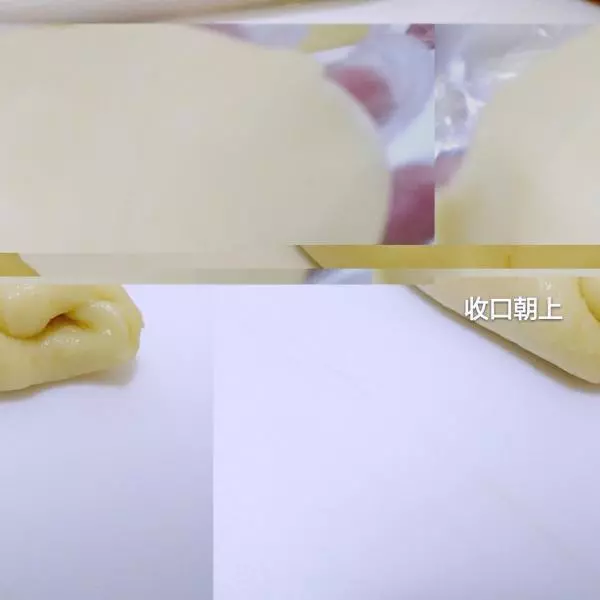
16從上往下卷

17蓋保鮮膜醒發
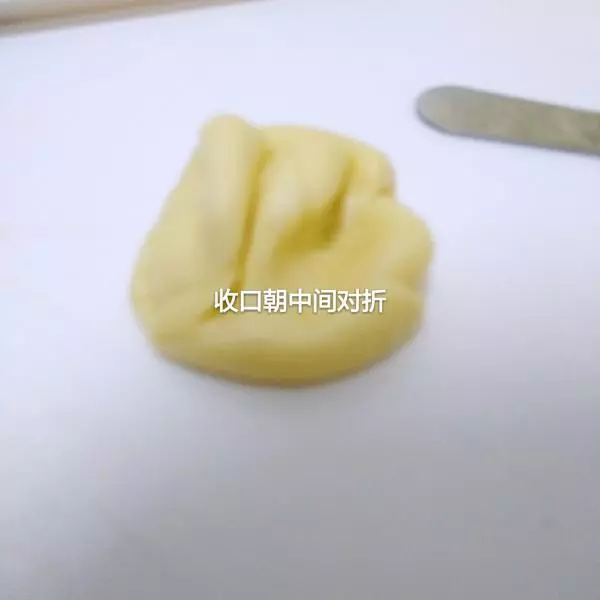
18對摺
19不能重複幹
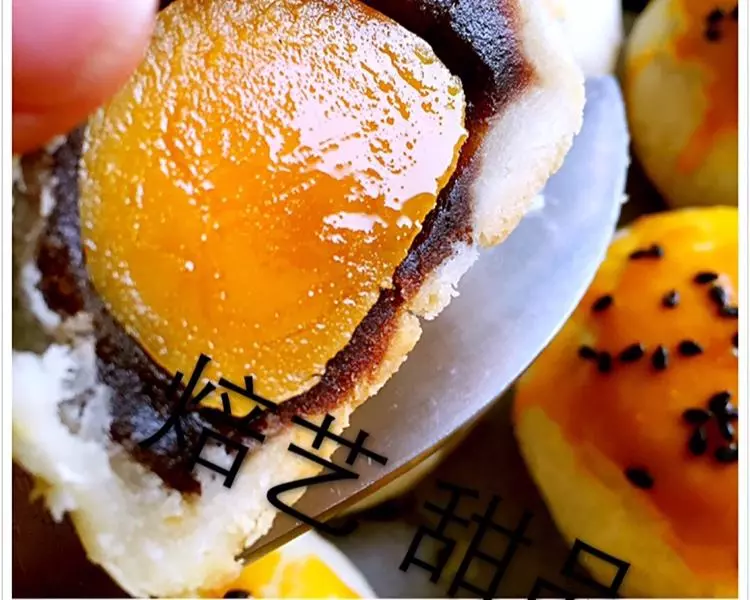
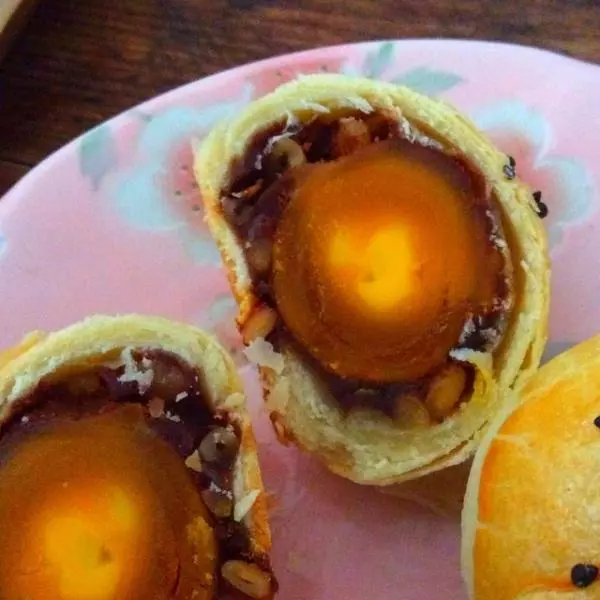
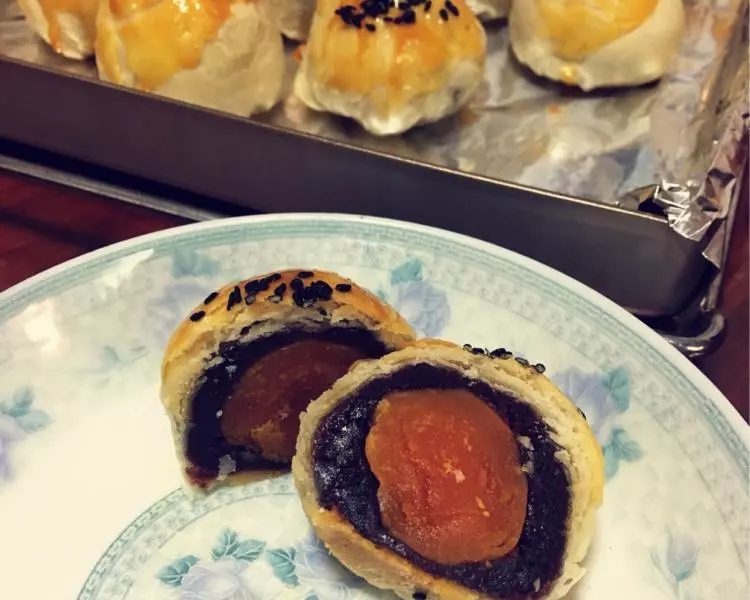
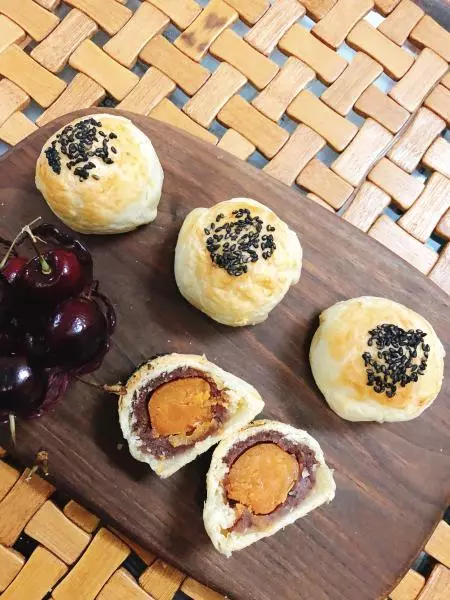
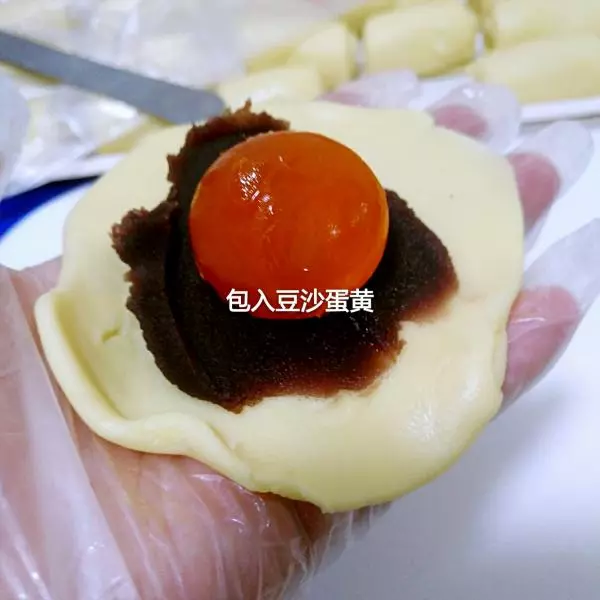
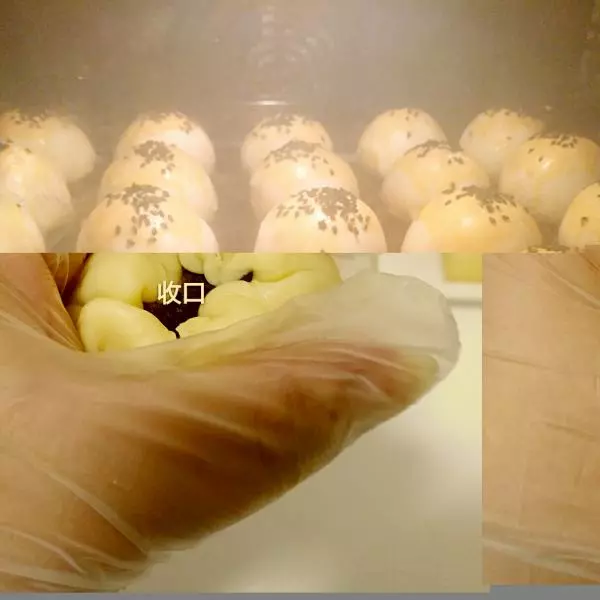
20包入蛋黃
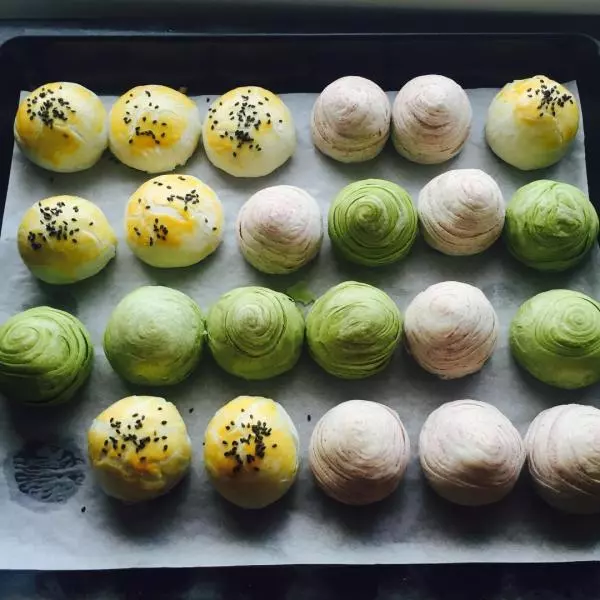
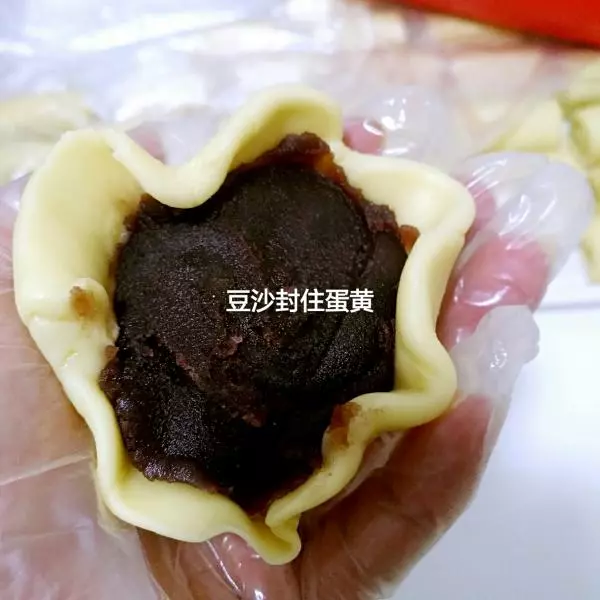
21我視頻里的是原來做的。沒封上面的豆沙,蛋黃的油會滲進皮里而且不好看。封了會好很多
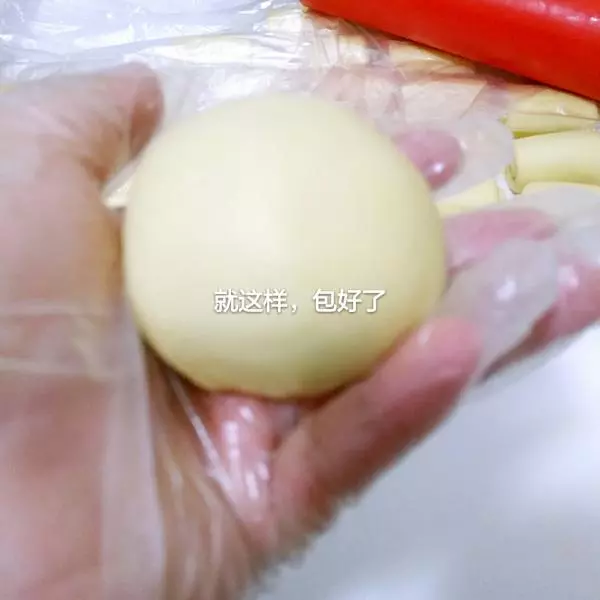
22一定收緊

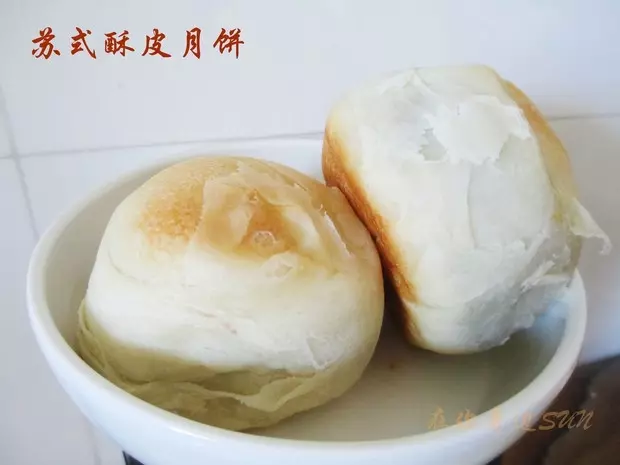
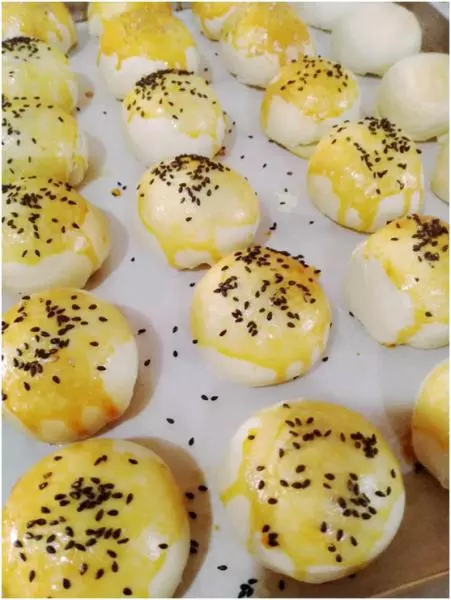
23封好口
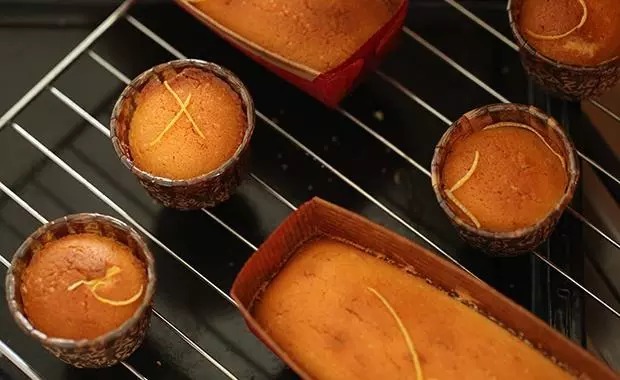
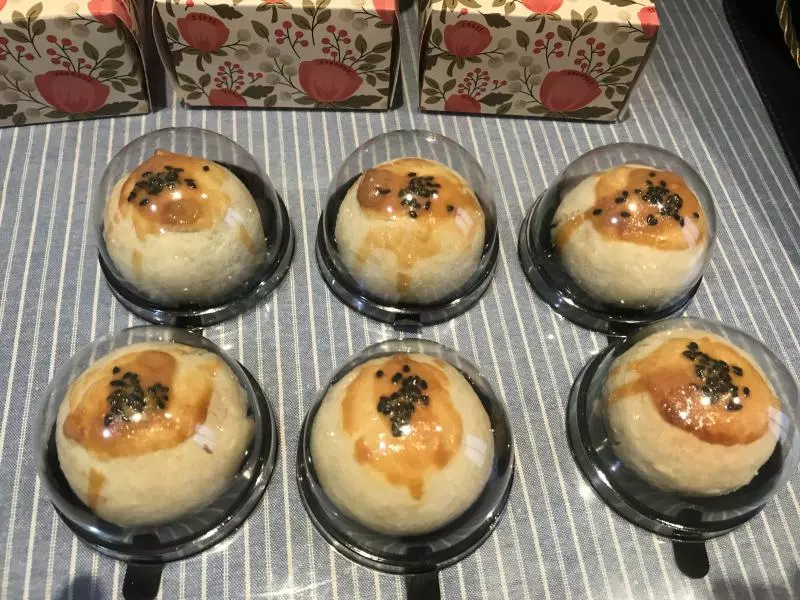
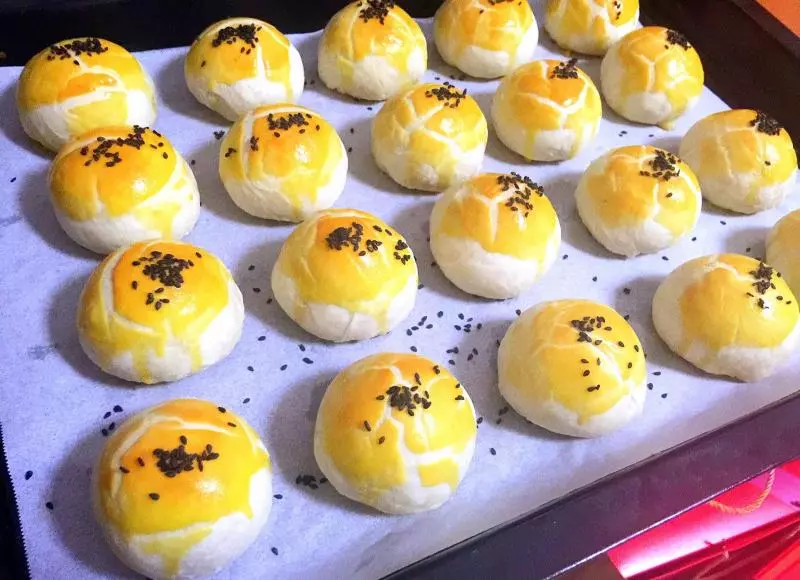
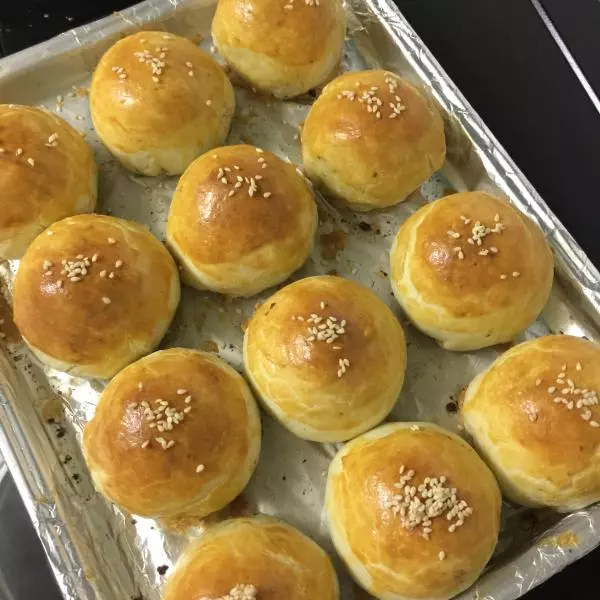
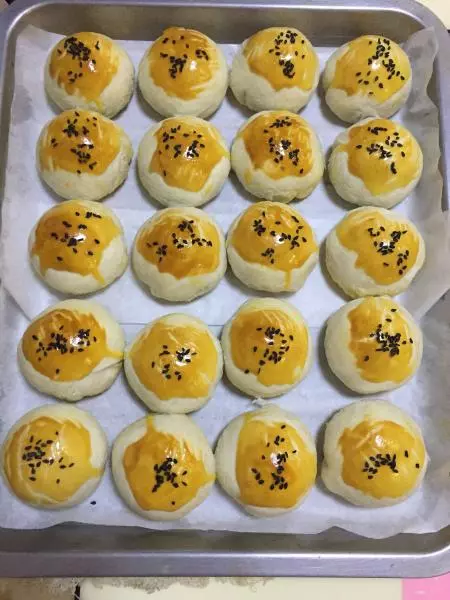
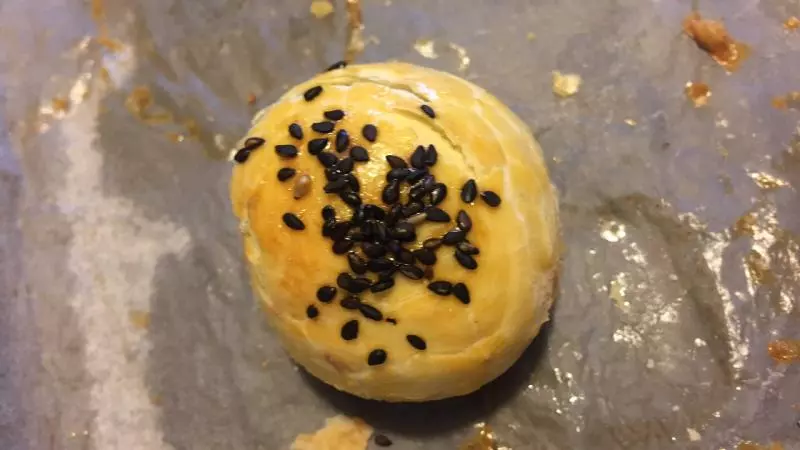
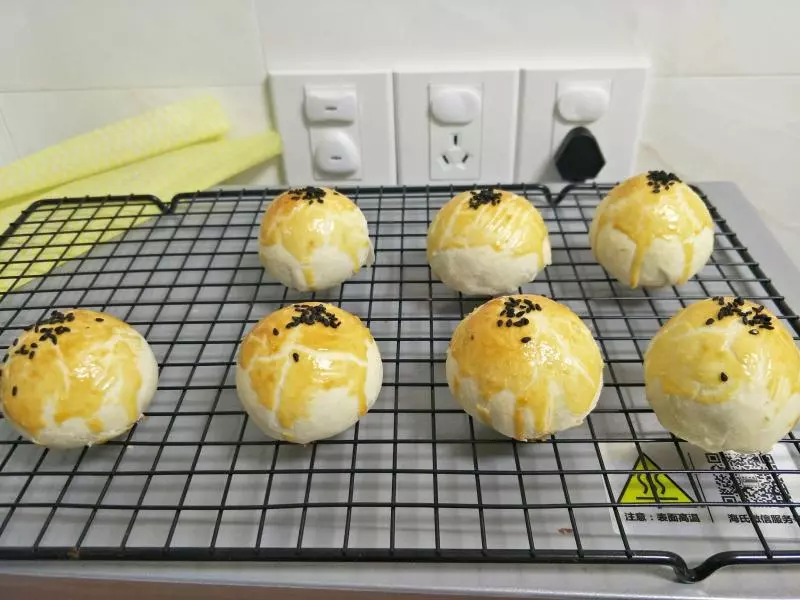
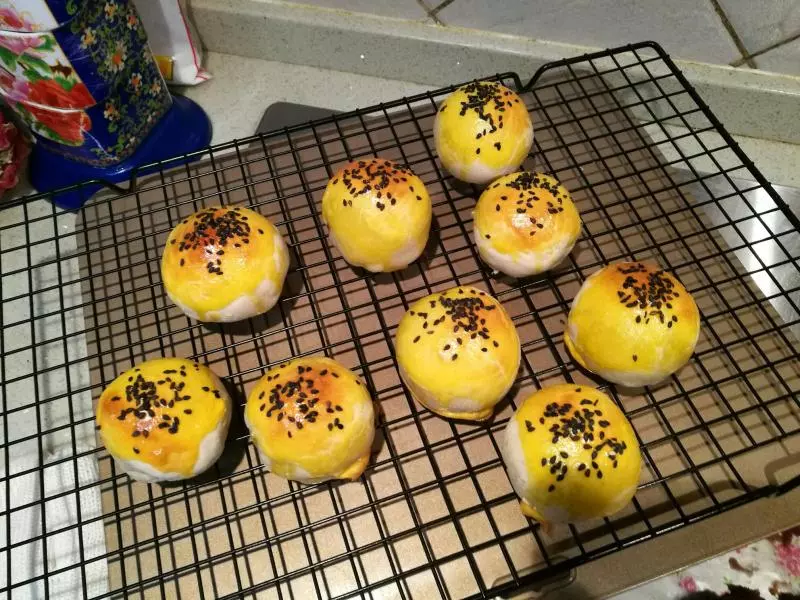
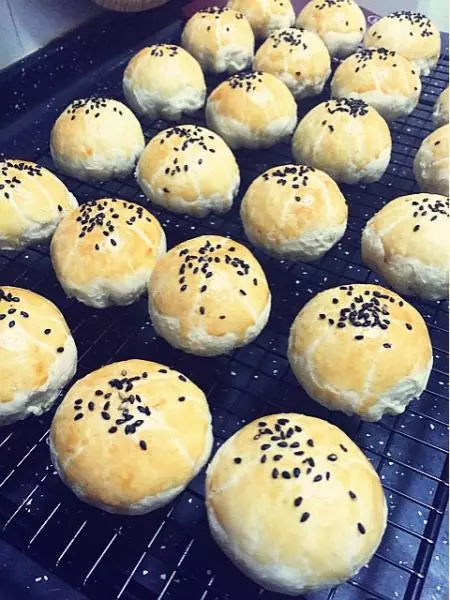
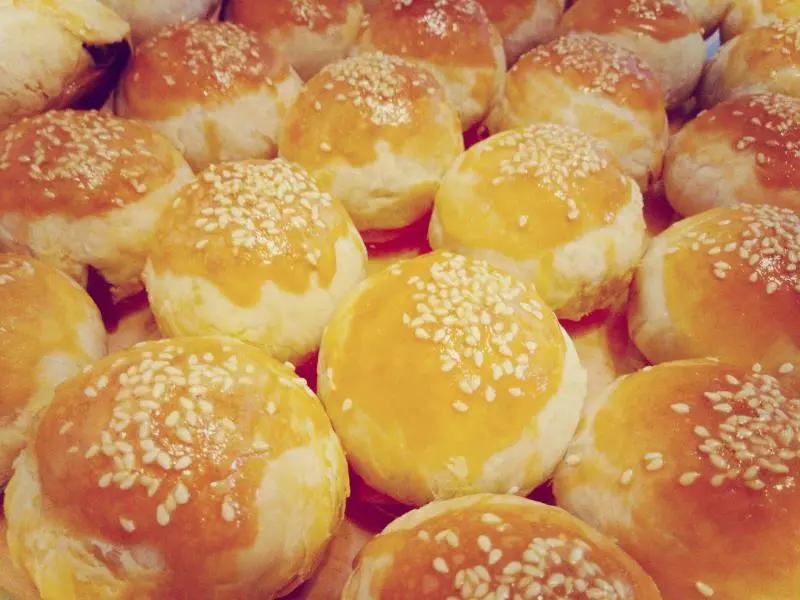
24200℃-分鐘 200℃。。。25分鐘
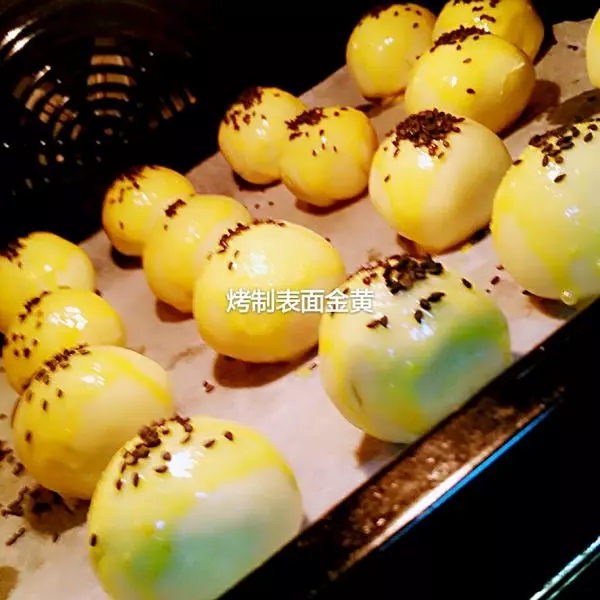
25隨時觀察,摸索最適合自己烤箱的溫度
小技巧
我不喜歡豬油的味道,所以我只用黃油