原料
黃油: 18g, 牛奶: 105g, 高筋粉: 18g, 蛋黃: 2個, 蛋白: 2個, 香草精: 少許, 糖(用於打發蛋白): 20g, 糖(加入牛奶): 15g
步驟
1所有用料準備好 蛋黃蛋清提前分開

2黃油融化成液體 加入麵粉中

3攪拌均勻

4牛奶 糖 香草精加熱 煮開後加入黃油麵粉糊

5牛奶➕麵粉糊攪拌均勻後 持續加溫攪拌

6攪拌至糊狀後離火 攪拌至冷卻

7加入蛋黃 攪拌均勻(一定要等麵糊冷卻後加入)

8蛋白加糖打至發泡狀 【忘記拍圖……】
9加入三分之一的蛋白入蛋糊中

10把所有的蛋糊倒入蛋白中 攪拌均勻

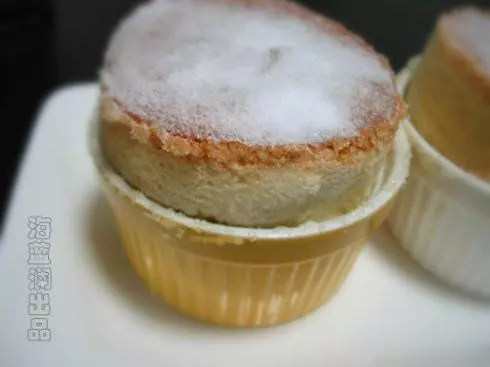
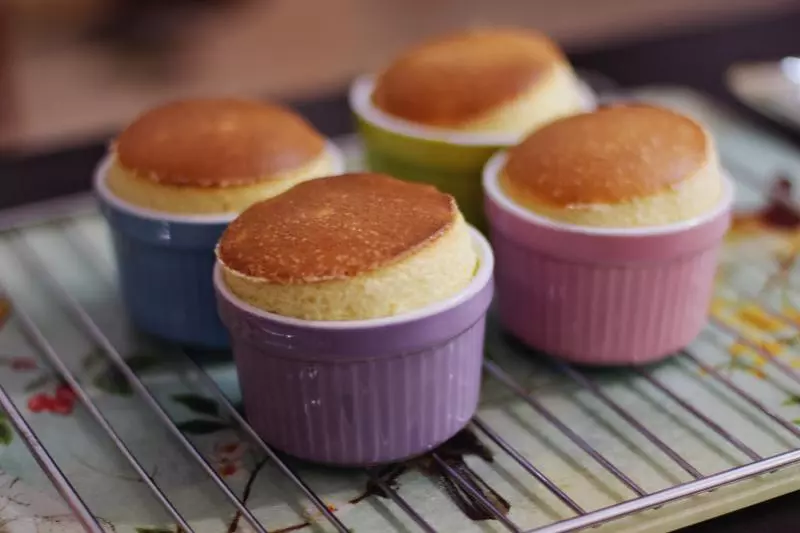
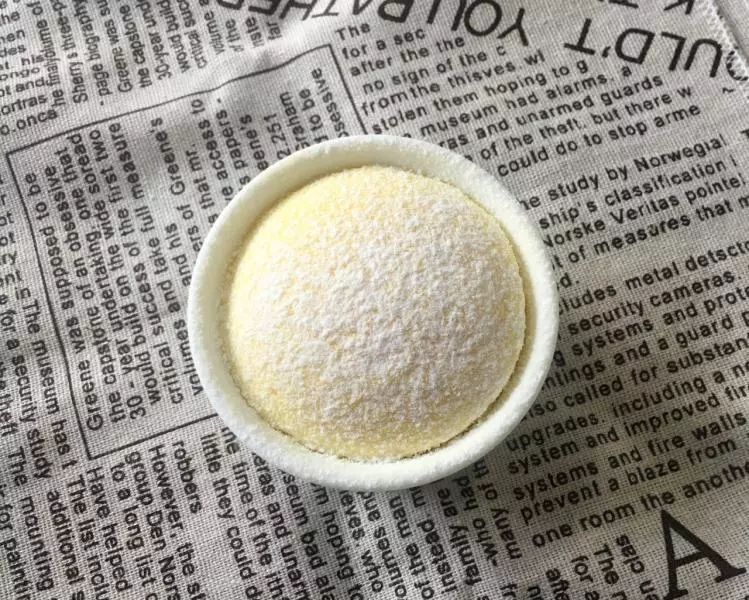
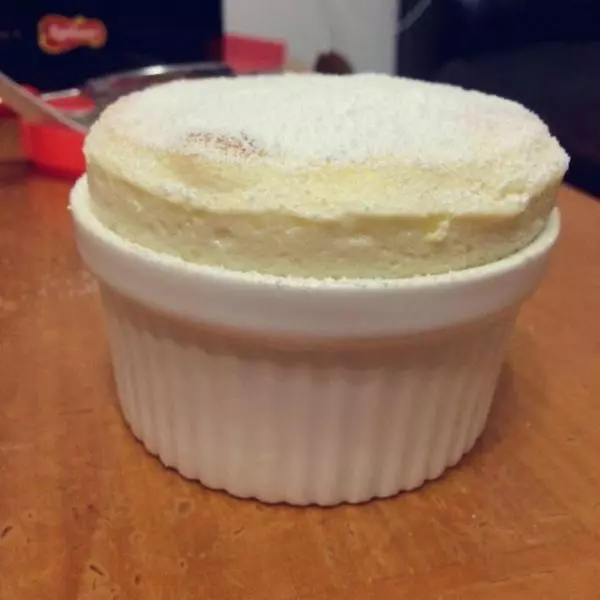
11模具壁上塗黃油 撒上白砂糖 蛋糊倒入其中 八分滿

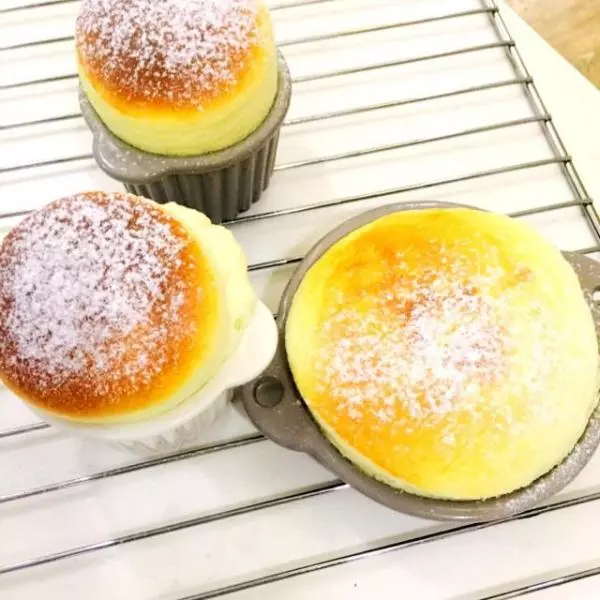
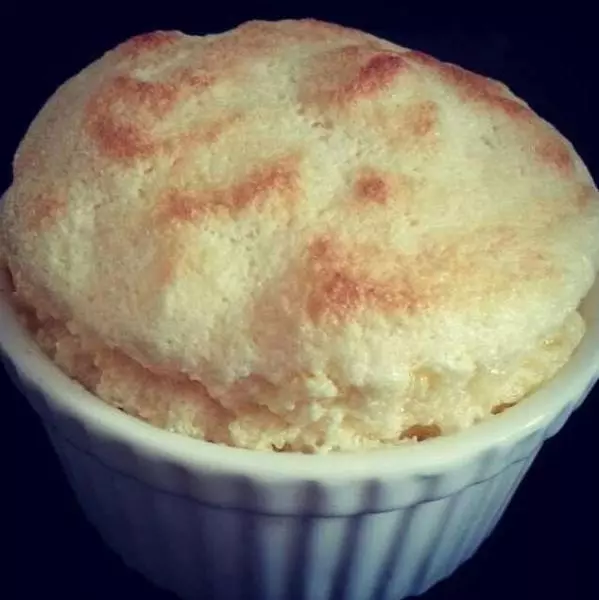
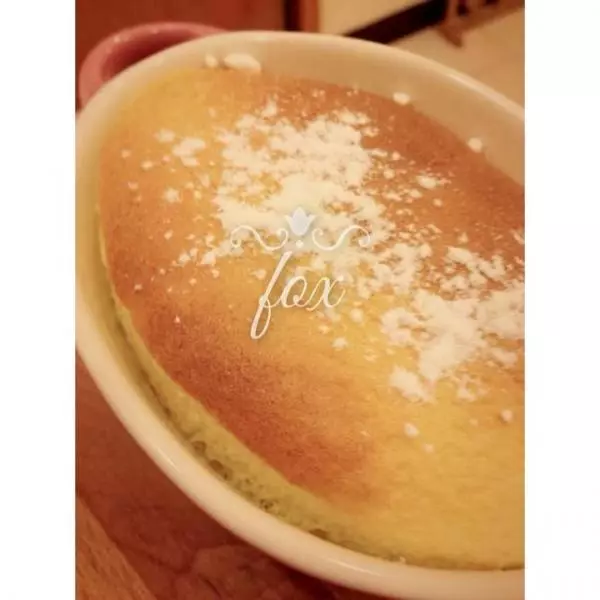
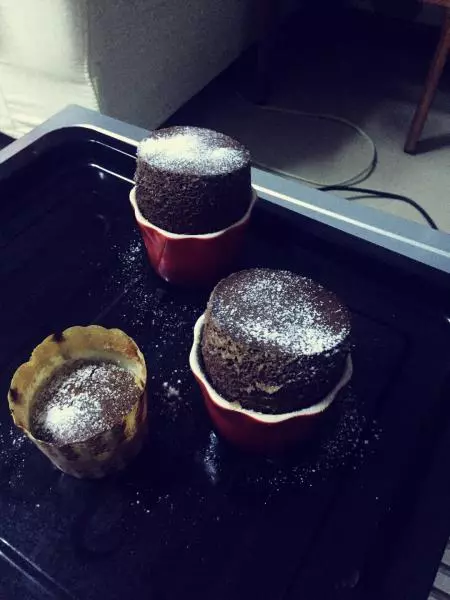
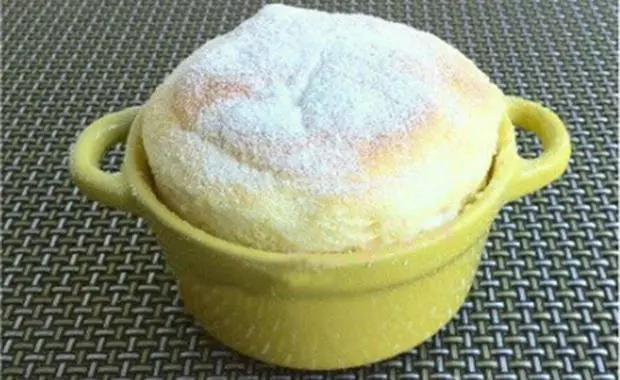
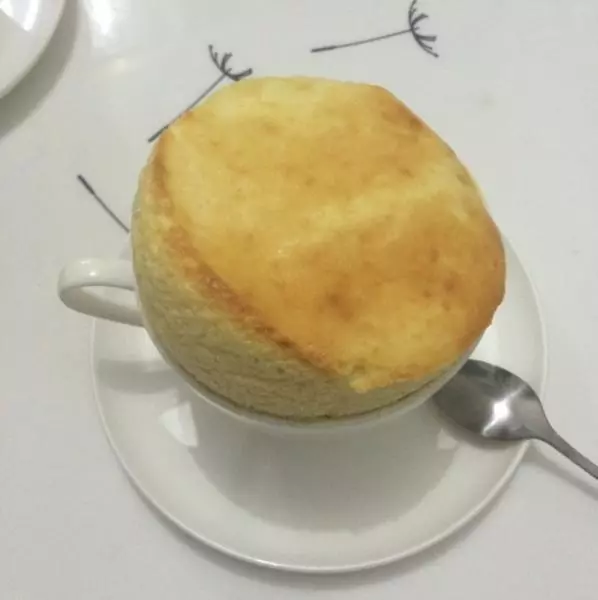
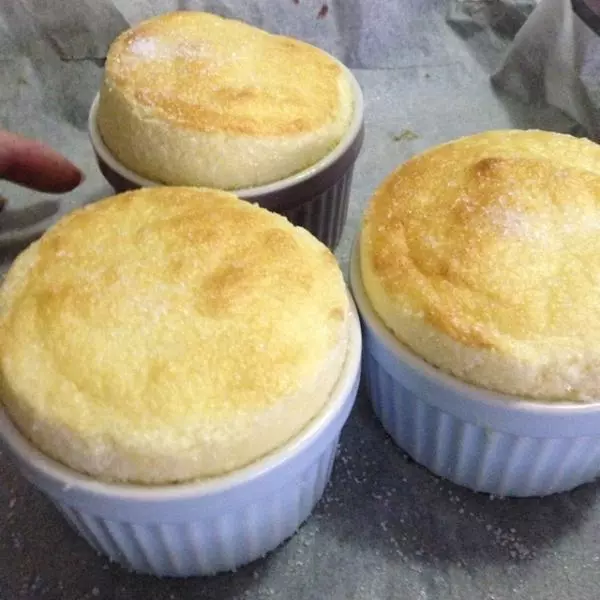
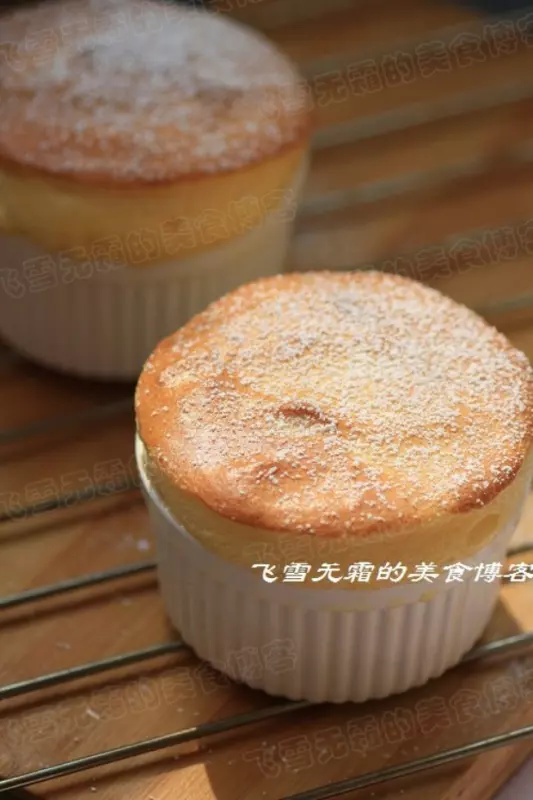
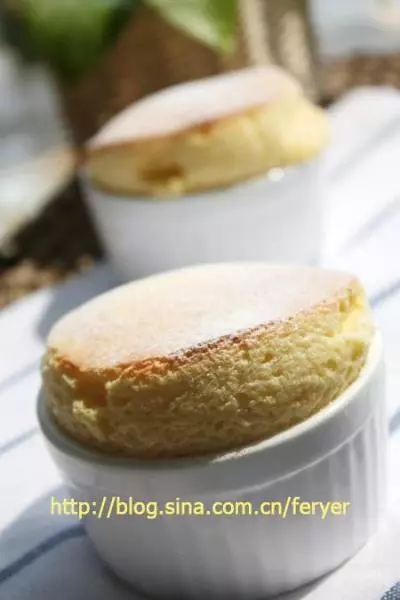
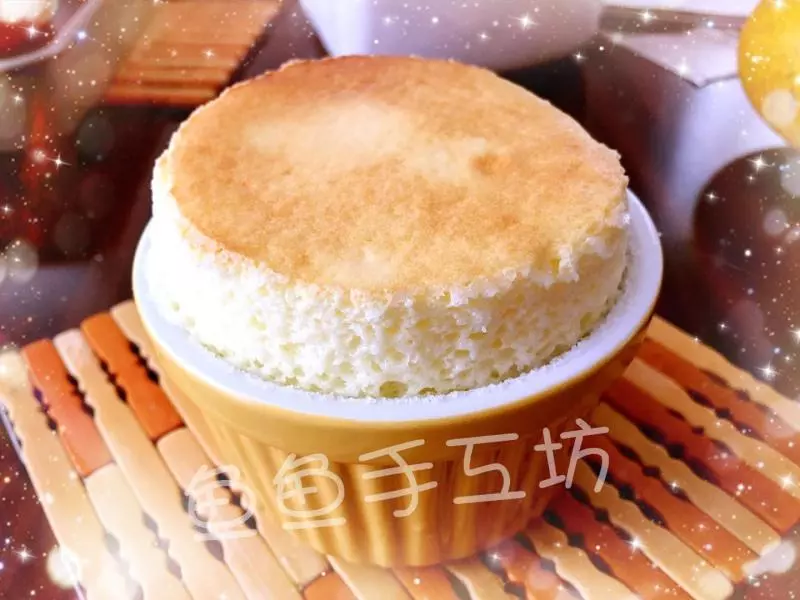
12烤箱180度20分鐘 【圖是舒芙蕾在烤箱裡面長高高的樣子 對比就能發現出烤箱它縮了有多少???】

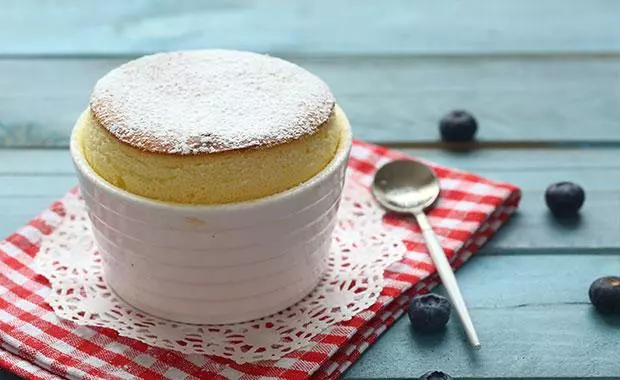
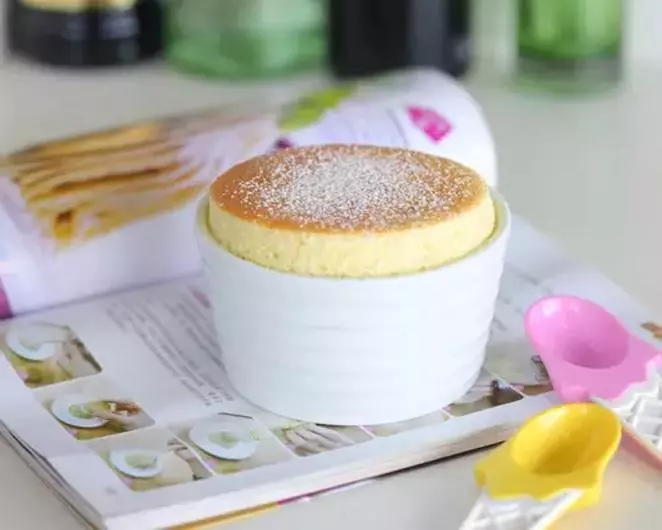
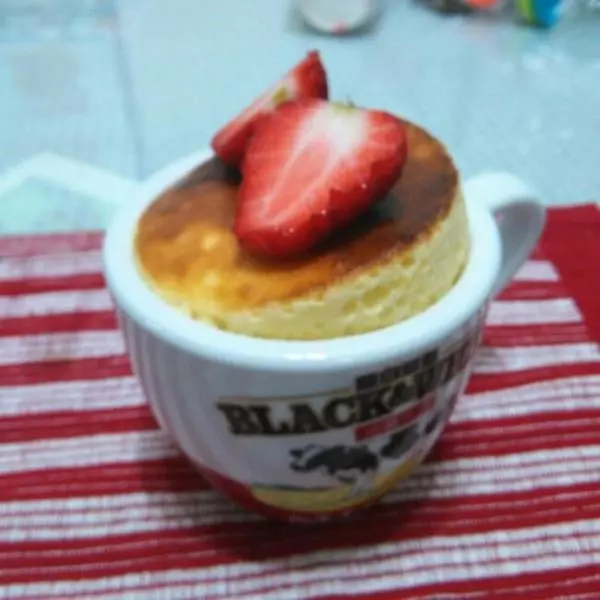
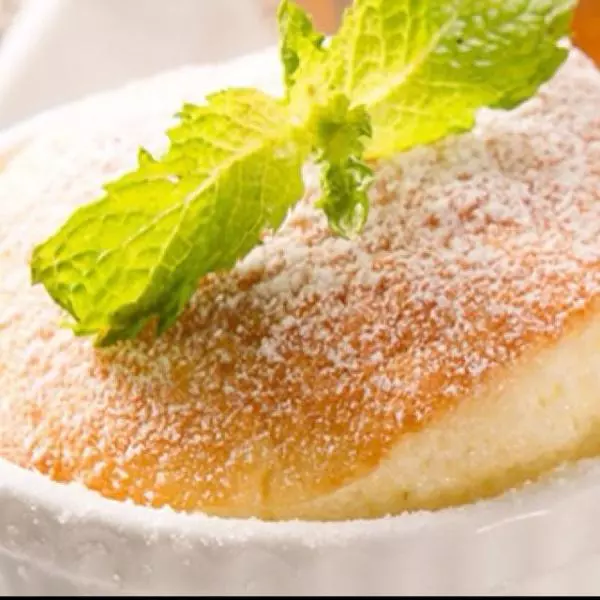
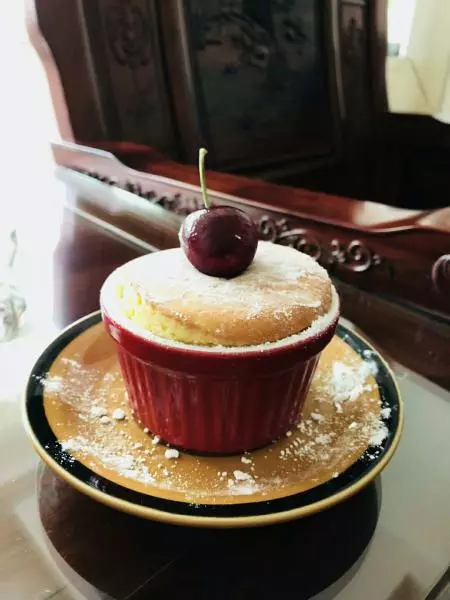
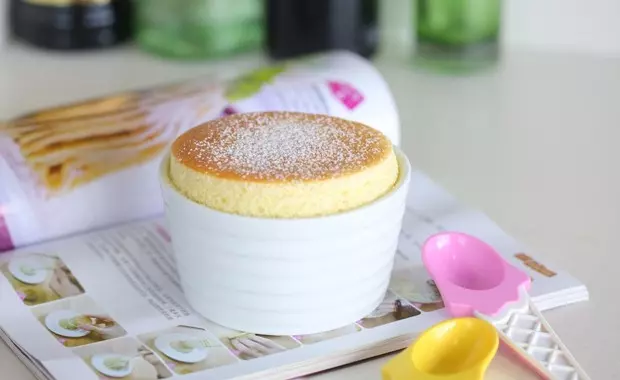
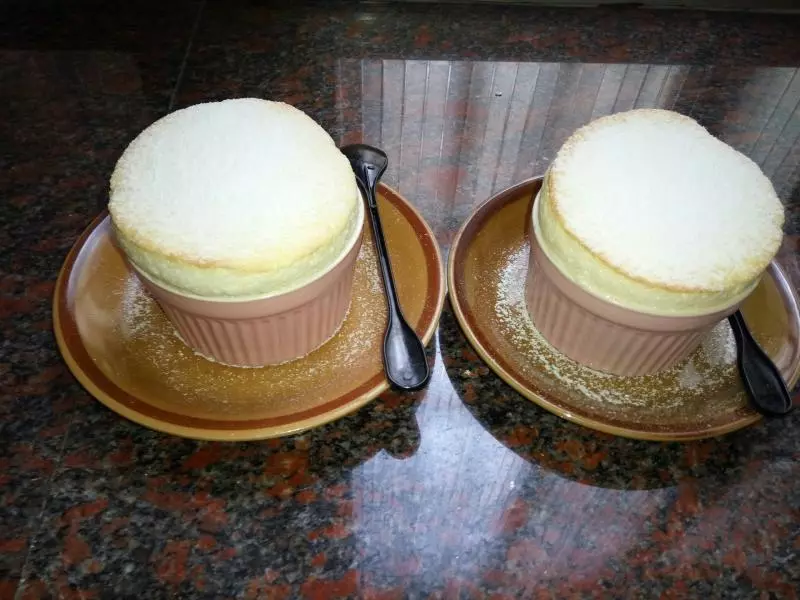
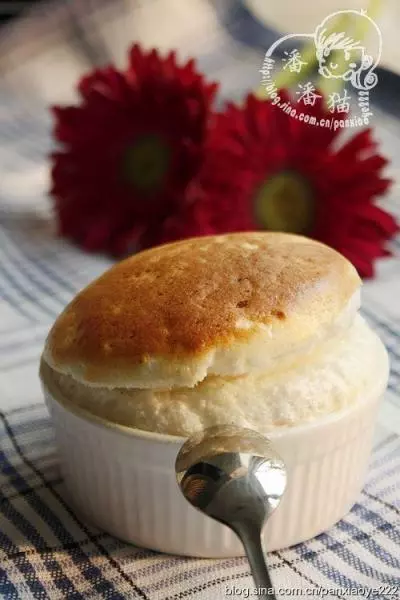
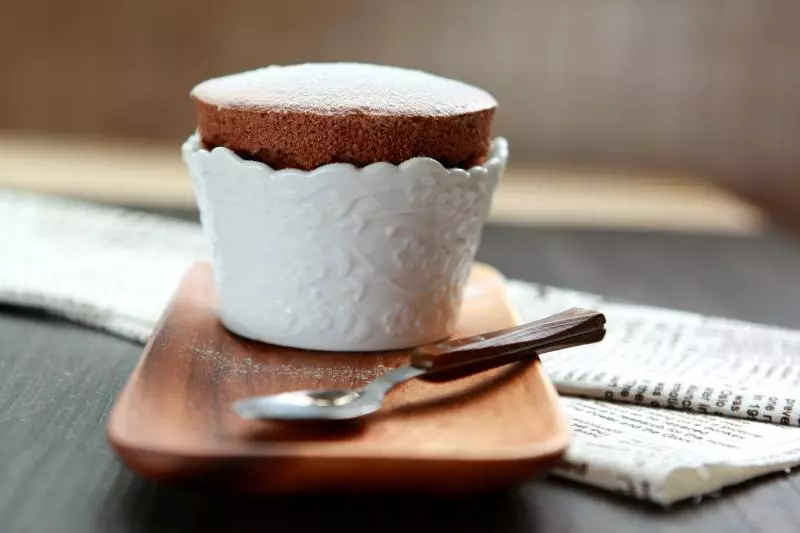
13撒上糖粉 開始享用吧(我沒撒哈哈哈哈哈)

小技巧
Tips 一定要翻拌‼️翻拌‼️不是畫圈圈攪拌‼️蛋白會消泡‼️ 舒芙蕾屬於烤出即吃的甜品(對我知道會很燙嘴嘿嘿嘿) 所以 不適合烤完囤食☹️☹️ 也可以先準備好蛋糊 存放在冰箱裡 吃的時候拿出來烤 不過蛋糊不要放很久喔?