原料
多蛋黃海綿蛋糕: , 全蛋: 140克(約3個), 蛋黃: 70克(約4個蛋黃), 白砂糖: 112克, 低筋麵粉: 77克, 無鹽奶油: 40克, 抹面及裝飾: , 鐵塔馬斯卡彭淡奶油: 250克, 糖粉: 23克, 草莓或樹莓果醬: 少許, 藍莓: 若干顆
步驟
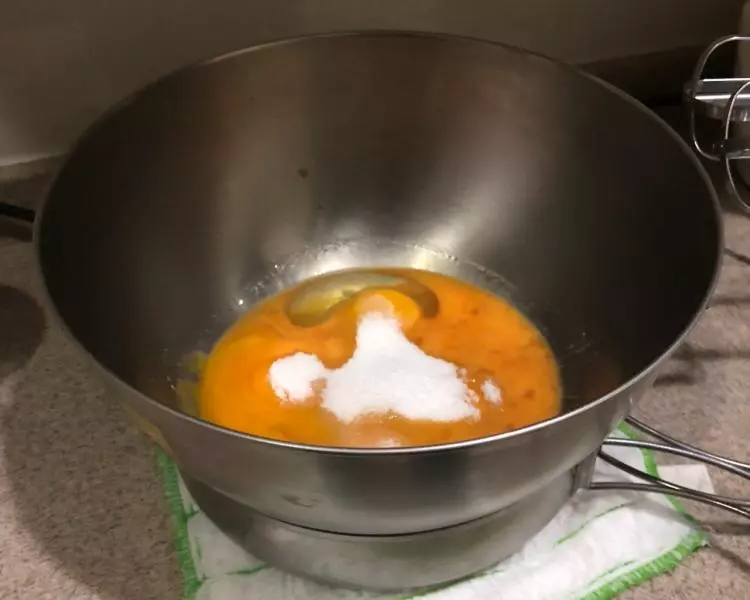
1全蛋和蛋黃加糖做熱水(60~70度左右的熱水)用電動打蛋器打發,打發過程中讓蛋液的溫度保持在40度左右(最適宜打發的溫度)。
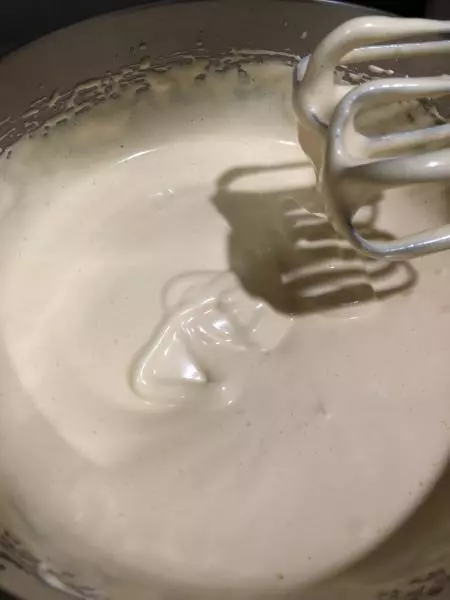
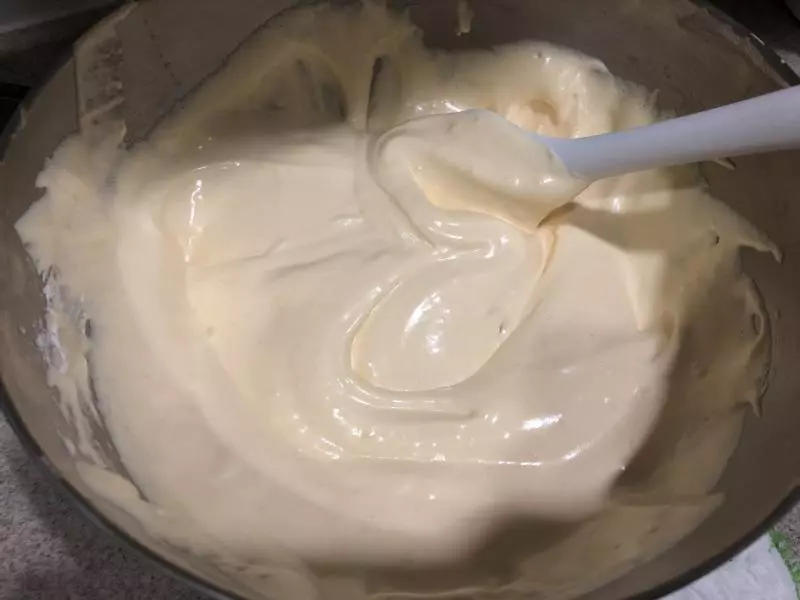
2我一般是低速起步,起泡後轉高速打綿,直到打到圖中狀態,即滴落麵糊痕跡10秒內不消失。
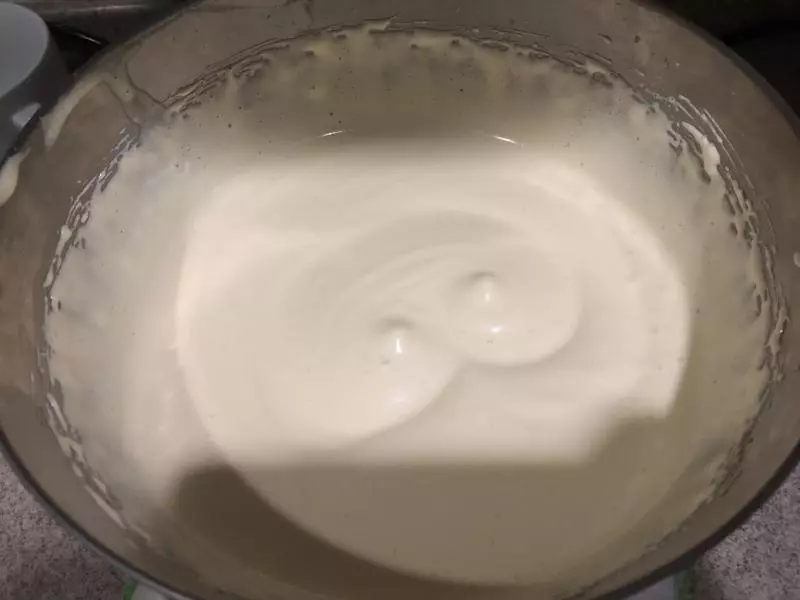
3麵糊狀態到位後,轉低速繼續打一分鐘,整理氣泡。
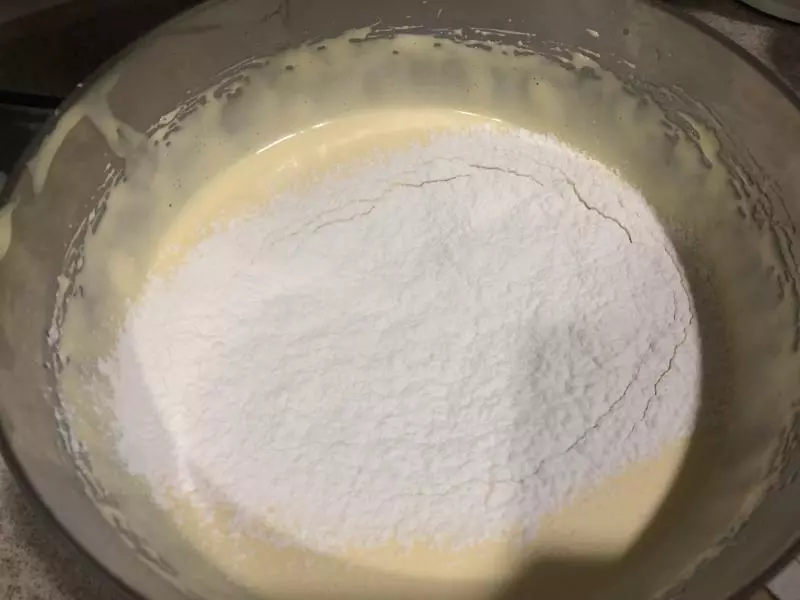
4一次性篩入低筋麵粉,擦底翻拌均勻,不見乾粉。
5擦底翻拌30下左右,直到不見乾粉。
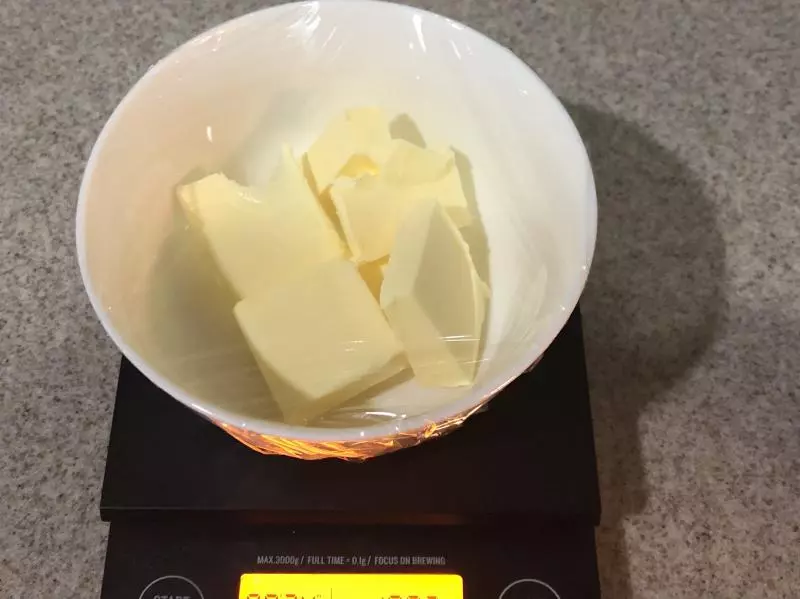
6黃油切小塊蓋保鮮膜,用微波爐叮一下(約45秒)。
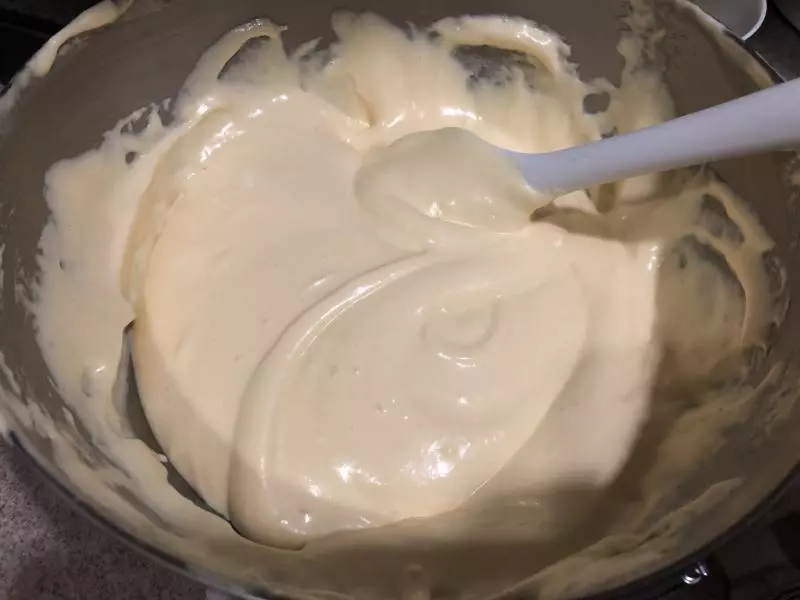
7趁熱將融化的黃油成細條狀淋入麵糊,快速翻拌均勻,這是拌好的狀態,比較有光澤。
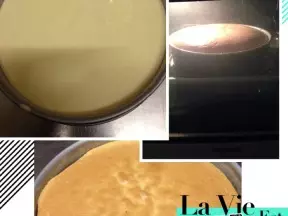
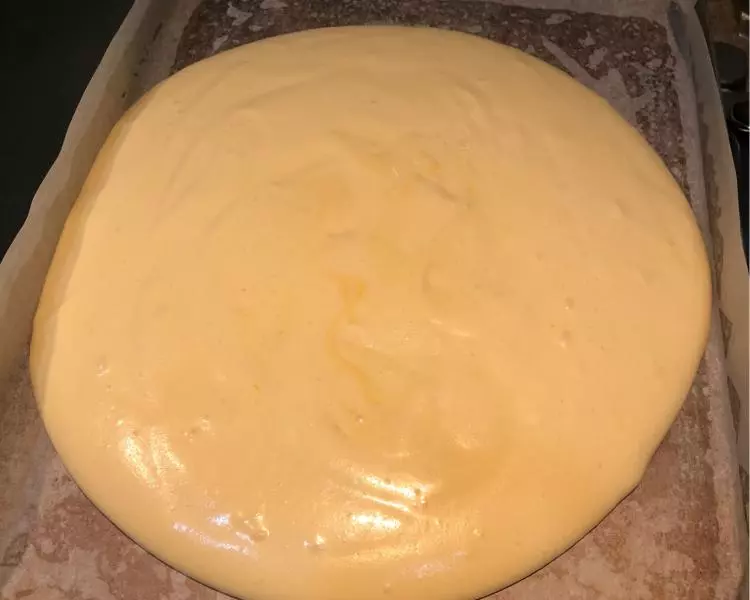
8烤盤中刷薄油墊油紙,將麵糊倒入烤盤,用刮刀均勻鋪滿烤盤,儘量抹平表面。
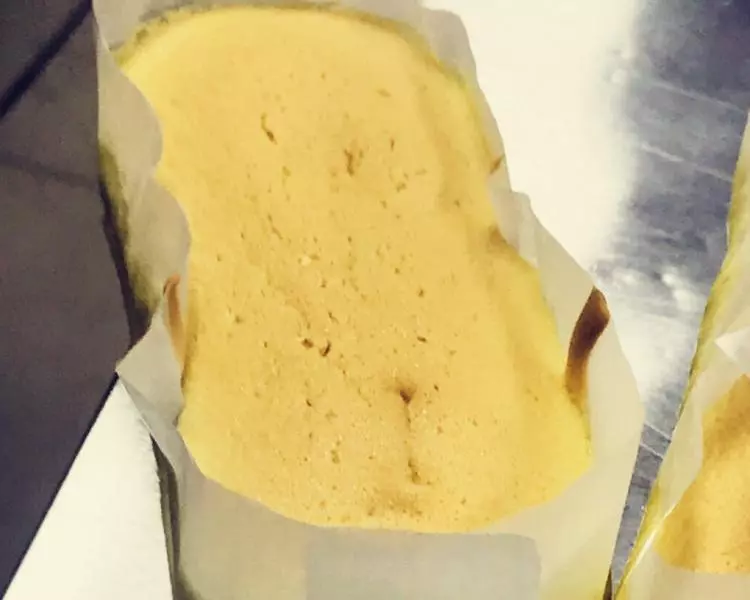
9從稍高處(20厘米左右)摔兩下烤盤,震出大氣泡後,入爐180度中層上下火烘烤15分鐘左右。
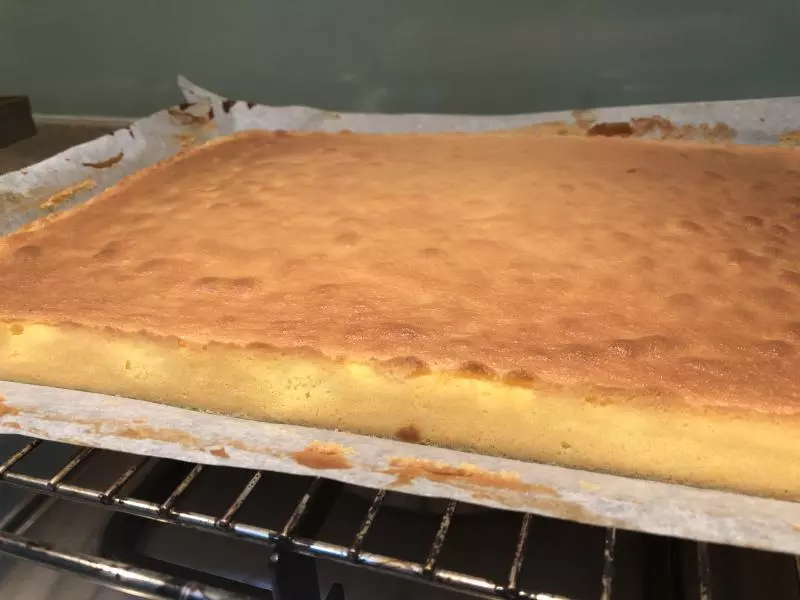
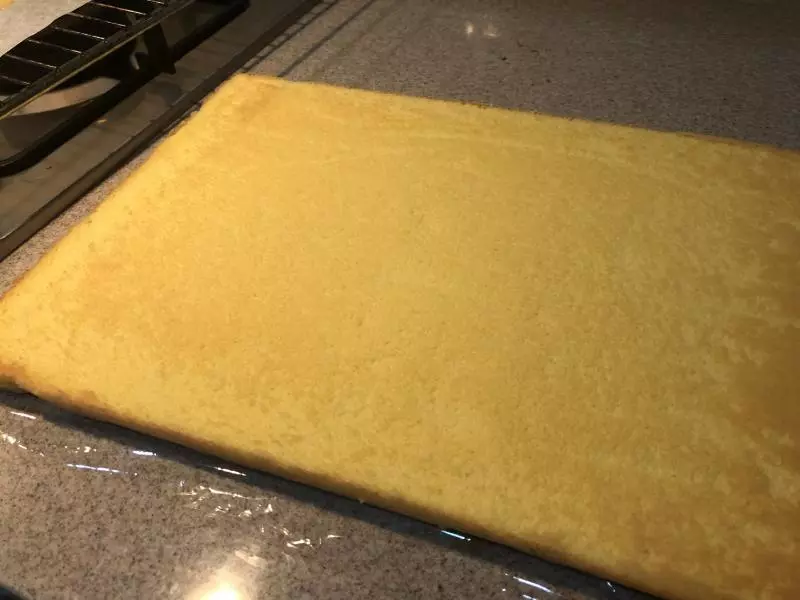
10出爐後輕敲兩下震出高熱後,連同油紙一起從烤盤側面劃出到烤架上,室溫冷卻備用。趁還有點溫熱的時候表面虛蓋一張烘焙紙防干。
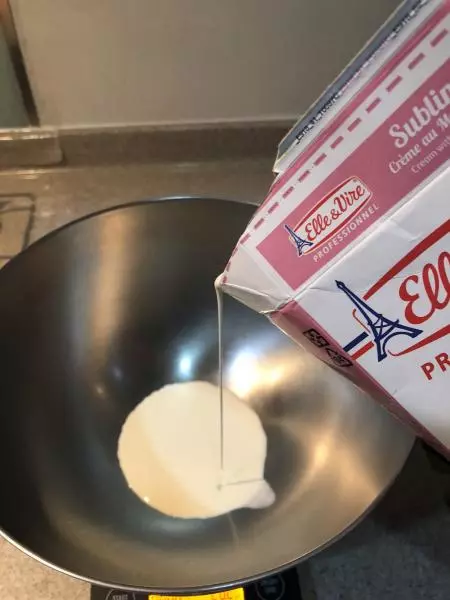
11打發淡奶油。這裡我用的是鐵塔的馬斯卡彭淡奶油,也可以用普通的淡奶油。打到九分發。
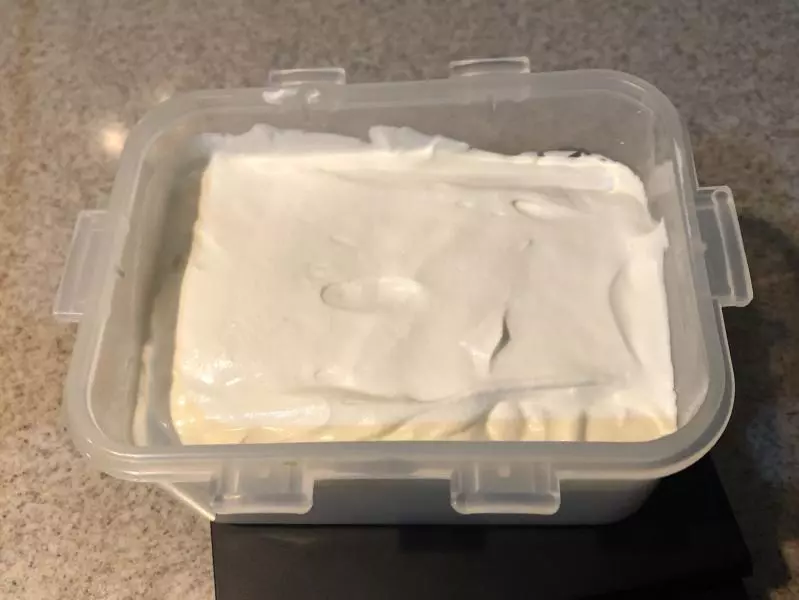
12打發完,分出一部分裝入小而深的容器里,冷藏備用。
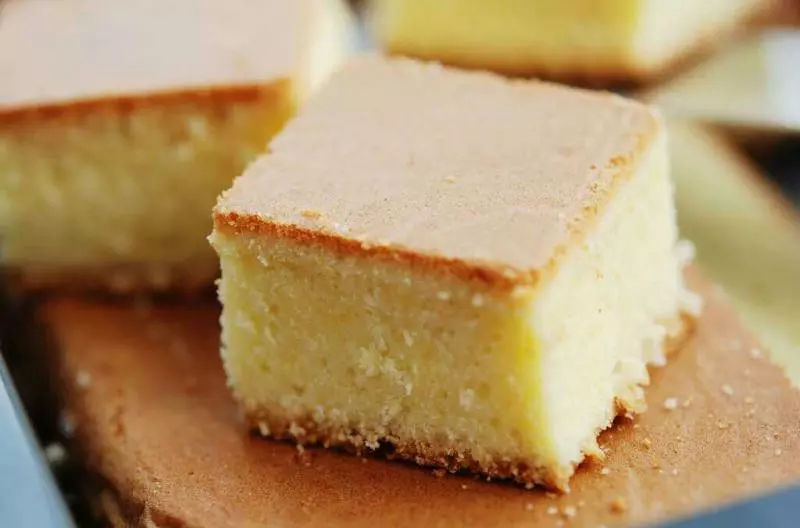
13待蛋糕胚冷卻後,翻面撕去底部烘焙紙。
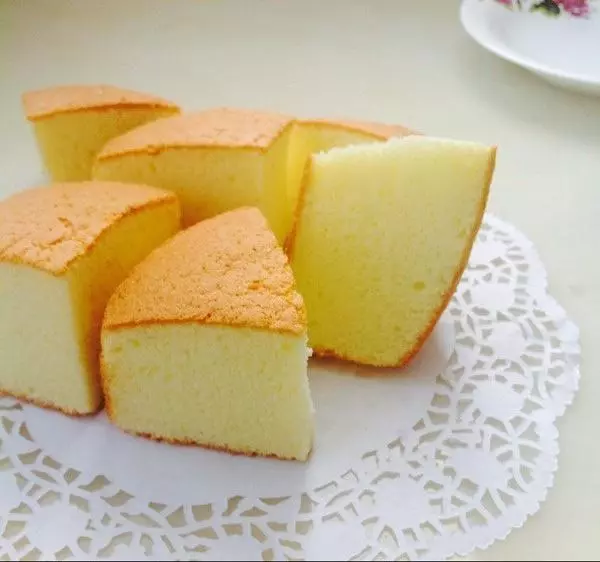
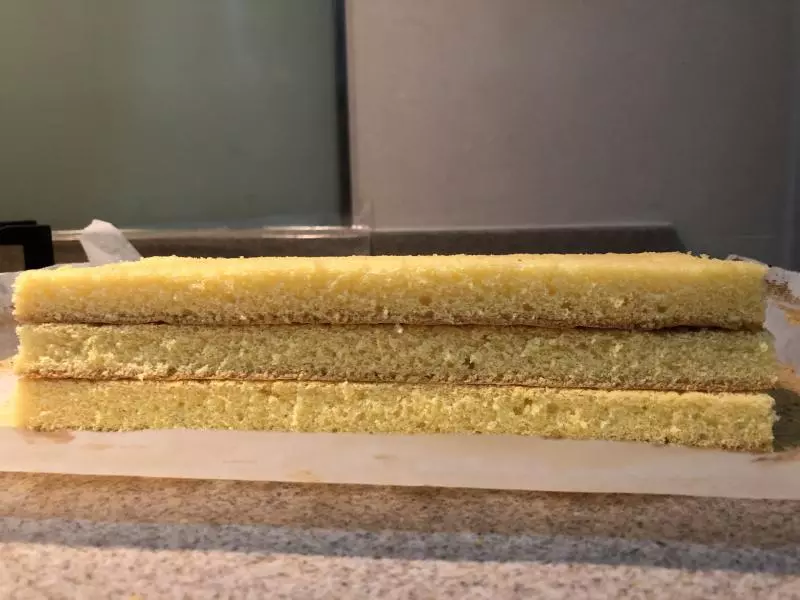
14用鋸齒刀切掉四周干硬的部分,然後再平分三等份。
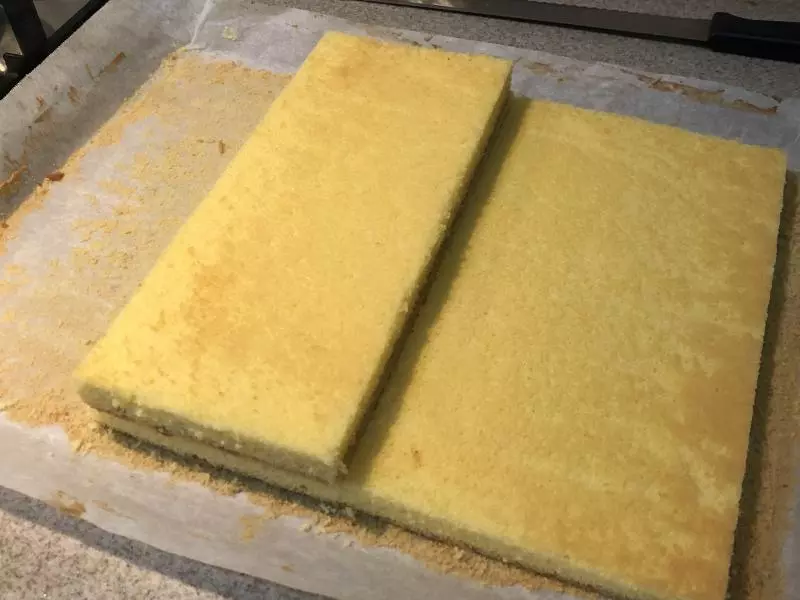
15完成。
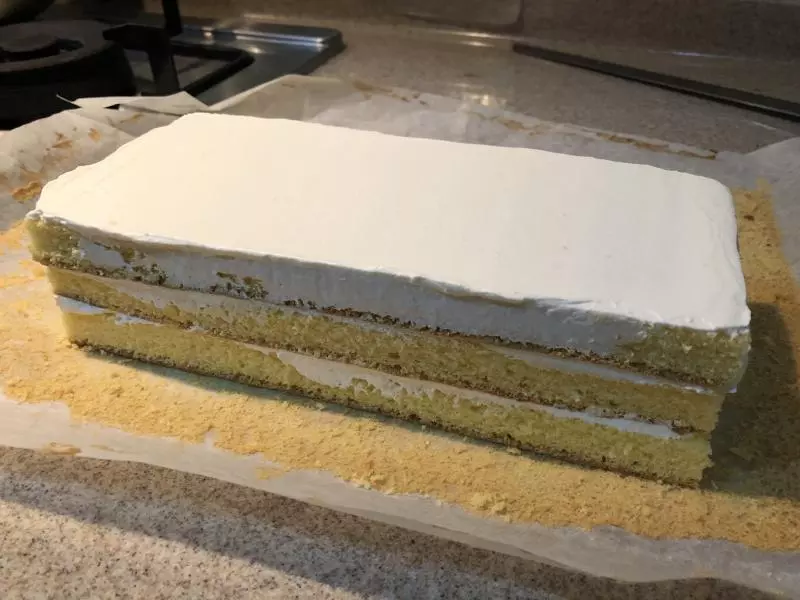
16開始抹奶油。
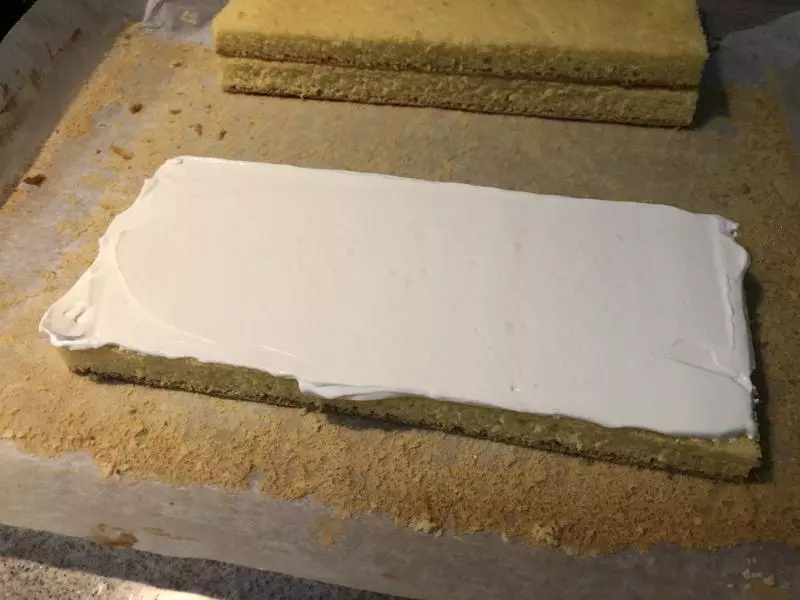
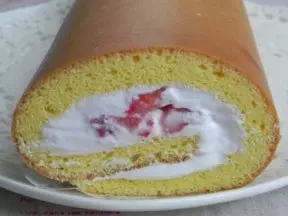
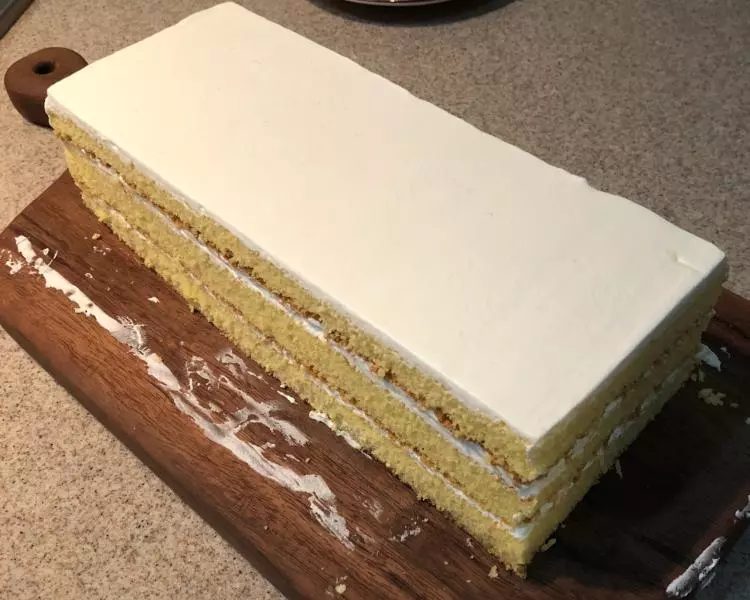
17一層奶油+一層蛋糕胚堆疊上去,周圍用抹刀整理乾淨。完成後冷藏20分鐘定型。
18用鋸齒刀四周修邊。
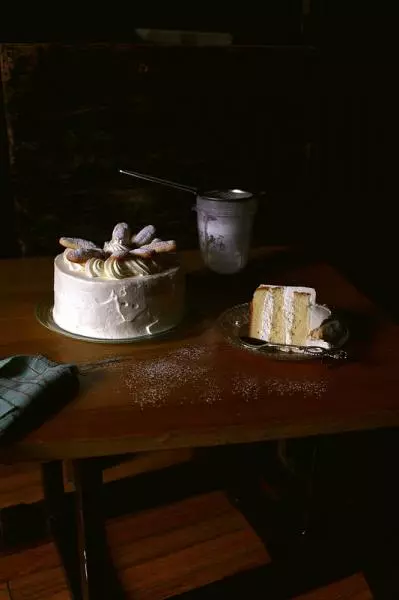
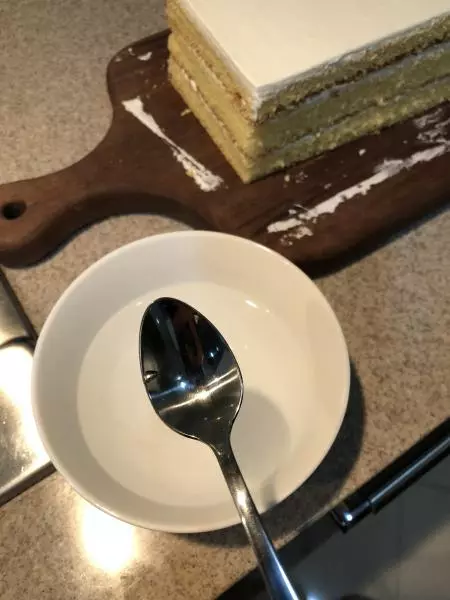
19取一把橄欖形小勺,放在熱水裡浸泡片刻後取出擦乾。
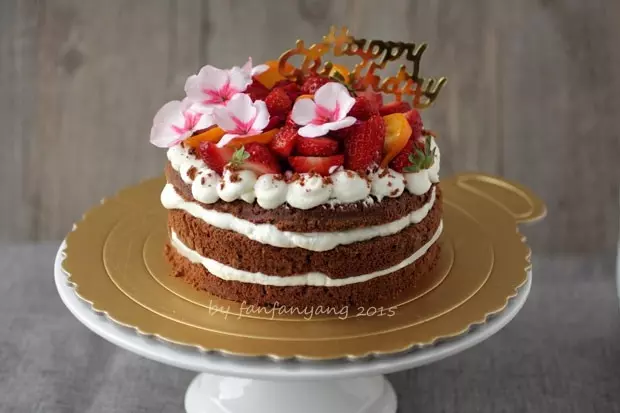
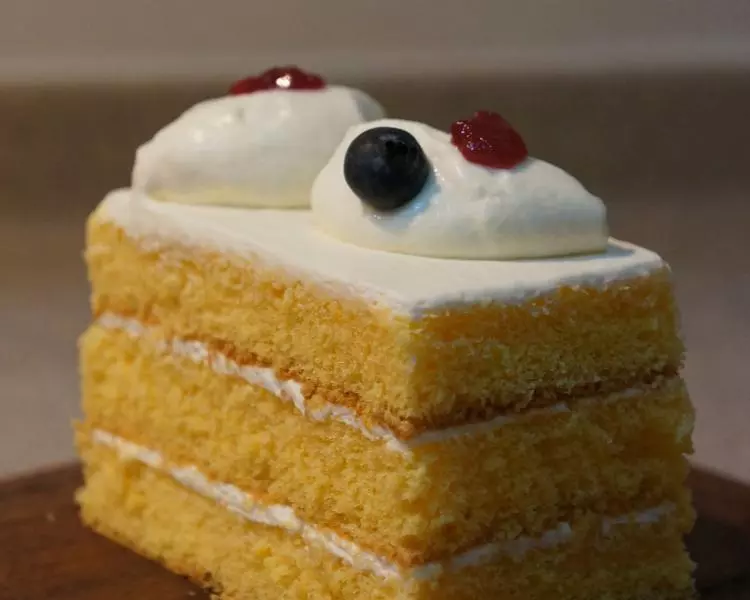
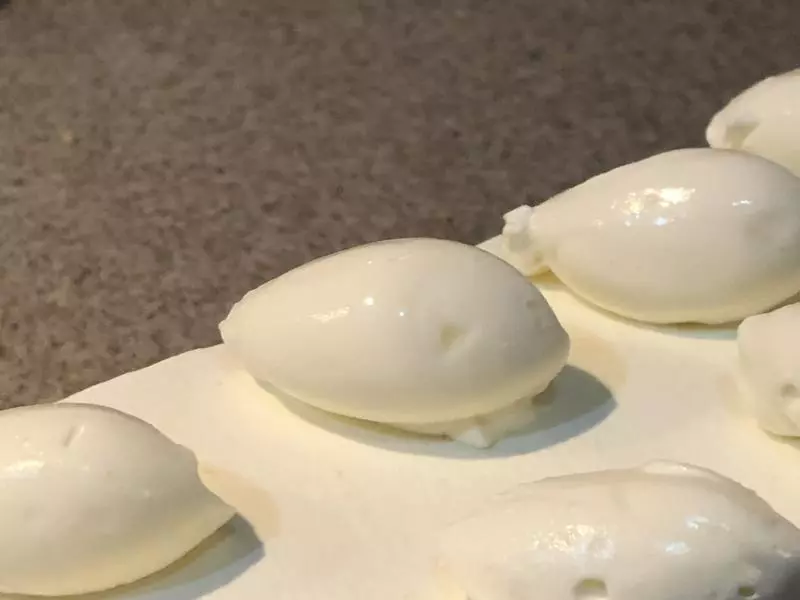
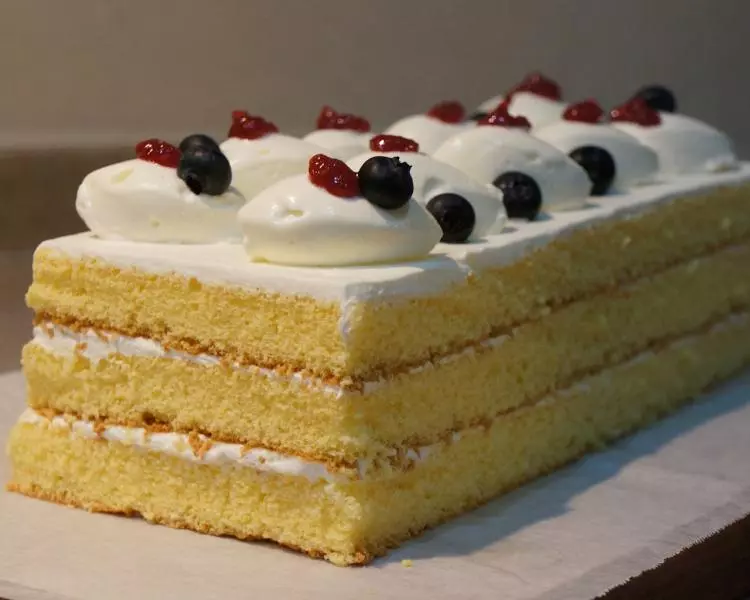
20拿出之前冷藏好的奶油,用勺子挖一勺成橄欖形,使之落在蛋糕上。
21將果醬裝在保鮮袋中,剪一下口,擠在奶油上裝飾。
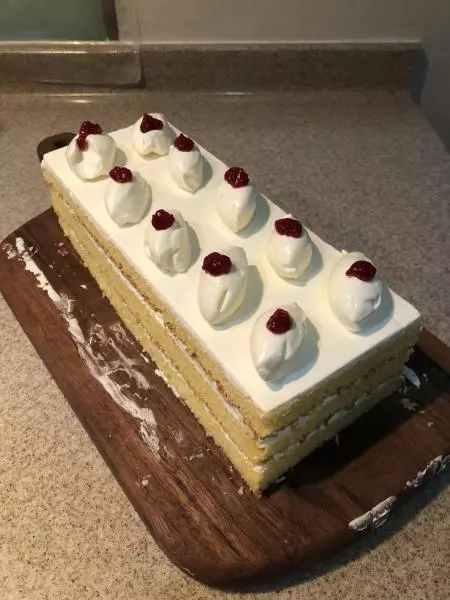
22放上藍莓裝飾點綴,完成。
小技巧
- 全蛋打發一定要到位,否則很容易消泡。其中打發溫度是關鍵,蛋液溫度儘量保持在40度左右。 2. 切片及最後修邊時一定要用好用順手的鋸齒刀,動作要乾脆利落。 3. 奶油霜可以直接用淡奶油,也可以用奶酪霜(配方可參見我的上一個菜譜「美式經典紅絲絨蛋糕」中的馬斯卡彭奶酪霜),不過個人覺得加一些馬斯卡彭奶酪奶香味更足,和這個蛋糕體更配一點。