原料
紅棗泥: 290克, 雞蛋: 6個, 低筋麵粉: 300克, 小蘇打: 6克, 泡打粉: 7克, 糖: 100克, 玉米油: 120克
步驟
1純凈水泡紅棗至紅棗捏起來軟軟的
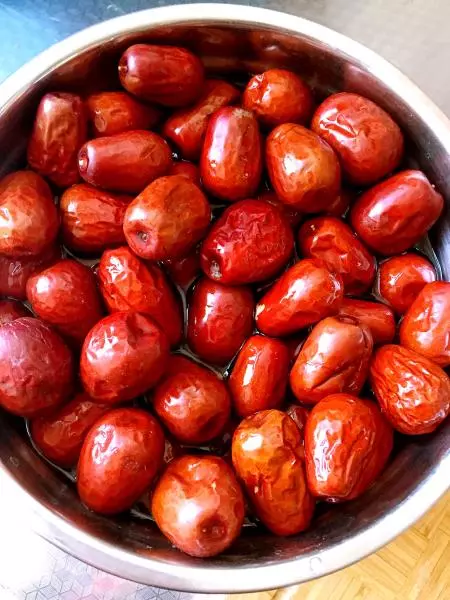
2剔除棗核
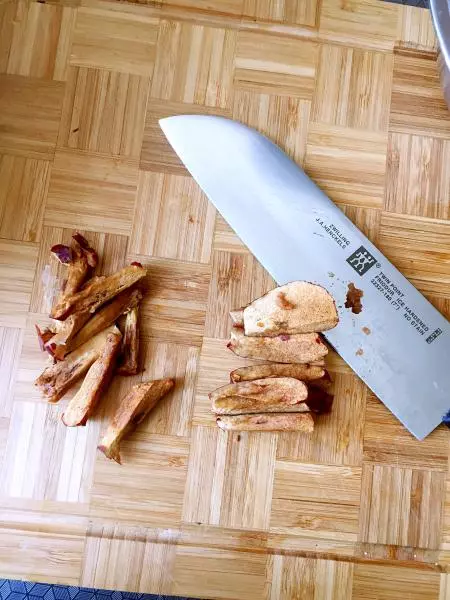
3剔除棗核後的棗肉
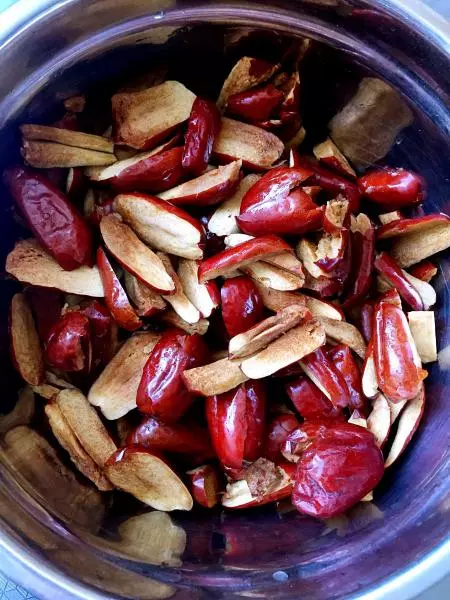
4鍋里加水沒過棗肉
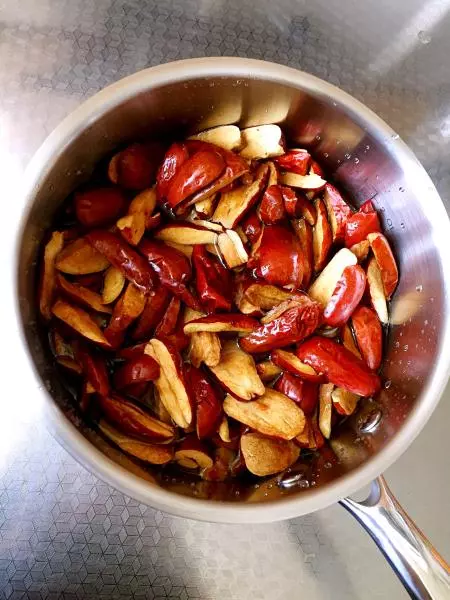
5煮棗肉,煮至水到鍋底約剩1cm左右關火

6晾涼並讓棗肉充分吸收剩餘的水分
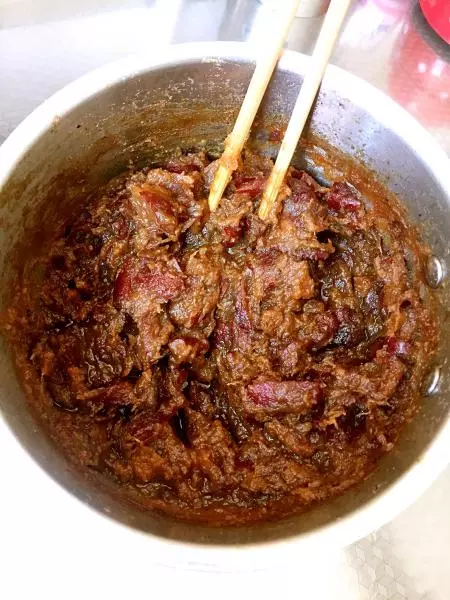
7破壁機打碎棗肉及紅棗皮
8打好的棗泥
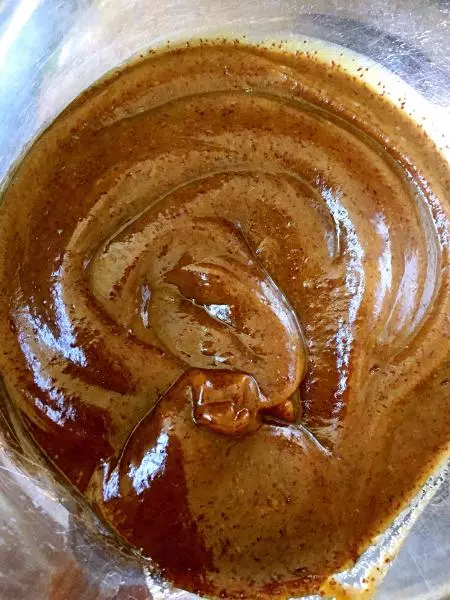
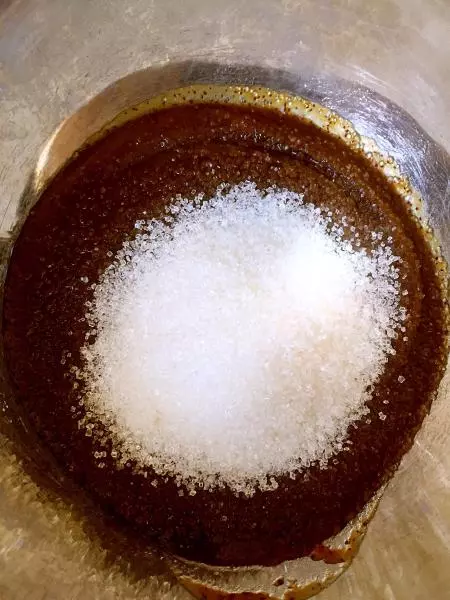
9打好的棗泥取出290克加入100克白糖攪拌均勻
10加入6個雞蛋
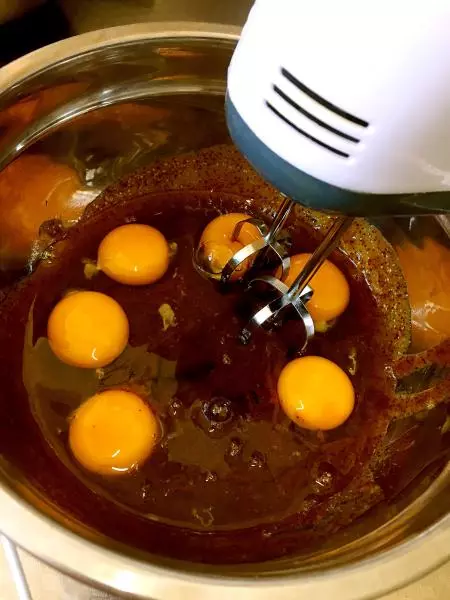
11用打蛋器把棗泥和雞蛋打勻

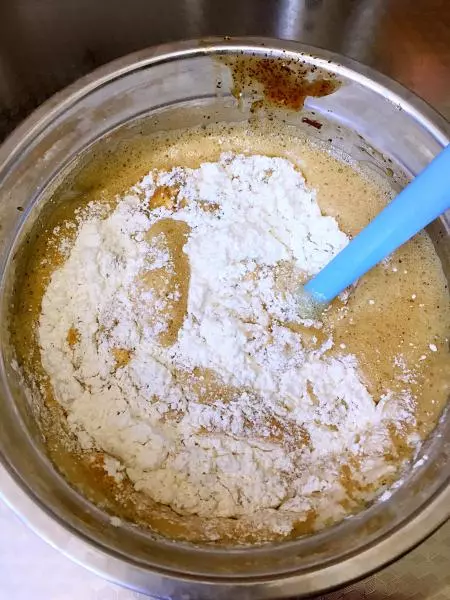
12加入300克低筋粉,6克食用小蘇打,7克泡打粉
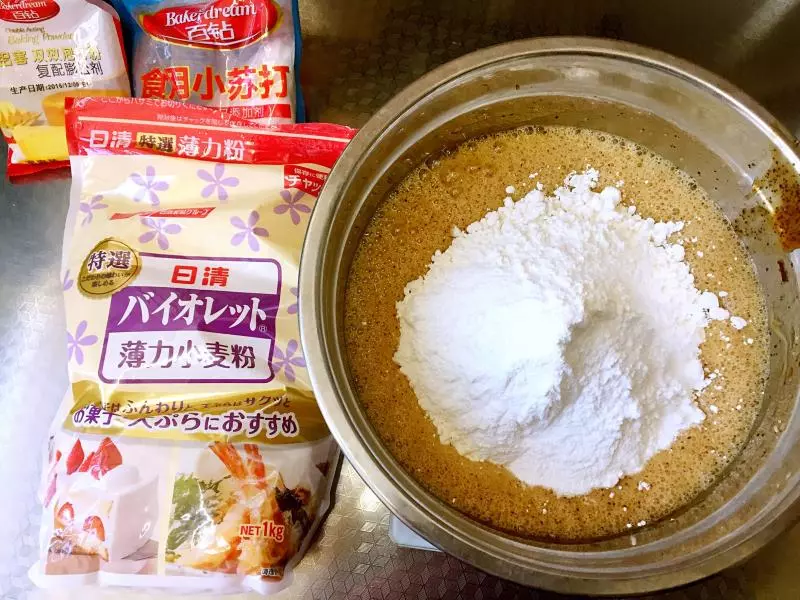
13攪拌均勻
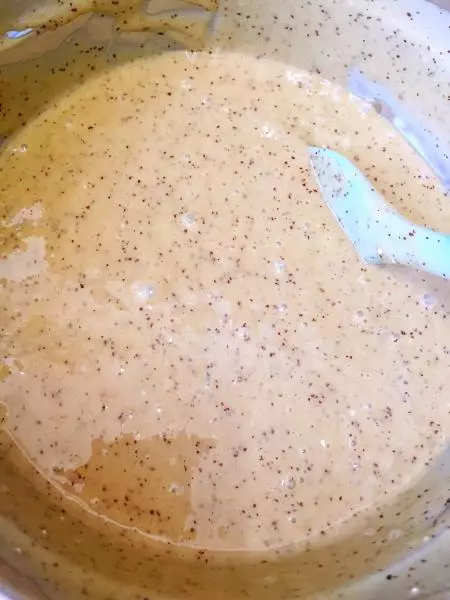
14加入120克玉米油攪拌均勻
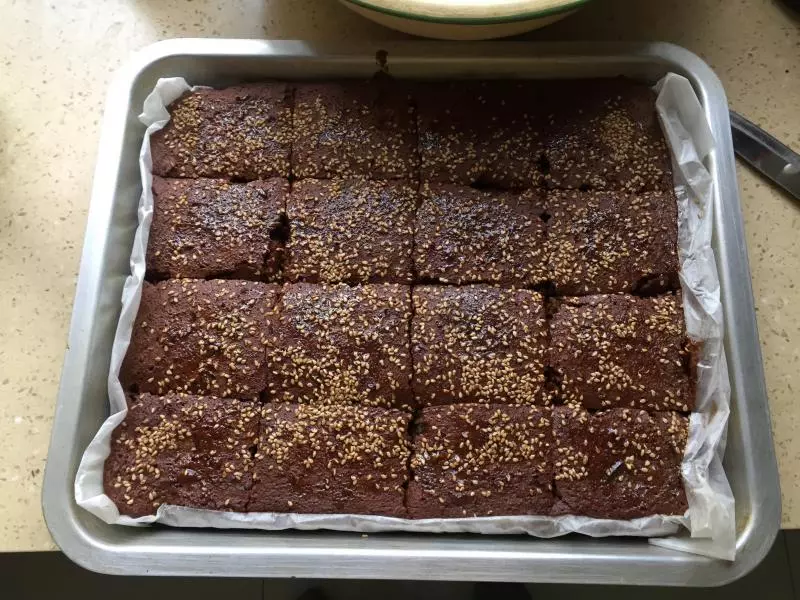
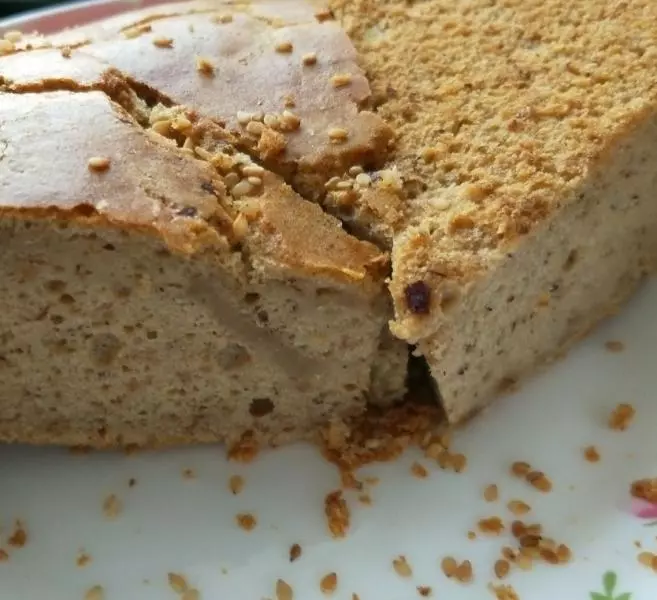
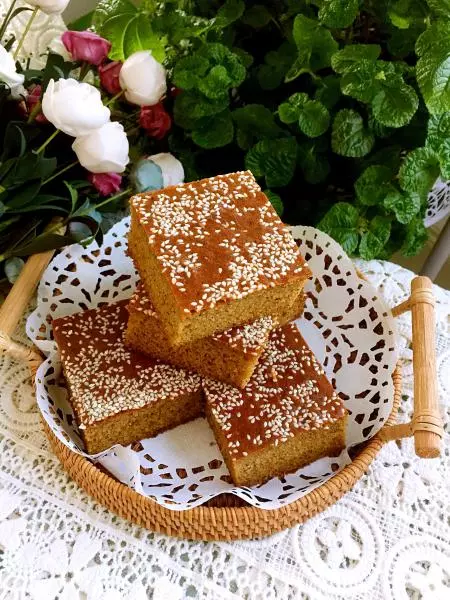
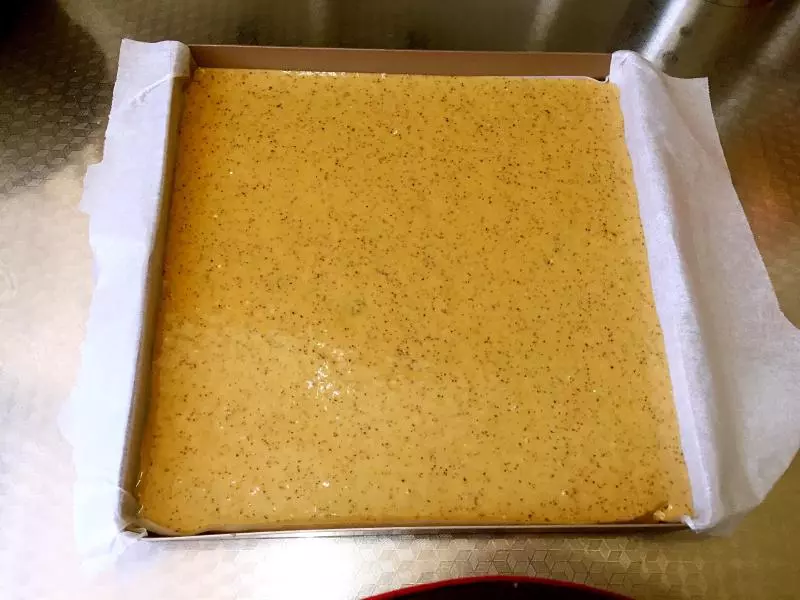
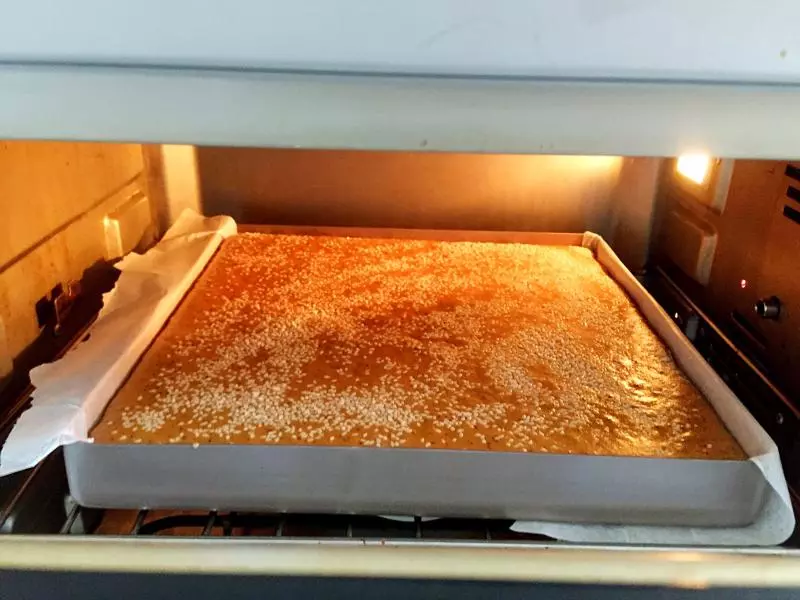
15烤盤內鋪油紙,然後倒入攪拌均勻的棗泥糕液體
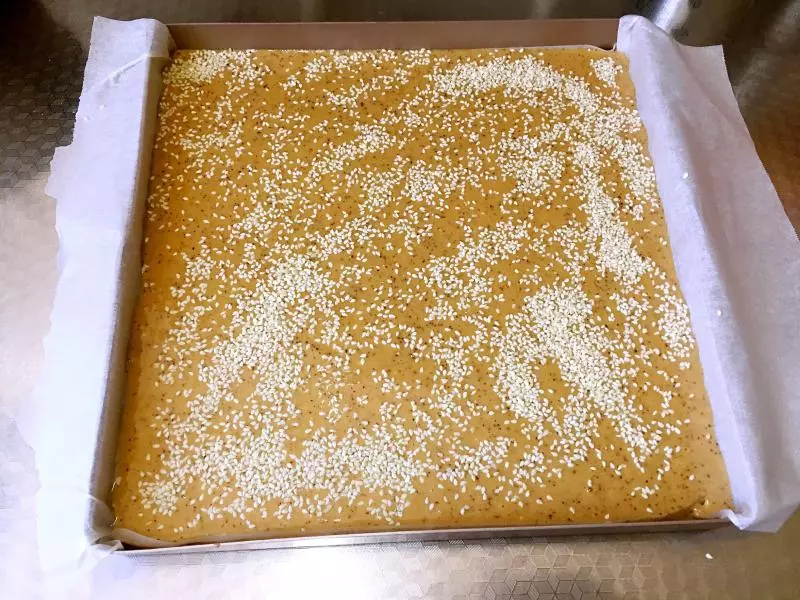
16撒上白芝麻
17烤箱預熱後,上下火160° 烤60分鐘左右,大約35分鐘左右加蓋錫紙以防上層上色太深
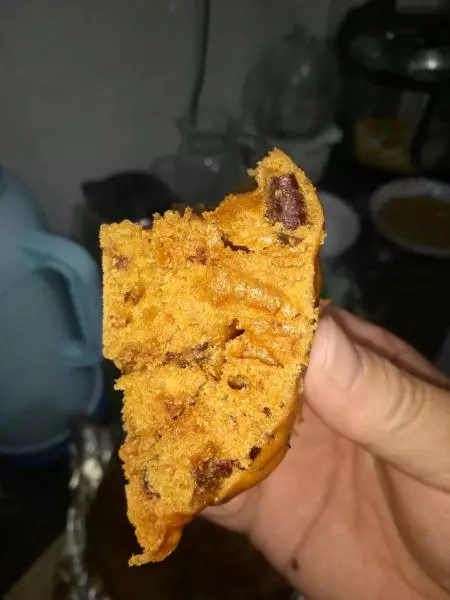
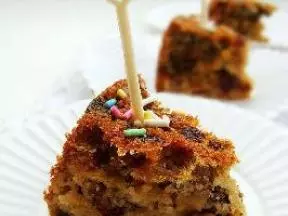
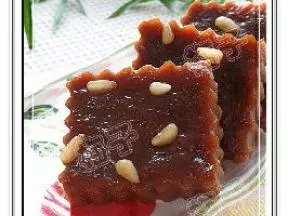
18烤至完成後取出晾涼
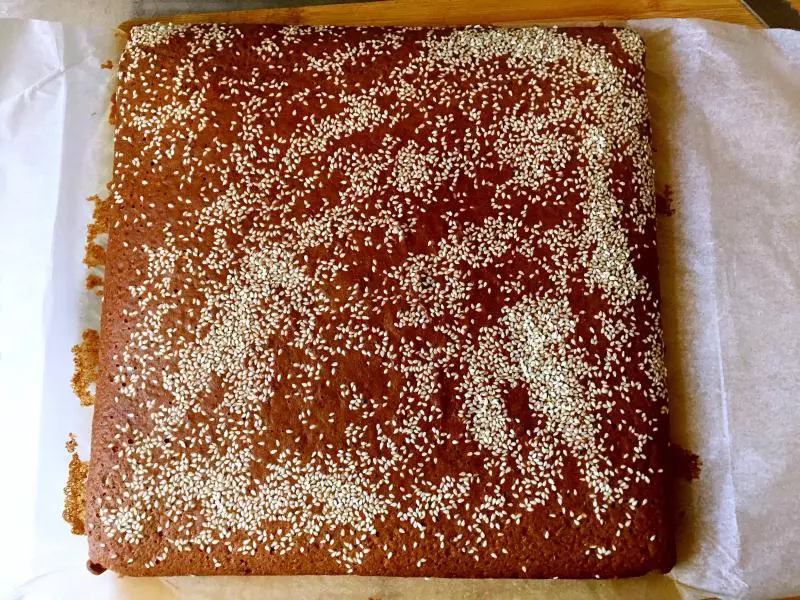
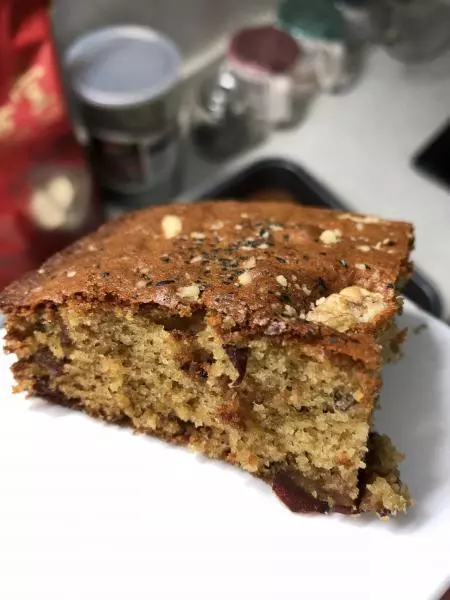
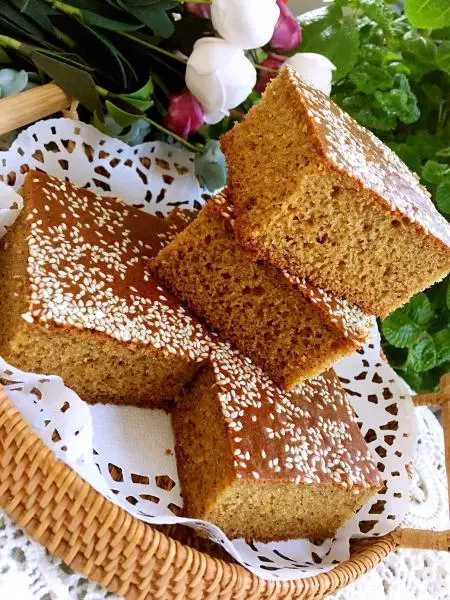
19晾涼後切塊兒密封保存
20紅棗泥每次可以多備一些,多餘的冷藏保存三天,也可冷凍保存用的時候提前取出自然解凍再使用
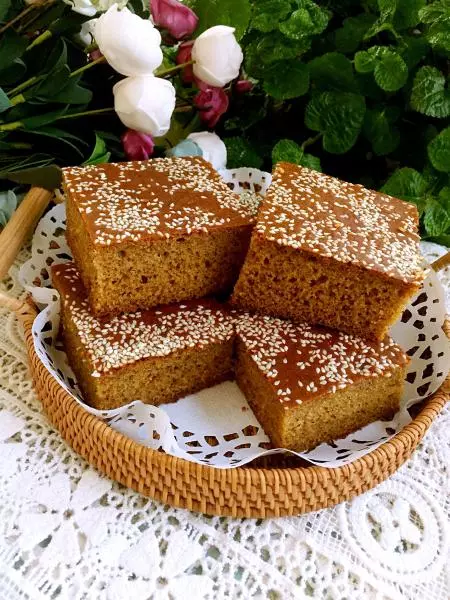
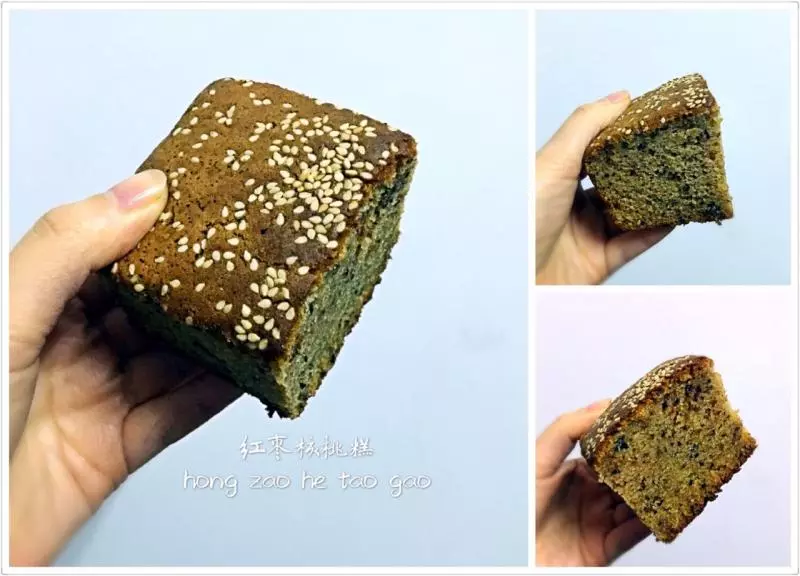
21美味又營養的棗泥糕??