简介
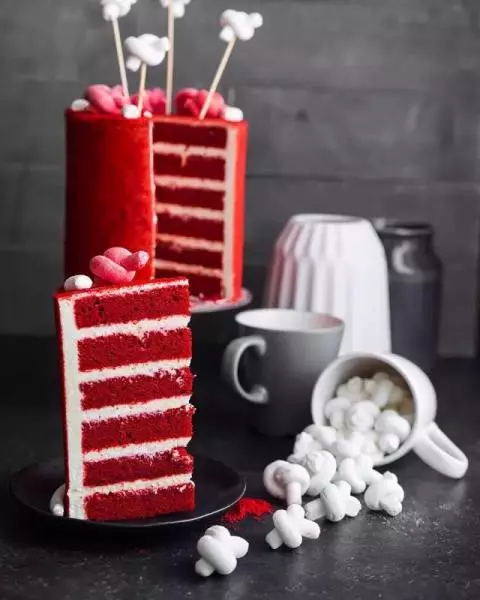
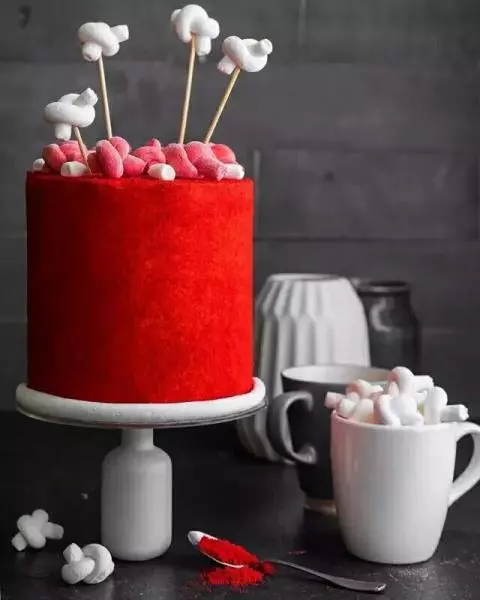
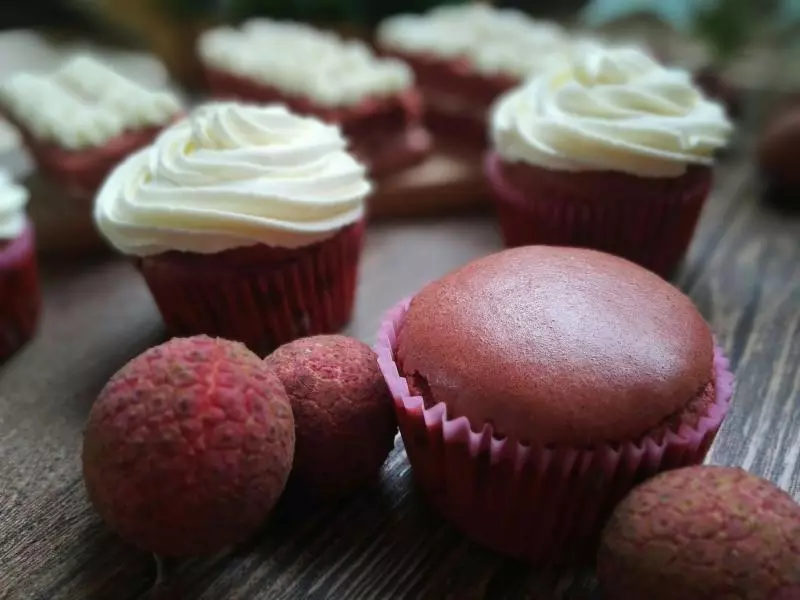
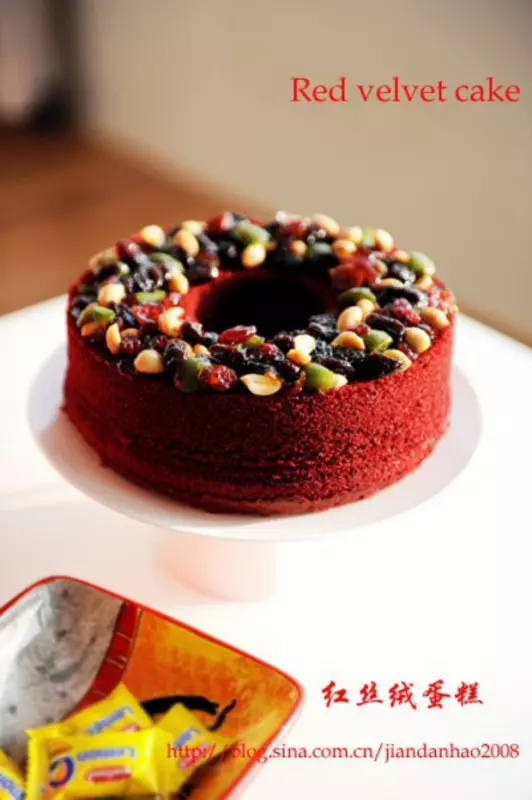
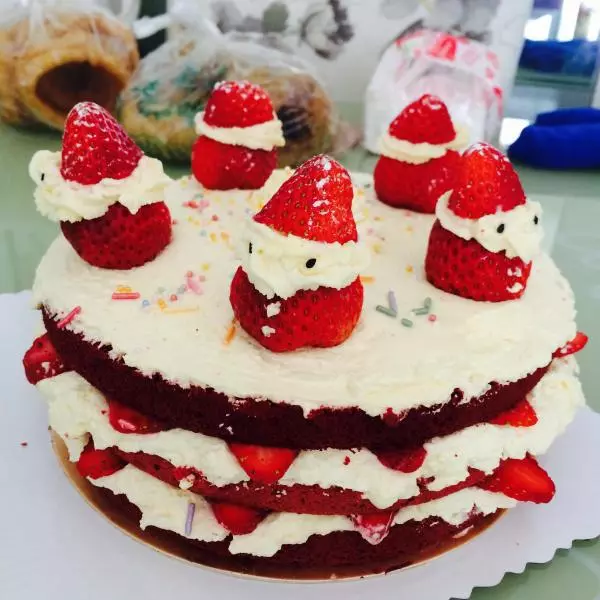
红丝绒裸蛋糕~~~话说这红丝绒蛋糕其实真的不难,加上裸蛋糕是基本不重装饰的,不过配上这高大上的名字,不明觉厉~~微博http://weibo.com/fantangmm欢迎关注
原料
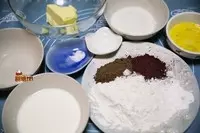
黄油 68克, 低筋面粉 140克, 可可粉 10克, 红曲粉 10克, 泡打粉 3克, 白砂糖 100克, 鸡蛋 75克, 食盐 1/4小勺, 水 22克, 酪奶(可用一半酸奶一半牛奶混合代替) 105克, 小苏打 1小勺, 白醋 少许, 奶油奶酪 200克, 黄油 35克, 鲜奶油 80克, 糖粉 35克
步骤
1配料 : 6寸蛋糕圆模 红丝绒蛋糕体:黄油68克,低筋面粉140克,可可粉10克,红曲粉10克,泡打粉3克,白砂糖100克,鸡蛋75克,盐1/4小勺,水22克,酪奶(可用一半酸奶一半牛奶混合代替)105克,小苏打1勺,白醋少许; 顶酱:奶油奶酪200克,黄油35克,鲜奶油80克,糖粉35克;烘焙时间:分开烤3片蛋糕,175度,10分钟; TIPS:红丝绒蛋糕中最重要的一项是酪奶,不过酪奶原料很难买,而且不是每个人都吃得惯,可用一半牛奶加一半酸奶混合代替,也有用酸奶和柠檬汁代替的,不过我做过后,觉得一半酸奶和一半牛奶混合作为替代品,蛋糕口感更好
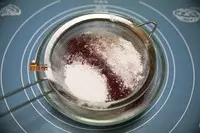
2将低筋面粉140克,可可粉10克,红曲粉10克,泡打粉3克混合过筛均匀后,备用
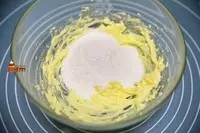
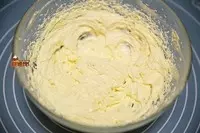
3将黄油68克软化至室温,加入100克白砂糖打发至颜色发白
4将鸡蛋液打散, 分四到五次加入黄油中,每次加入后一定要充分搅打至均匀后,再加入下一次的鸡蛋液
5由于此配方鸡蛋量较大,混合均匀是需要耐心的,中途用刮刀将附着在盆边的黄油刮至盆中间,继续搅打均匀
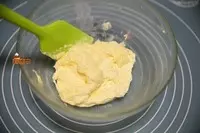
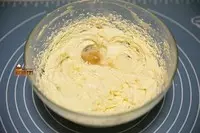
6混合均后后的黄油鸡蛋糊,一定要是不流动的状态,要蓬松
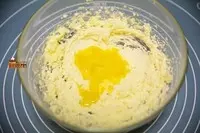
7加入盐1/4小勺,水22克,如有香草精可加入一滴香草精,搅打均匀
8加入1/3混合过筛后的粉类,搅拌均匀
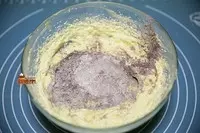
9搅拌均匀,第一次搅拌后可能会有少许分离现象,这个不要紧

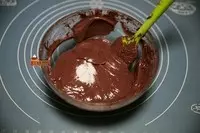
10加入1/2酪奶(我们这里用的是一半酸奶和一半牛奶的混合物),搅拌均匀;随后重复以上步骤,加入1/3过筛粉类拌匀,随后再加入1/2酸奶牛奶混合物拌匀,最后加入1/3过筛粉类拌匀

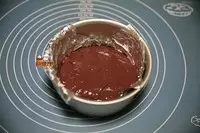
11最后拌匀后的面糊,是光滑无颗粒的,有光泽的红色面糊

12加入少许的小苏打粉,和少许白醋,帮助蛋糕更加蓬松
13使用6寸圆模,铺上锡纸,放入1/3面糊,将表面抹平,放入烤箱175度,烘焙10分钟,此步骤共做三次TIPS:1、将蛋糕分三次烤出三片蛋糕片,优点是蛋糕表面比较平整,且不用费力将蛋糕切片,铺上锡纸的好处是烤好后直接连着锡纸提出蛋糕,免去脱模的麻烦;2、也可以将面糊一次性放入6寸圆模,一次性烘烤。烘焙时间将大大加长,大概40-50分钟,温度也请相应减低一些,且一次性烘烤表面膨胀较高,需要将表面切掉,浪费较多。且将蛋糕平分切为三片,也是比较考验人的
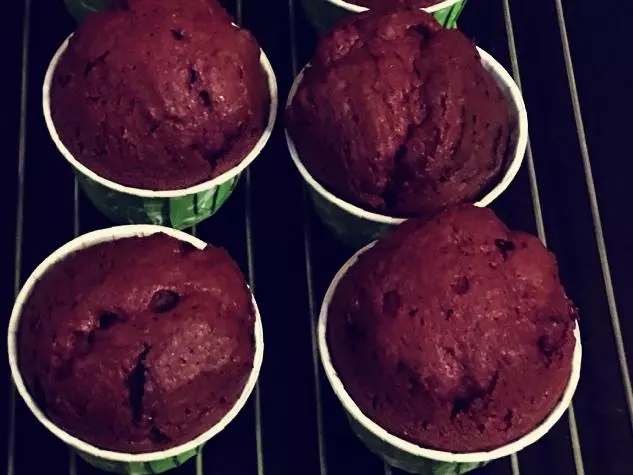
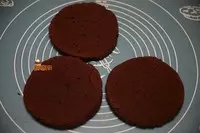
14烤好后的蛋糕,顶部微微凸起,用牙签插入蛋糕中,拔出后没有残留,即代表烤好了
15烤好后的三片蛋糕,将顶部凸起部分切掉,晾凉备用,TIPS:切掉的蛋糕也不要扔,随后有用
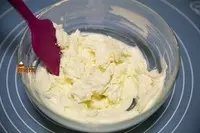
16制作奶油奶酪顶酱:将奶油奶酪200克,黄油35克软化至室温,可轻松捅入一指的状态,一起放入容器中
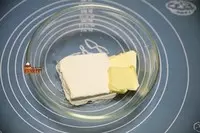
17用搅拌器搅打均匀无颗粒,TIPS:奶油奶酪搅打比较费时,且一定将奶油奶酪软化至室温,否则很难达到无颗粒状态
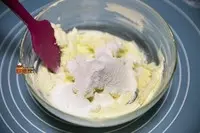
18加入35克糖粉,搅打均匀
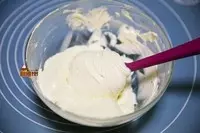
19加入80克鲜奶油,搅打均匀,奶油奶酪酱做好了
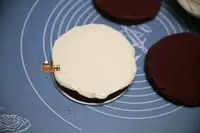
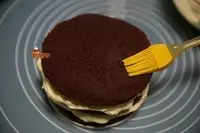
20蛋糕片晾凉后,刷上酒糖液,酒糖液做法:20克水加上10克砂糖,加热充分溶化搅拌均匀,晾凉后加入少许朗姆酒即可

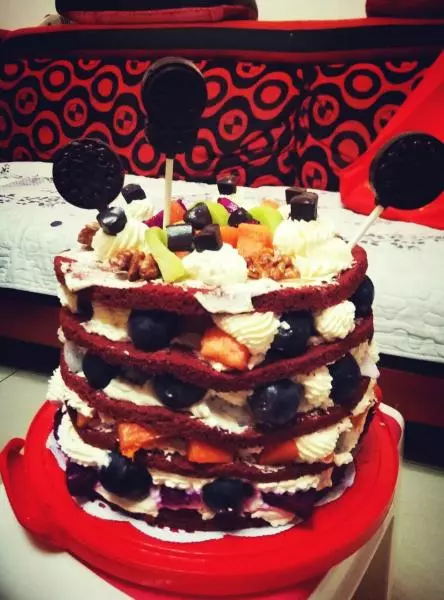
21随后抹上厚厚的一层奶油奶酪酱,尤其是四周要抹厚一些的酱,盖上蛋糕片会挤出来的状态是最好的。裸蛋糕从侧面看一定要看到很多酱
22重复这个步骤直到盖上最上层的蛋糕片,随后同样刷上酒糖液
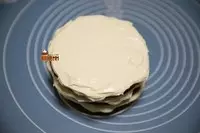
23在最上层抹上奶油奶酪酱,将表面尽量抹平
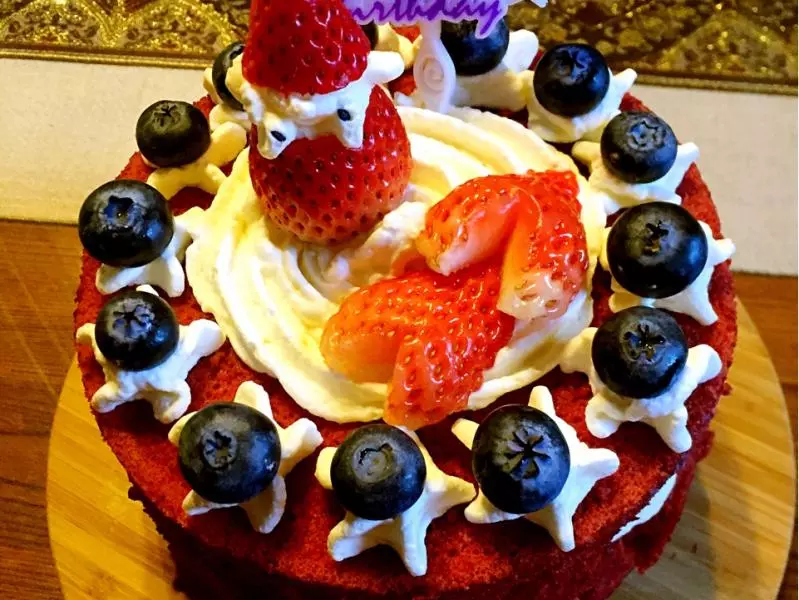
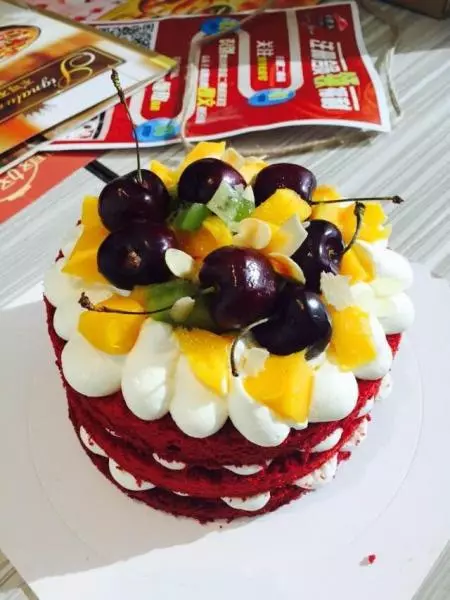
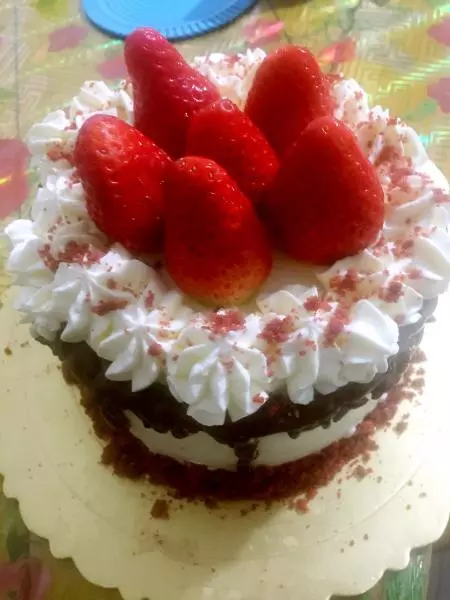
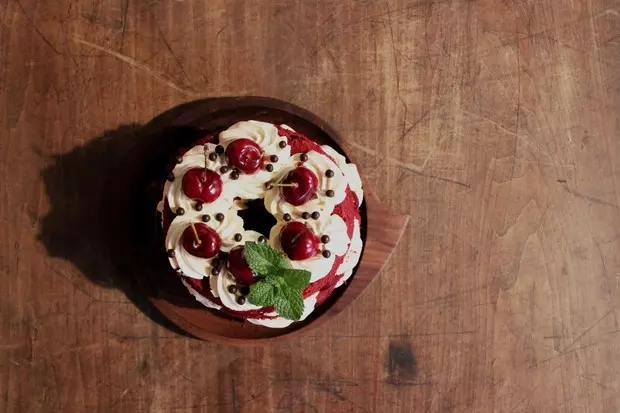
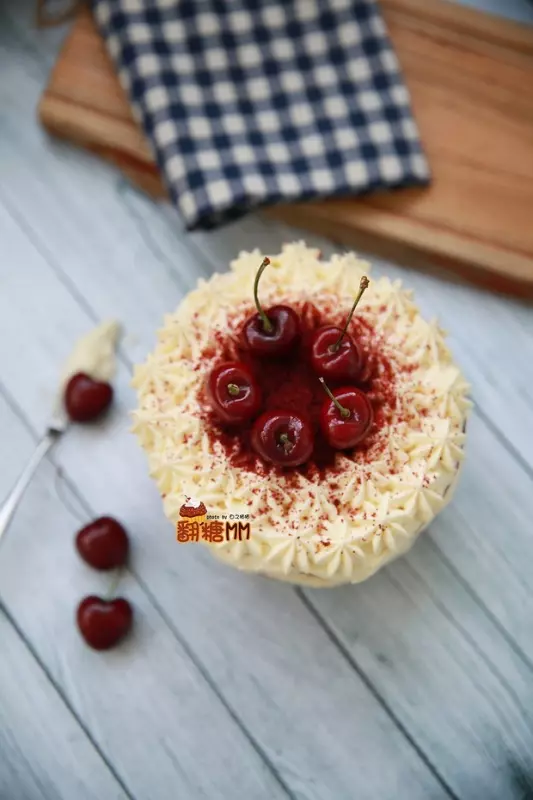
24将剩余的奶油奶酪酱装入裱花袋,使用大个儿的曲奇花嘴,在蛋糕四周挤上奶油花
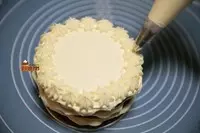
25挤上双层奶油花,中间空着不用挤
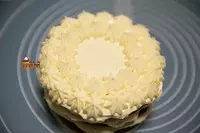
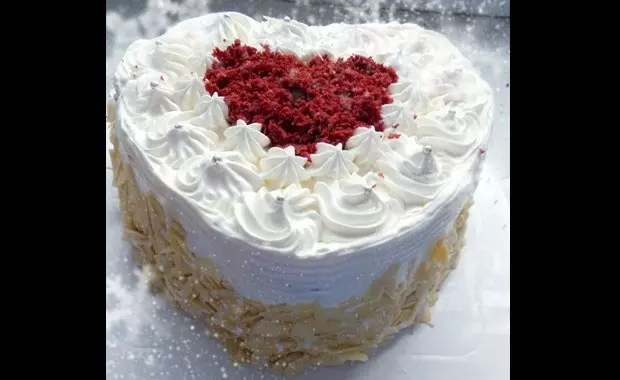
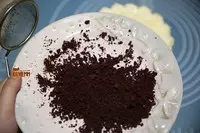
26装饰蛋糕表面:将刚才切掉的蛋糕碾成粉末
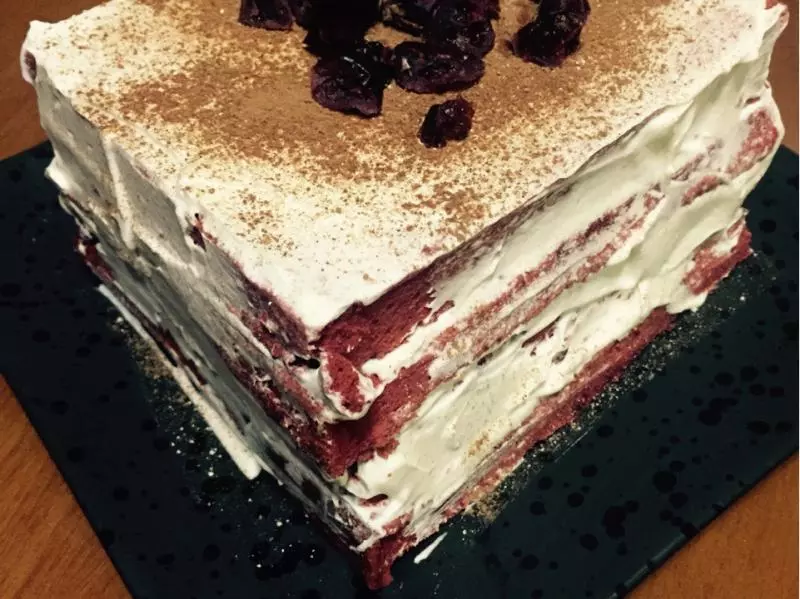
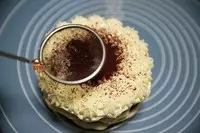
27筛在蛋糕中间部位作为装饰
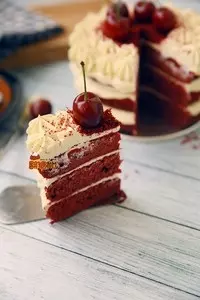
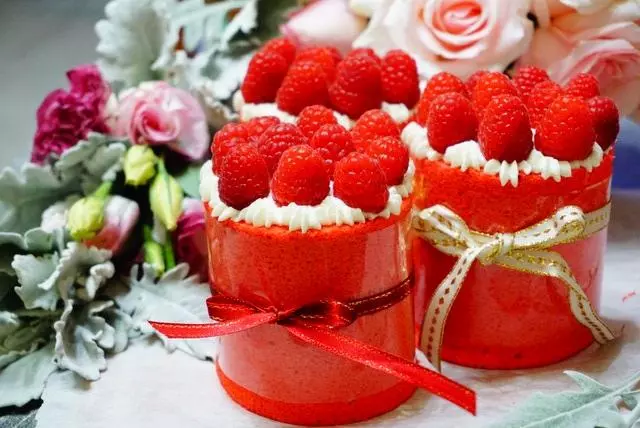
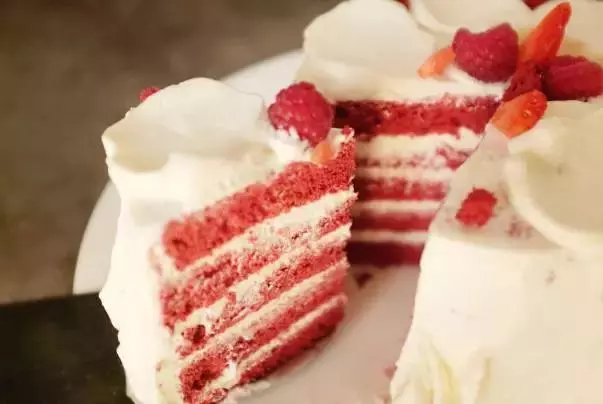
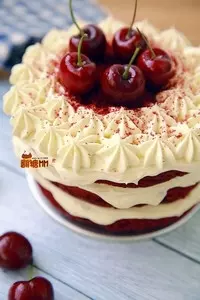
28随后摆上喜欢的水果,樱桃或者草莓都可以,红丝绒裸蛋糕就完成啦~
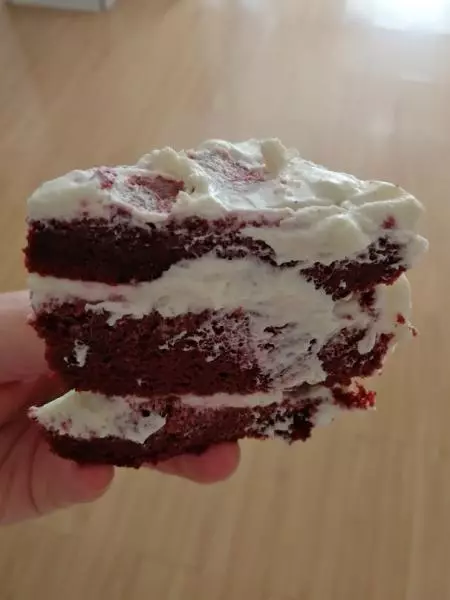
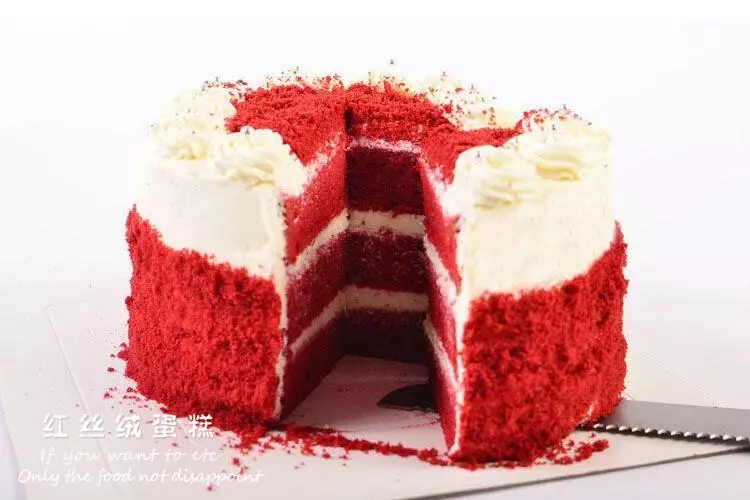
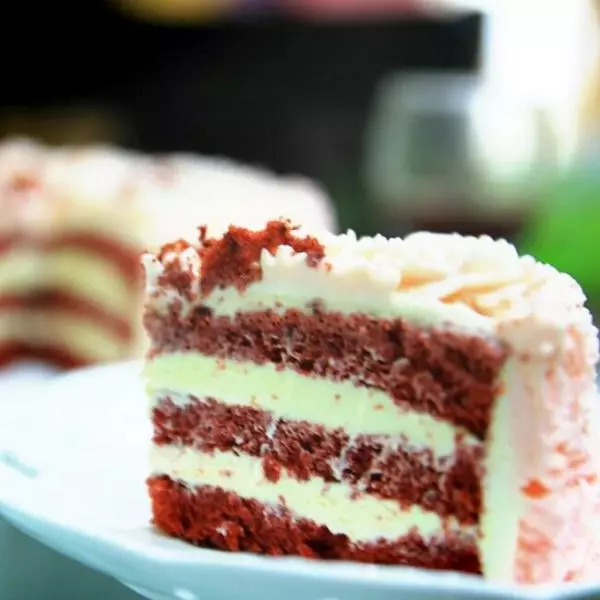
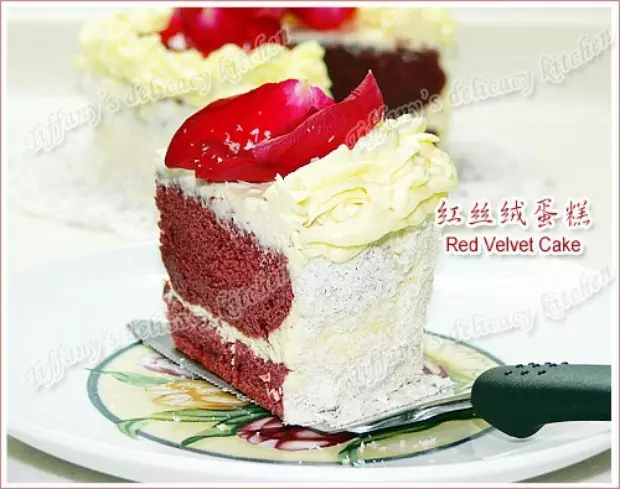
29切开欣赏~