原料
蛋黄: 3个, 黄油: 80g, 糖粉: 40g, 奶粉: 12g, 低筋面粉: 190g, 蔓越莓: 70g, 蛋黄: 一个(涂抹用)
步骤
1材料大合照

2黄油切小块 室温软化,是软化(就是手指按一下黄油就凹进去的感觉),不是融化成液体!

3加入糖粉,先用刮刀搅拌混合,以免等下用电动打蛋器搅拌时飞粉
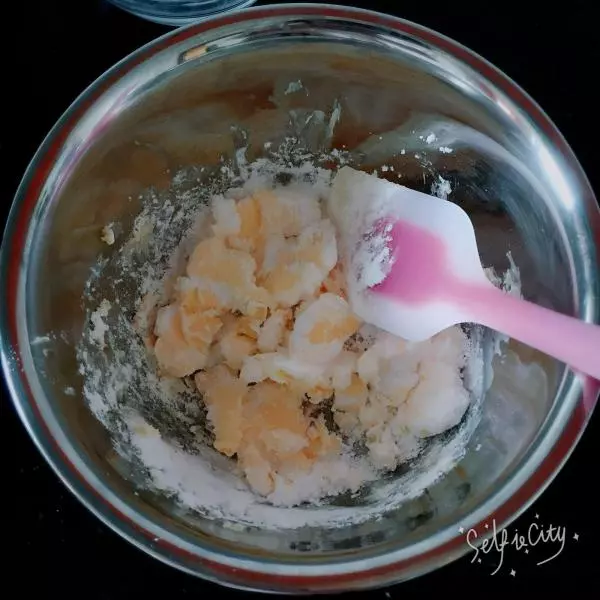
4用电动打蛋器混合糖粉和黄油,大概30秒左右即可
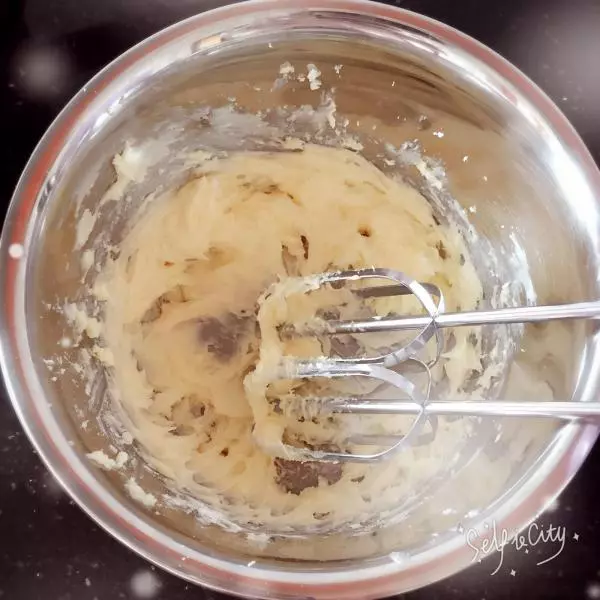
5加入一个蛋黄,继续用电动打蛋器搅打,20秒左右

6加入第二个蛋黄,重复上一个动作 20秒

7加入第三个蛋黄,仍旧重复上一个动作,20秒

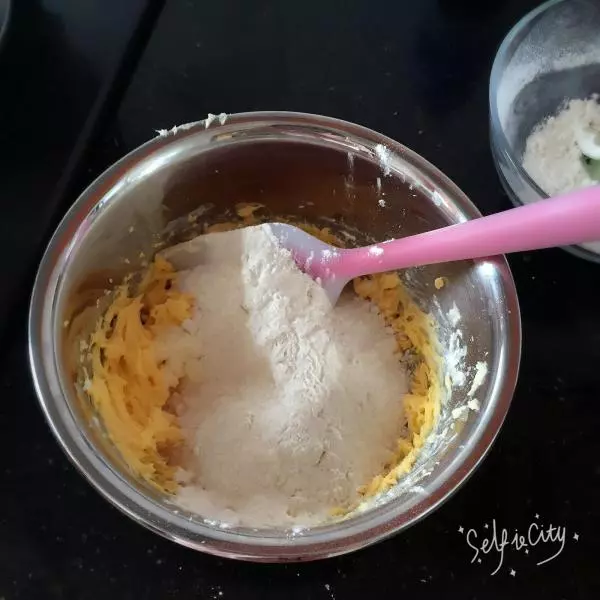
8加入过筛过的低筋面粉和奶粉 用刮刀稍微拌下
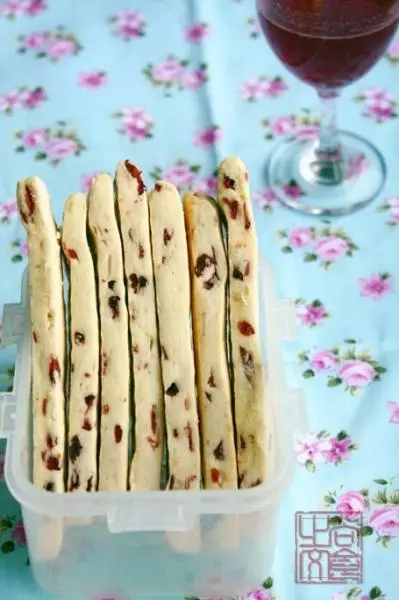
9加入浸泡过去水的蔓越莓
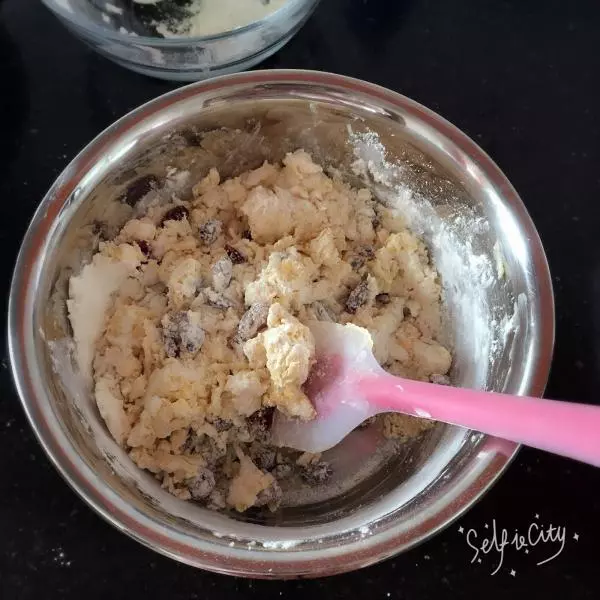
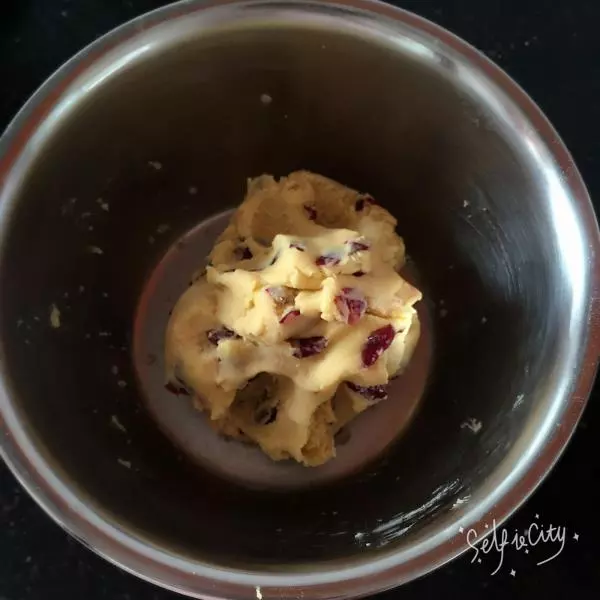
10个人感觉刮刀拌匀困难,直接上手揉匀
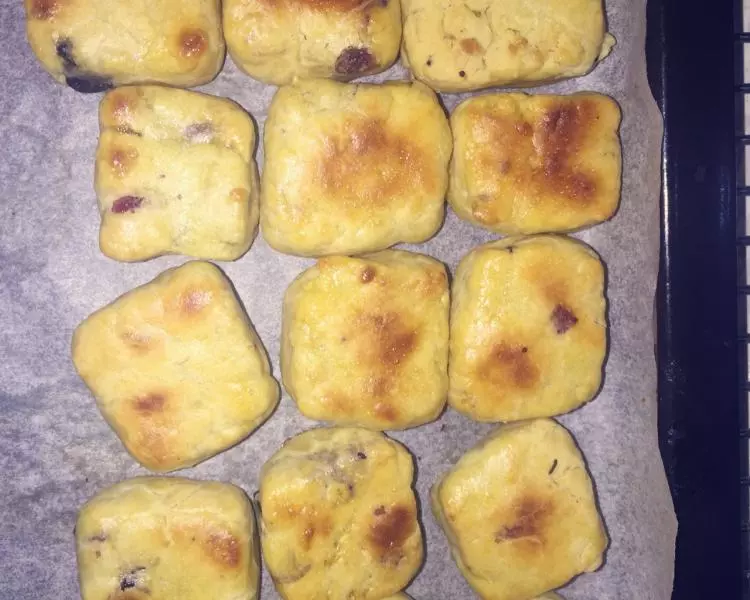
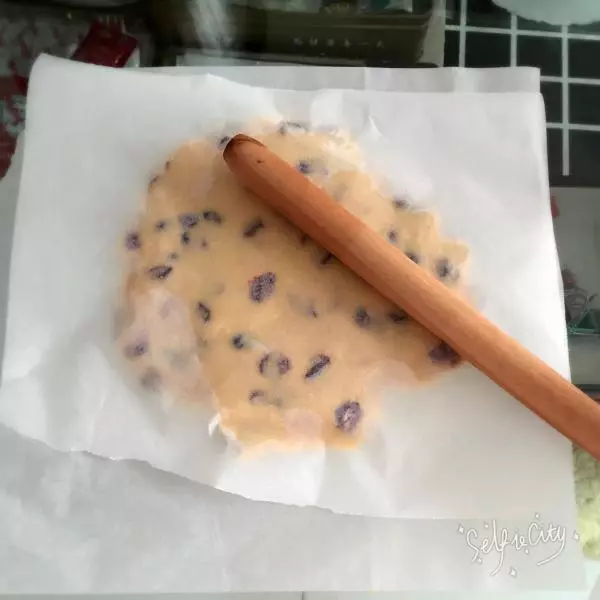
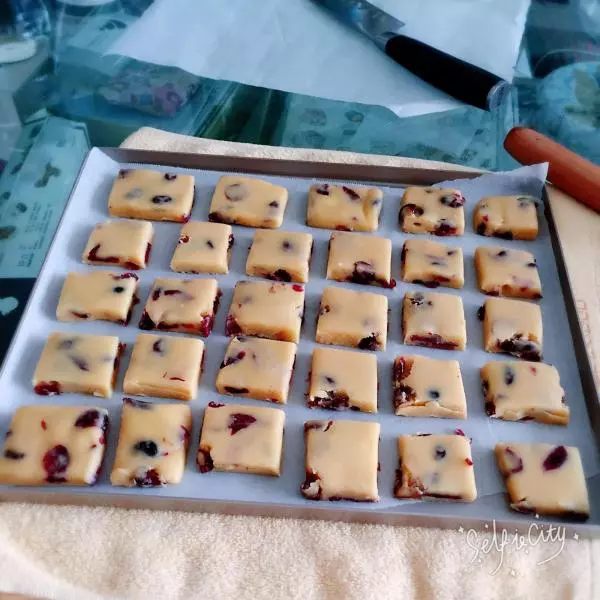
11倒在油纸上,用擀面杖擀平
12用刮板整成四四方方的形状,放入冰箱冷藏室冷藏10min,因为面饼中有蔓越莓,冷藏下比较好切

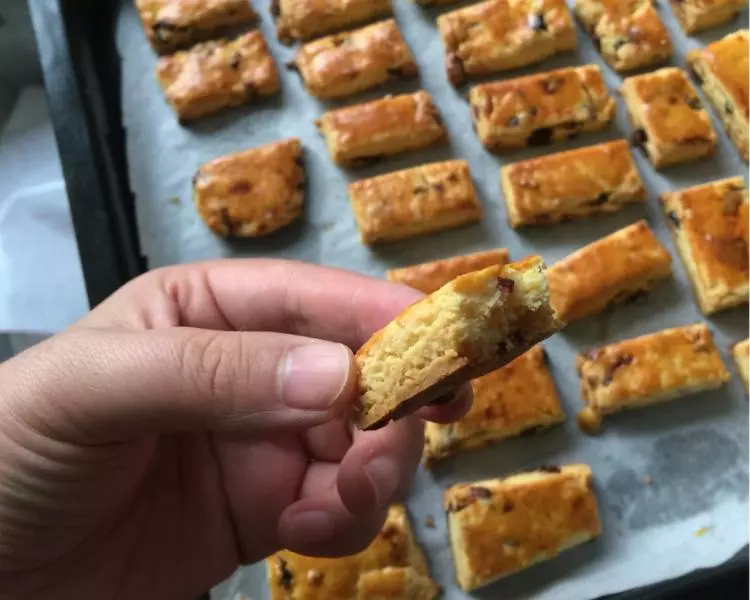
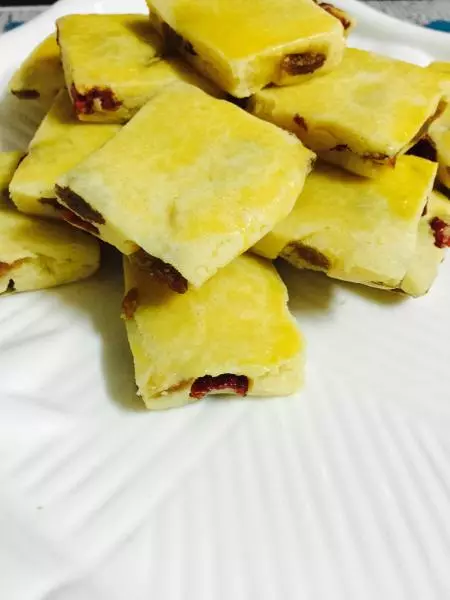
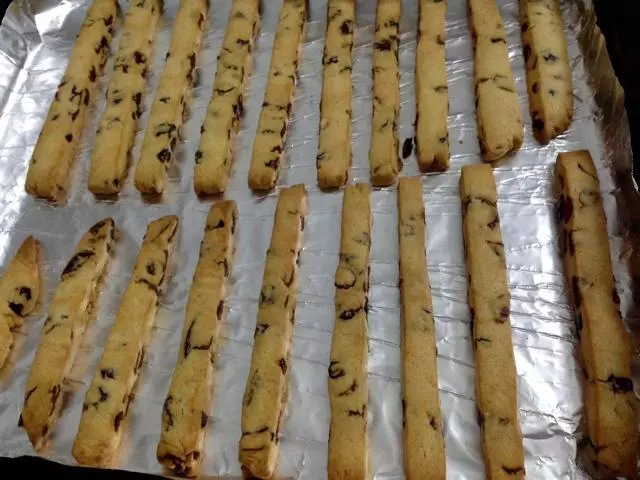
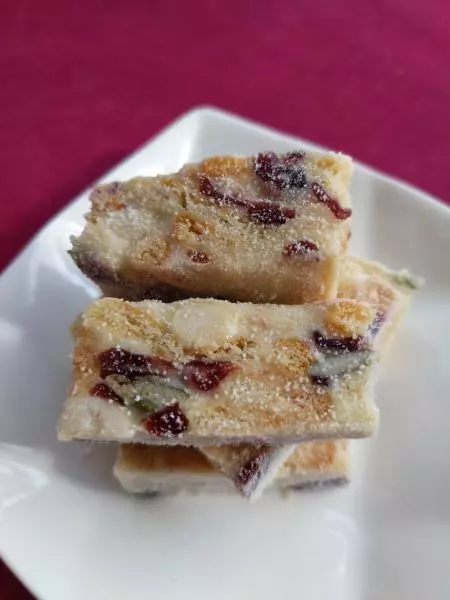
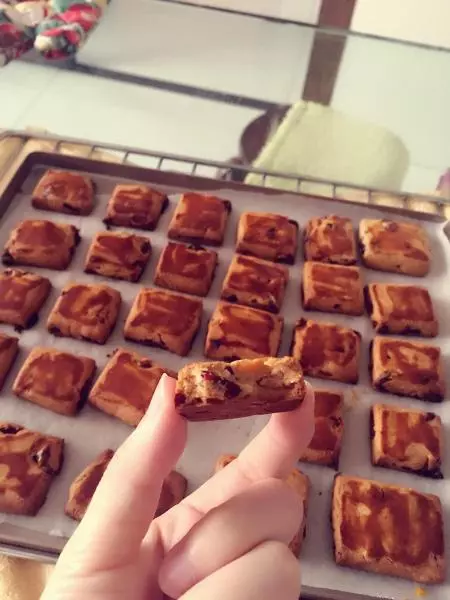
13冰箱中拿出用刀切成小方块即可
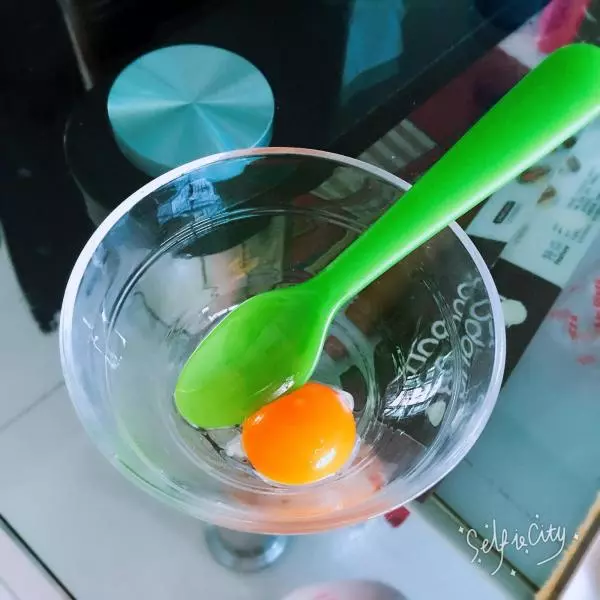
14拿出备用涂抹用的蛋黄
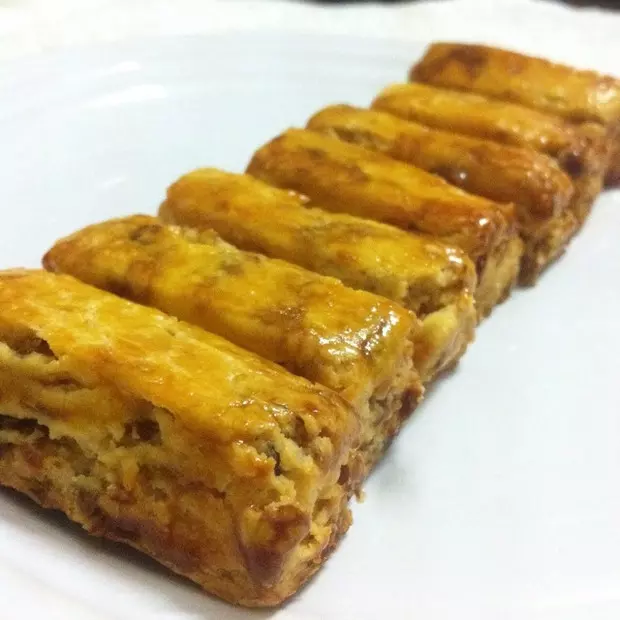
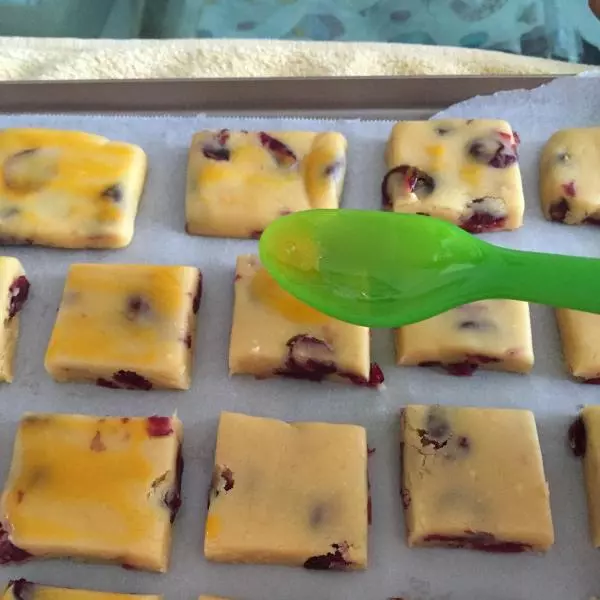
15有刷子的用刷子蘸取蛋黄抹在饼干表面,我的刷子找不到了(丢三落四的!)
16坐等进烤箱!
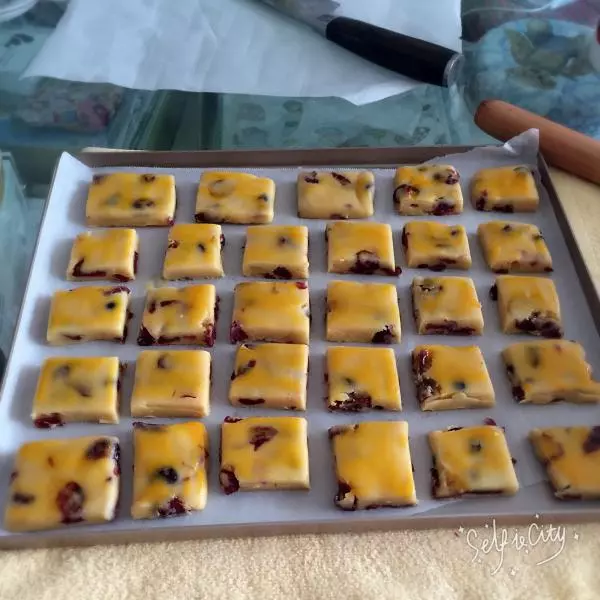
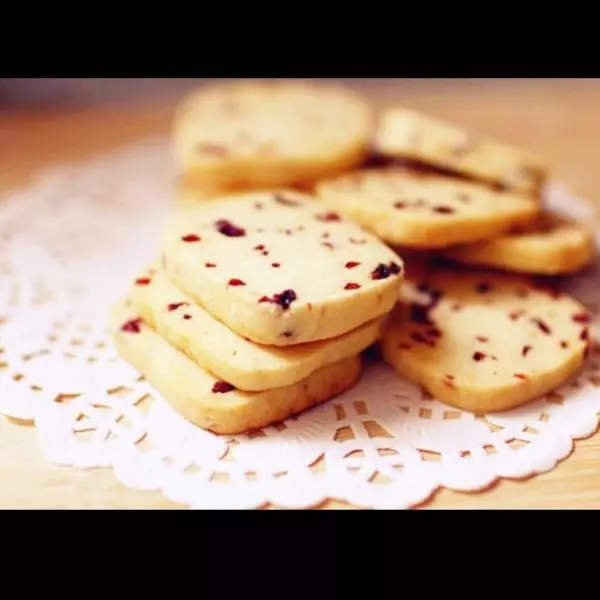
17烤箱,160 度 预热5min
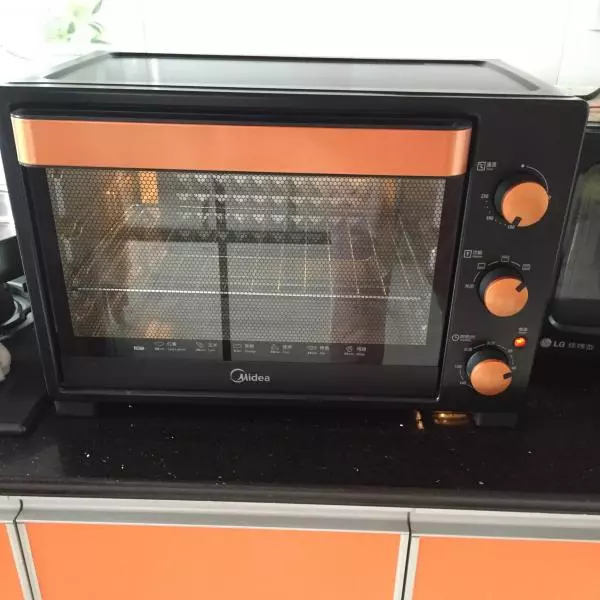
18放烤箱,160 15min 即可,第一次做,怕不熟,继续多烤了5min 变成黑美人了!每个烤箱温度不一样,我的烤箱温度偏高、下次试试降低温度^_^
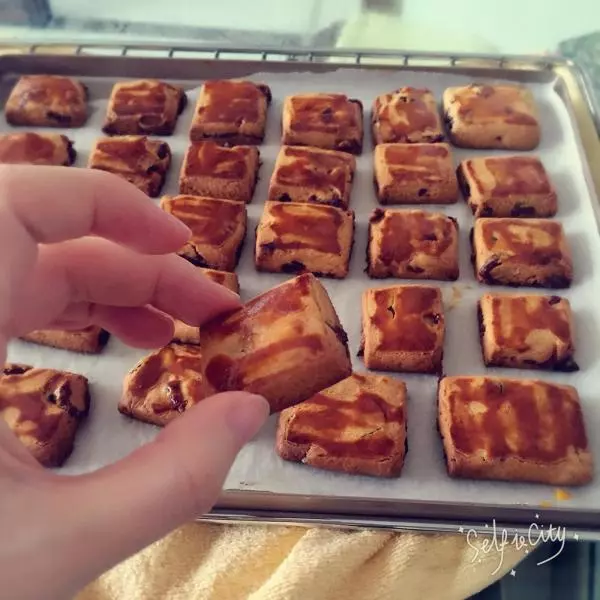
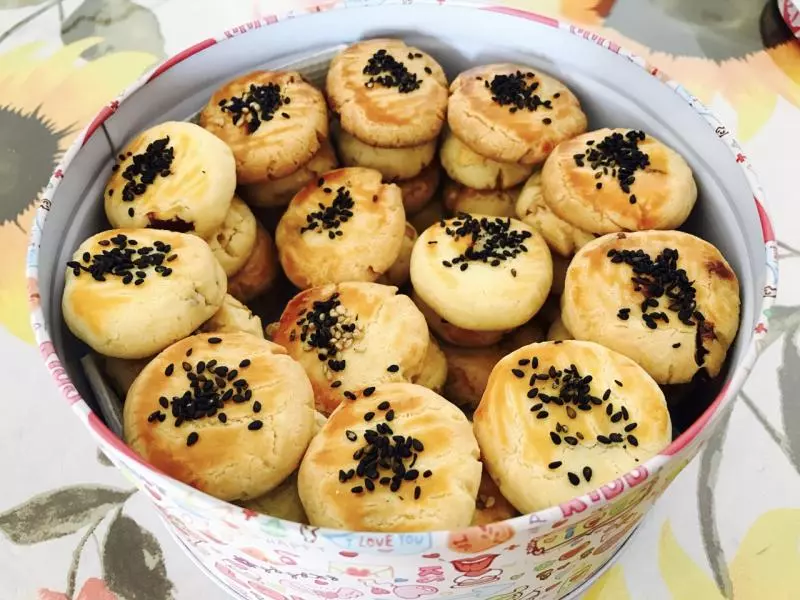
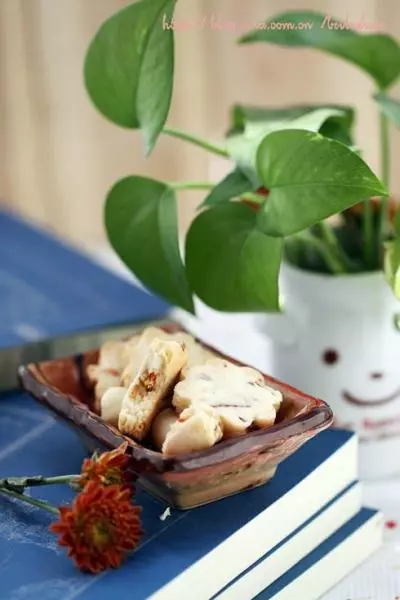
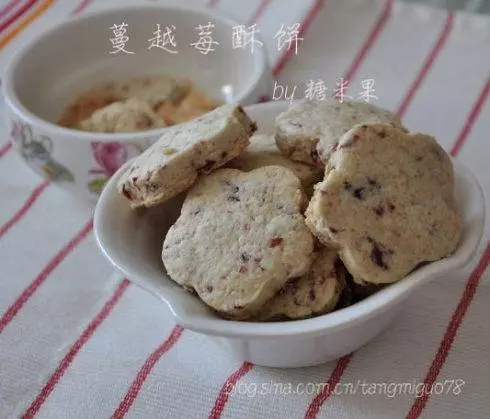
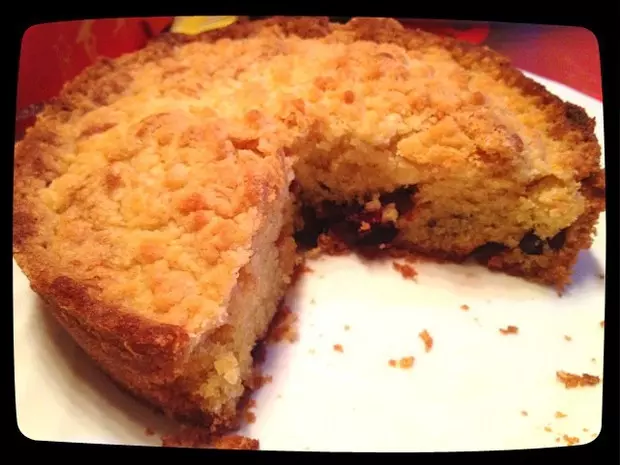
19咬开后,味道棒棒哒~做的减糖版,再加上蔓越莓,不会特别甜哟^_^

小技巧
1.为防止烤制过程中蔓越莓爆开,提前将蔓越莓用水浸泡,