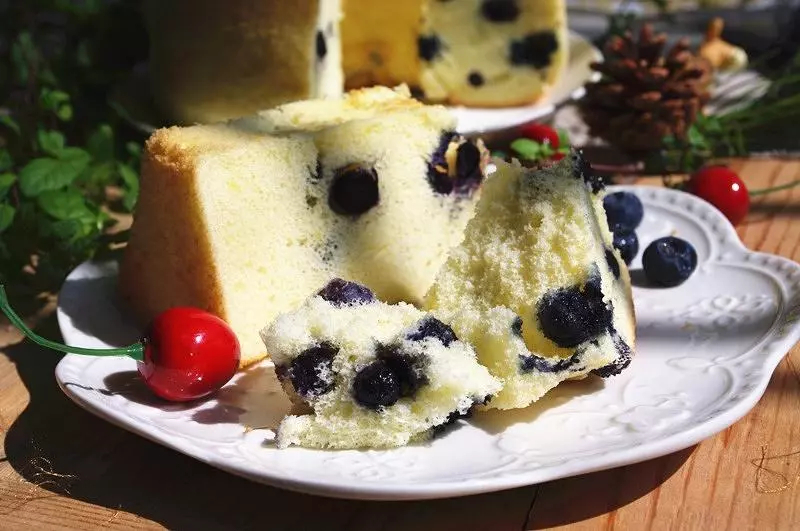
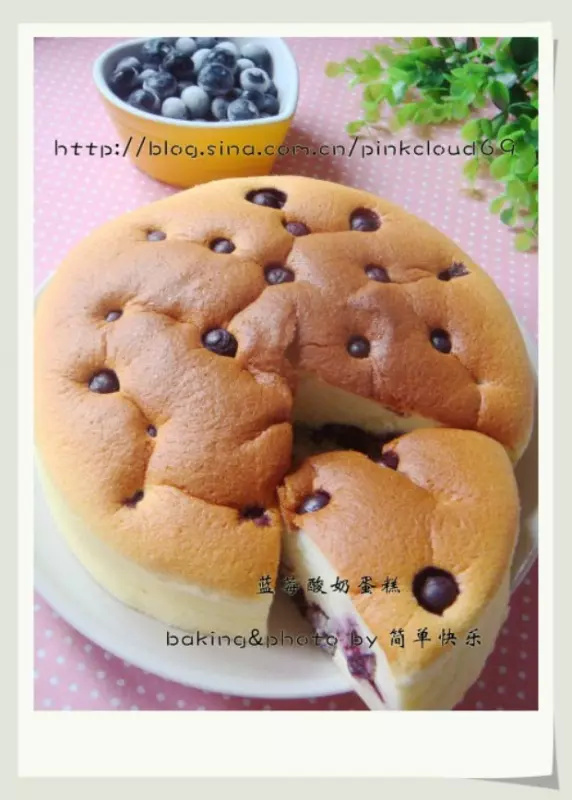
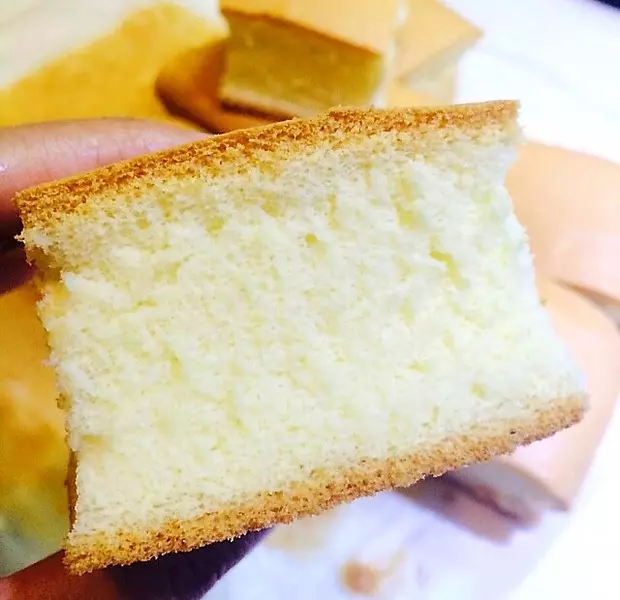
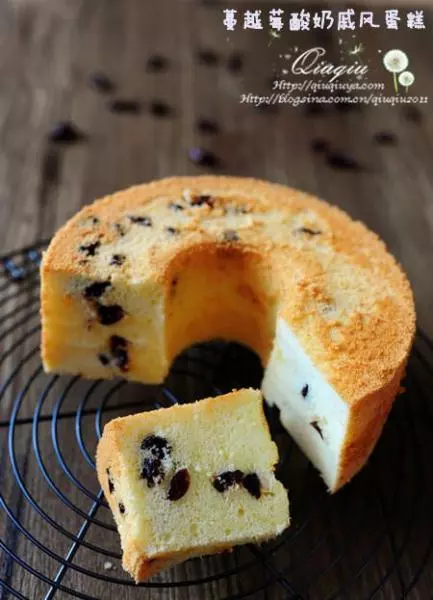
原料
蓝莓: 75g, 砂糖: 20g, 柠檬汁: 1/3个, 鸡蛋: 3个, 酸奶油(sour cream): 100g, 色拉油: 35g, 牛奶: 30g, 砂糖: 10g+65g, 低筋面粉: 85g
步骤
1蓝莓+20g砂糖+柠檬汁用中小火煮约4-5分钟成蓝莓酱(蓝莓可以用勺子按压至烂)

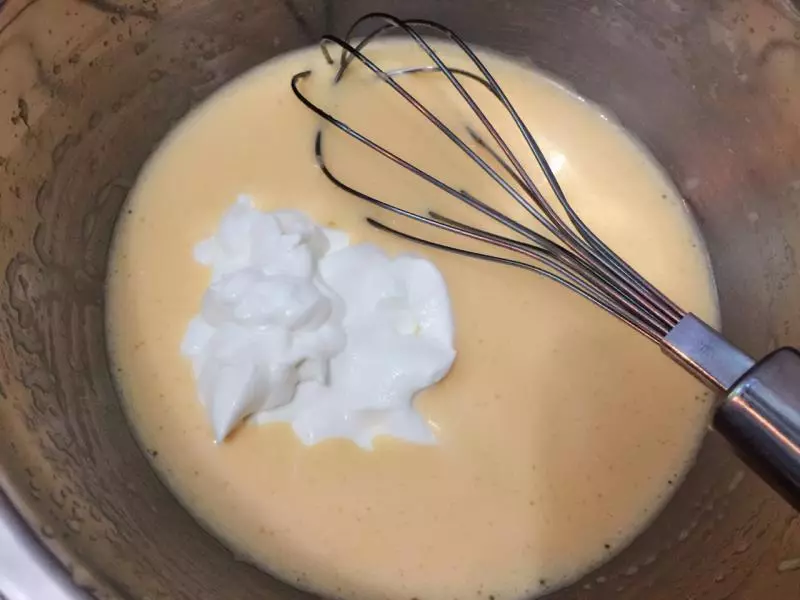
2将鸡蛋蛋白与蛋黄分开 蛋黄+10g砂糖+色拉油+牛奶搅拌至乳化(体积涨至2倍大 呈乳白色黏稠状)
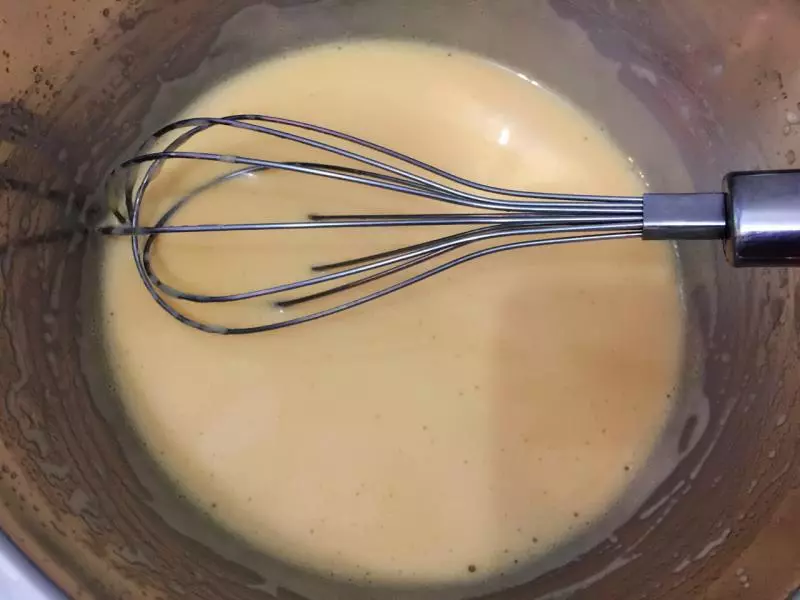
3加入酸奶油拌匀
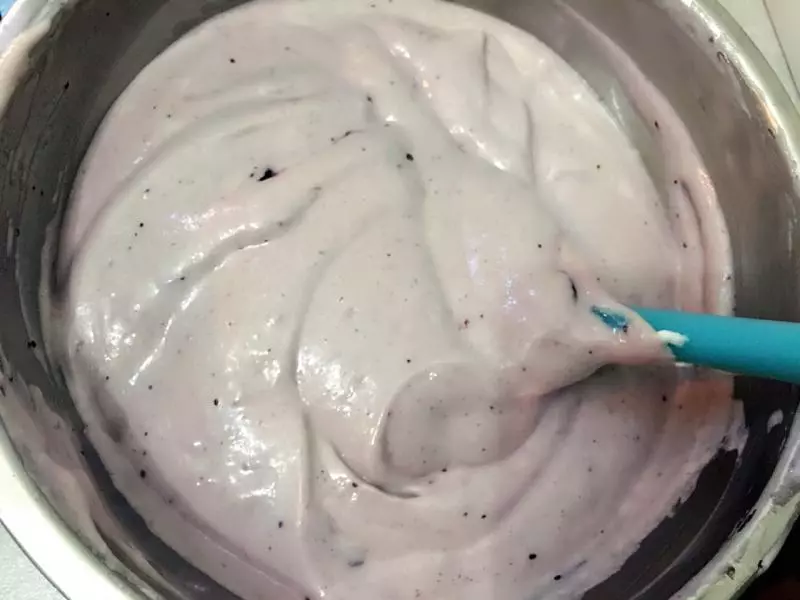
4加入蓝莓酱拌匀
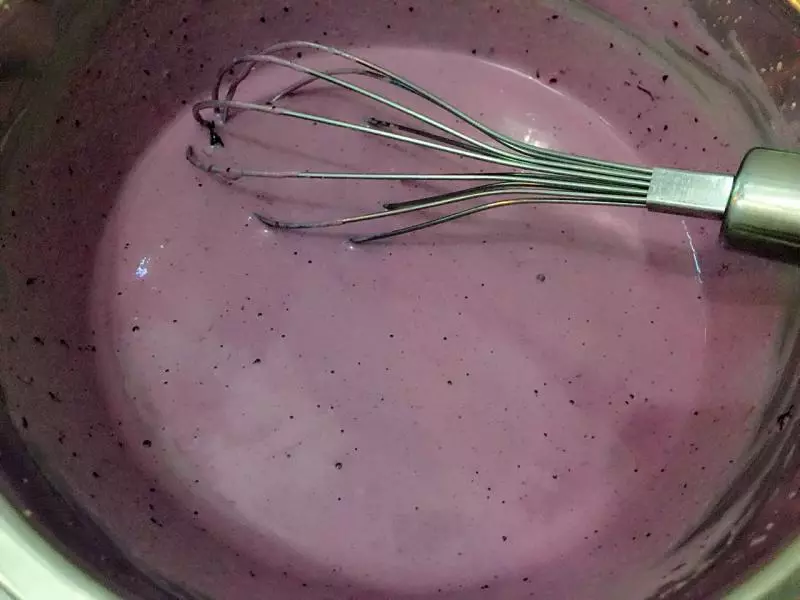
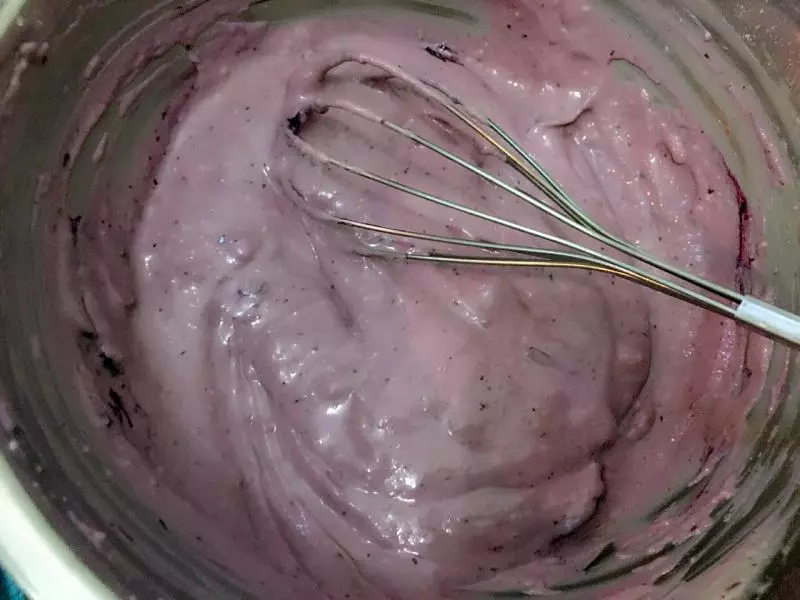
5筛入低筋面粉拌匀
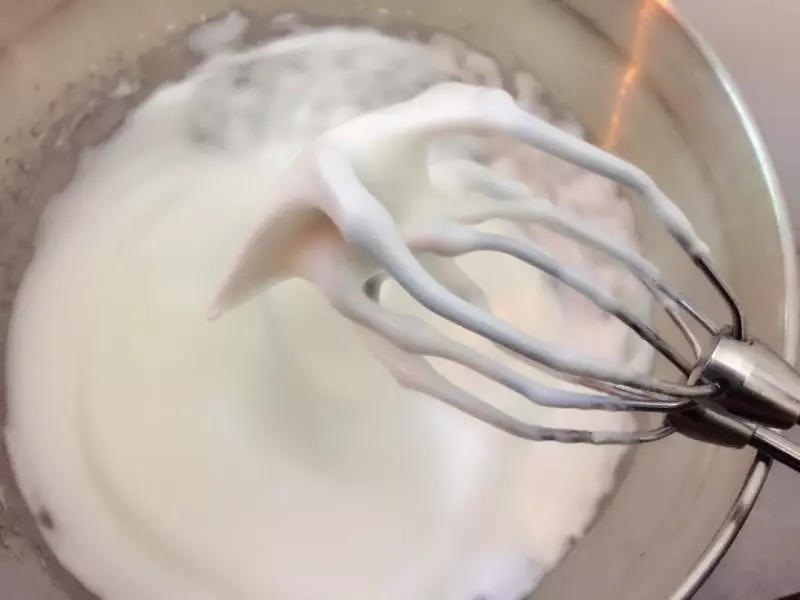
6烤箱预热160度 蛋白分3次加入60g砂糖打发至坚挺(提起打蛋器头呈小弯勾状 不要打得太硬)
7先取1/3蛋白与酸奶油混合物拌匀 再倒回剩余蛋白中切拌均匀
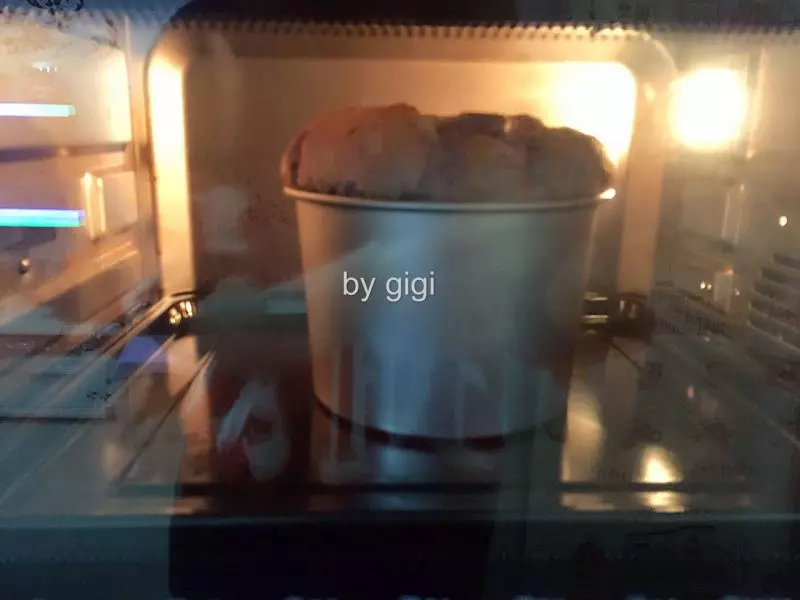
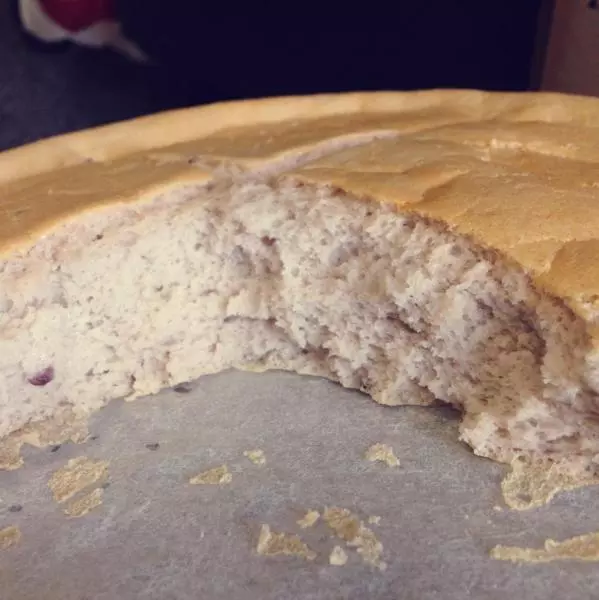
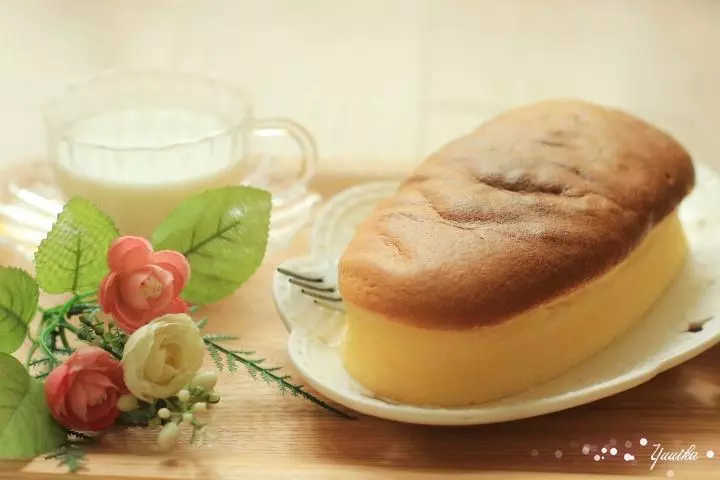
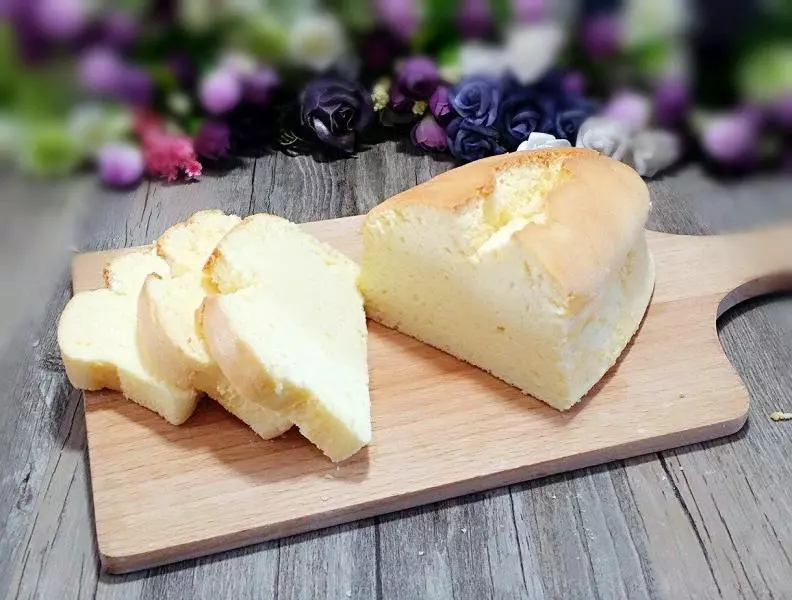
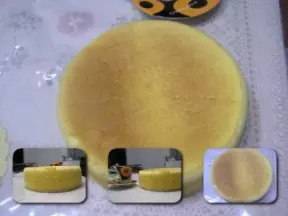
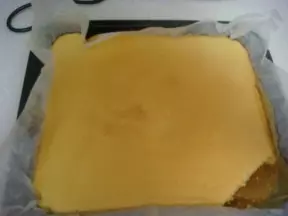
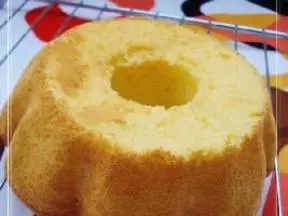
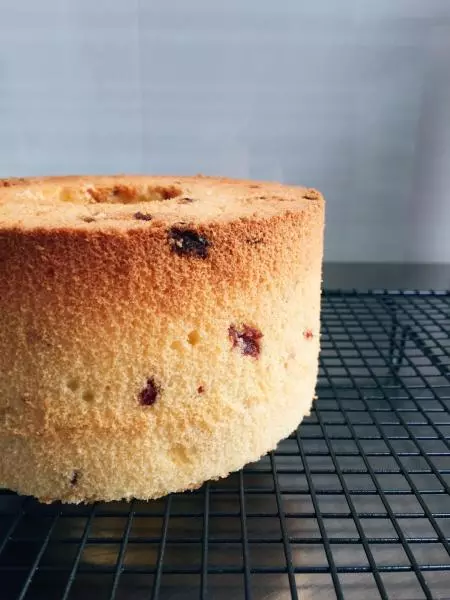
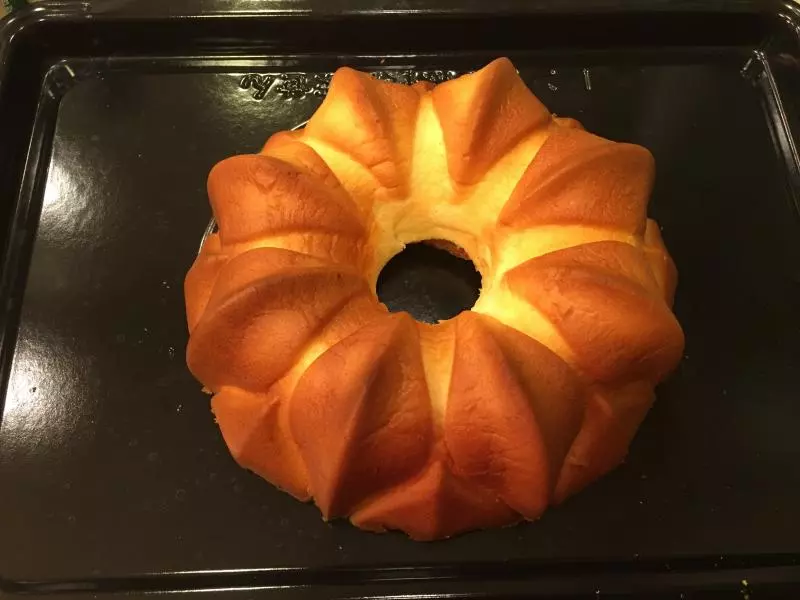
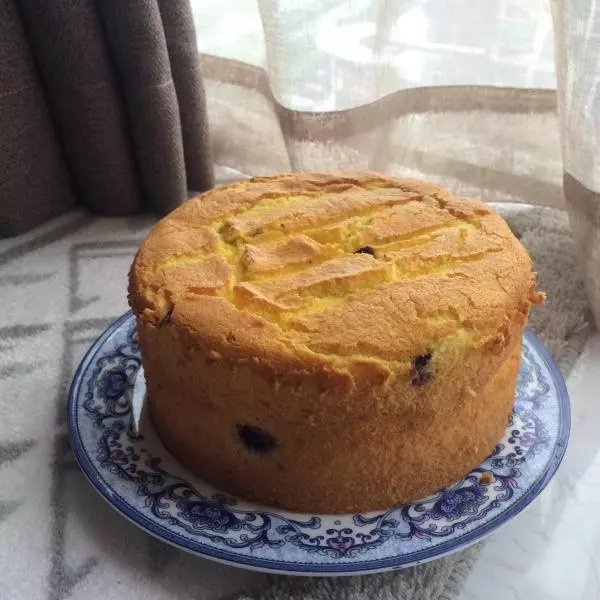
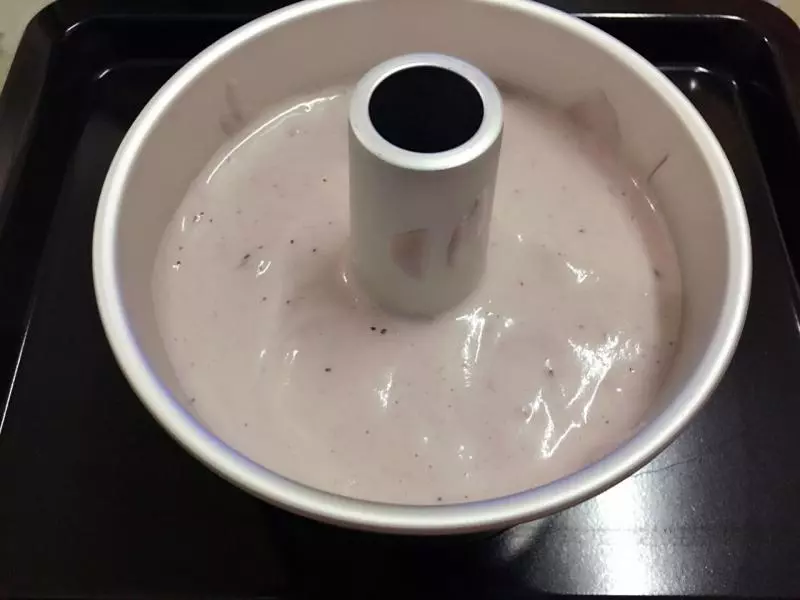
8倒入模具中 按住烟囱位置离台面3cm轻凳几下消除大气泡 送入烤箱中下层烤约60分钟(时间与温度请按照自己烤箱而定!)
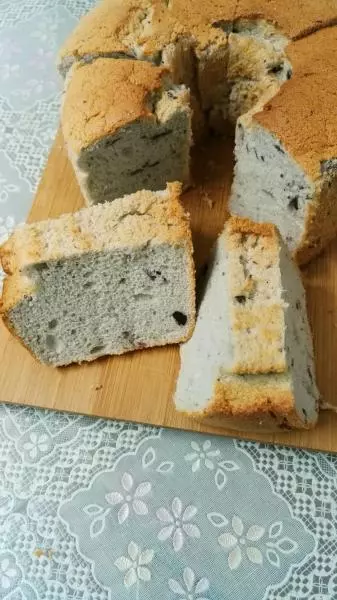
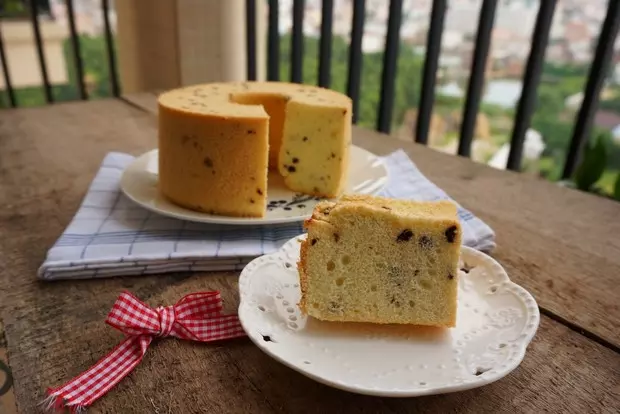
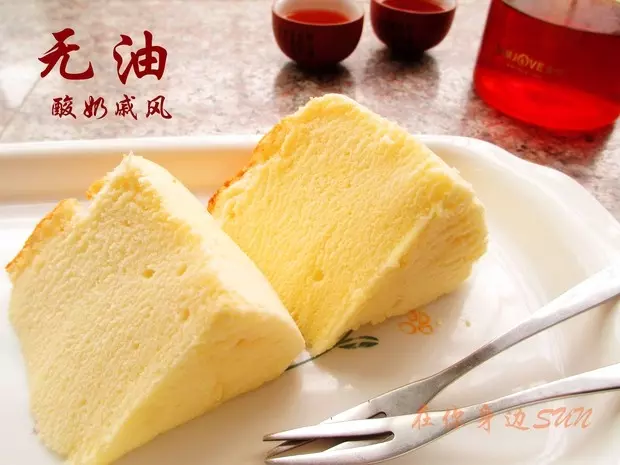
9取出离台面再凳几下散走热气 马上倒扣至凉 徒手脱模即可