简介
微博http://weibo.com/fantangmm欢迎关注
原料
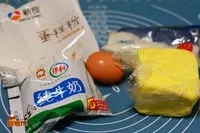
牛奶 360克, 鸡蛋 75克, 低筋面粉 120克, 糖粉 30克, 黄油 22克, 动物性淡奶油 700克, 糖粉 60克, 榴梿 1个, 芒果 少量, 蓝莓 6-8个, 饼干棒 6盒
步骤
1配料表:蛋糕大小根据你家平底不粘锅大小来定,我的大概就是22厘米; 蛋糕皮:牛奶360克、鸡蛋75克、低筋面粉120克、糖粉30克、黄油22克,制作10片皮; 榴莲馅:动物性淡奶油700克、糖粉60克、榴莲1个,重约6斤的,果肉扒出来; 装饰:芒果1个、蓝莓、饼干棒6盒,为了美观选的芒果味道和抹茶味道的pocky
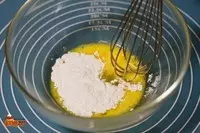
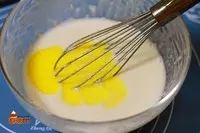
2鸡蛋打入碗里打散,加入糖粉用打蛋器搅打均匀,鸡蛋不要打发
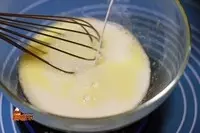
3倒入牛奶,搅拌均匀
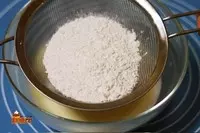
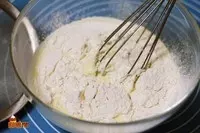
4筛入低筋面粉
5用手动打蛋器慢慢的搅拌均匀,成为稀面糊
6将黄油隔水加热融化成液态以后,倒入面糊里,搅拌均匀
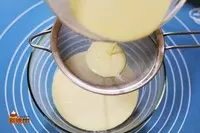
7将稀面糊过筛以后,放入冰箱冷藏静置半个小时,如果不过筛会有很多小面疙瘩,影响口感
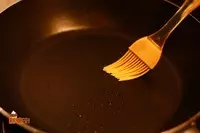
8平底锅涂上薄薄的一层油,用小火加热
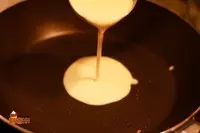
9倒入两大勺约50毫升的面糊,面糊会自己摊成圆形,小火慢慢的煎到面糊凝固
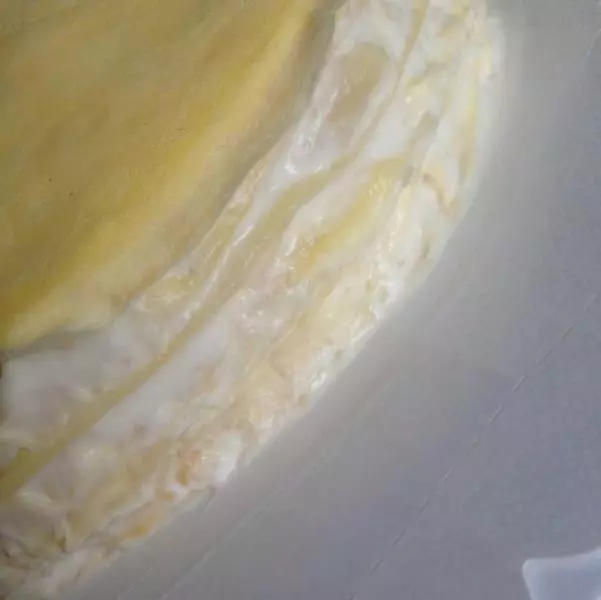
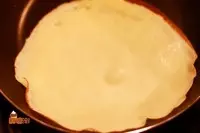
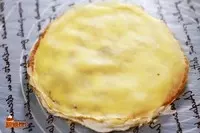
10面皮煎好了,会自己在锅中滑动,用铲子很轻易的铲起来放在盘中就可以了,煎面皮容易粘锅,除了用防粘的不粘锅,火候和手法也很重要,需要多加练习,如果亲们摊鸡蛋饼摊的很好,那就一点难度也没有啦
11打发鲜奶油,要点前面说了,打到可以裱花状态就可以了

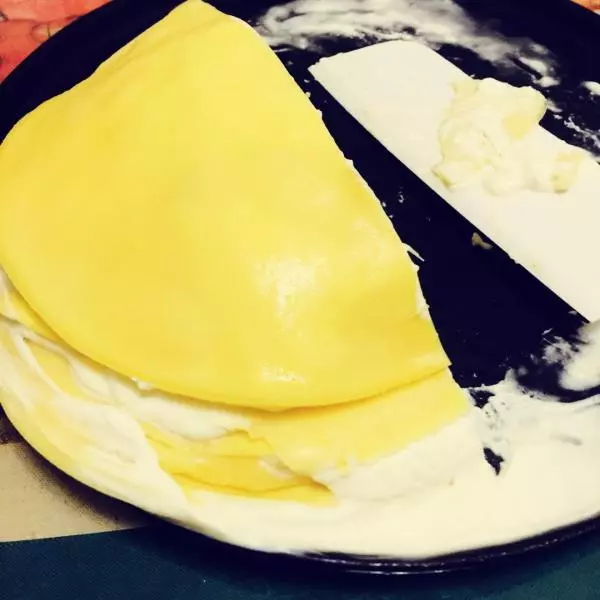
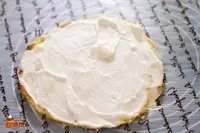
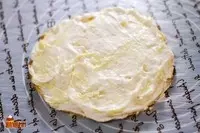
12取摊好晾凉的饼坯,先厚厚的抹上奶油
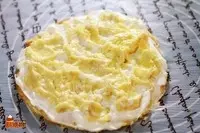
13从榴莲中取出榴莲肉,将榴莲肉用勺子压成果泥.将榴莲肉过你均匀的铺在奶油上面.
14然后在榴莲肉上面抹奶油
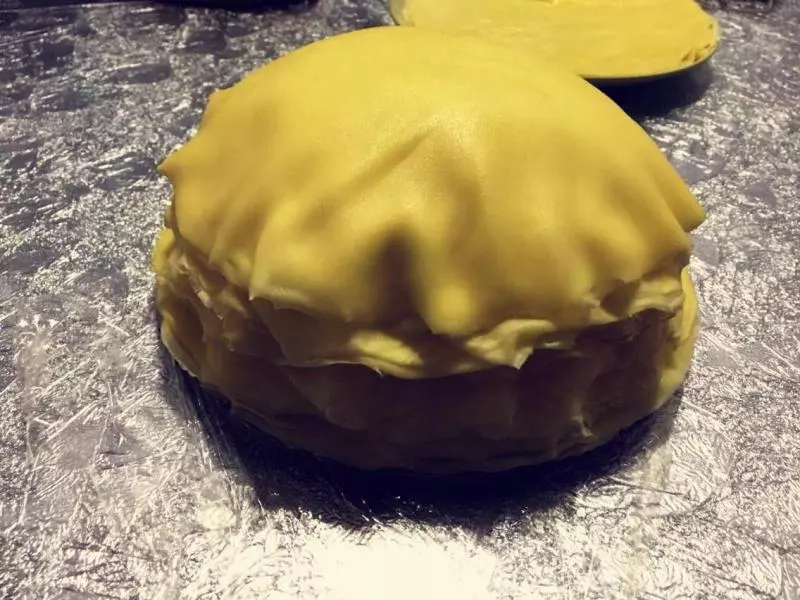
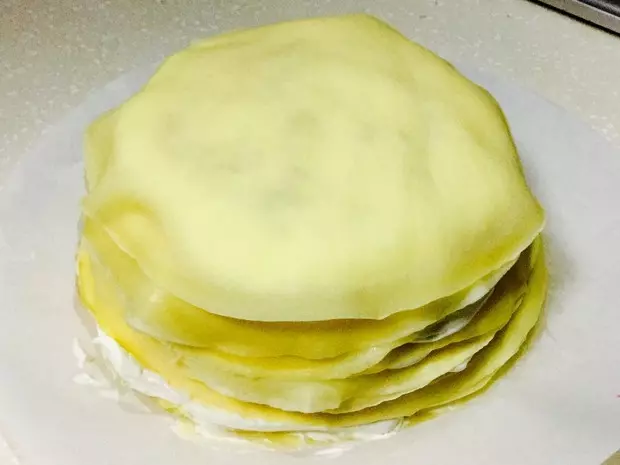
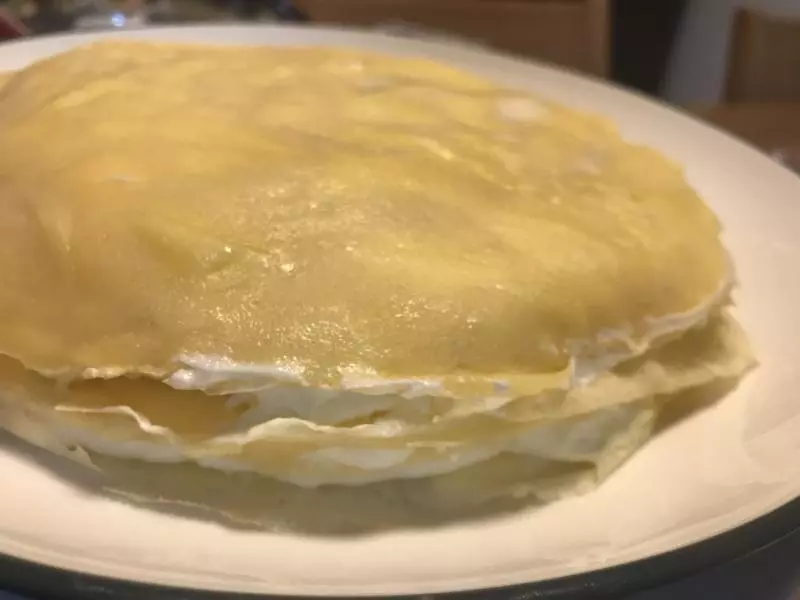
15然后铺上饼坯,重复以上步骤直到用完所有饼坯
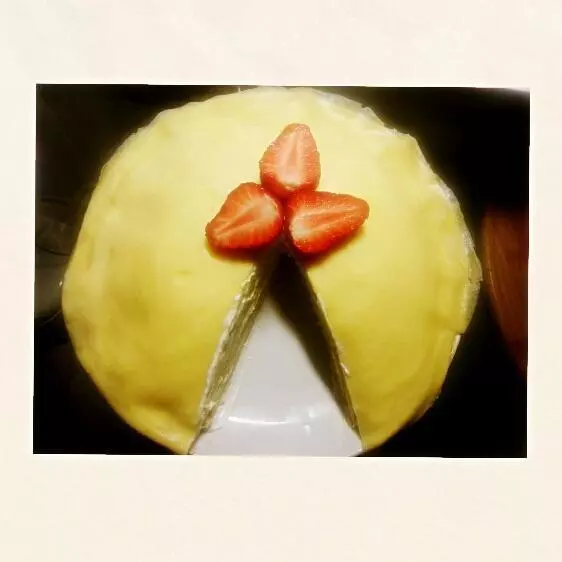
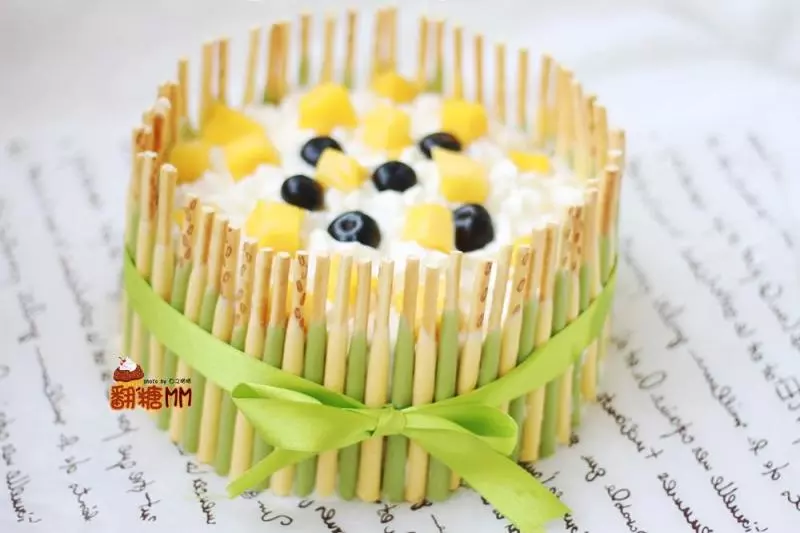
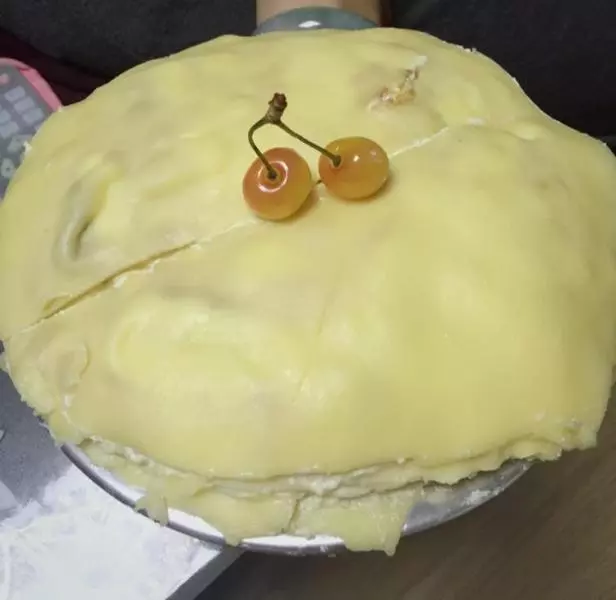
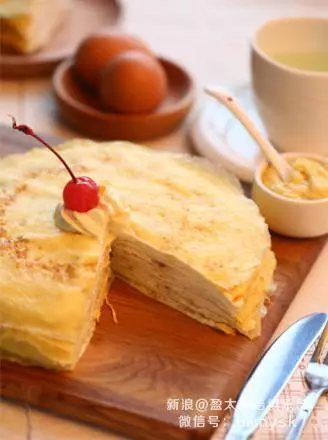
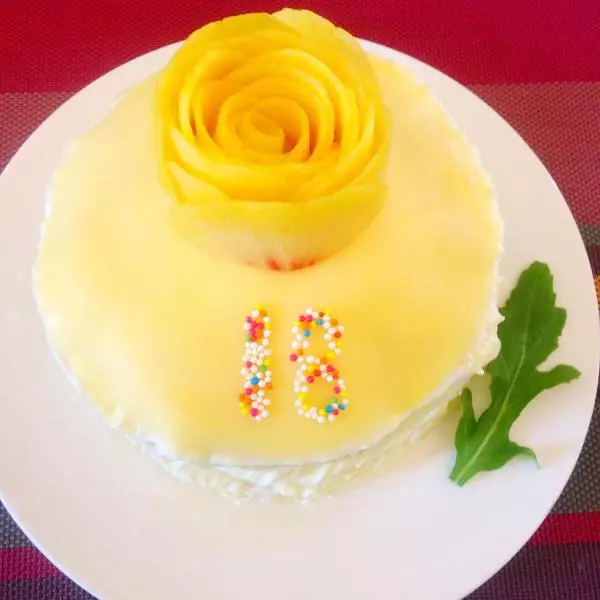
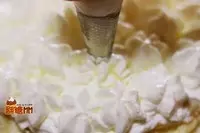
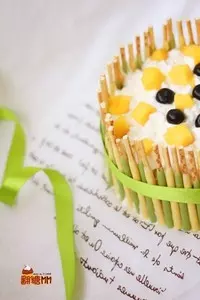
16随意的挤上奶油
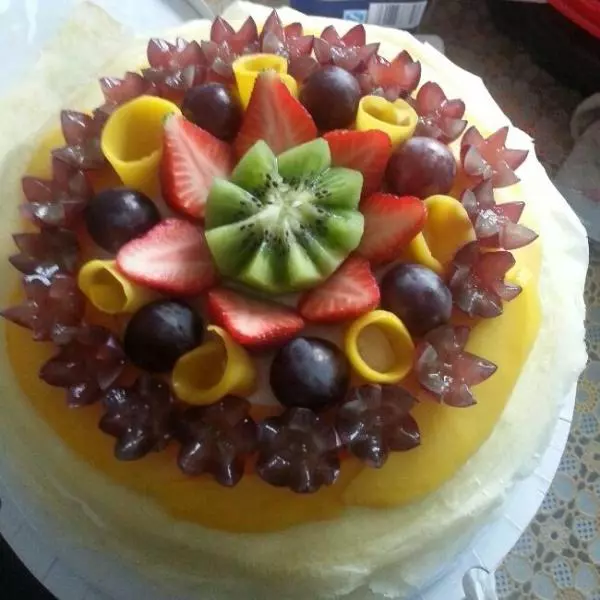
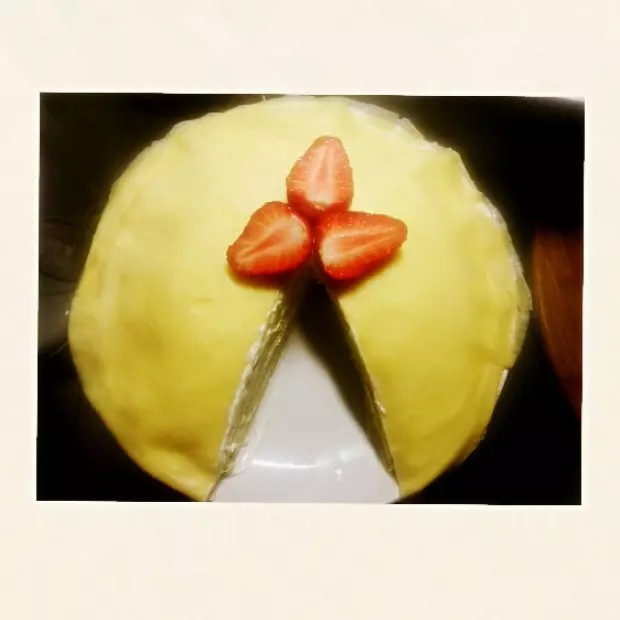
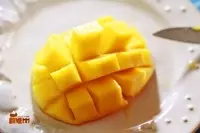
17点上些水果作装饰,可以用芒果,可以用蓝莓,用猕猴桃什么都可以
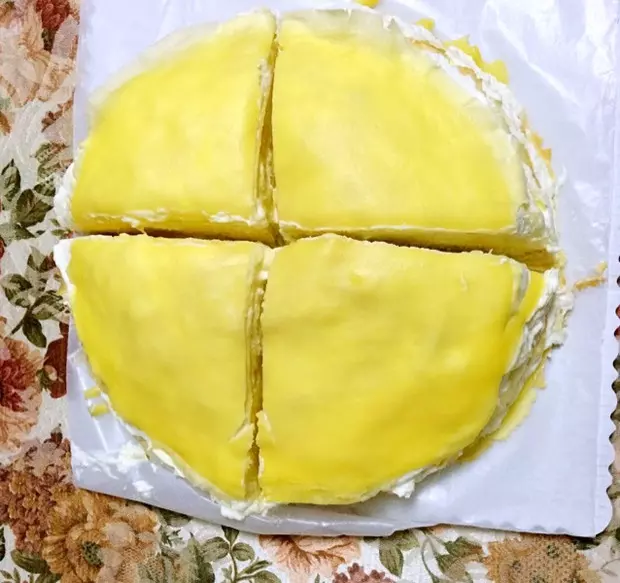
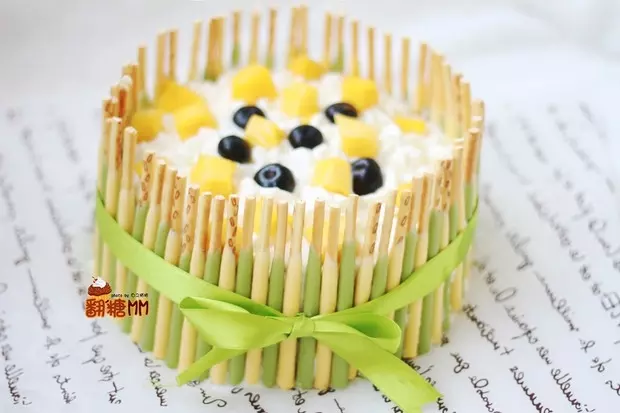
18为了美观在四周围围上饼干棒,贴在奶油上就可以了
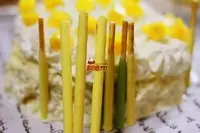
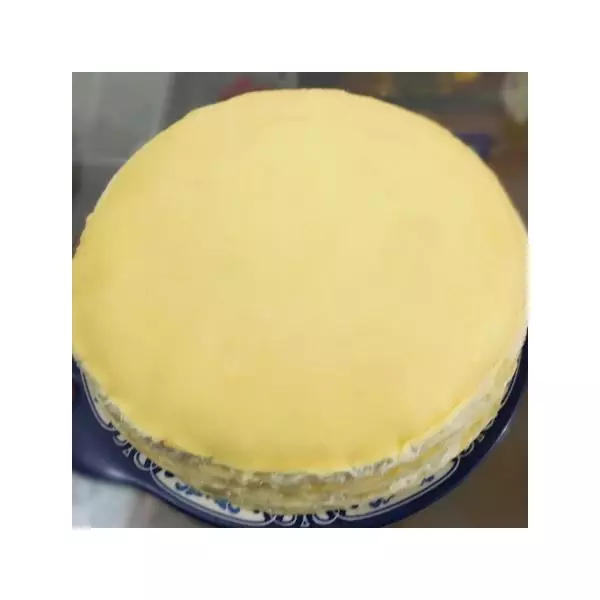
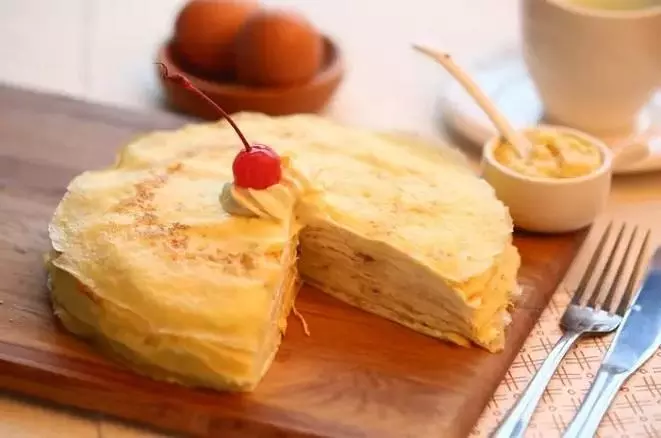
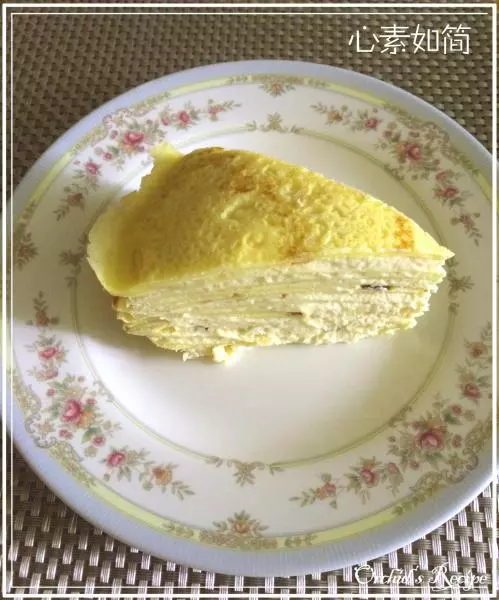
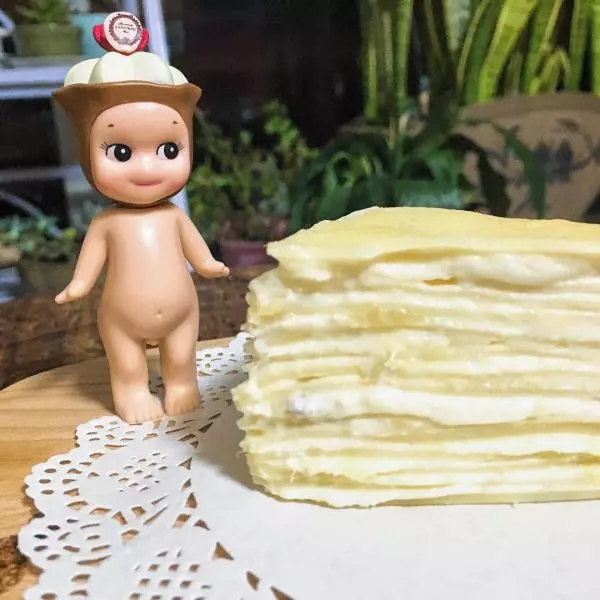
19就完成啦,
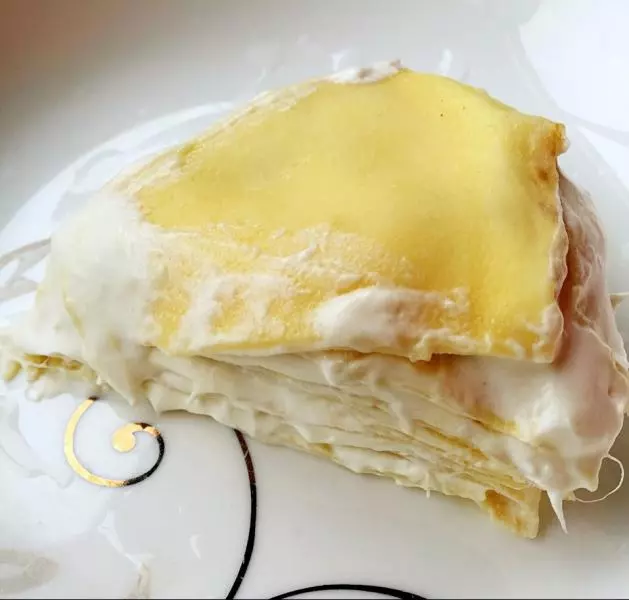
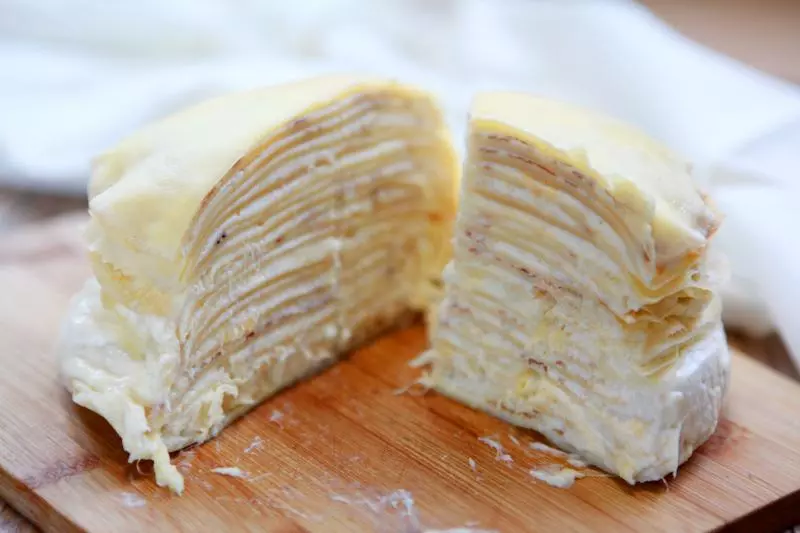
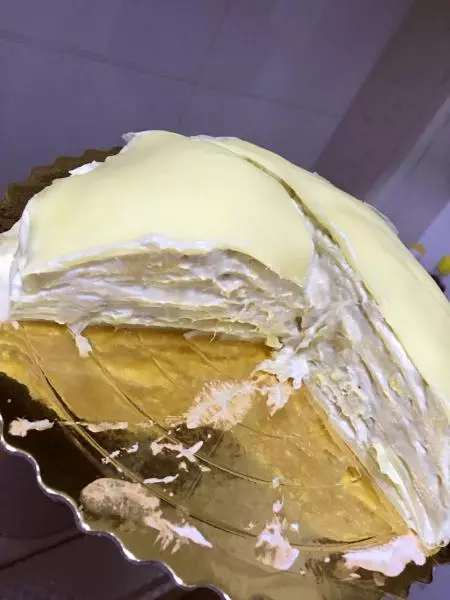
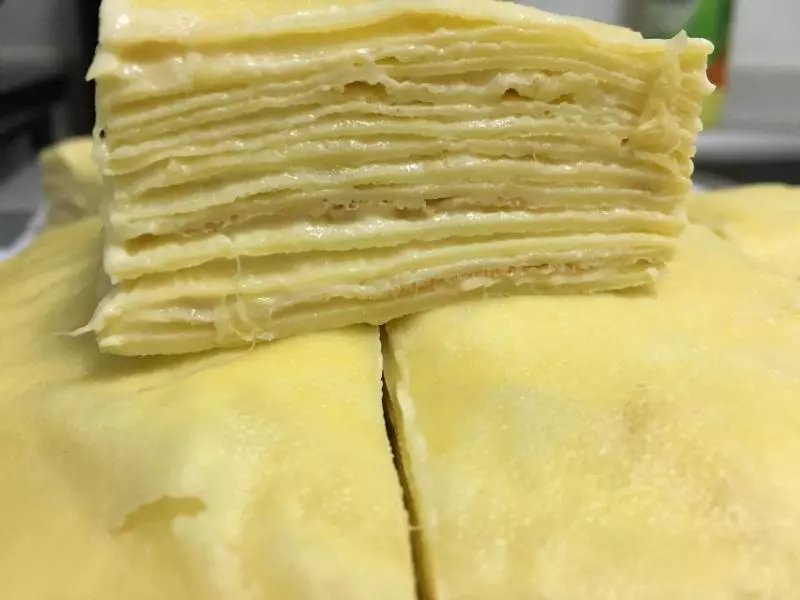
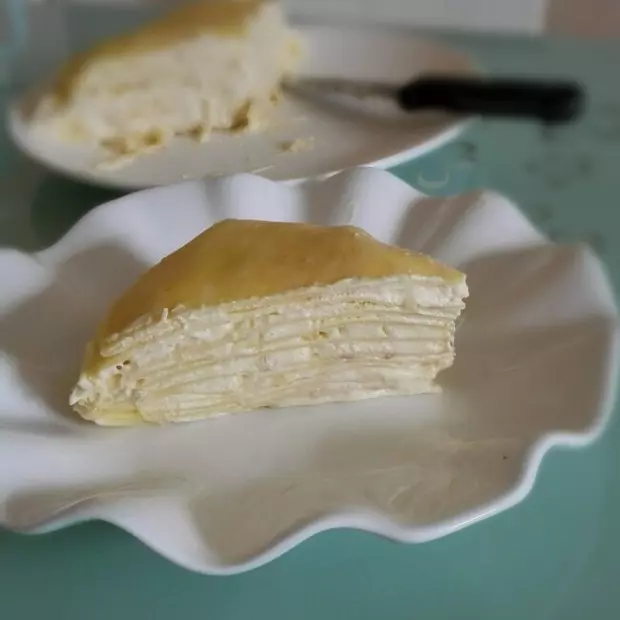
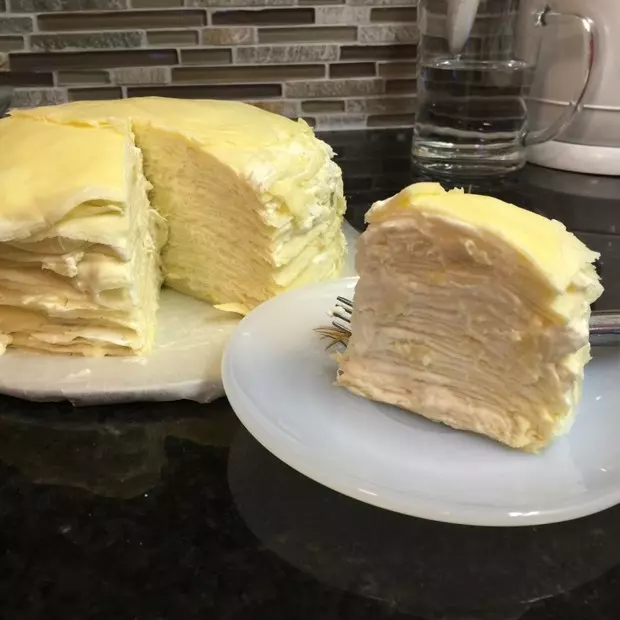
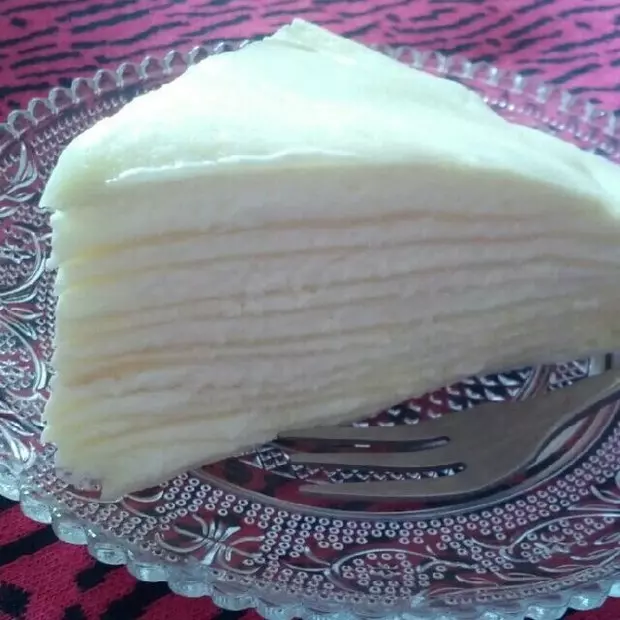
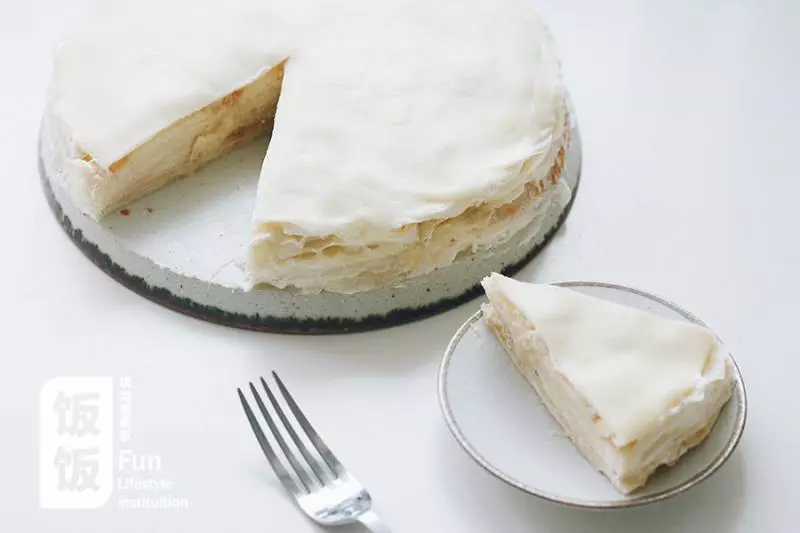
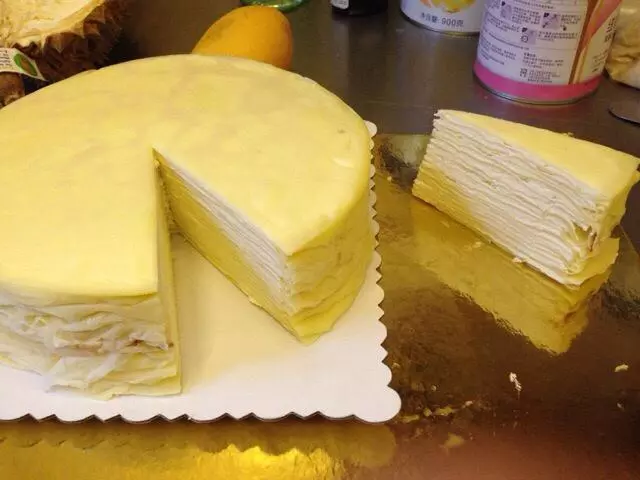
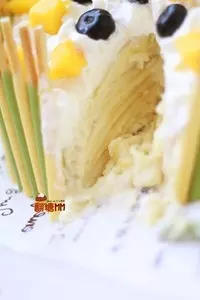
20切开后看见整齐的饼坯加上奶油和榴莲,榴莲和奶油如此搭配,完美~
小技巧
鲜奶油的选择和打发:鲜奶油打发是这款蛋糕最重要的一个步骤,夏天如果鲜奶油打发不好,那么蛋糕整体就是完蛋,也会导致你的厨房一塌糊涂; 打发鲜奶油最重要的一项是如何选择,欧德堡--最差中的战斗机;雀巢--第二战斗机,夏天不要买这两个牌子打发,稳定性非常差,具体原因不明,我只推荐蓝风车鲜奶油,价格微贵,但是稳定味道好,冷藏24小时后打发