原料
榴梿: 220g, 奶油奶酪: 170g, 鸡蛋: 2个, 牛奶: 45g, 淀粉: 25g, 细砂糖: 45g, 奥利奥饼干: 1袋, 黄油/橄榄油: 30g
步骤
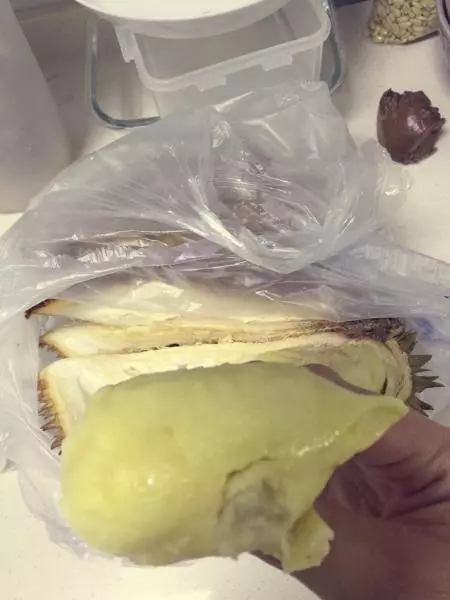
1榴莲要去核哦
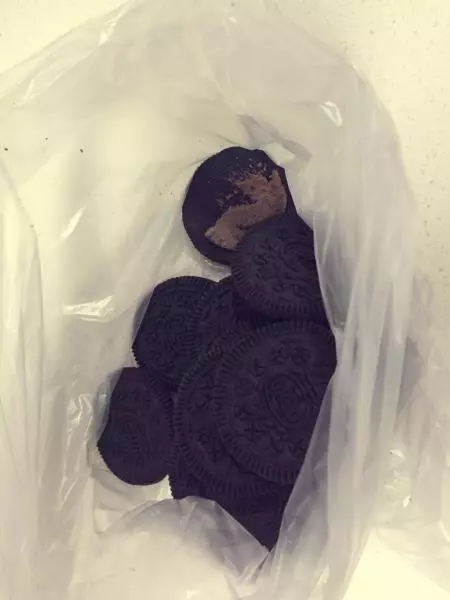
2将奥利奥中间的夹心去掉,将饼干放入厚保鲜袋中
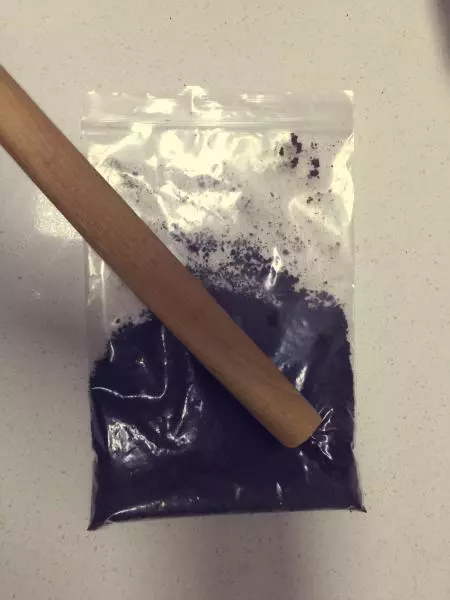
3用小擀面杖敲成粉状
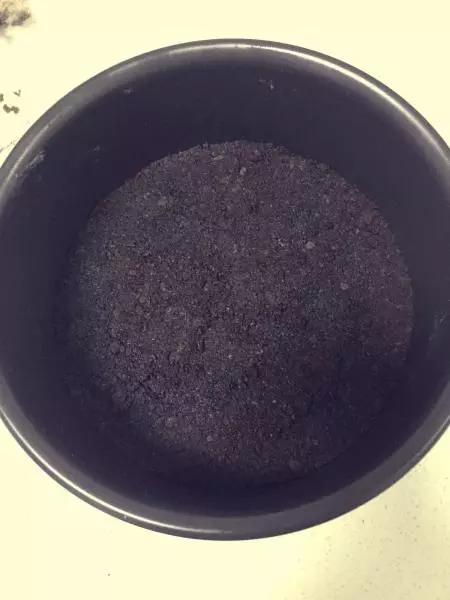
4将奥利奥粉加入少量黄油活着橄榄油拌匀,放入6寸蛋糕模中,用勺子压实
5净榴莲肉220克(喜欢可以多放一点,这回我就放了228克)
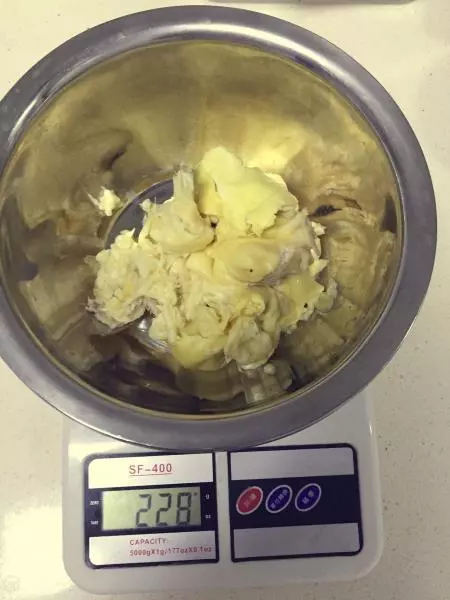
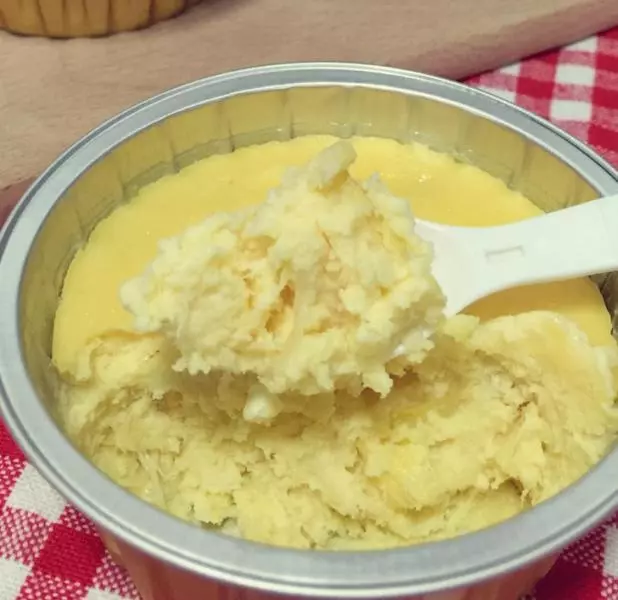
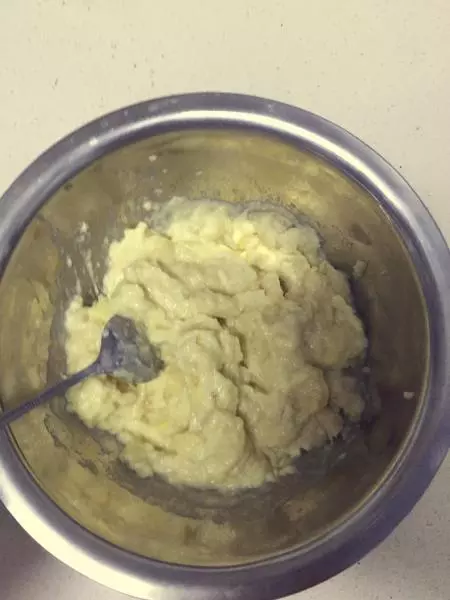
6用勺子刮成榴莲酱
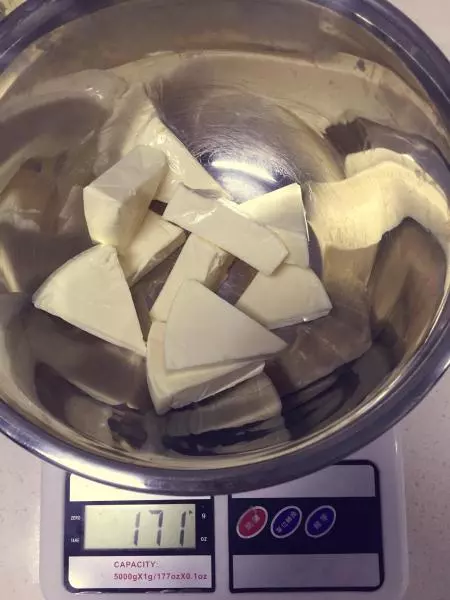
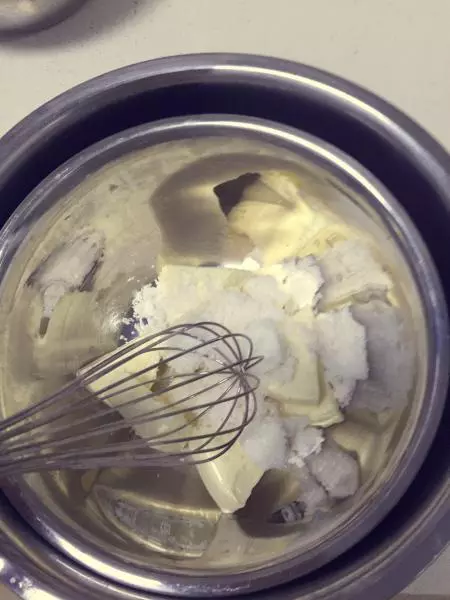
7奶油奶酪171克
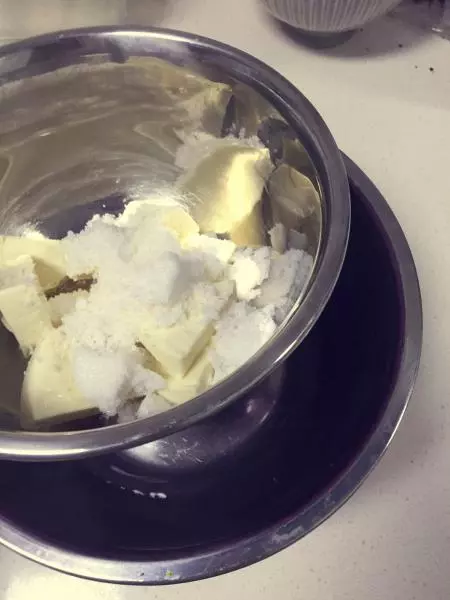
8加入45克细砂糖,坐在热水中搅拌至糊状(糖没有颗粒就差不多了)
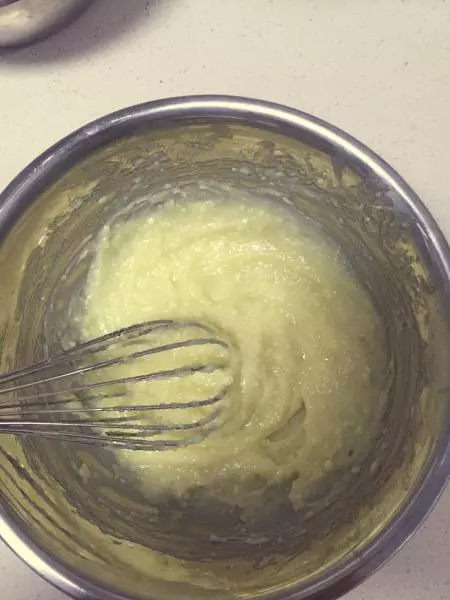
9手动搅拌
10搅拌成糊状后放入第一个鸡蛋,继续搅拌!
11搅拌均匀后放入第二个鸡蛋
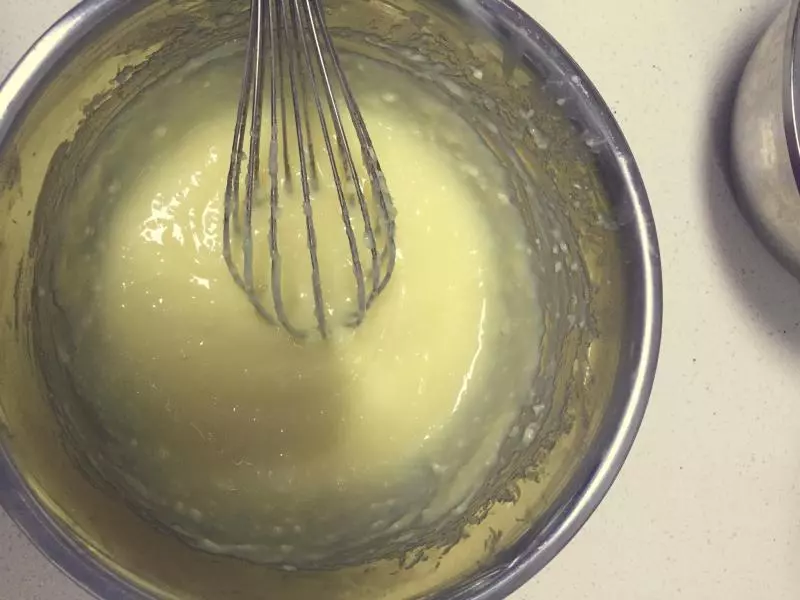
12继续搅拌
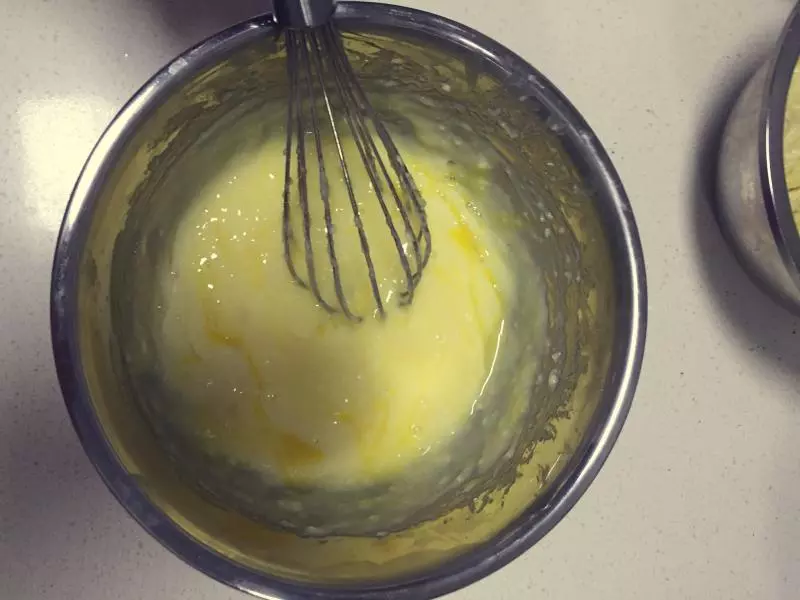
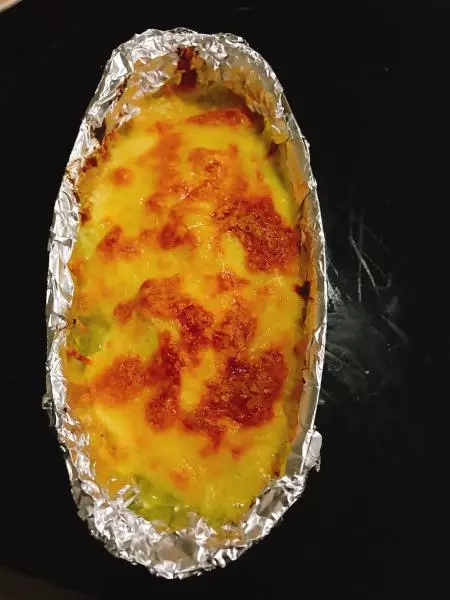
13在进行这步时,现将烤箱预热165度 预热时将榴莲酱放入奶油奶酪糊中,并将牛奶加入一起搅拌均匀 搅拌均匀后加入淀粉再次搅拌均匀 倒入有奥利奥底的蛋糕模具中

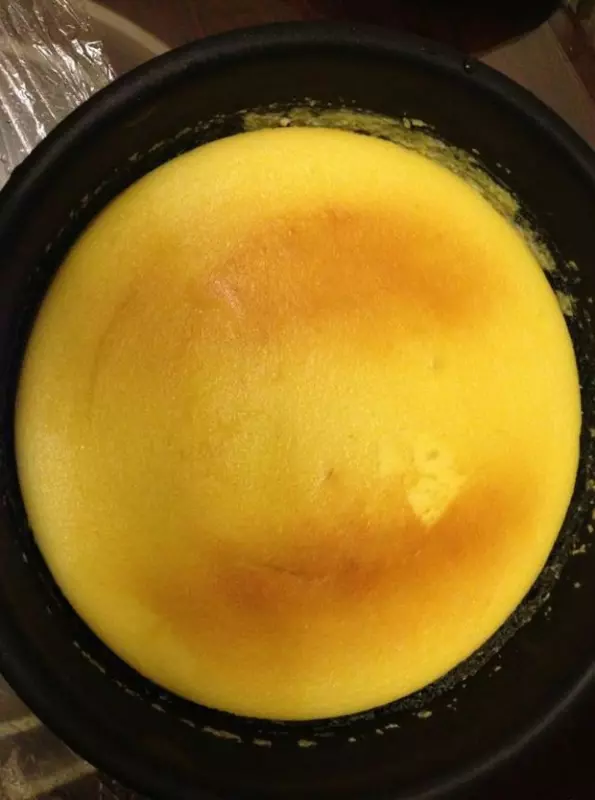
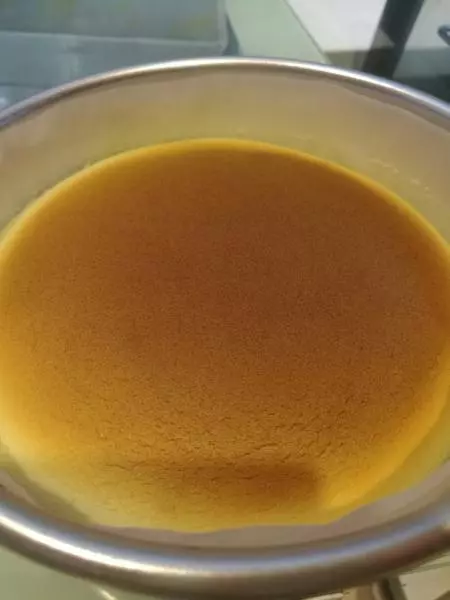
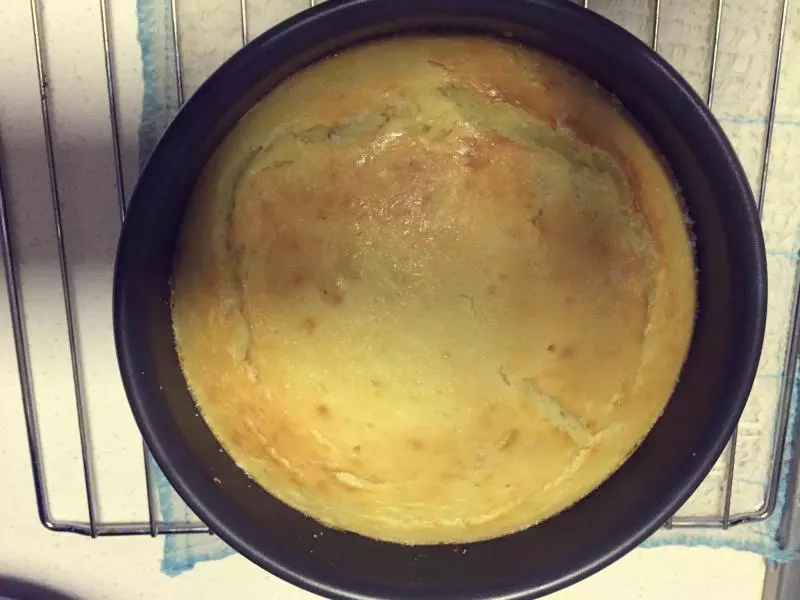
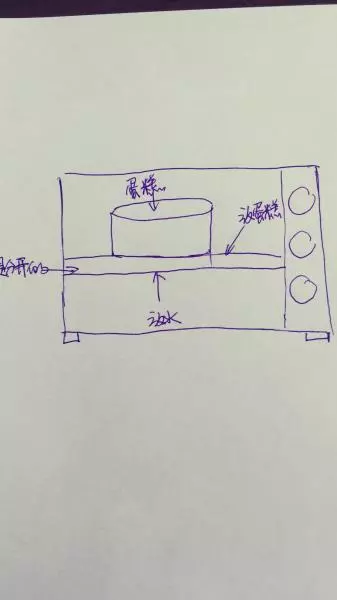
14放中烤箱中50-60分钟 蛋糕放入烤箱烤制的时候底下记得放水(忘记照照片啦!给大家画个草图感受一下) 看自己烤箱的脾气啦 时间到了以后用牙签扎一下看看熟没熟
15蛋糕放在上面 下面的托盘里放水 蛋糕和放水的托盘是分开的
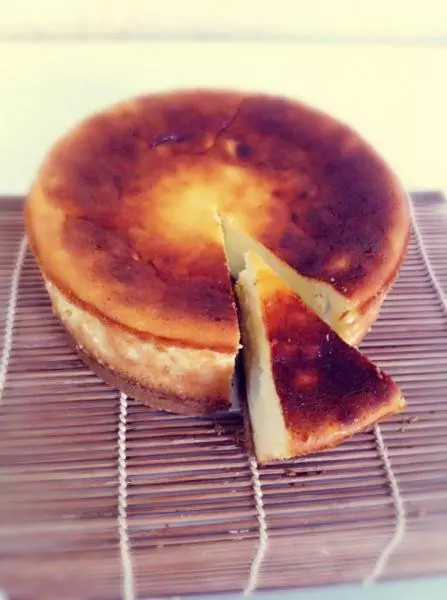
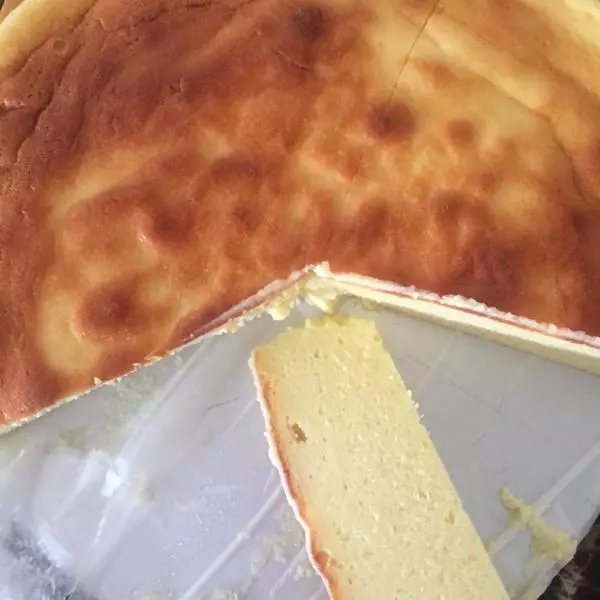
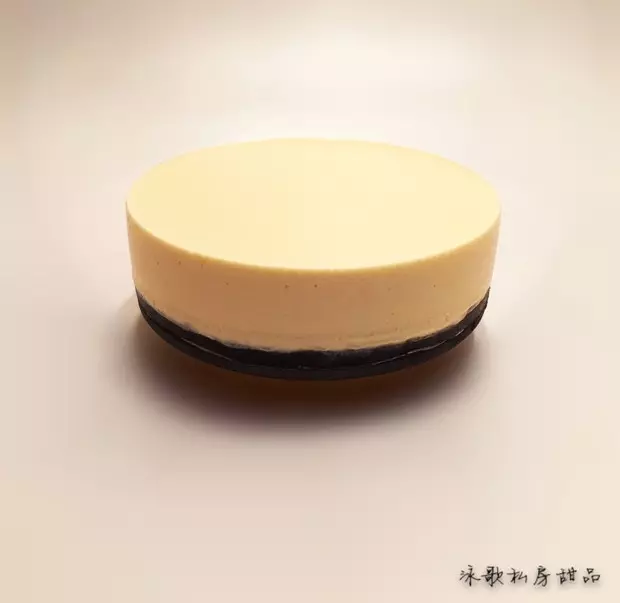
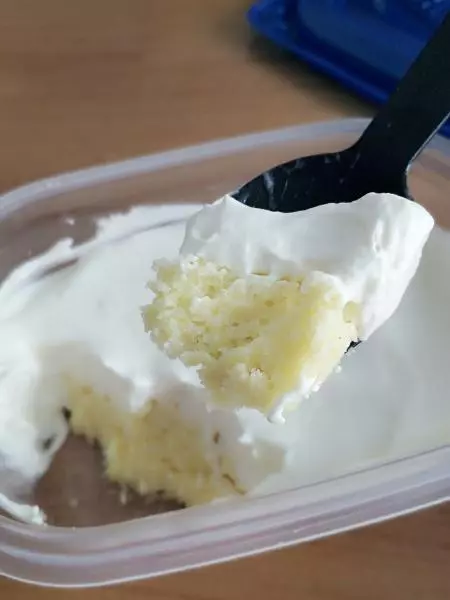
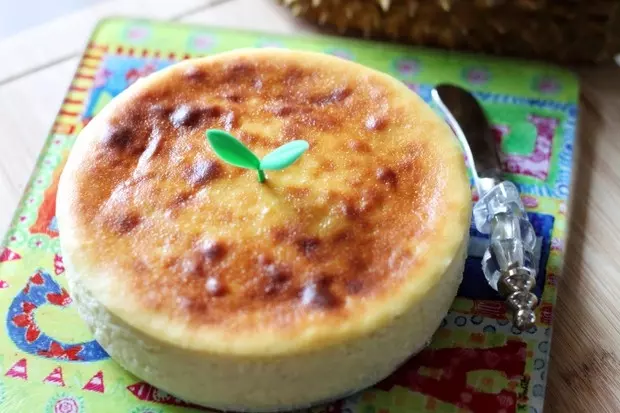
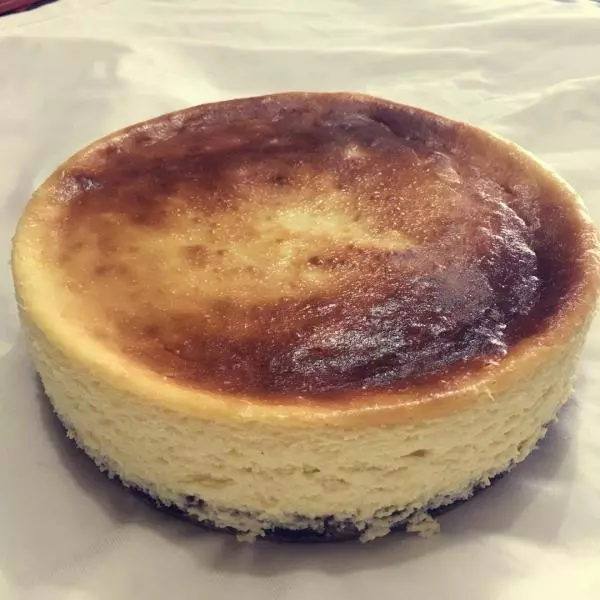
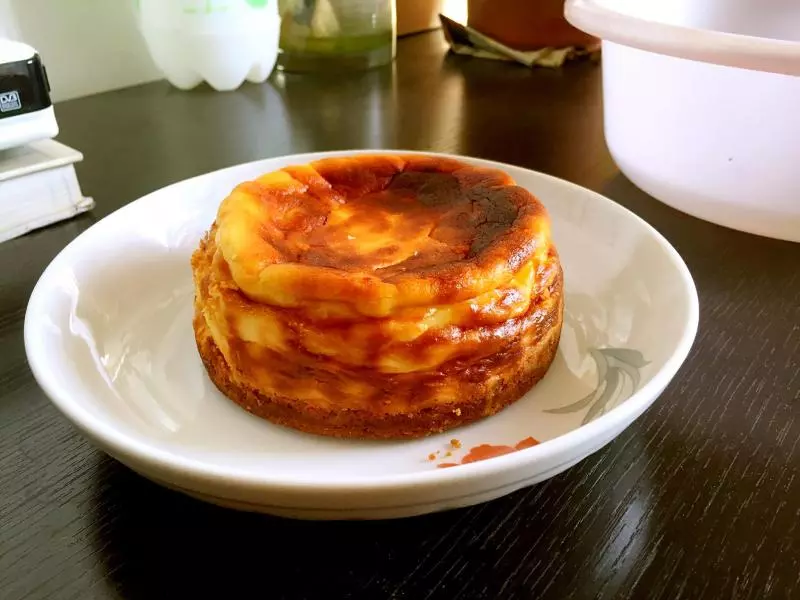
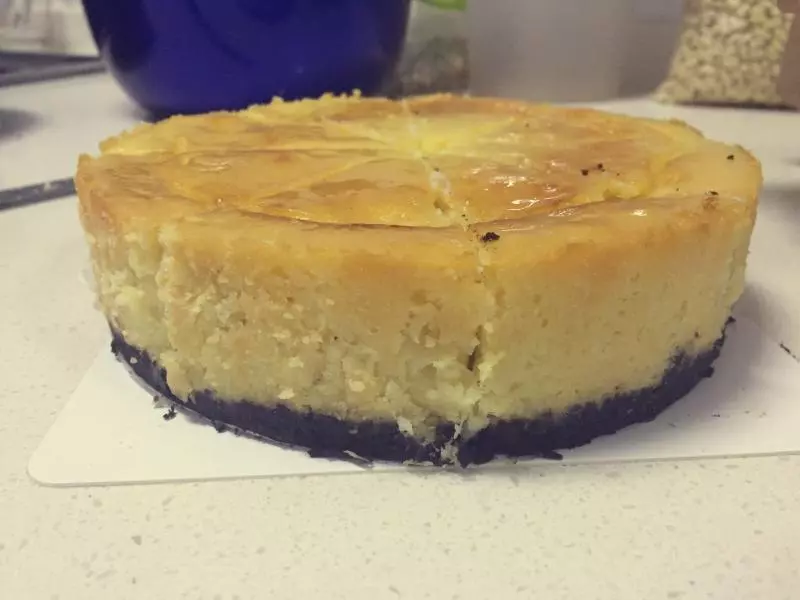
16出炉后放凉 放入冰箱冷藏4-5小时脱模 冷藏过后表面很漂亮哦
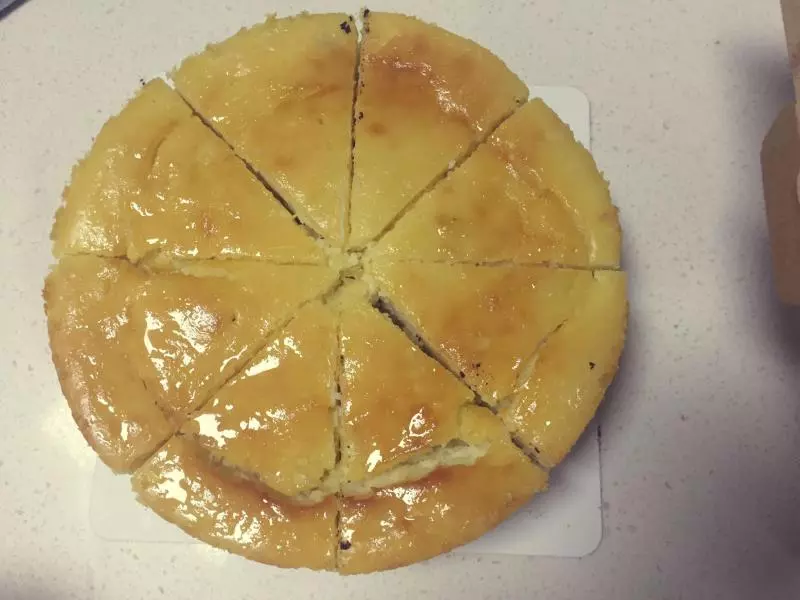
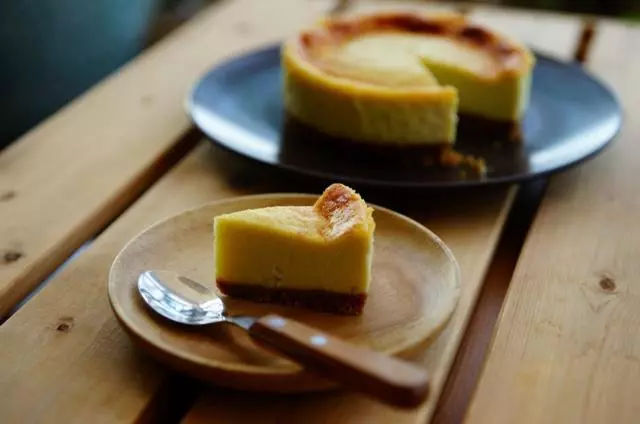
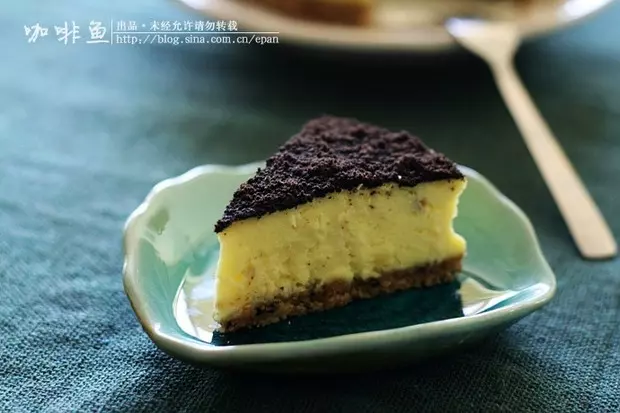
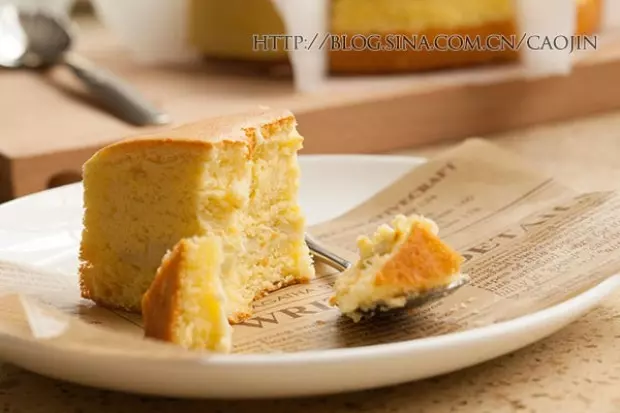
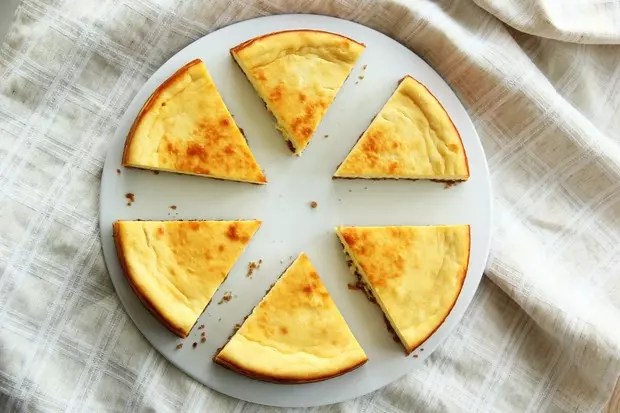
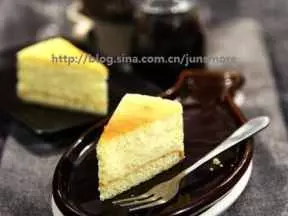
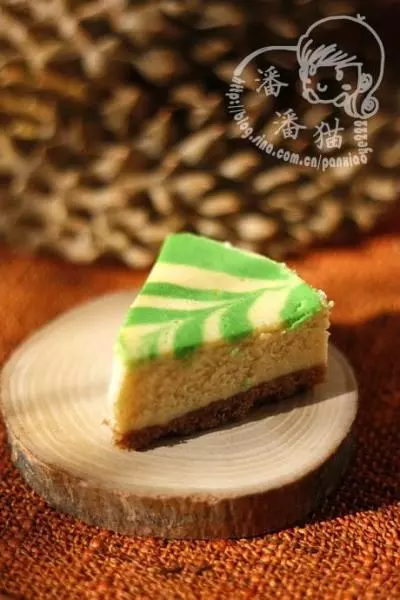
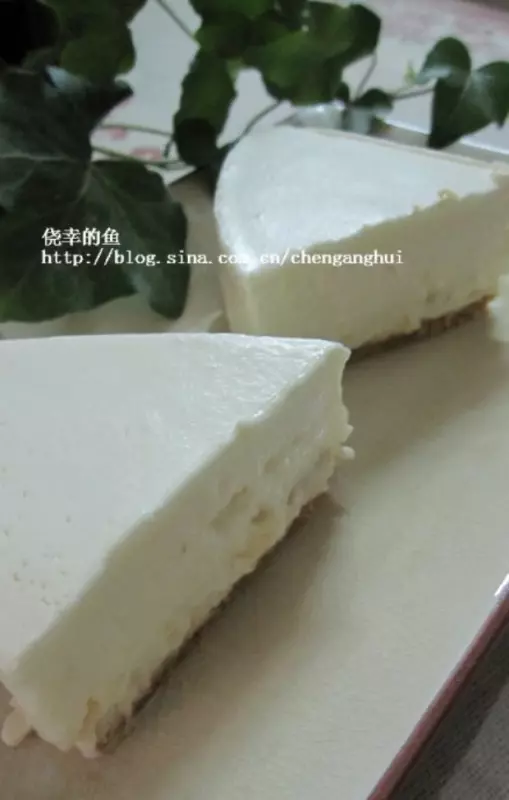
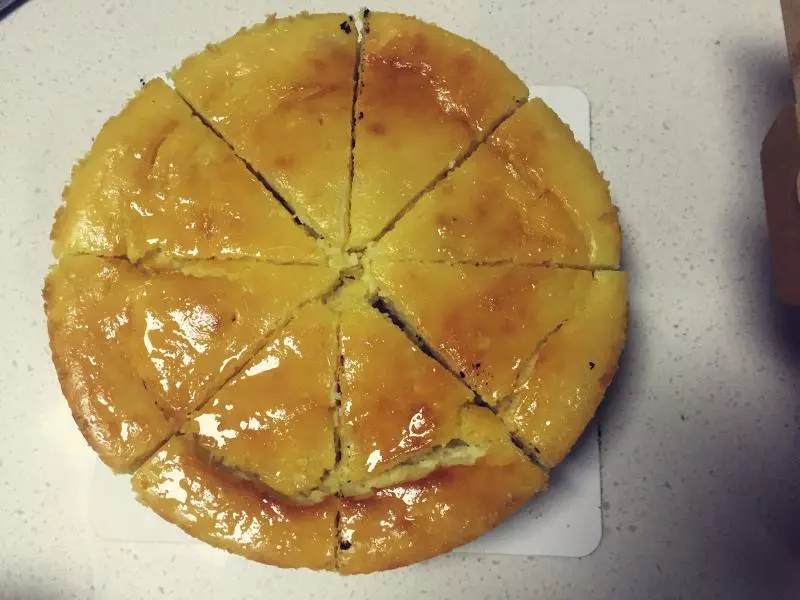
17切开
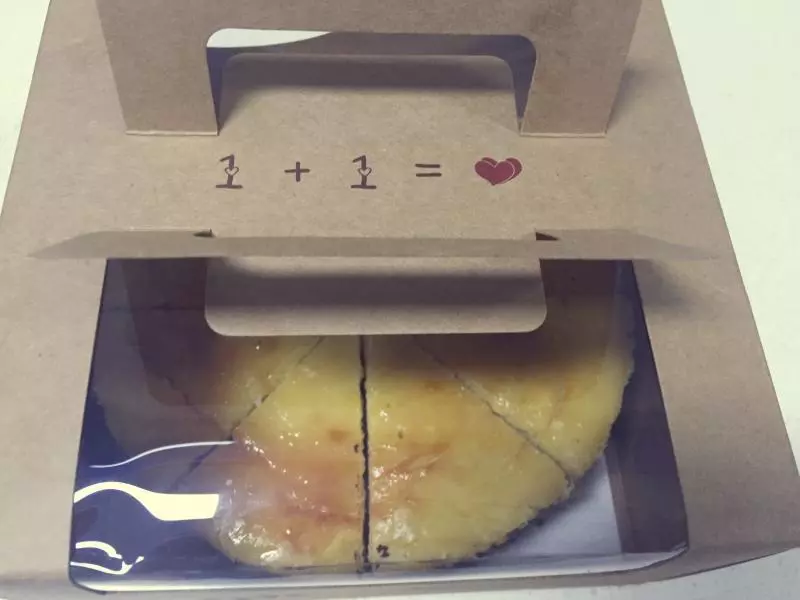
18准备好蛋糕盒
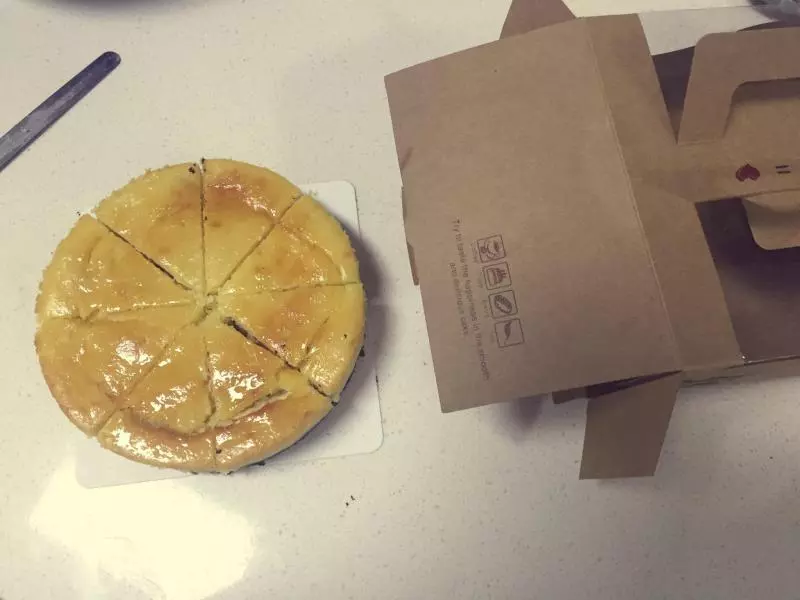
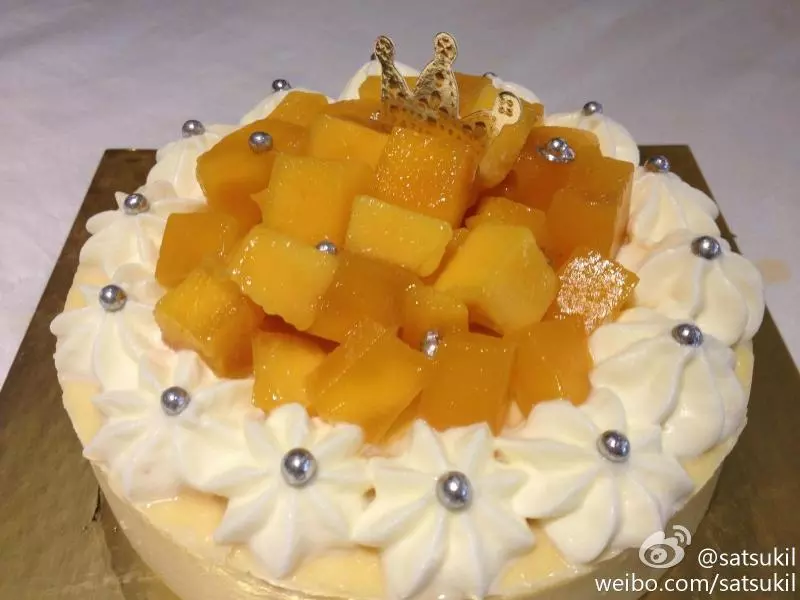
19装盒。完成✅