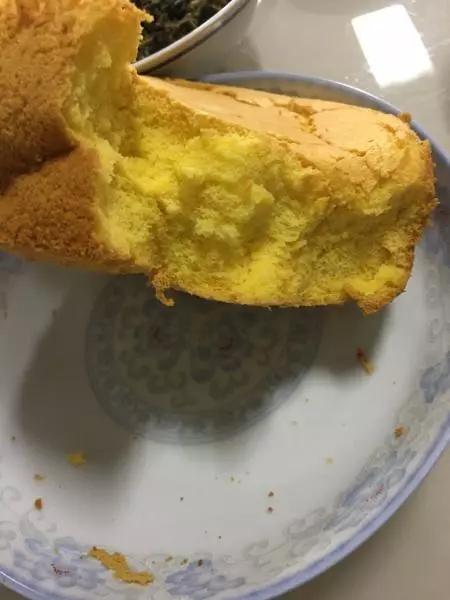
原料
鸡蛋: 3个, 牛奶: 35克, 低筋面粉: 45克, 糖: 40克, 大豆油: 30克, 白醋: 几滴
步骤
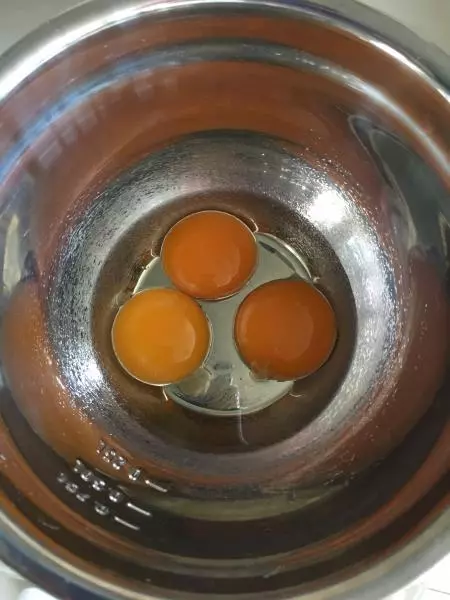
1材料准备好(我用的是草鸡蛋 颜色比较黄 大概50克左右一个 普通的蛋也OK)蛋白和蛋黄分开 蛋白保证无水无油 低粉过筛一遍 白砂糖用完了就用了妈妈做菜的绵白糖 感觉差不多

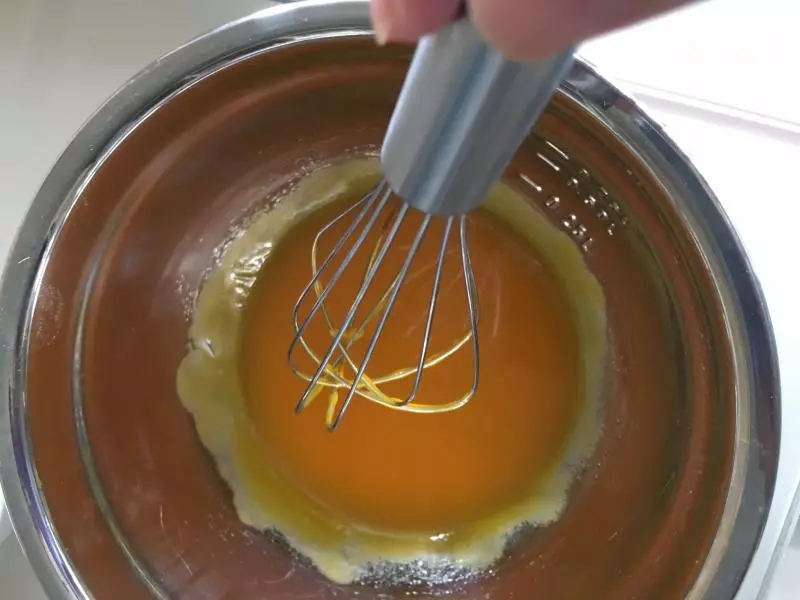
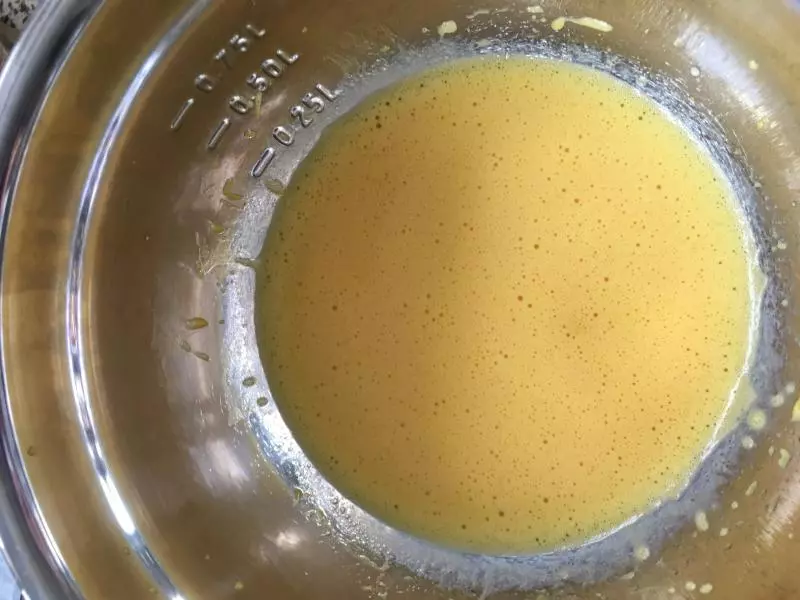
2制作蛋黄糊 先把油加入蛋黄 搅拌均匀
3蛋黄和油搅拌均匀
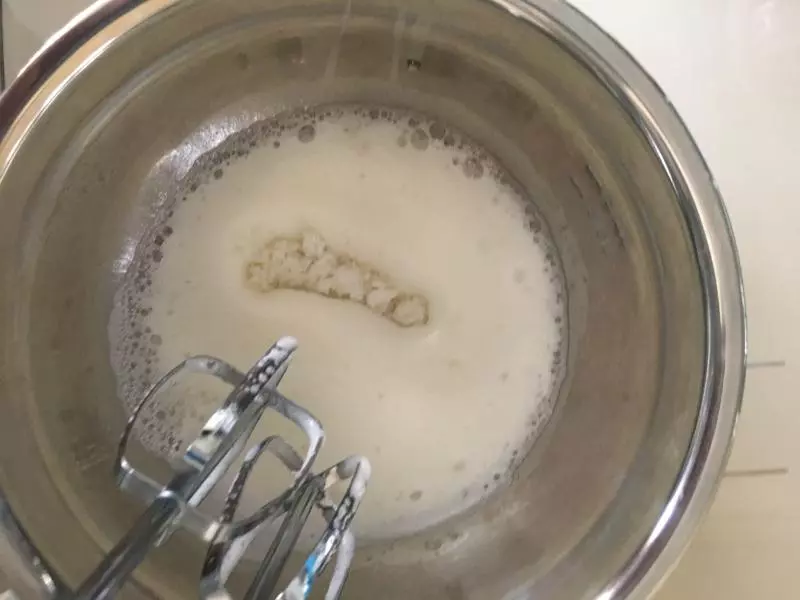
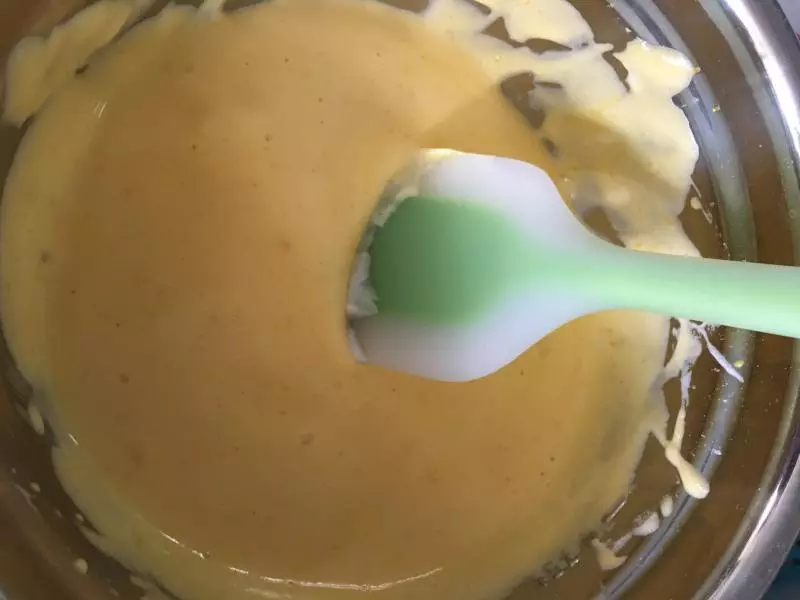
4分三次加入牛奶 每次都搅拌均匀
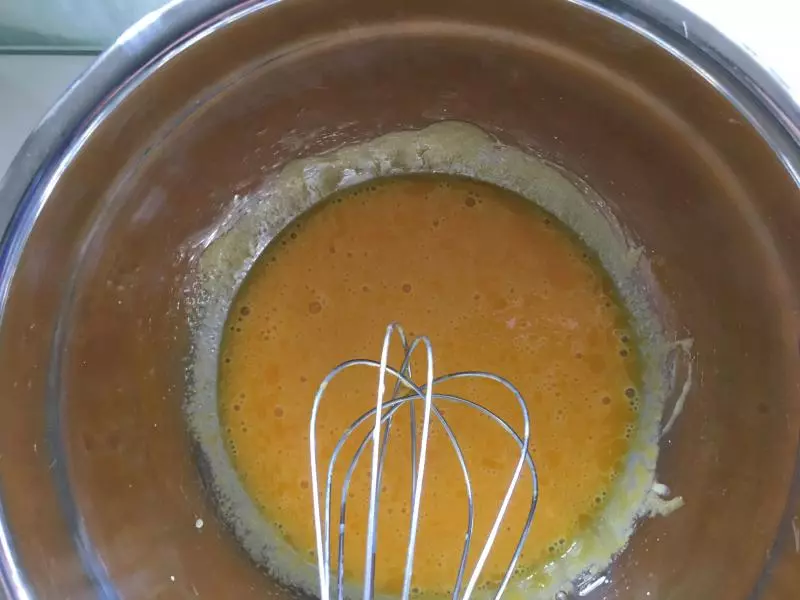
5蛋黄 油和牛奶充分搅拌均匀 (化Z字或者横向竖向搅拌 )
6低粉过筛加入 过筛加入不容易有颗粒
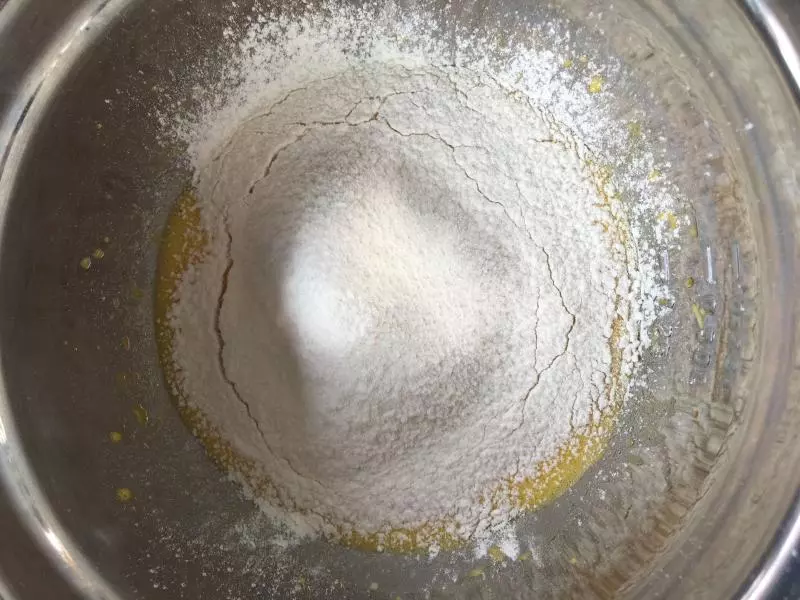
7翻拌均匀 不要绕圈搅拌 拌至均匀无颗粒 放一边备用
8制作蛋白霜 可以现在预热烤箱 150度上下火 蛋白中加几滴白醋 蛋白低速打至大泡眼 加入三分之一糖 继续打发
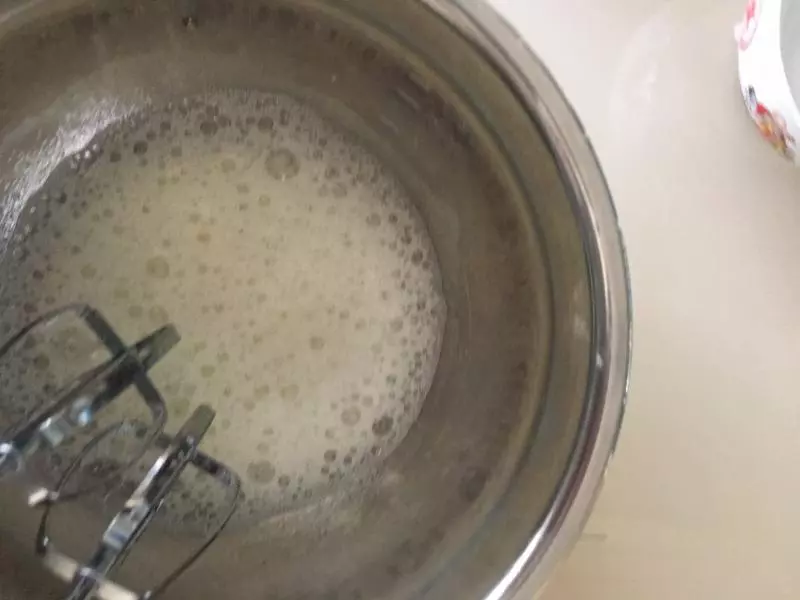
9呈现稍微细腻点的泡沫再加入三分之一糖 高速打发
10打倒无泡沫 把剩下的糖加入 图忘拍了 继续高速打发 蛋白打过开始出现痕迹 之后用刮刀把边上的蛋白霜刮倒中间 低速打发
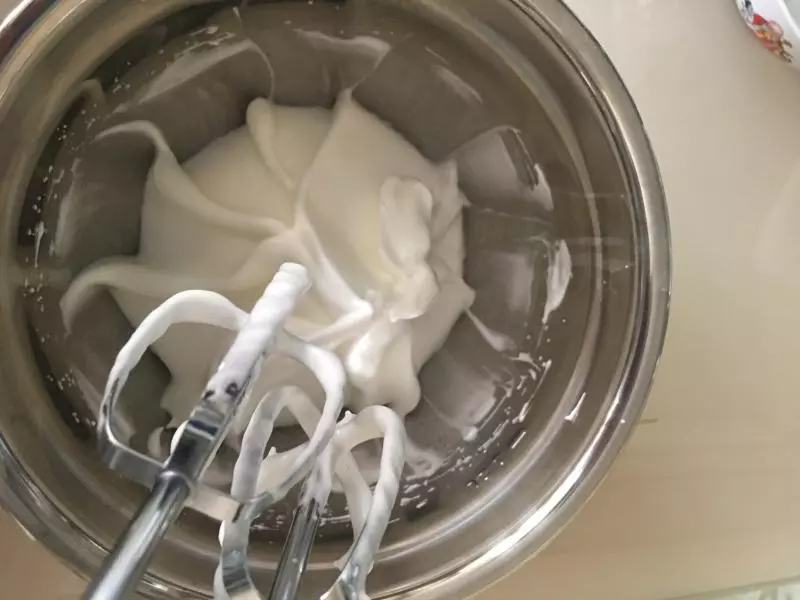
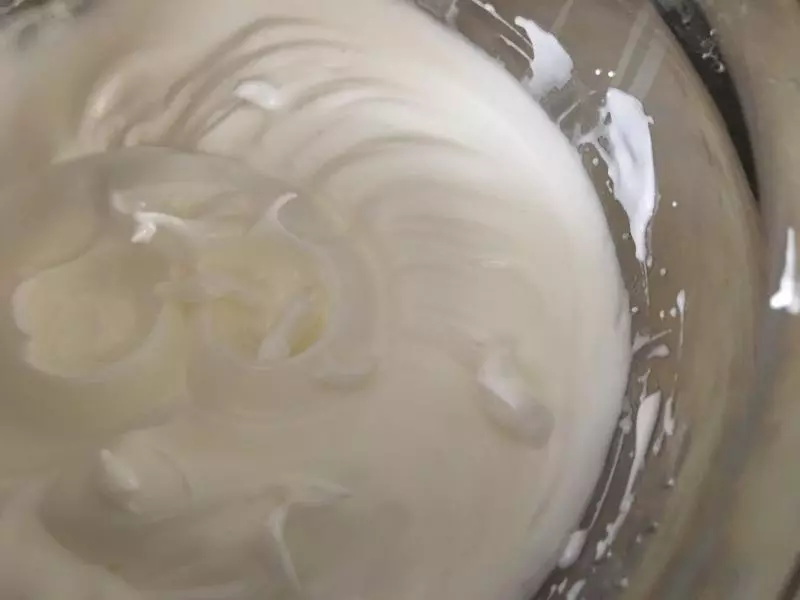
11有痕迹后就要停下来看是否能拉起尖角 开始是大尖角 之后打十秒停一下看看程度

12打倒小尖角竖起 蛋白霜就做好了
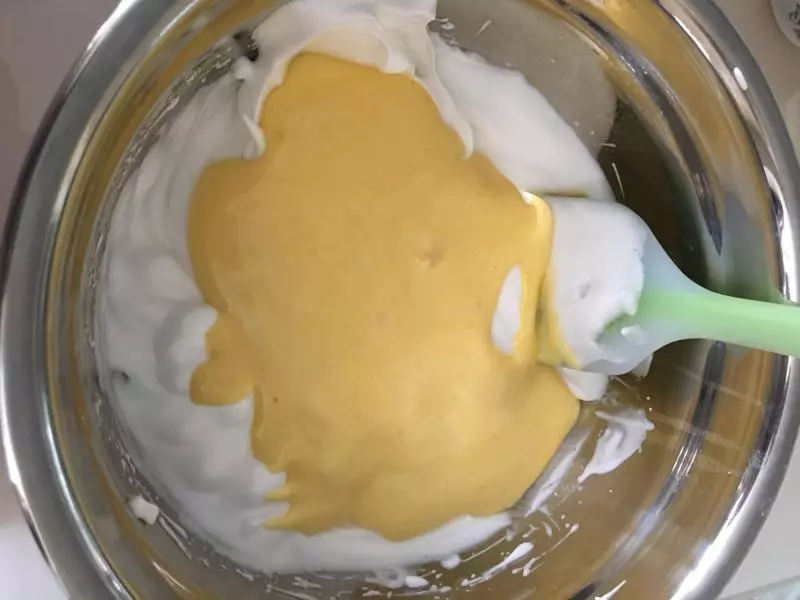
13把蛋白霜铲三分之一到蛋黄糊中
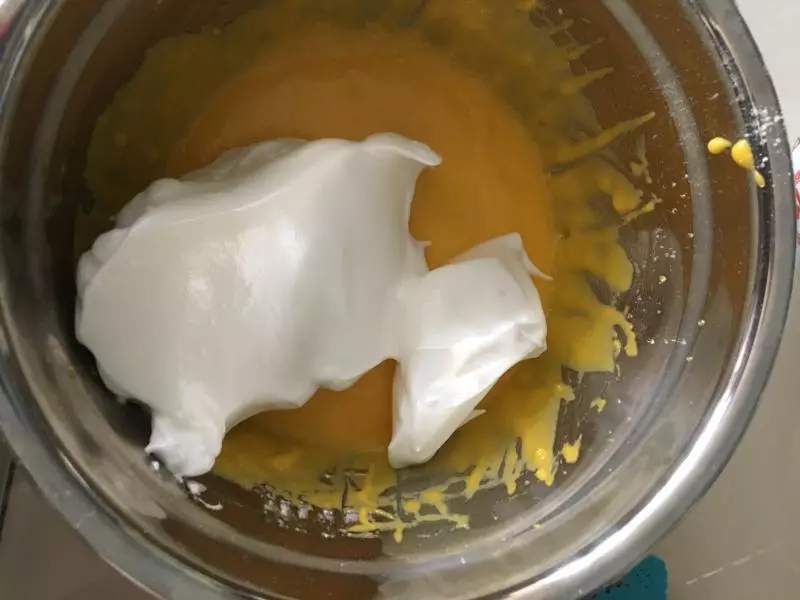
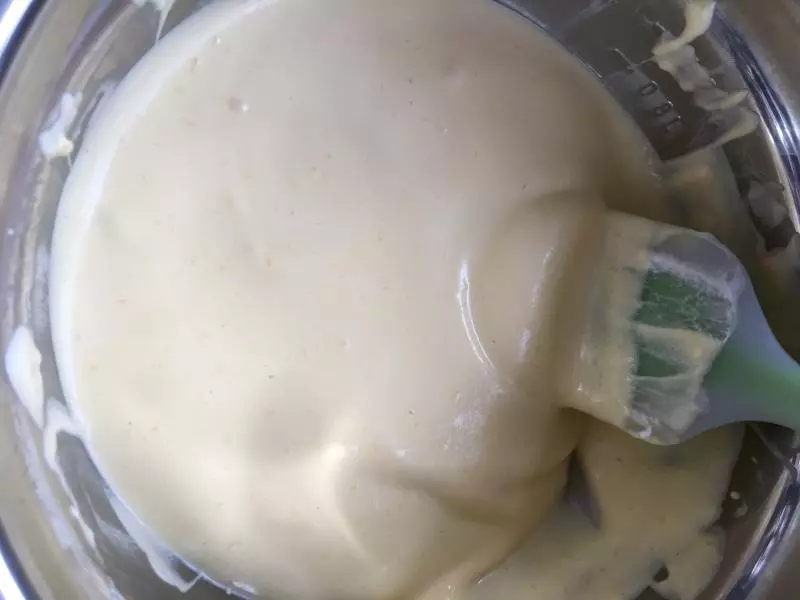
14翻拌均匀
15把翻拌均匀的蛋黄糊再倒回蛋白霜中 翻拌均匀
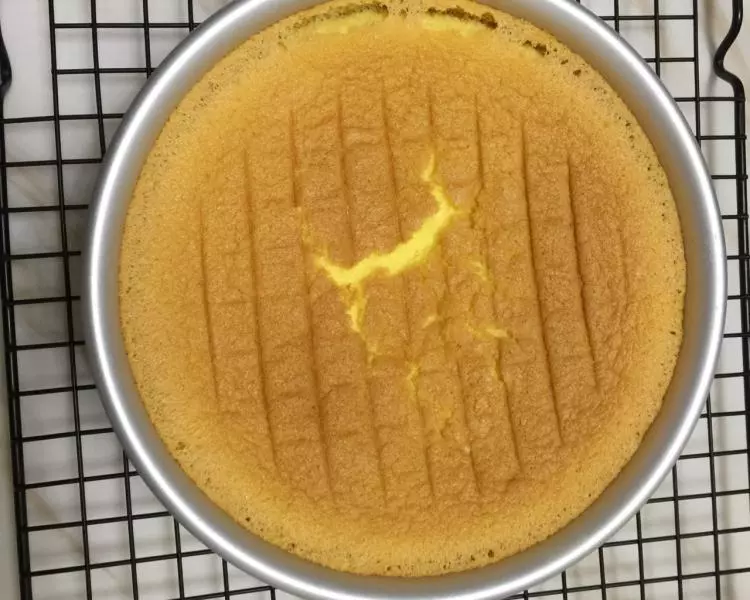
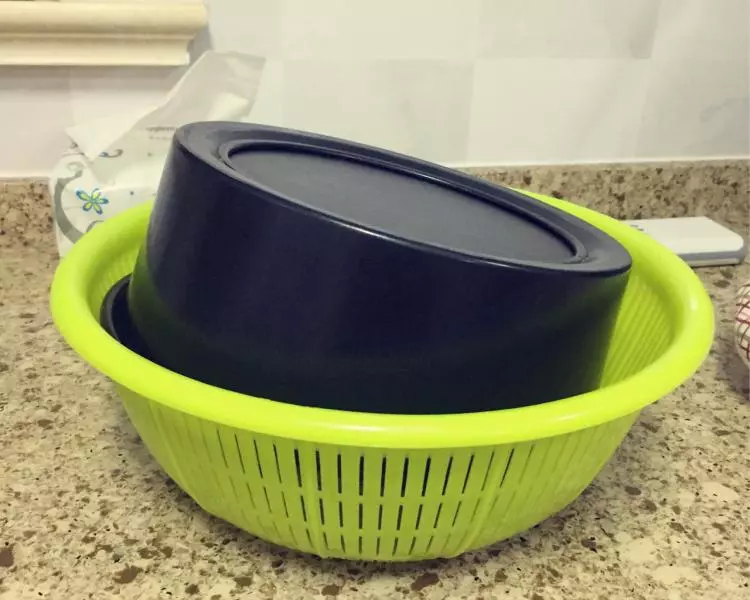
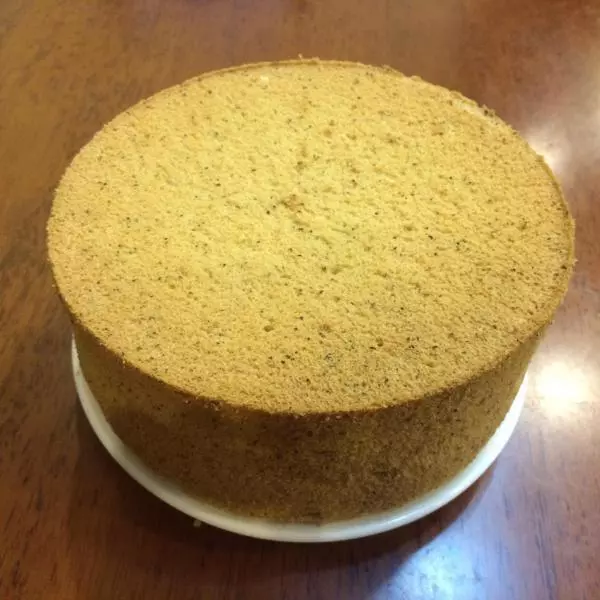
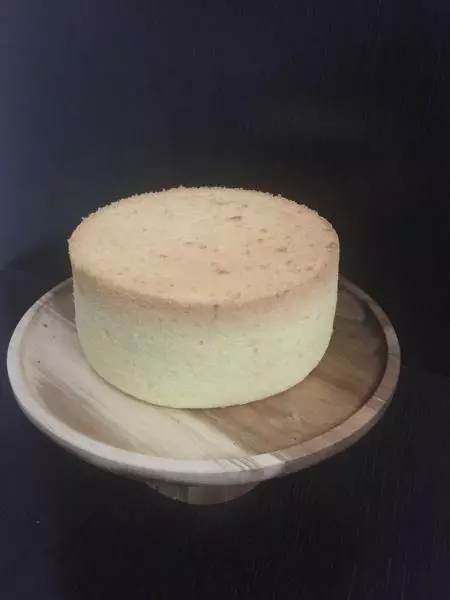
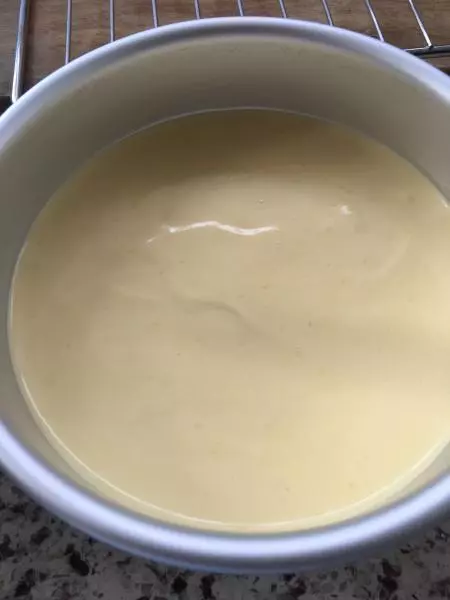
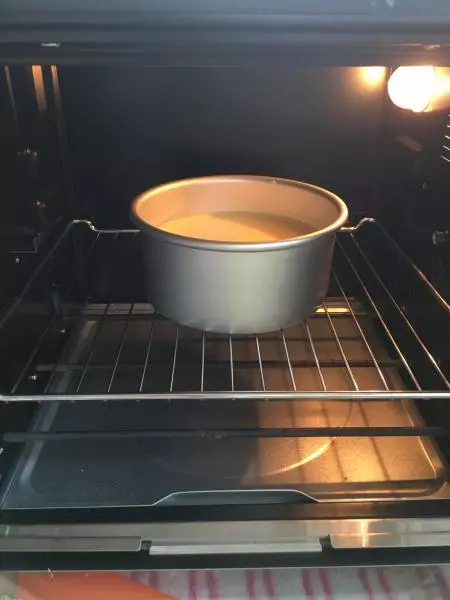
16翻拌均匀后 从高处倒入六寸活底模具 振出大气泡
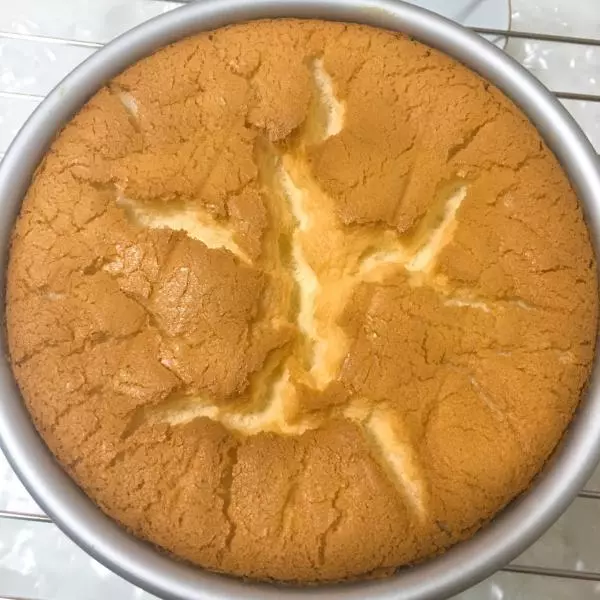
17多振几次 把气泡振出来 稍微把上面刮平
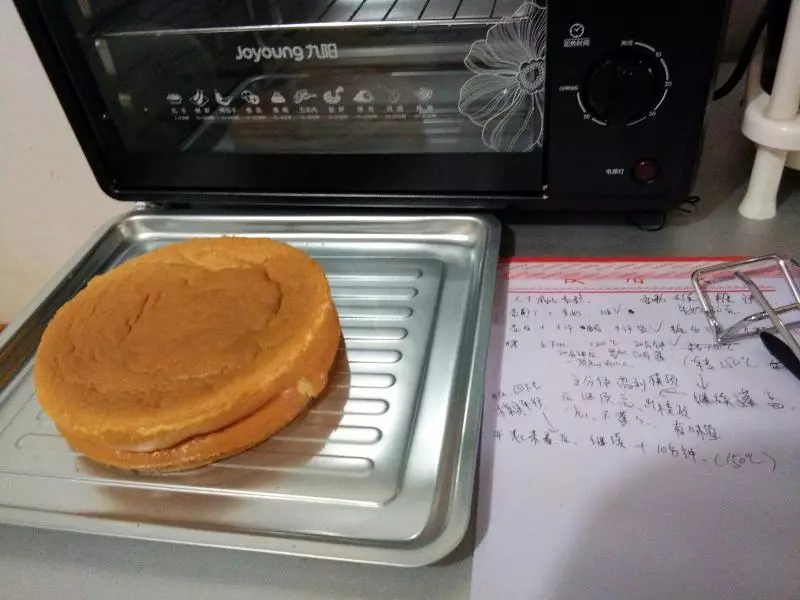
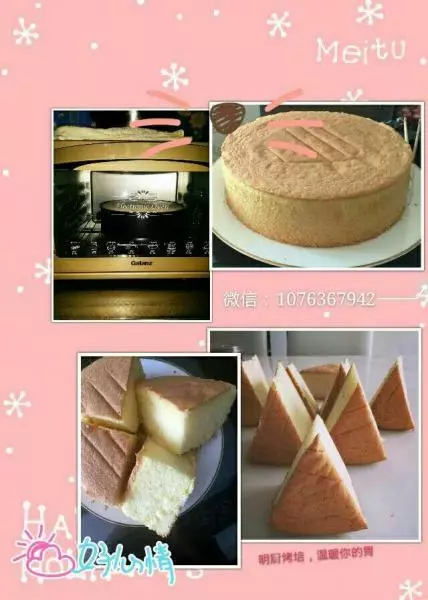
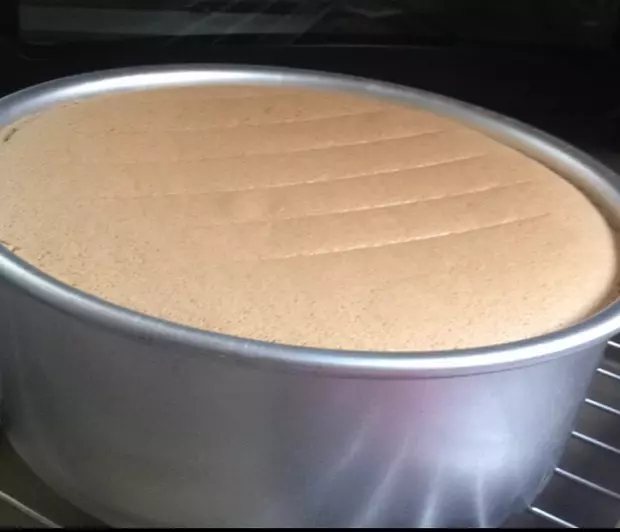
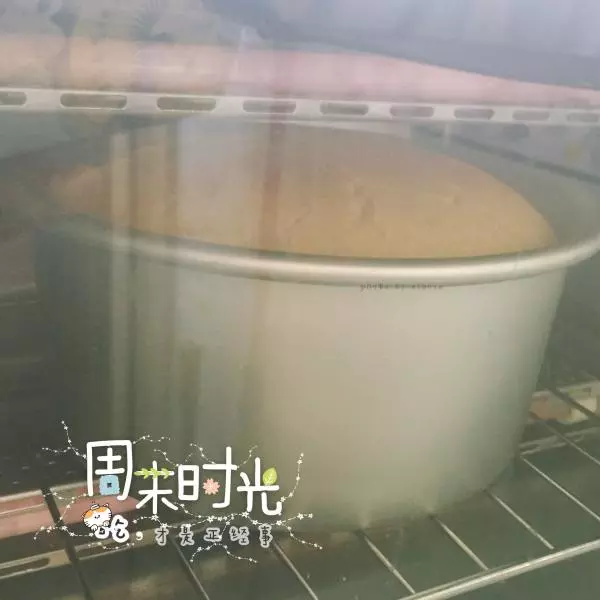
18放入烤箱中下层 140度50分钟
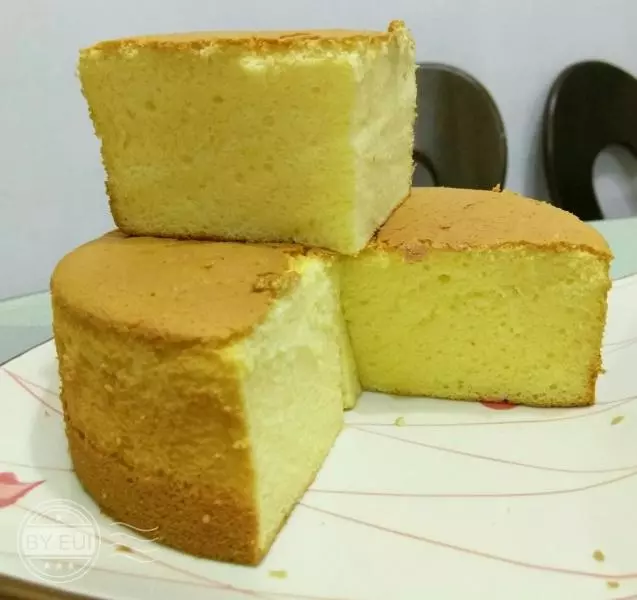
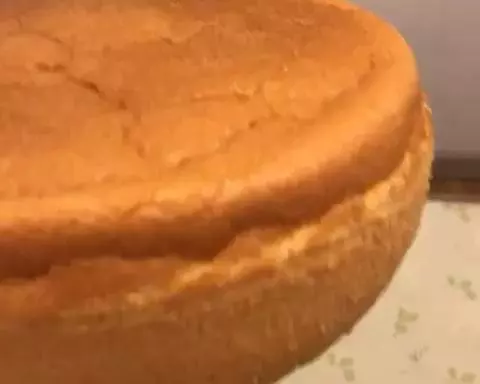
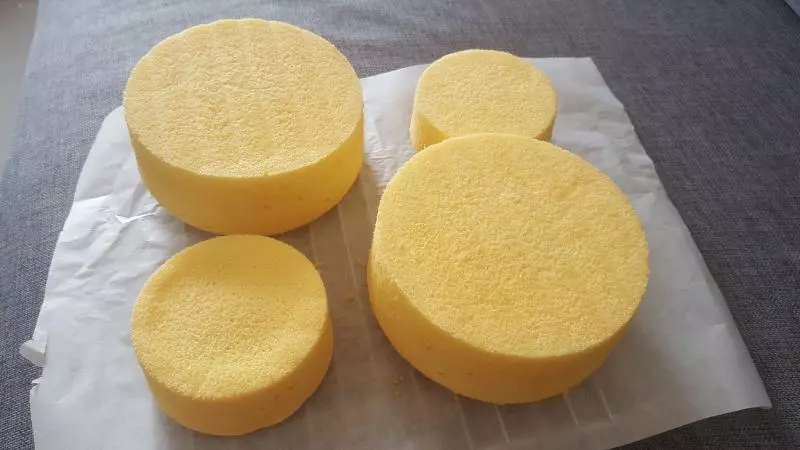
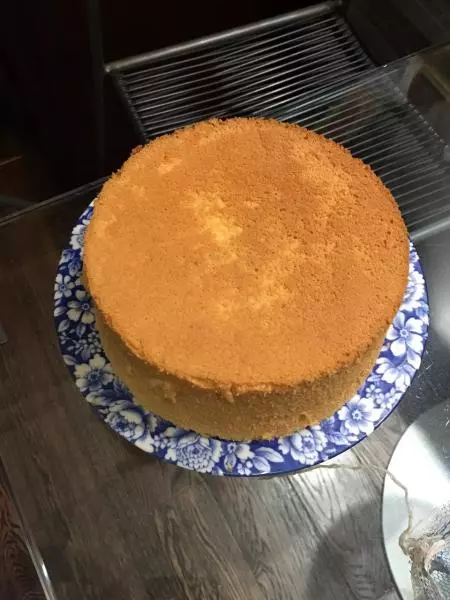
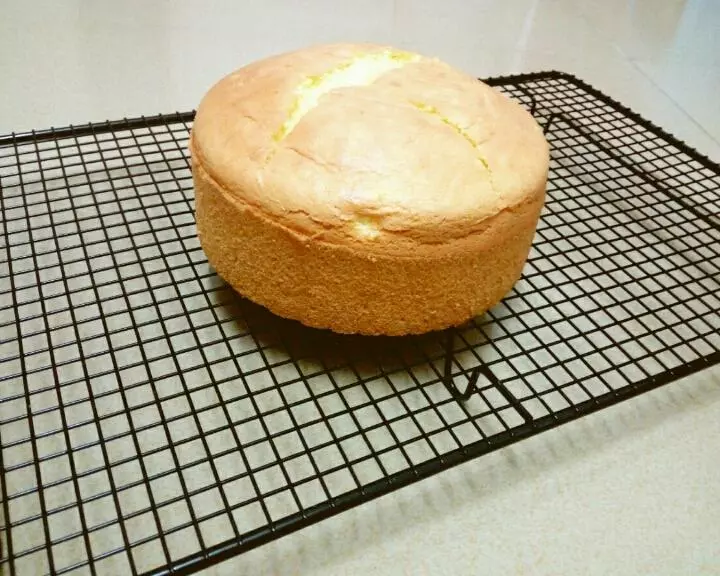
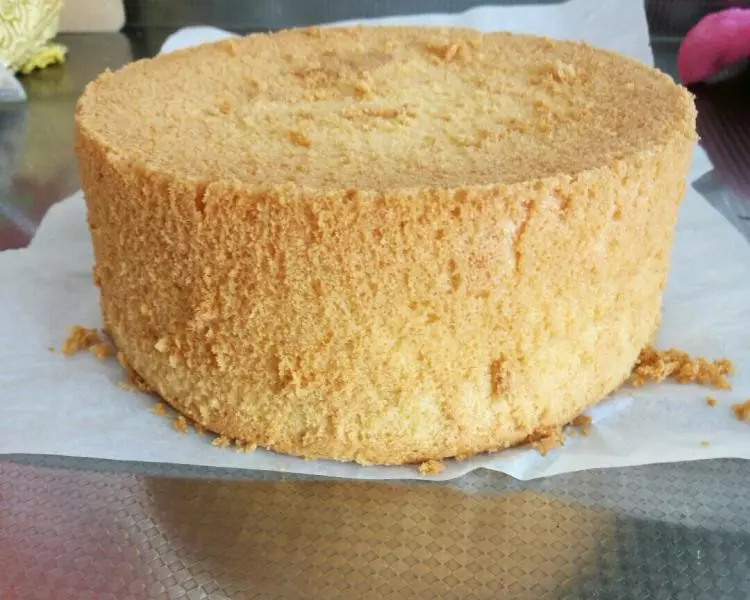
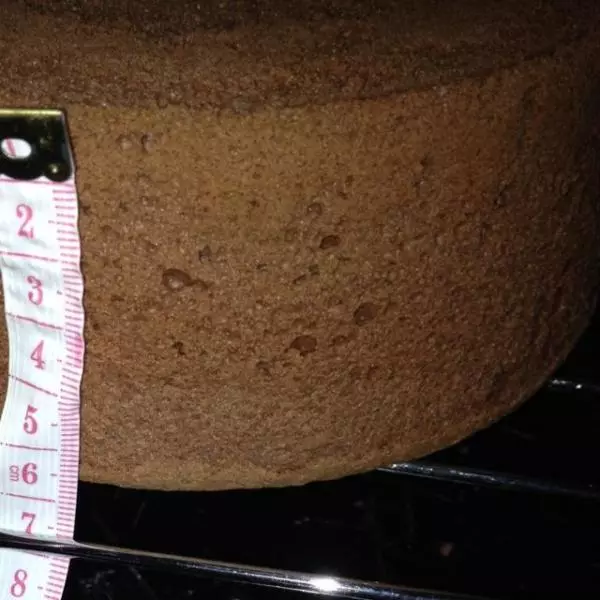
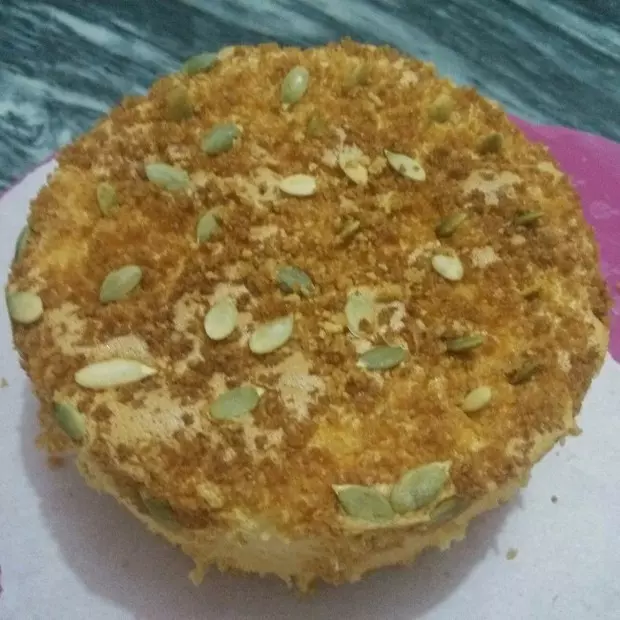
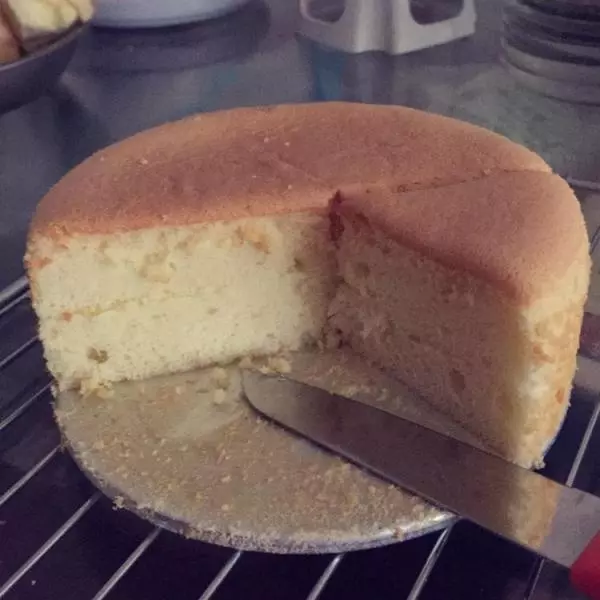
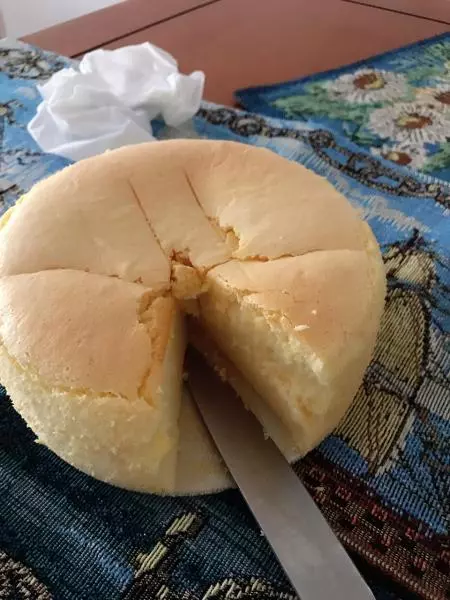
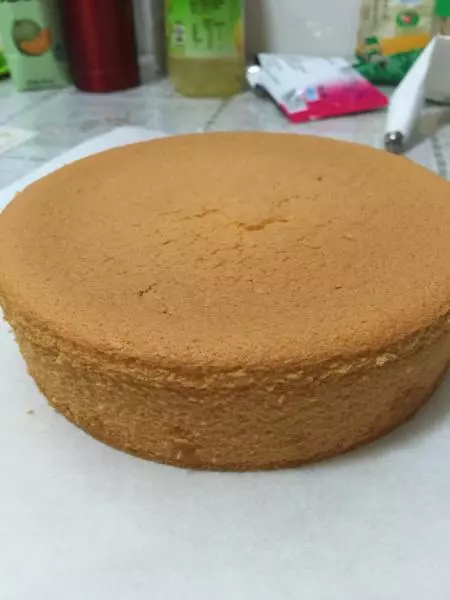
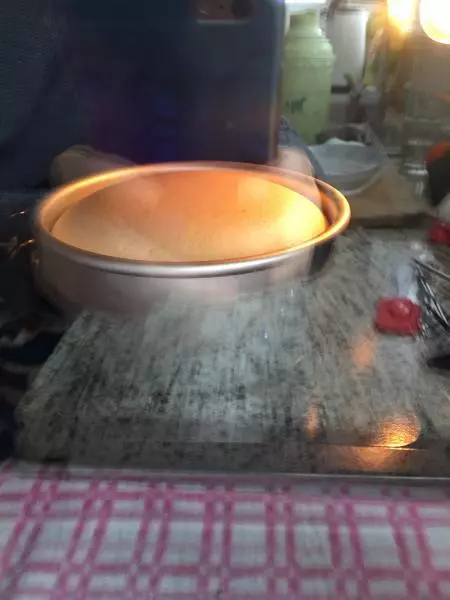
19长到最高的时候会开始慢慢回缩 大概回缩七八分钟就烤好了 烤好后从高处正面落下 立即倒扣在网盘上等待冷却 冷却后再脱模
小技巧
预热烤箱不能忘了 蛋黄糊先加油比较好搅拌均匀 再加入牛奶 牛奶要分次加入比较好拌均匀 低粉最好过筛 不容易有颗粒 蛋白保证无水无油 分蛋要清晰 蛋白霜滴入白醋或者柠檬汁 蛋白霜比较好打发比较稳定 蛋黄糊和蛋白霜搅拌要翻拌 从上到下或者从下到上翻拌均匀 烤完后要及时拿出(我有一次忘了拿出 直接在烤箱里凹了 再拿出来倒扣就没用了)从高处正面落下再立即倒扣 要冷却之后再脱模