原料
鸡蛋: 3个, 细砂糖: 35g, 牛奶: 35g, 玉米油: 30g, 低筋面粉: 50g, 柠檬汁: 几滴, 盐: 少许
步骤
1蛋黄蛋清分离
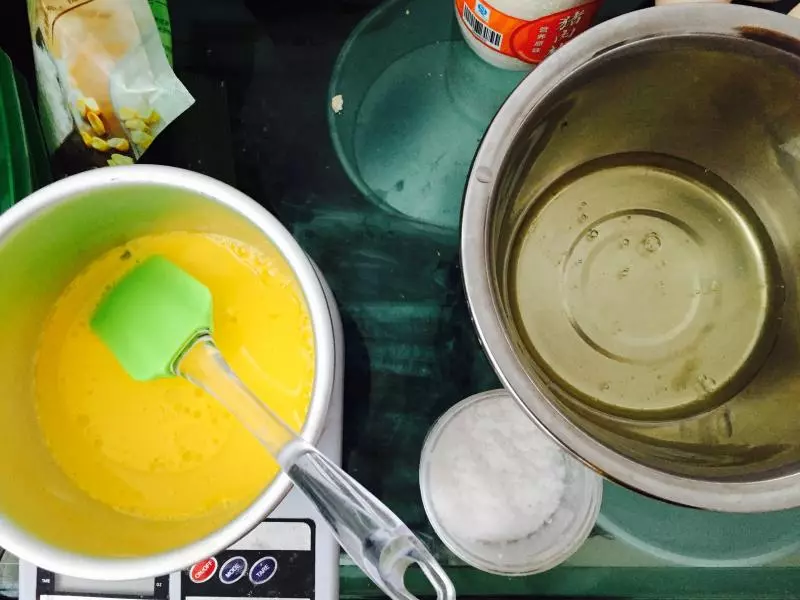
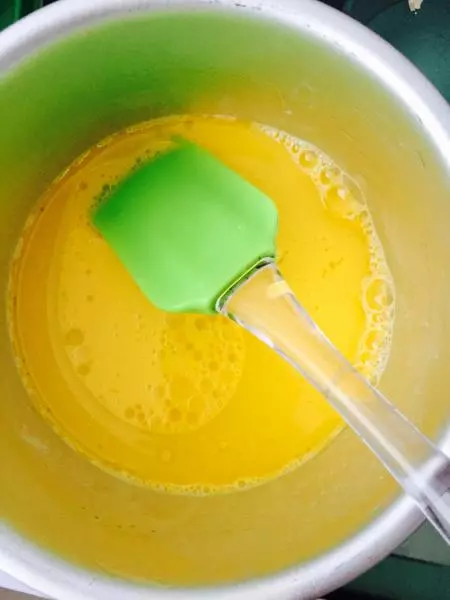
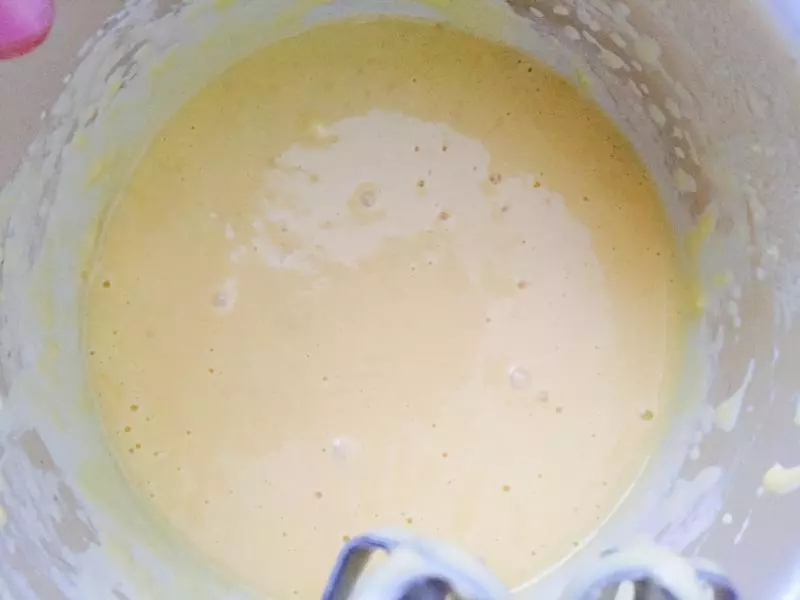
2蛋黄液加牛奶加油混合均匀 再加5g糖 少许盐混合均匀
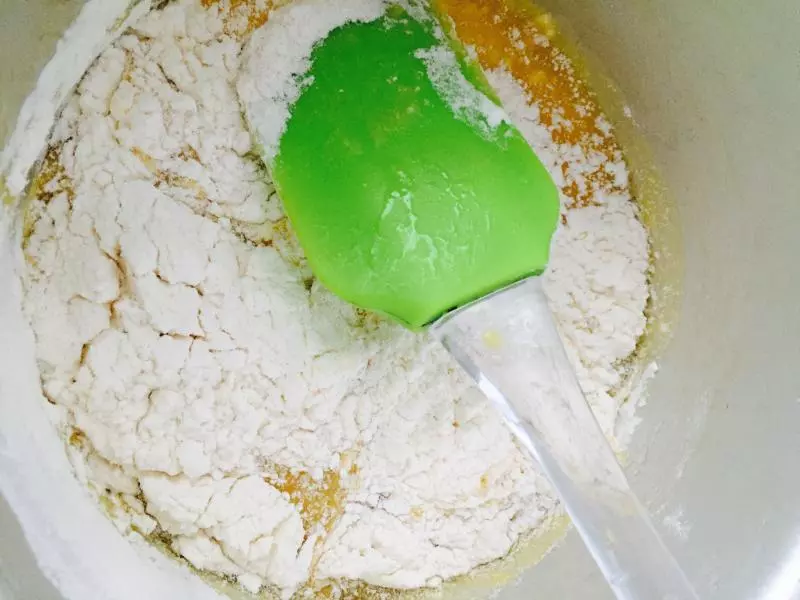
3加入过筛面粉
4搅打均匀后的蛋黄液
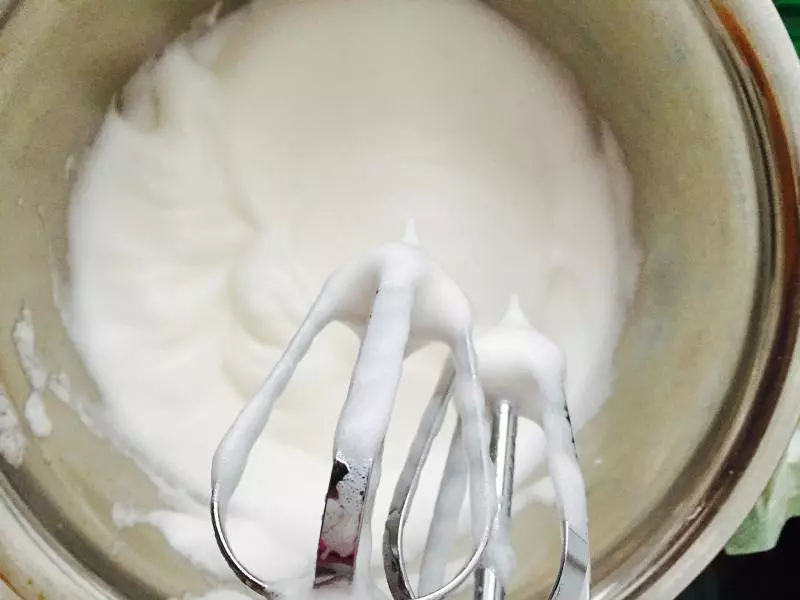
5打发蛋白 加柠檬汁少许 然后30g糖分次加入 打至小尖勾
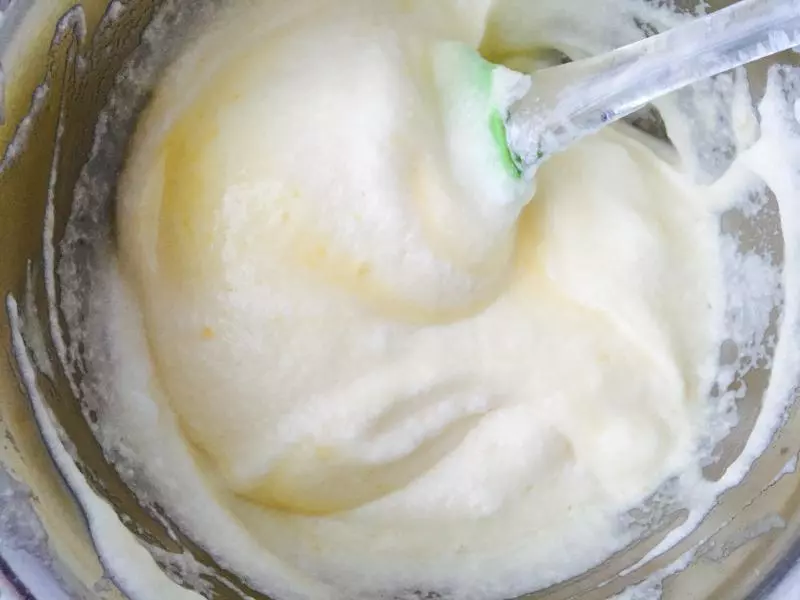
6蛋黄蛋白糊混合 轻轻划匀 入烤箱前从高处摔几下
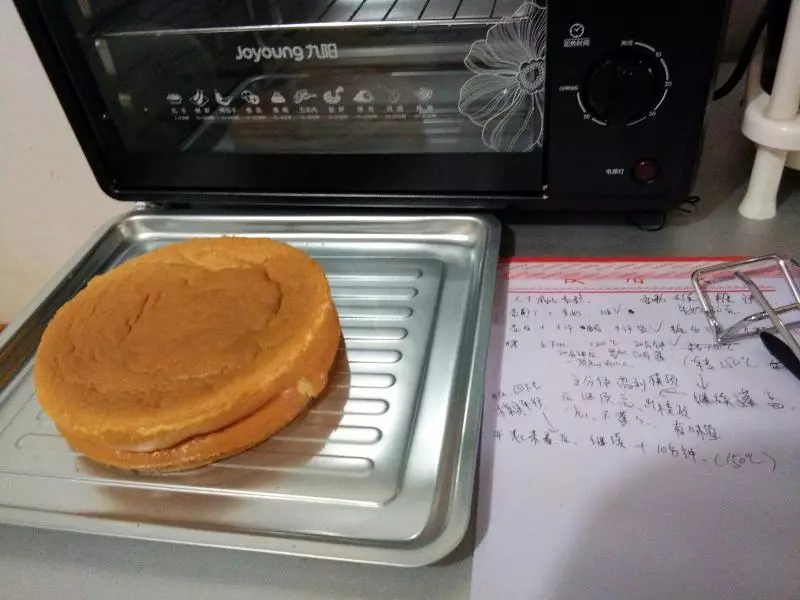
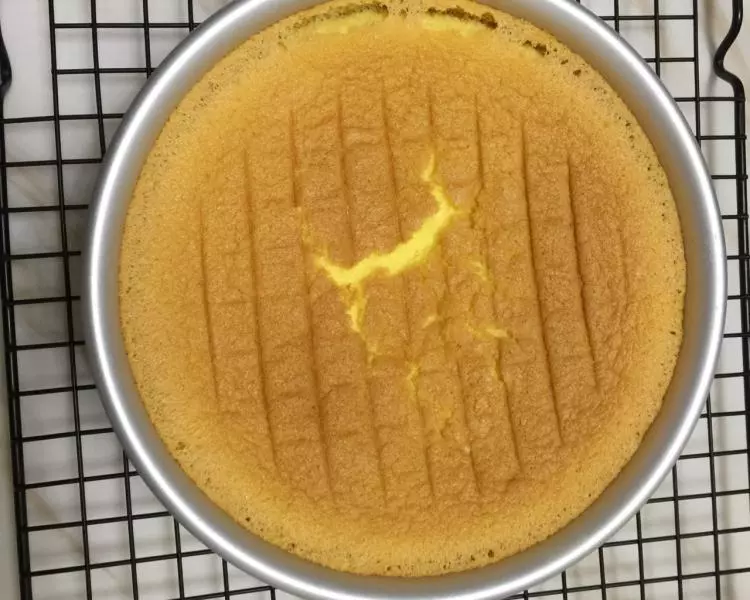
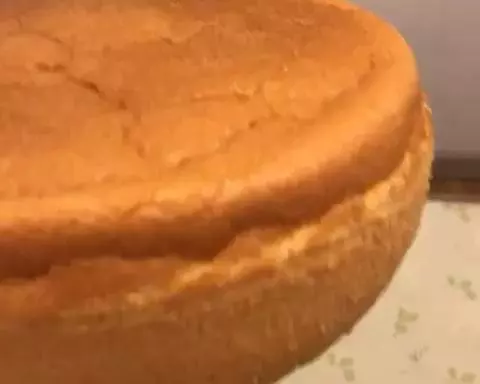
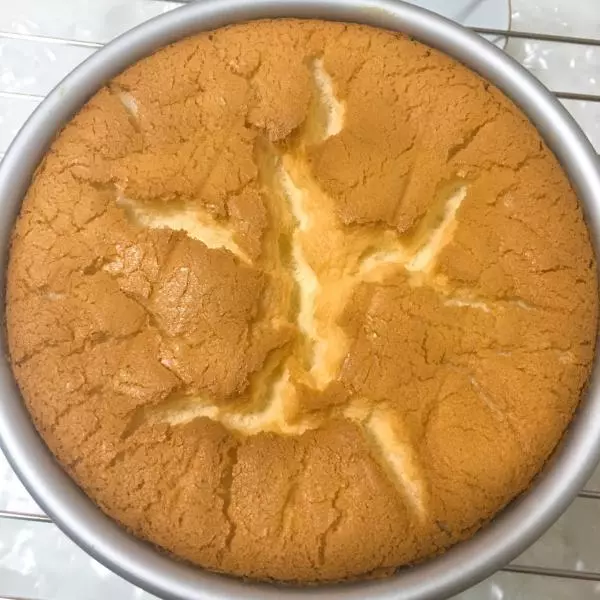
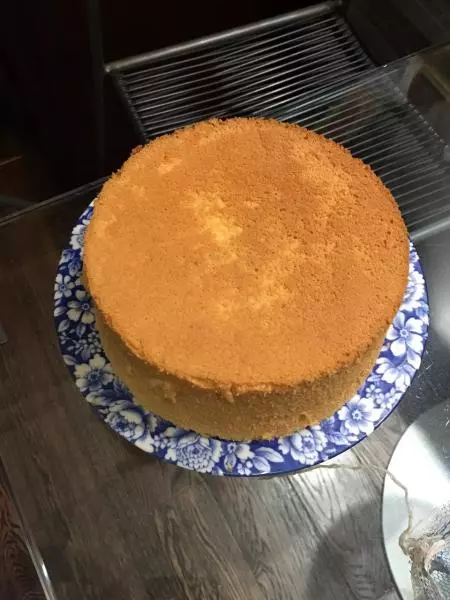
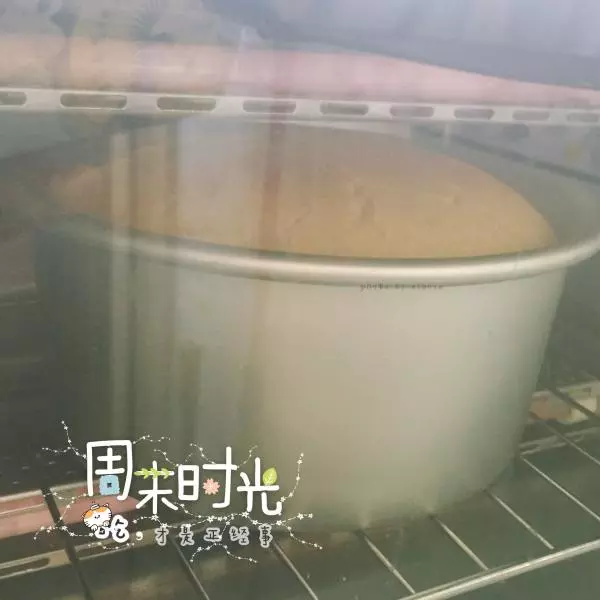
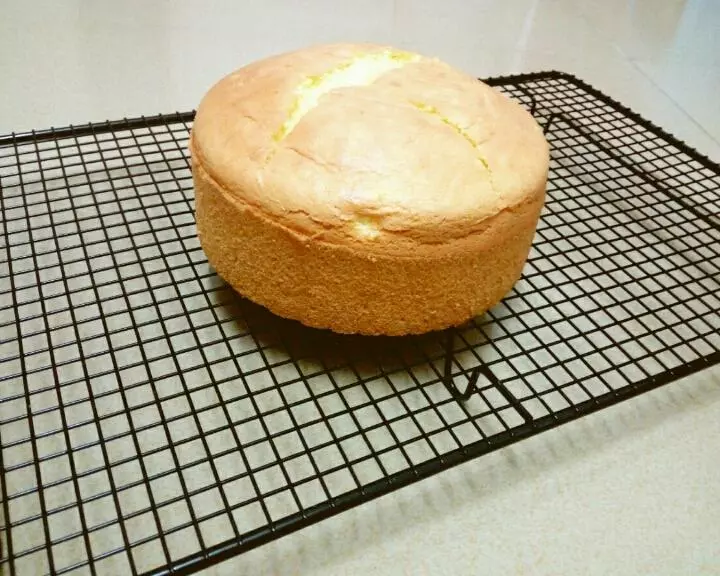
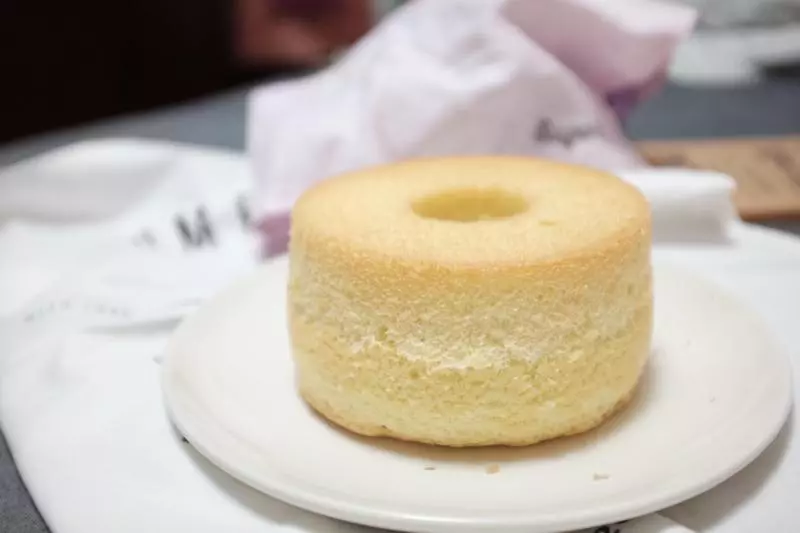
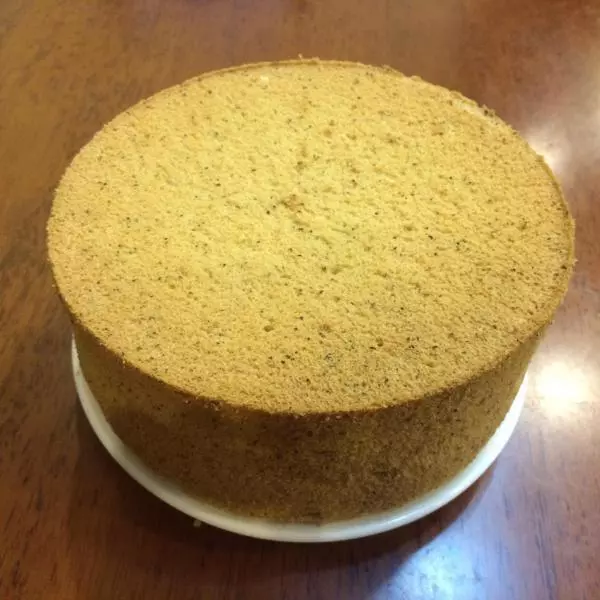
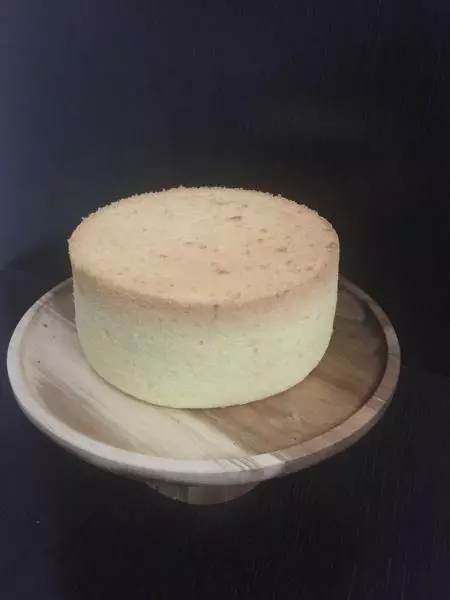
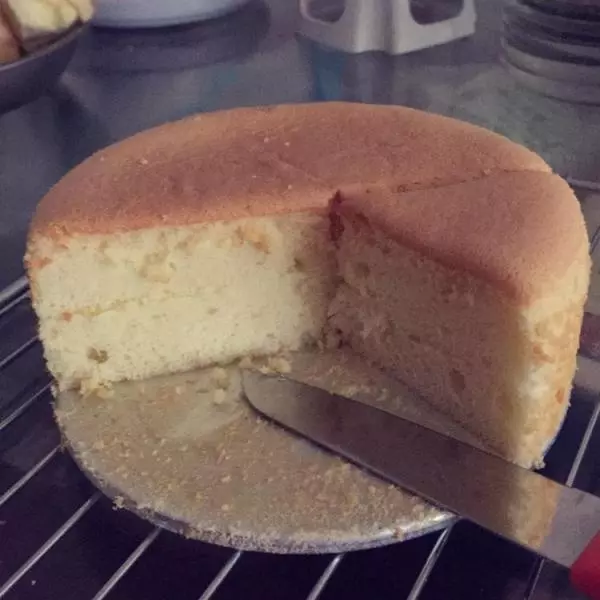
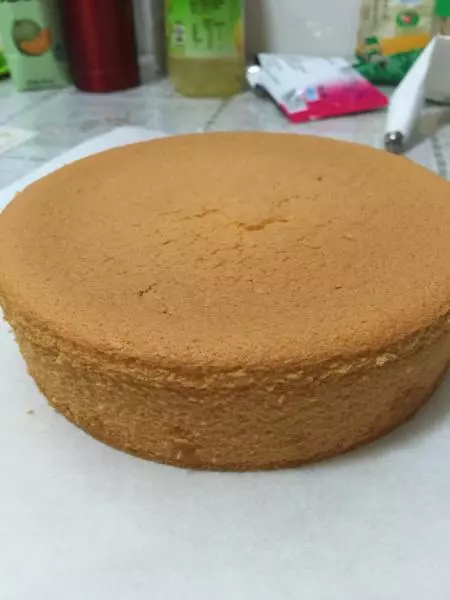
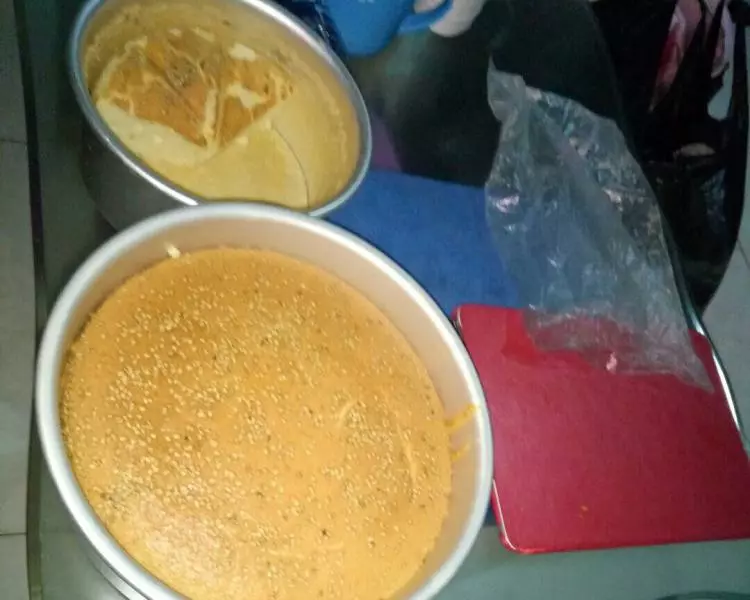
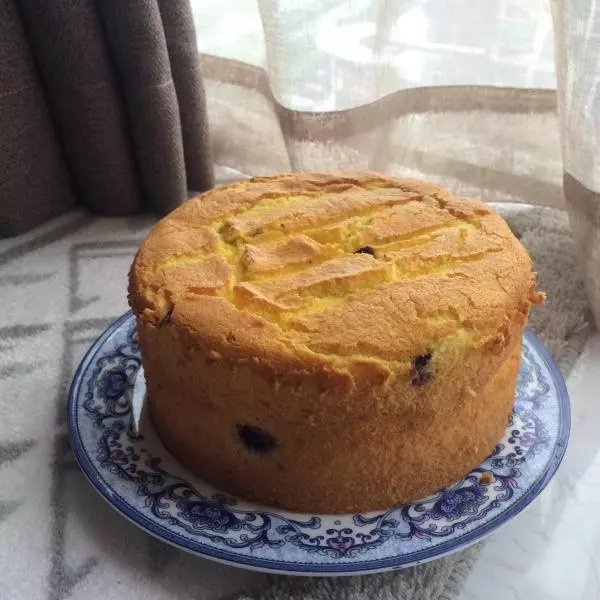
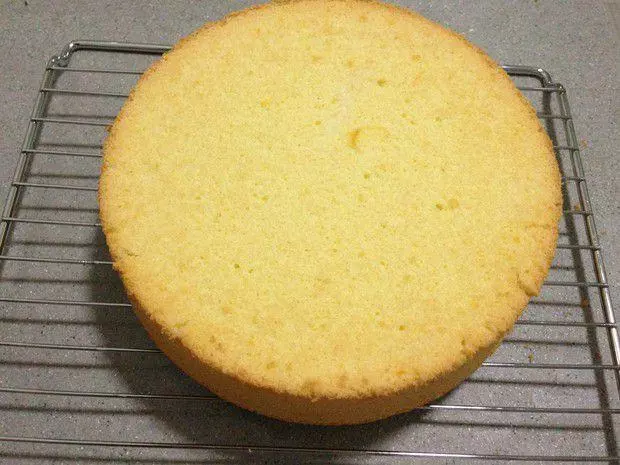
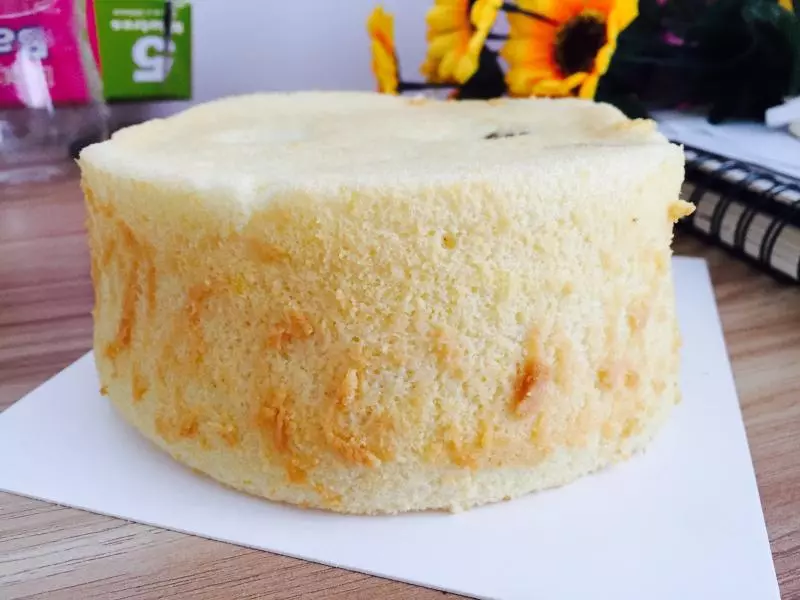
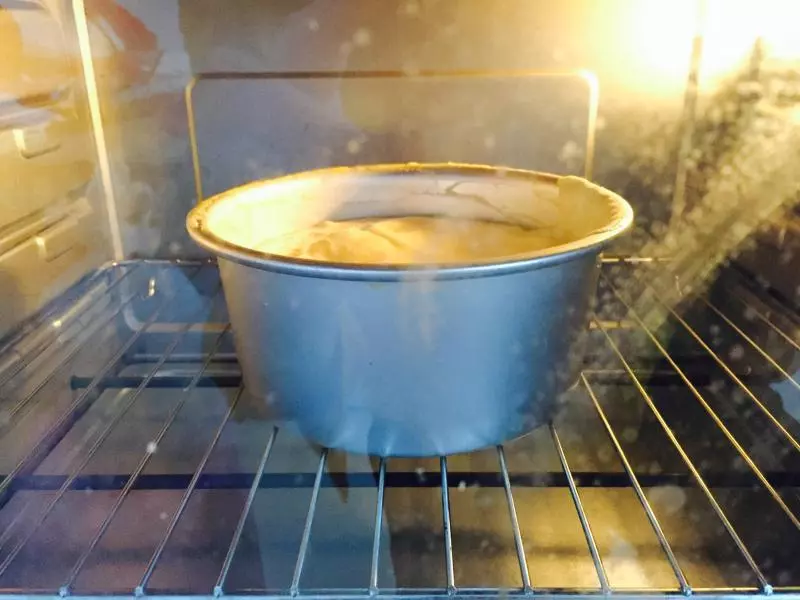
7预热烤箱 然后放入 上层150度 下层120度 烤40min。出炉 再从高处摔几下 然后倒置放凉
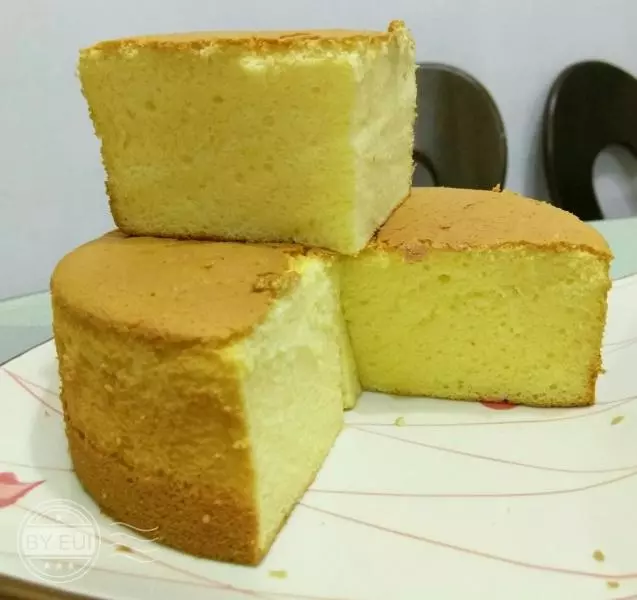
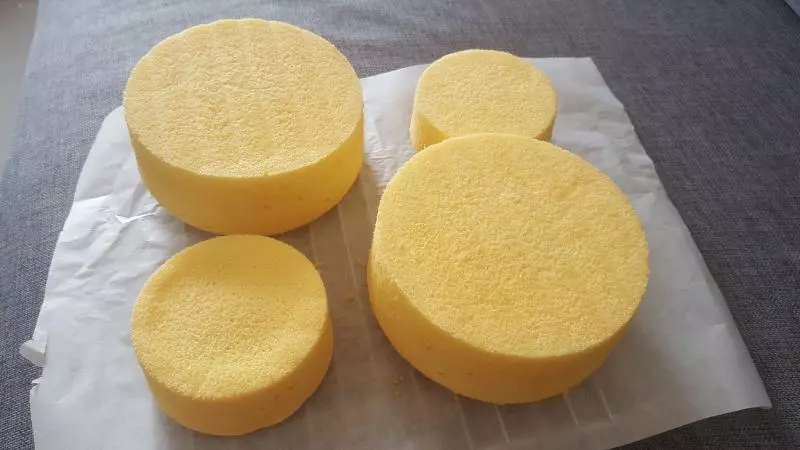
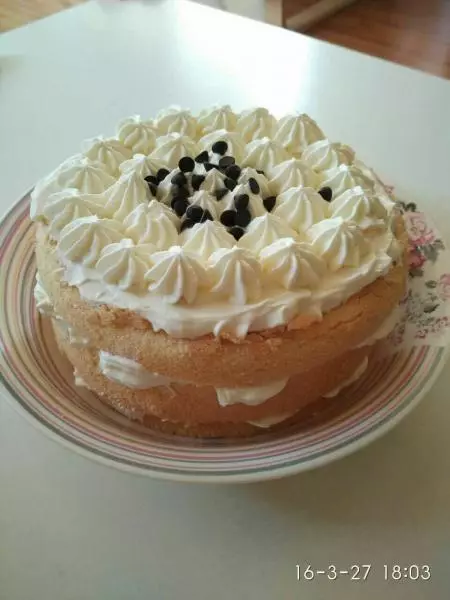
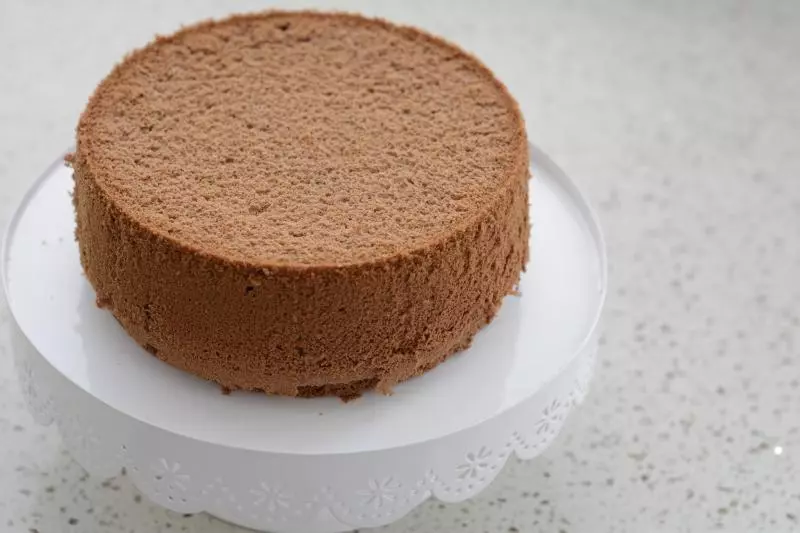
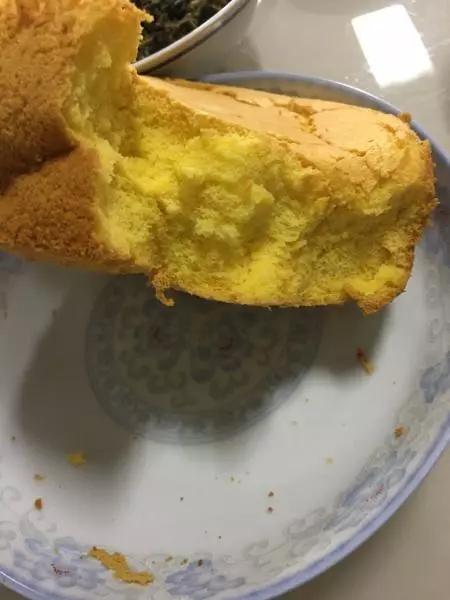
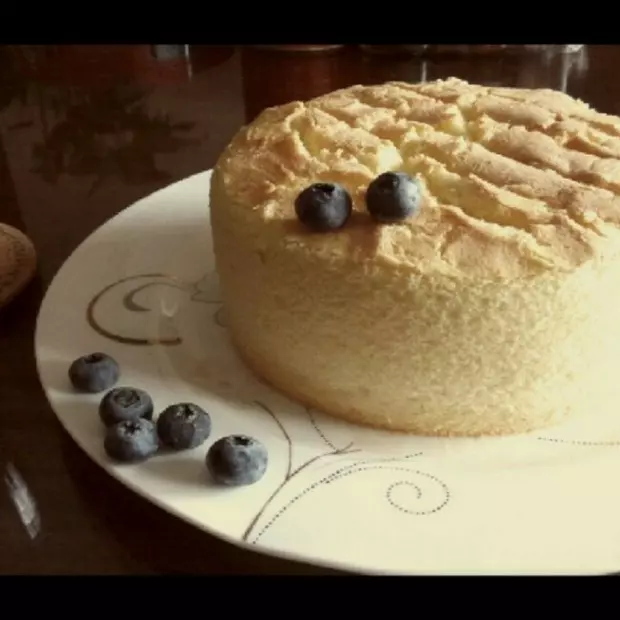
8小戚风就完成了✌️

小技巧
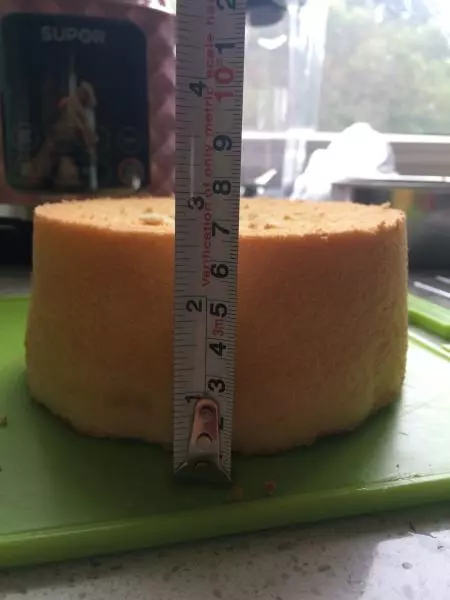
1 蛋白打发很重要 打蛋盆里不要有水 2 最好低温慢烤 下管温度高的话容易凹陷 3 出炉前后都要震几下哦