原料
低筋面粉(家里只有低筋面粉了,普通面粉应该也行): 280克, 红糖: 80克(我喜欢吃很甜,如果亲不喜欢太甜,可以减量到50克,甜度可以接受), 酵母: 4克, 水: 360克(如果喜欢更软,粘的亲,可以用380克。但是不能再多了,否则糖糕不开花), 提子干: 适量(根据喜好放)
步骤
1取干净大盆筛入低粉,放入酵母,待用

2取干净小碗放入红糖,倒入热开水,搅拌至糖化,待用

3用手指测探水温,一定要温但不能烫手。如烫手,再凉一会,手指放糖水中不感觉到烫手后,把糖水倒入1中准备的粉盆中,搅拌

4搅拌均匀,达到无白粉,无颗粒状态

5用保鲜膜密封,等待发酵

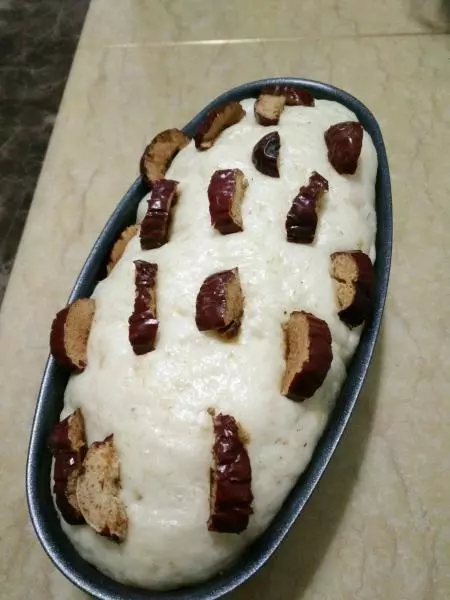
6一个小时后,粉浆发酵至两倍大,如图6,有泡泡,蓬松状态即可(如天气冷,可锅中放水,开火3分钟后关火,水有温度但不烫手的情况,把粉盆放锅中盖上锅盖,借助锅中温度发酵)

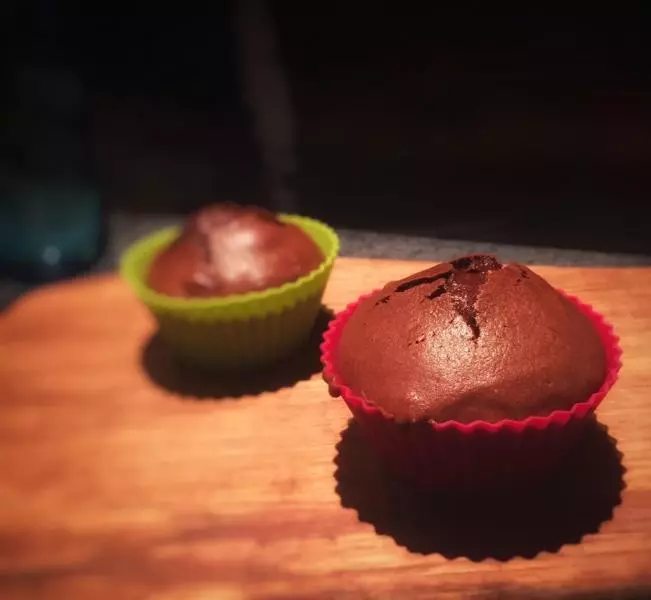
7把洗干净的提子干撒到发酵好的粉浆中,搅匀(根据喜好,撒不同的干果),分装粉浆至蛋糕杯,9分满即可

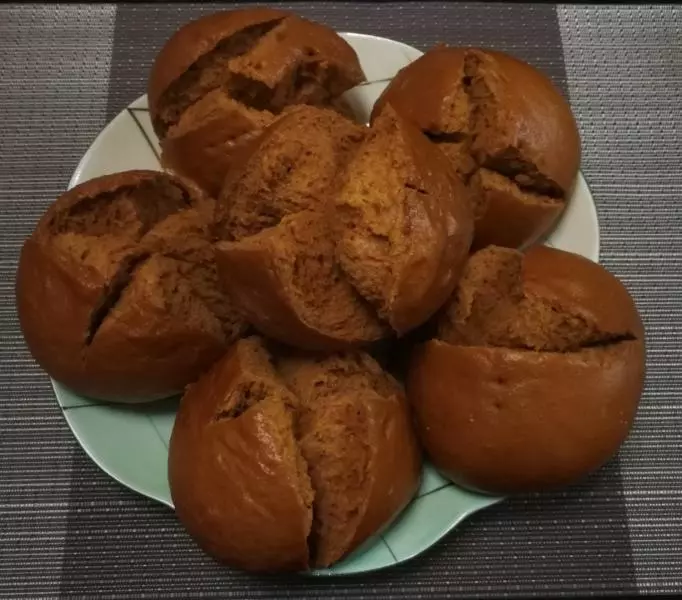
8锅中放足够多的水,水开后,放入蛋糕杯,盖上锅盖,大火蒸20分钟。20分钟过后,关火,闷3-5分钟后揭盖,晾凉,开吃

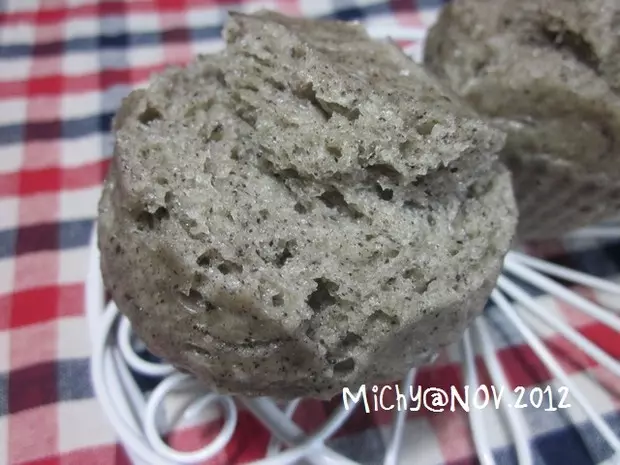
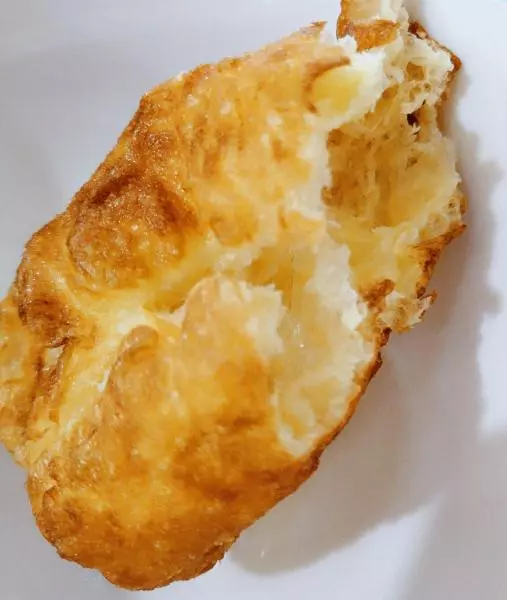
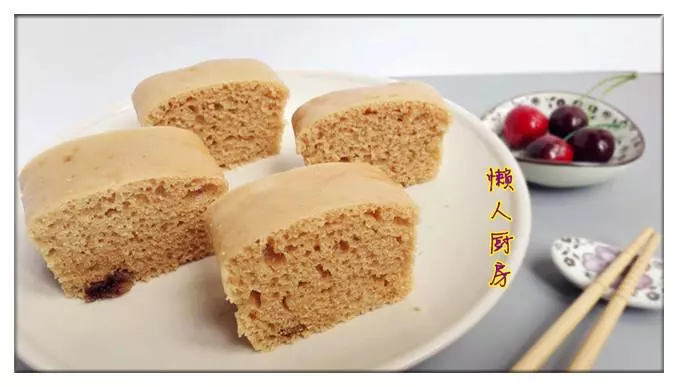
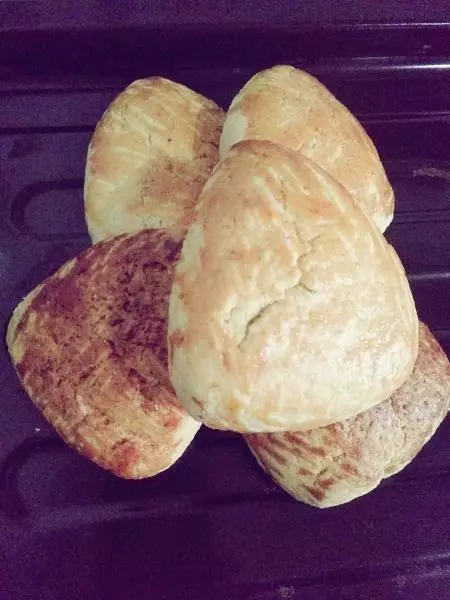
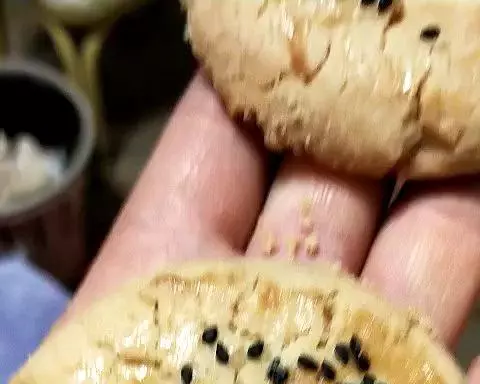
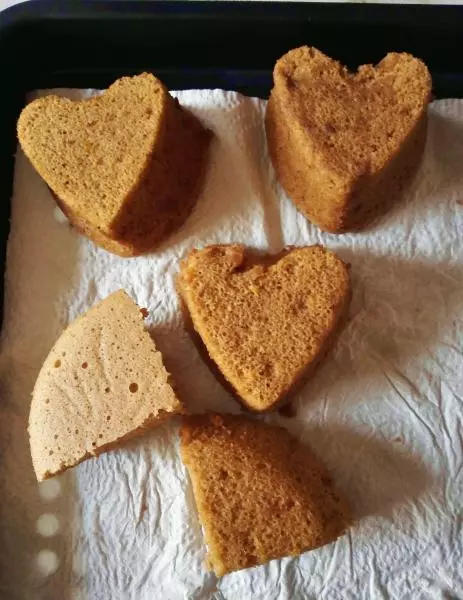
9这是360克水蒸出来的效果,很Q很弹牙

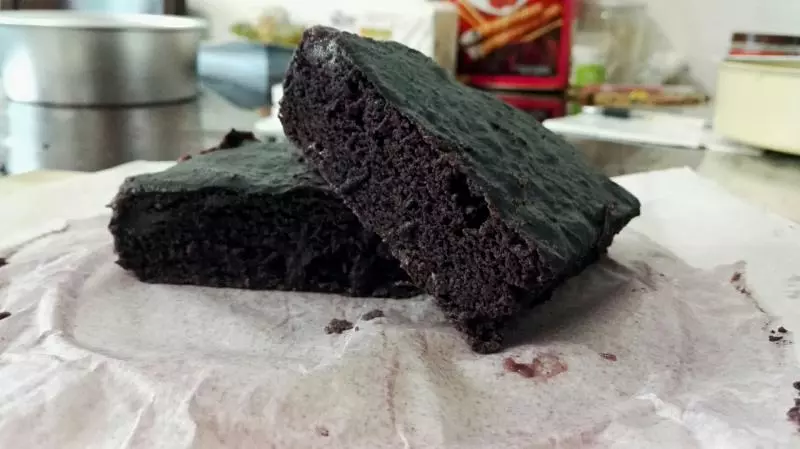
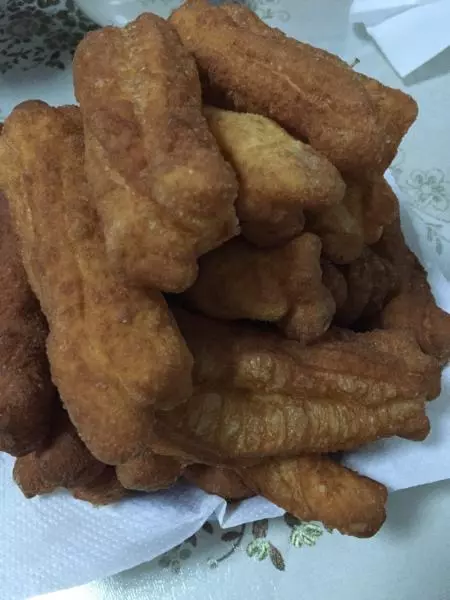
10这是380克水蒸出来的效果,很软很粘,也弹牙

小技巧
Tips: 1,红糖水的温度一定不能太烫,否则会破坏酵母的活性 2,水不能多,粉浆希了,糖糕就不开花了 3,蒸的时候,锅中的水要足够多。水务必煮开后,才把蛋糕杯放到锅中