原料
蛋黄糊: , 蛋黄: 4个, 细砂糖: 30克, 椰浆(可用牛奶或水): 80ml, 色拉油: 40ml, 杏仁粉: 10克, 低筋面粉: 80克, 蛋白制作: , 蛋白: 4个, 柠檬汁: 几滴, 细砂糖: 30克
步骤
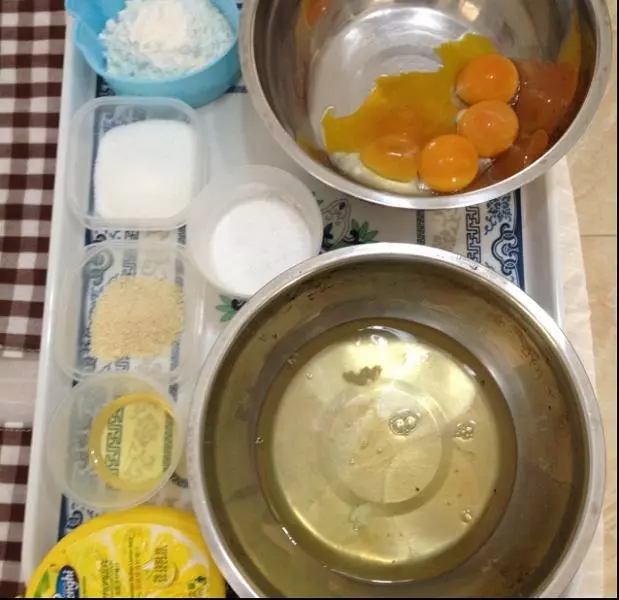
1材料都事先称量好,这样做的时候不会手忙脚乱,厨房也不会一团乱,并且戚风蛋糕糊制作需要快速,所以要事先准备好材料。
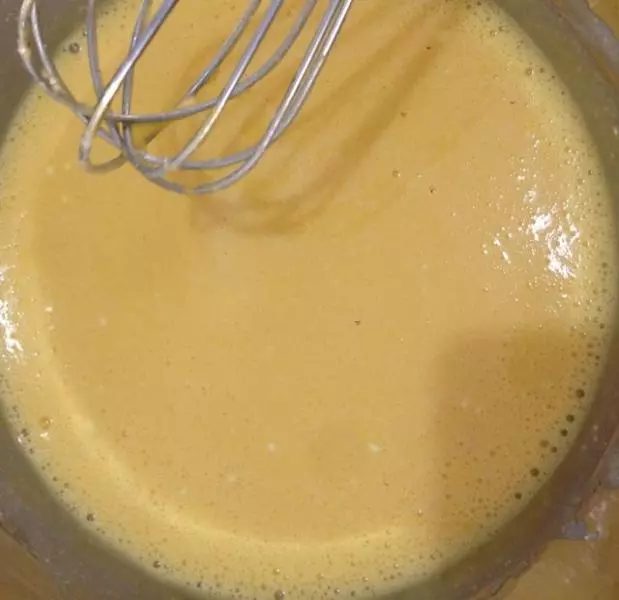
2蛋黄加30克细砂糖搅打至发白浓稠状
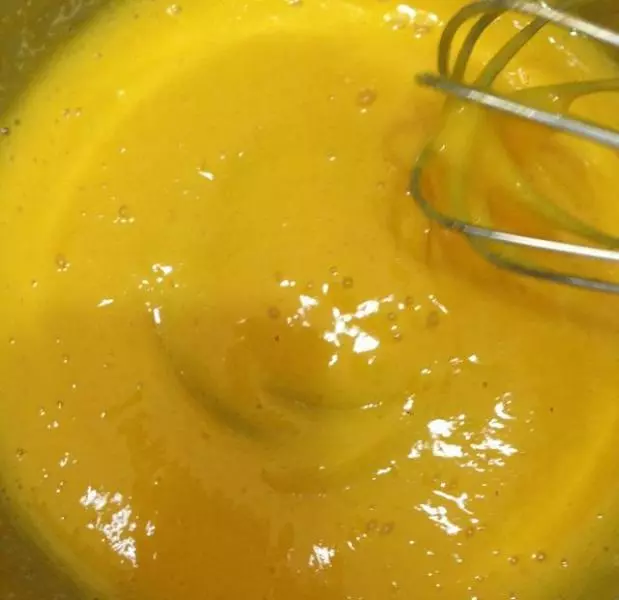
3加入40毫升色拉油搅打均匀,无色无味的油都可以,比如玉米油
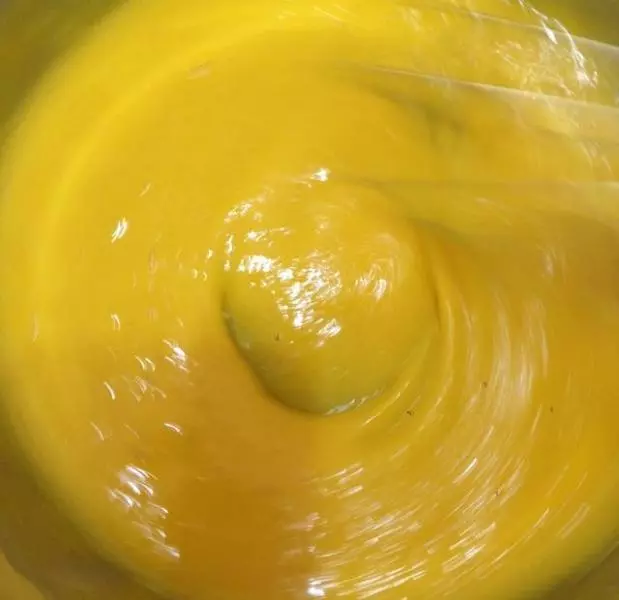
4倒入椰汁搅打均匀
5筛入面粉,切入式搅拌均匀,面粉无颗粒状
6蛋糕糊不应该太稀也不应该太稠,感觉搅拌时有些阻力才好

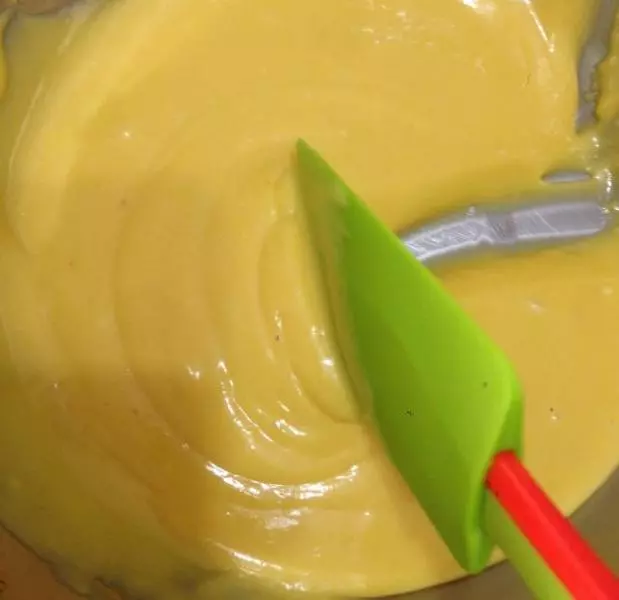
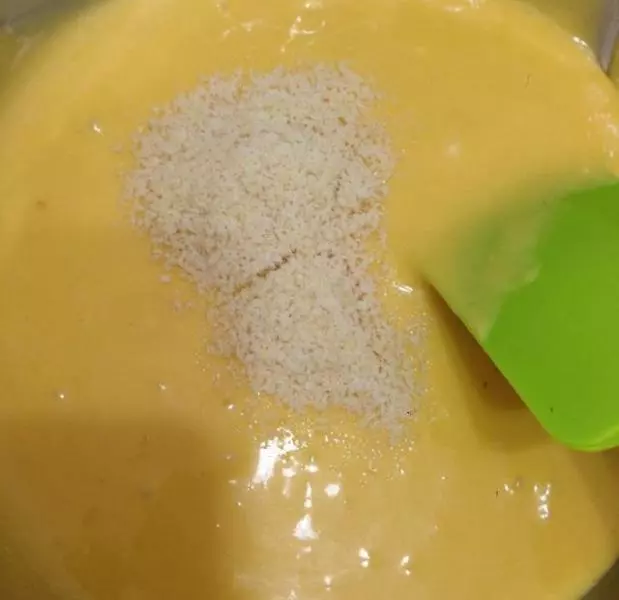
7加入杏仁粉搅拌均匀
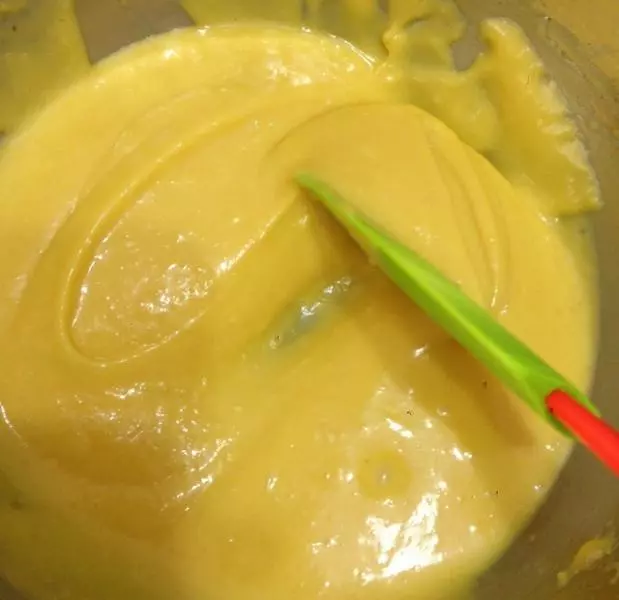
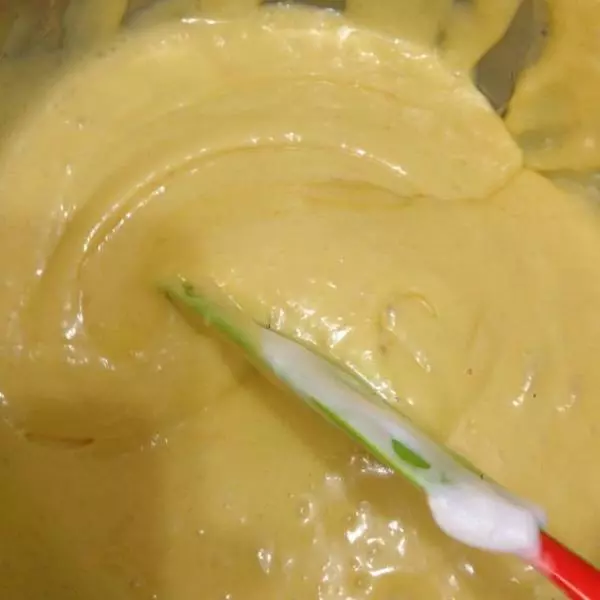
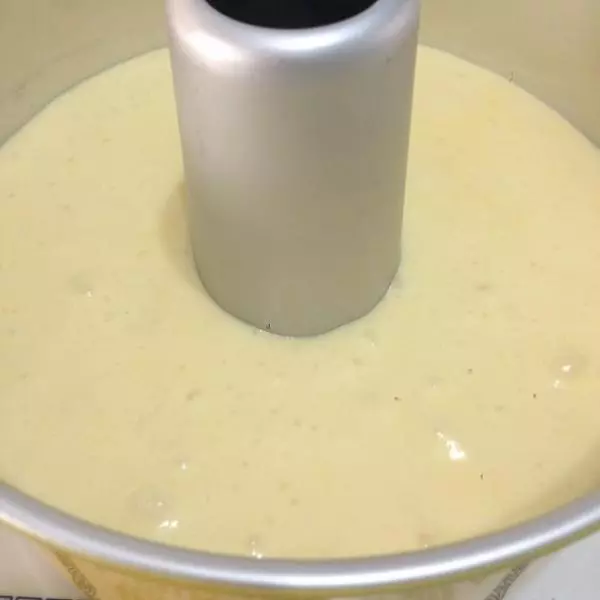
8面糊状态如图
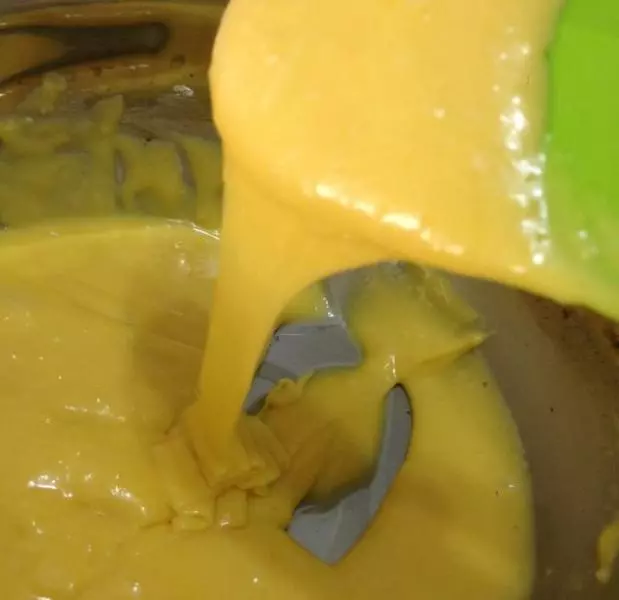
9蛋糕糊制作完成,此时准备做蛋白霜,如果家里温度高,事先分离的蛋白要先放在冰箱冷藏,打发时再拿出来。
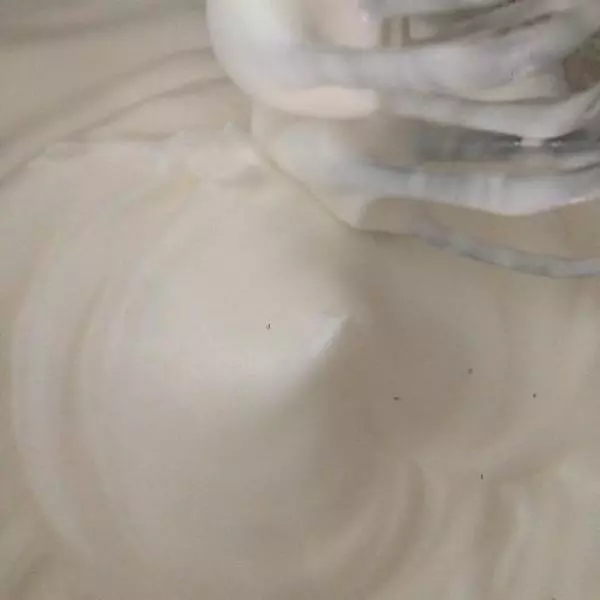
10蛋白加几滴柠檬汁,打到有些粗泡然后30克白砂糖分三次加入,打发至中性偏干性发泡比较合适,新手可以打发至干性发泡,我是高速打发,时间不定,根据家里温度,蛋白状况来,打发至蛋白倒扣不会掉下来,蛋头出现尖角稍微往下弯一点
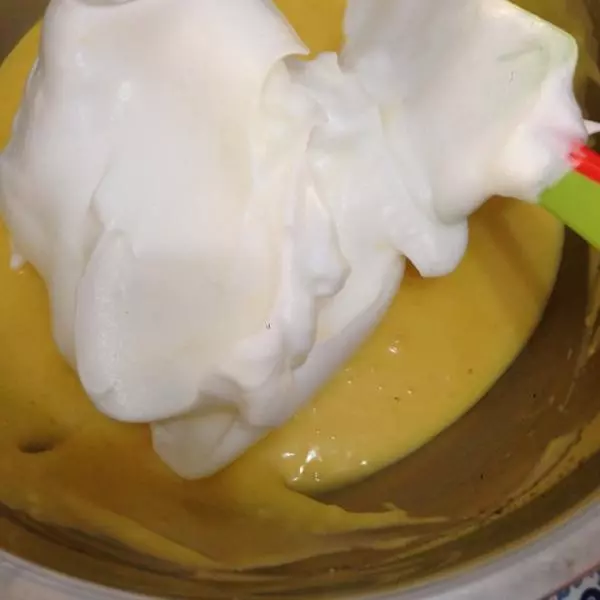
11蛋白分三次加入蛋糕糊,第一次舀三分之一切入式搅拌均匀
12搅拌要快速防治蛋白消泡
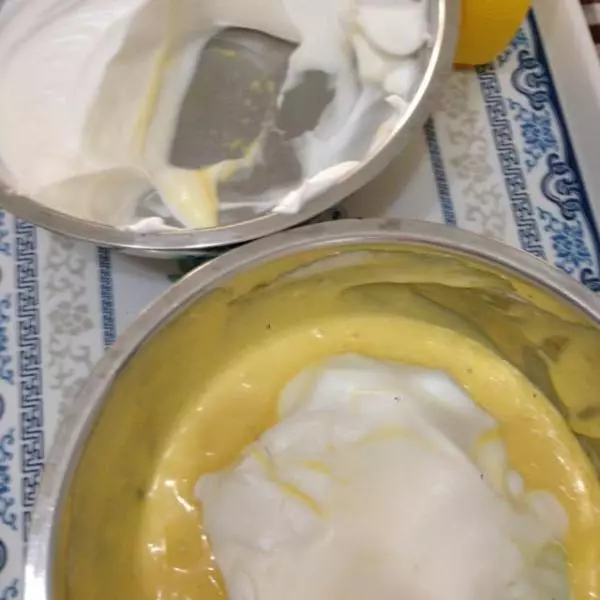
13第二次舀入蛋白切入式搅拌均匀
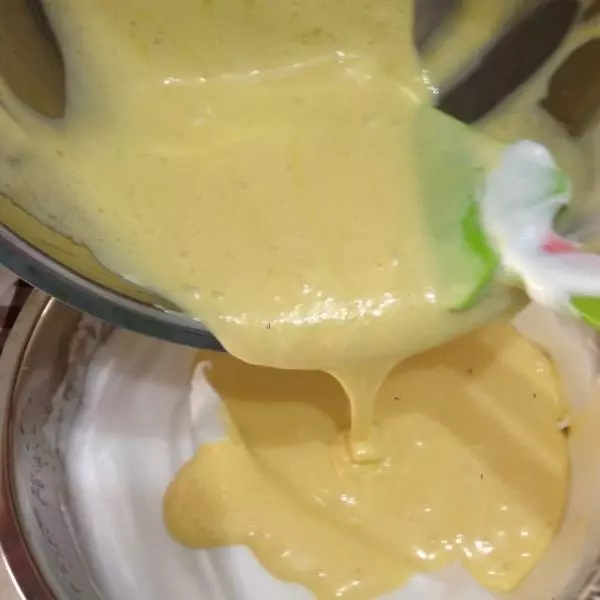
14然后蛋糕糊倒入剩下的蛋白中搅拌均匀,整个蛋糕糊制作过程我大概用了25分钟左右,最好状态的蛋糕糊按照小岛老师的标准是舀进模具中是有些一坨一坨的。
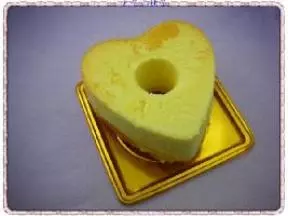
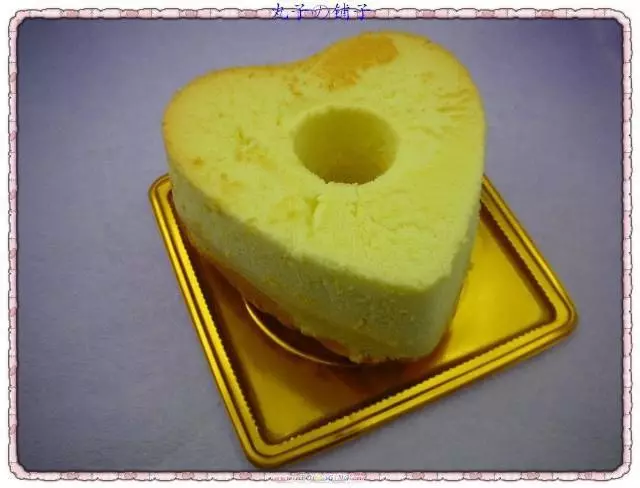
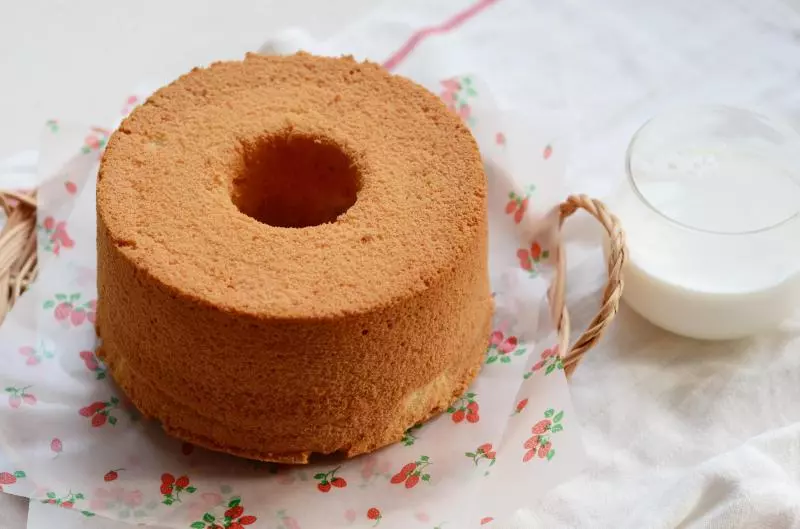
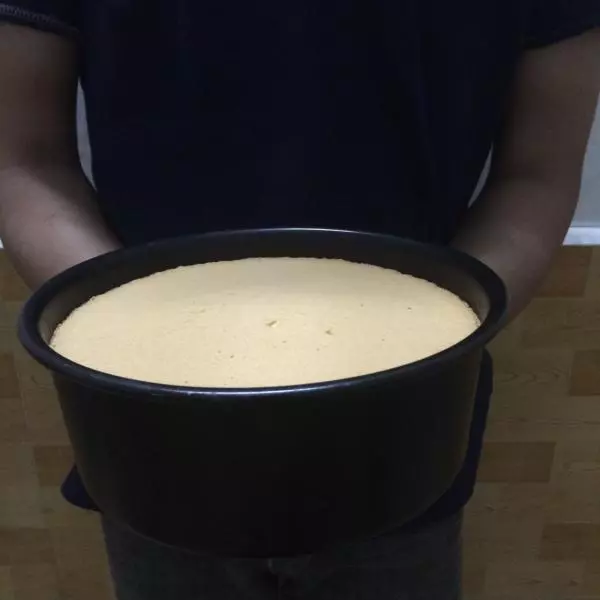
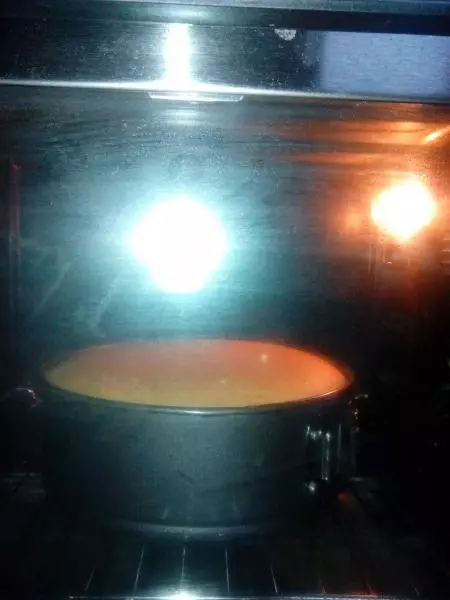
15这个方子是用于17cm中空戚风模,稍微轻震一下,按照日式方法是不震荡的,保持蛋糕糊中的空气,使戚风更蓬松
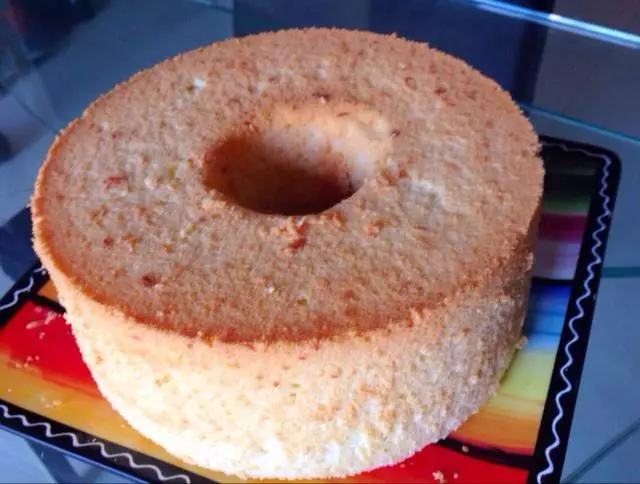
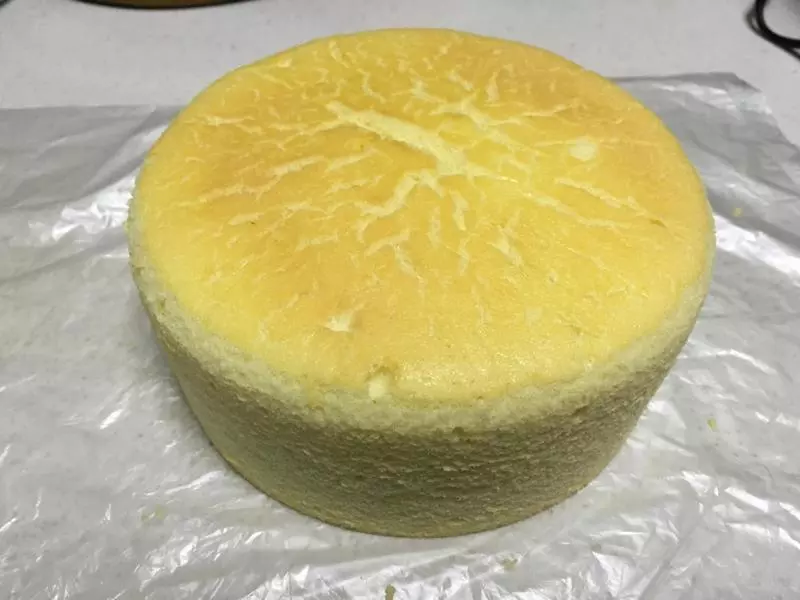
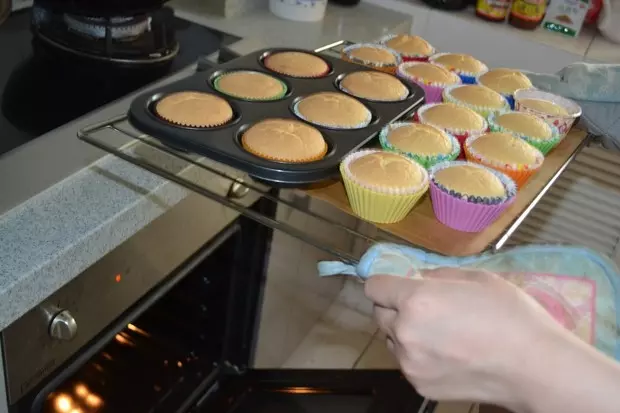
16我的烤箱温度偏低,所以我开的180度下层上下热风循环功能靠50分钟,每个人烤箱实际温度不一样,有偏高或偏低的,偏高的话,烤时要关注表皮别糊了底层没熟,可以放下层低温至160或者150度烤40分钟,中途调整温度。这个需要自己多摸索自己烤箱的实际情况。

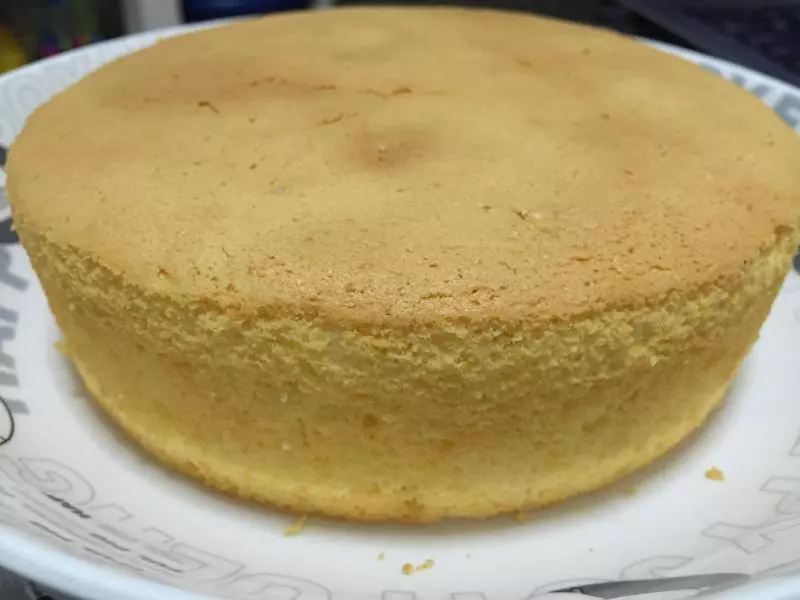
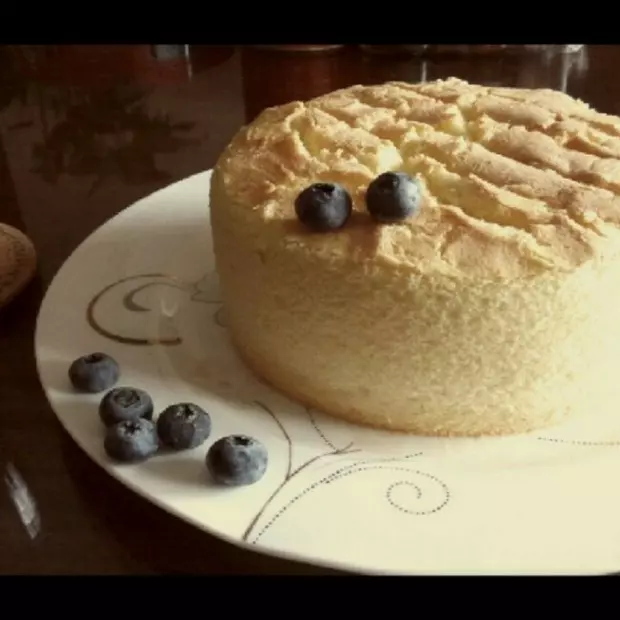
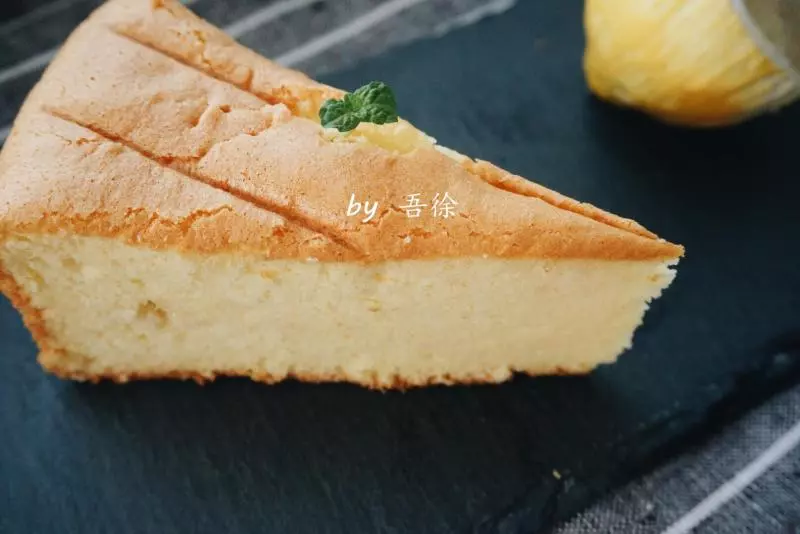
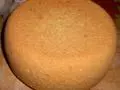
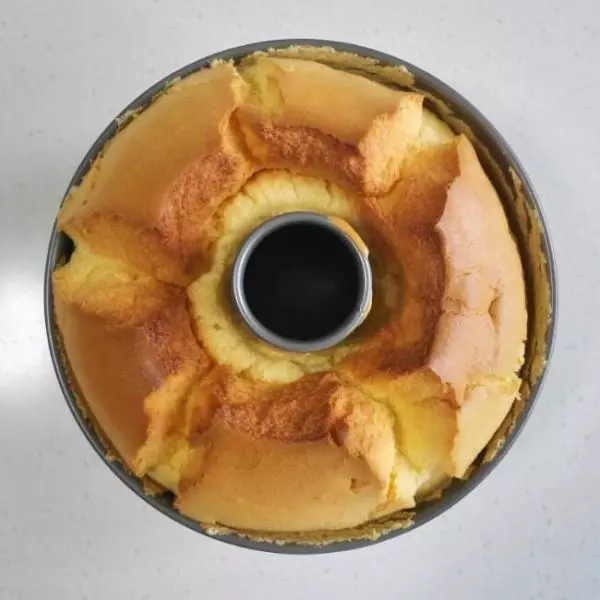
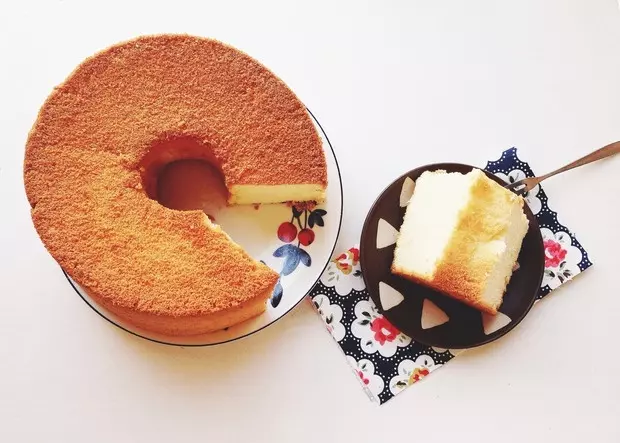
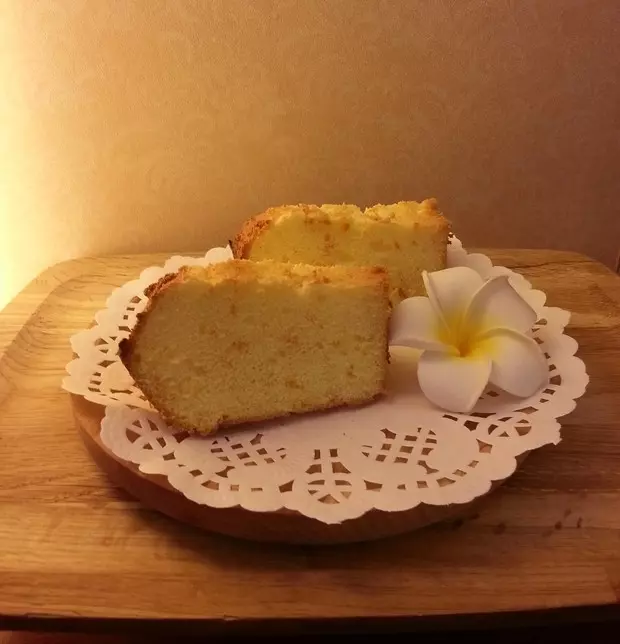
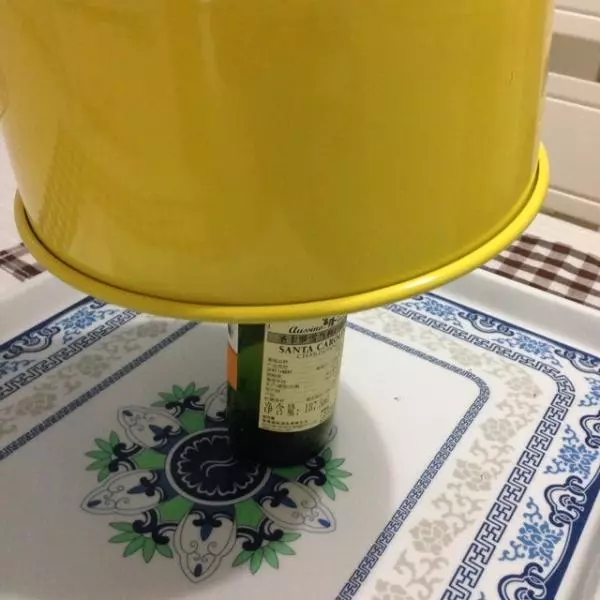
17烤出来后牙签插入带出不沾糊就可以,烤出来要立刻倒扣!避免回缩!放凉后脱模。
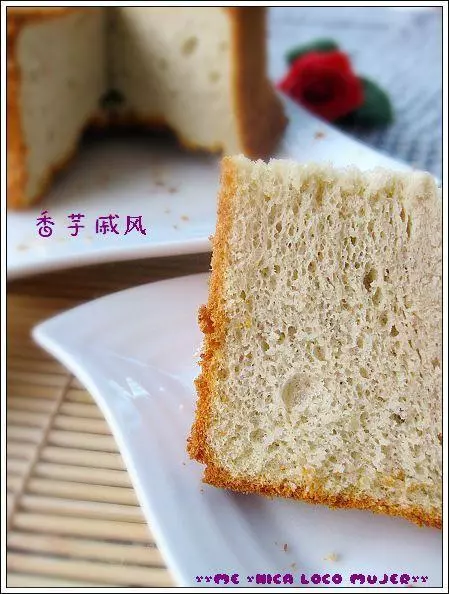
18制作过程中手法越细致快速蛋糕越能成功烤好不回缩,中空模是肯定要烤出爆炸头才好的!不要追求不爆炸裂开。
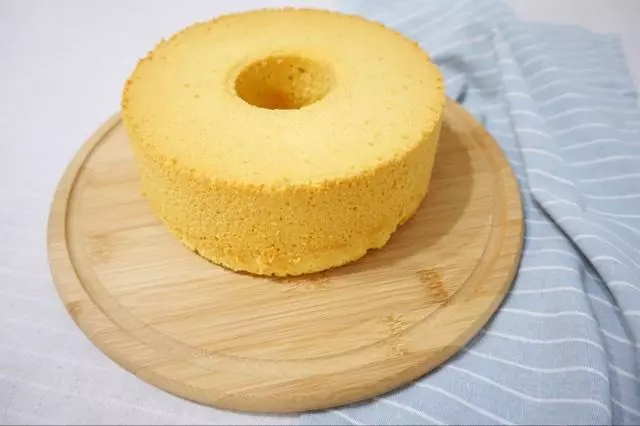
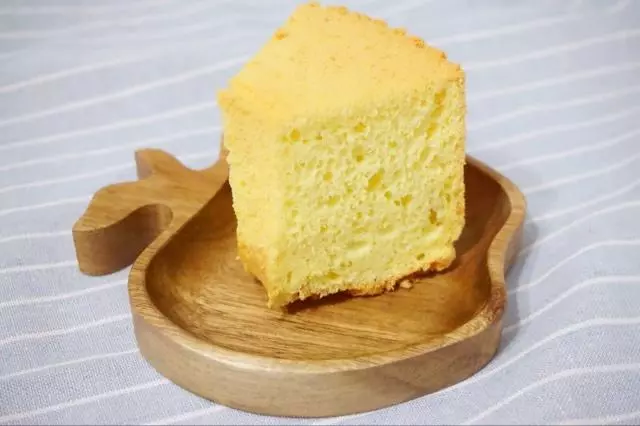
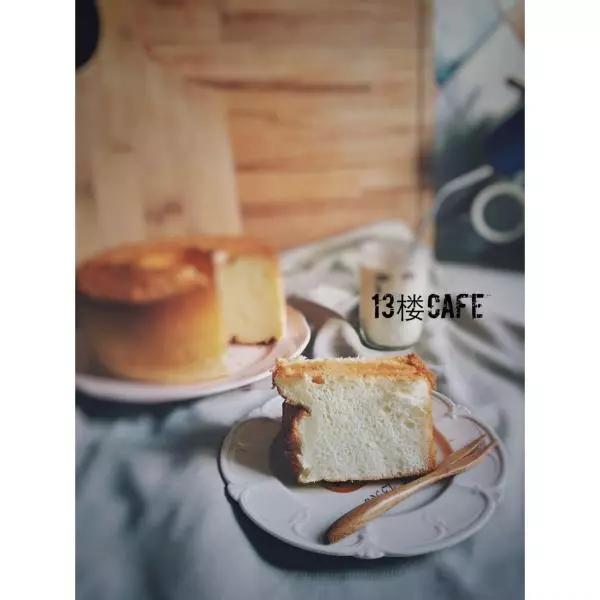
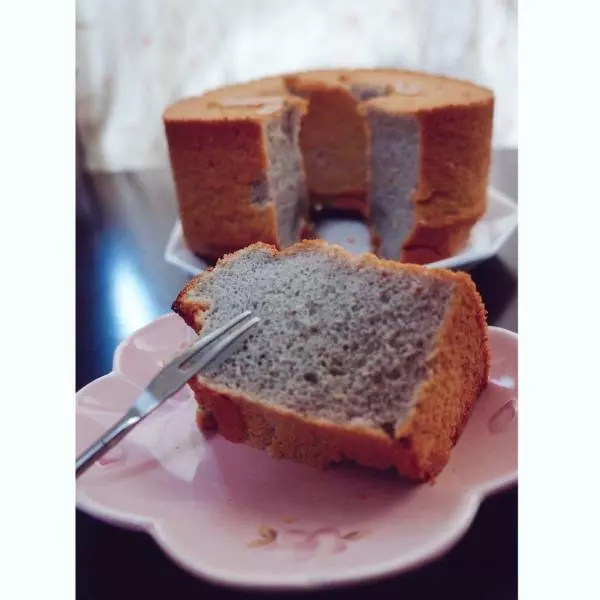
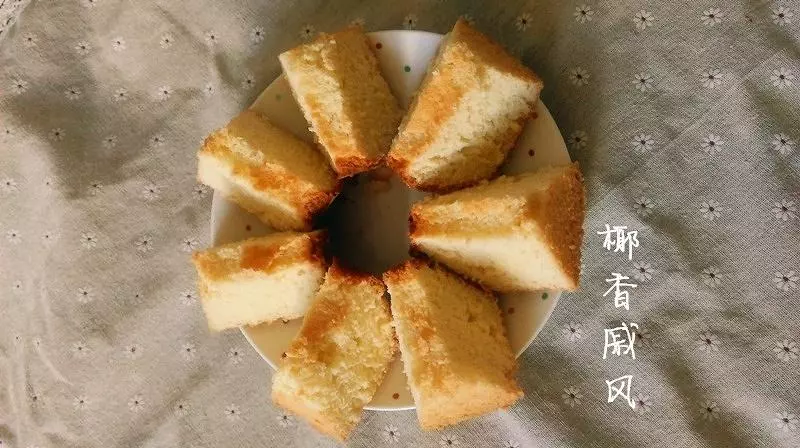
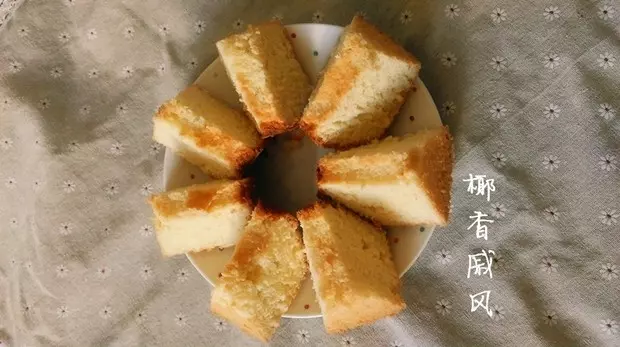
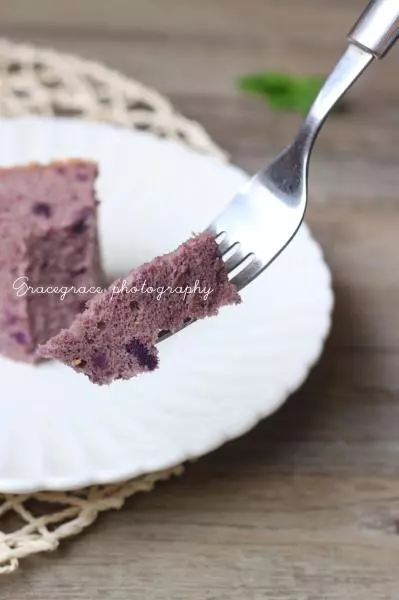
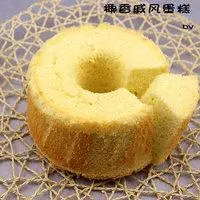
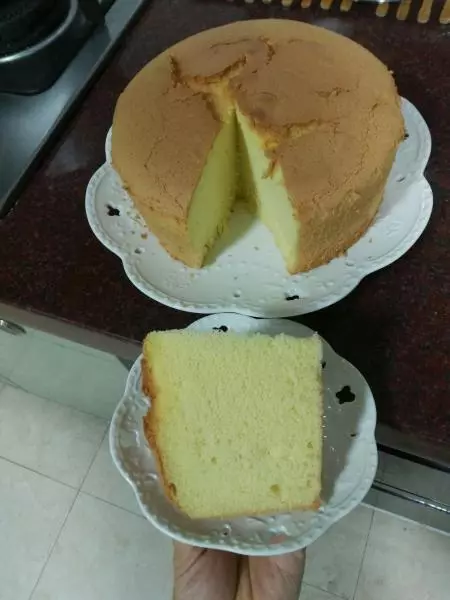
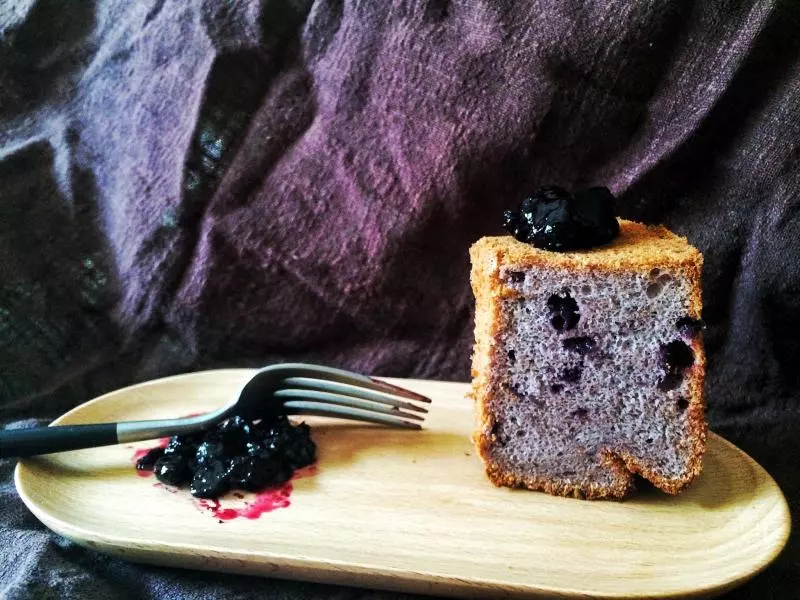
19美味健康低脂的戚风来一块吧!
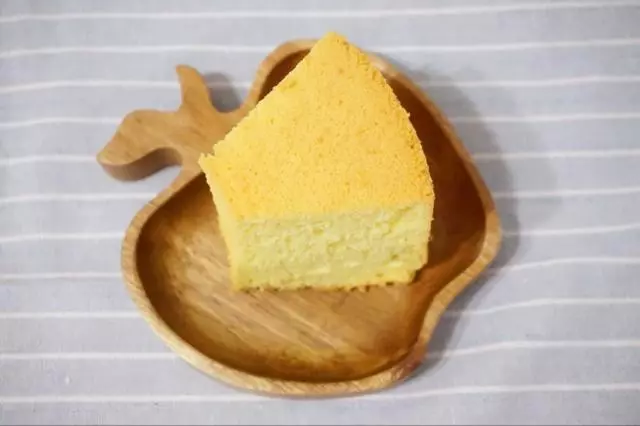
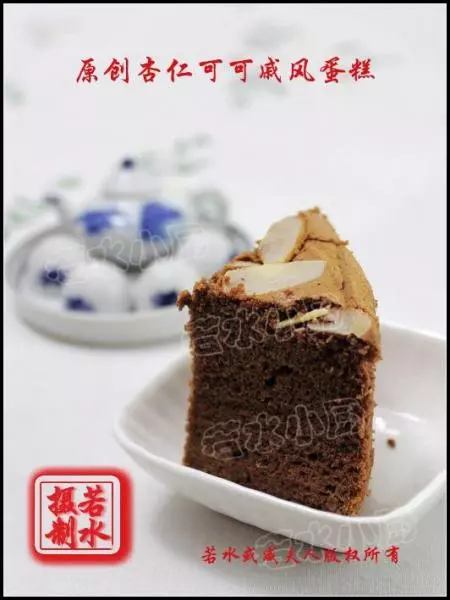
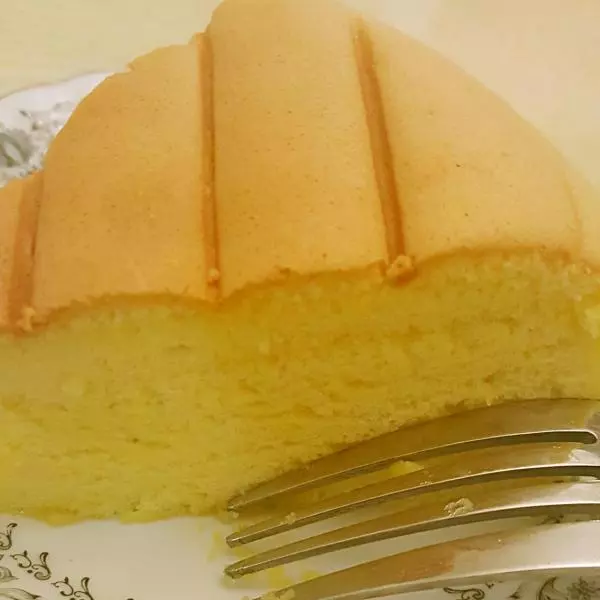
20我的脱模和切工是硬伤