原料
蛋黄糊:: , 蛋黄: 90g, 蜂蜜: 23g, 细砂糖A: 12g, 低筋面粉: 53g, 蛋白霜:: , 蛋白: 120g, 细砂糖B: 49g, 其他:: , 黄油: 16g, 牛奶: 27g
步骤
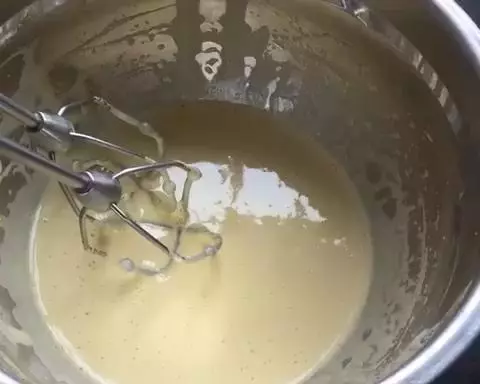
1首先制作蛋黄糊。将蛋黄、蜂蜜、细砂糖A混合搅打至蛋黄糊发白,搅打过程中注意使用橡皮刮刀捞底,防止蜂蜜沉底,使得蛋黄糊更加均匀
2搅打好的蛋黄糊状态如视频所示
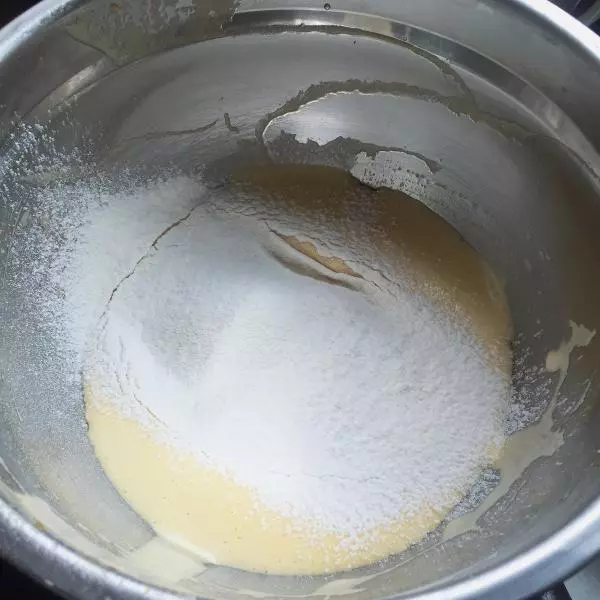
3将低筋面粉过筛,加入到搅打好的蛋黄糊中,翻拌均匀。注意翻拌的手法,防止蛋黄糊消泡
4制作蛋白霜。将蛋白提前放入冰箱冷冻室至蛋白表面结一层薄冰
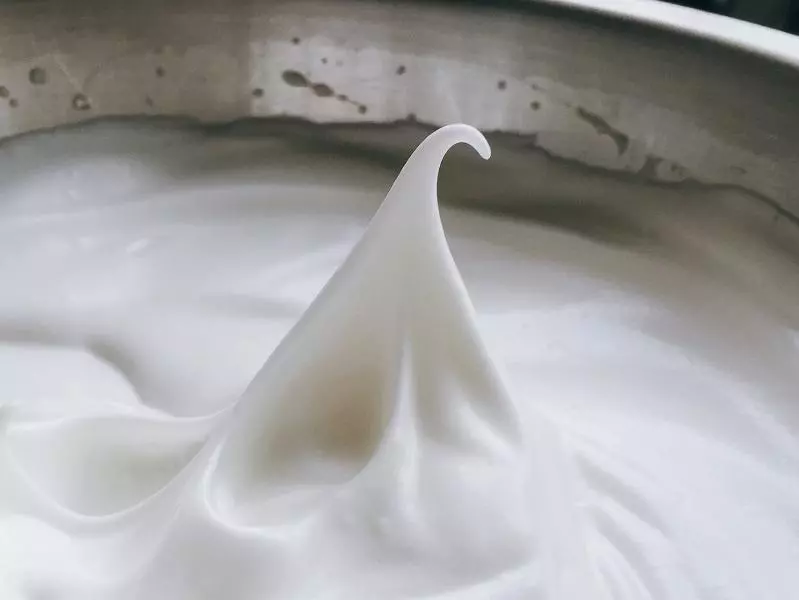
5用电动打蛋器将蛋白打发至呈现粗泡状态,一次性加入细砂糖B
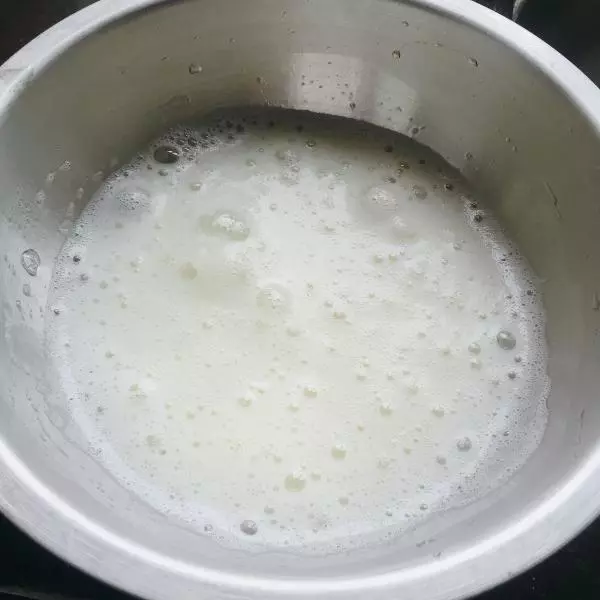
6加入细砂糖B后继续打发,打发至9分发状态,如图所示。蛋白打发完成后将打蛋器调至最低速搅打半分钟,卷去蛋白霜中的大气泡,使得蛋白霜更加细腻
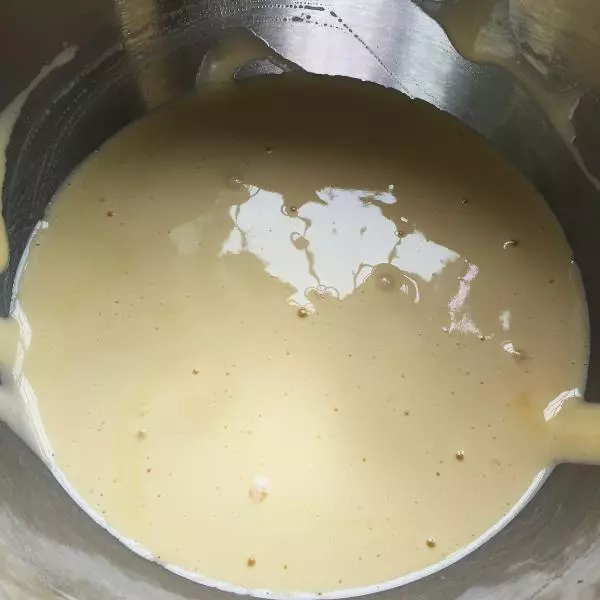
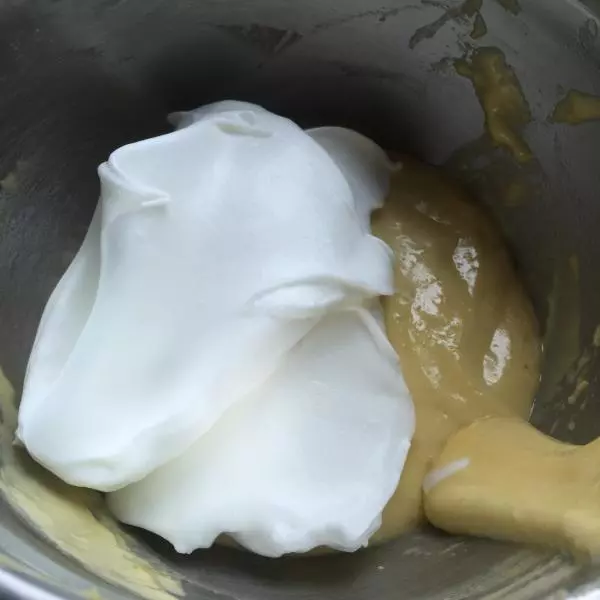
7混合蛋黄糊与蛋白霜。先将1/2蛋白霜加入到蛋黄糊中翻拌均匀,剩下的1/2蛋白霜用电动打蛋器最低速搅打光滑,再加入到蛋黄糊中翻拌均匀
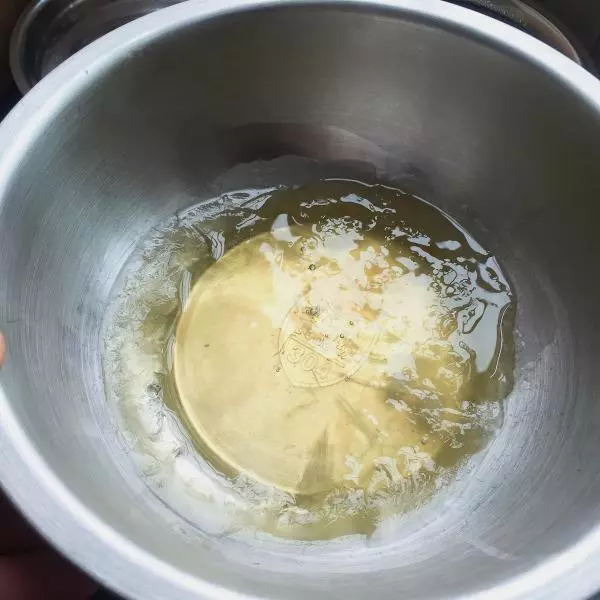
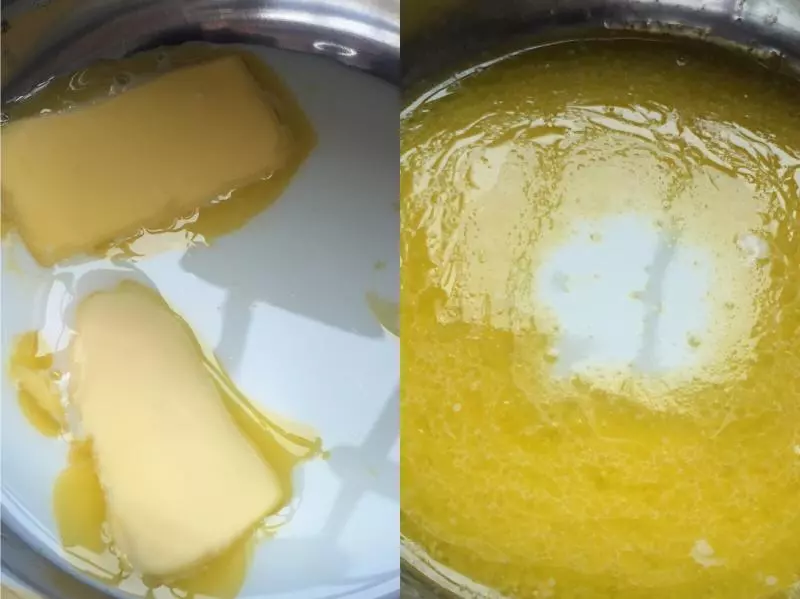
8添加液体和油脂。黄油和牛奶混合隔水加热至黄油融化,放至微温后加入到蛋糕糊中翻拌均匀
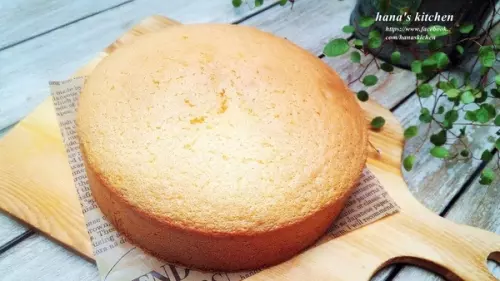
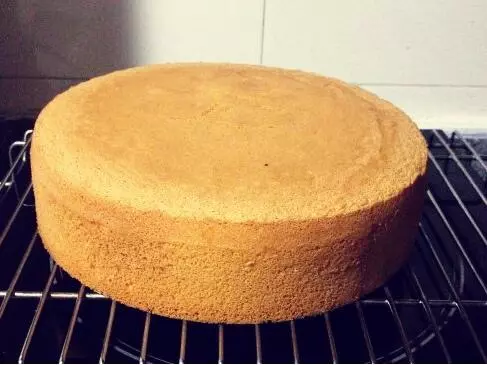
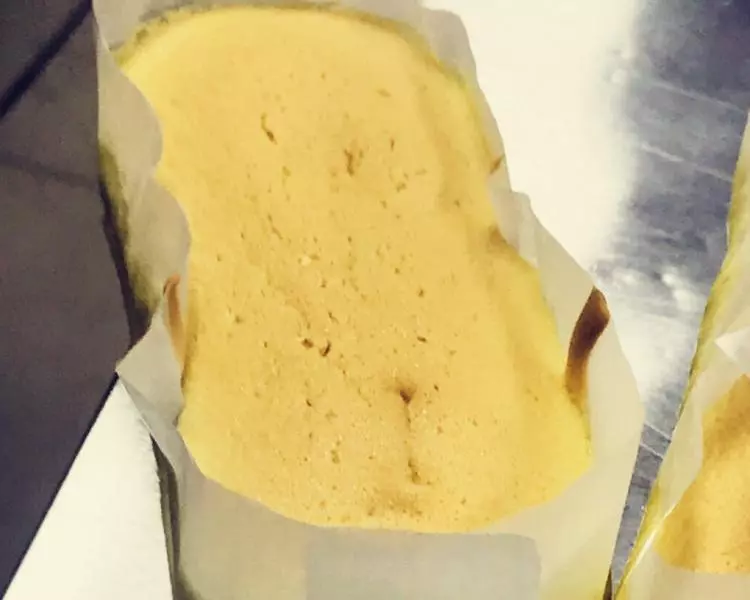
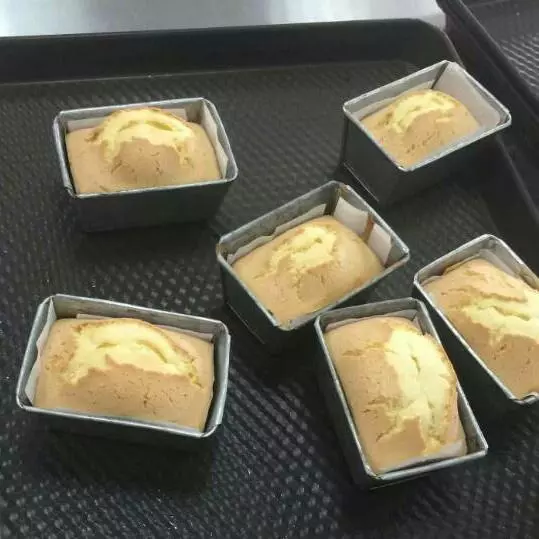
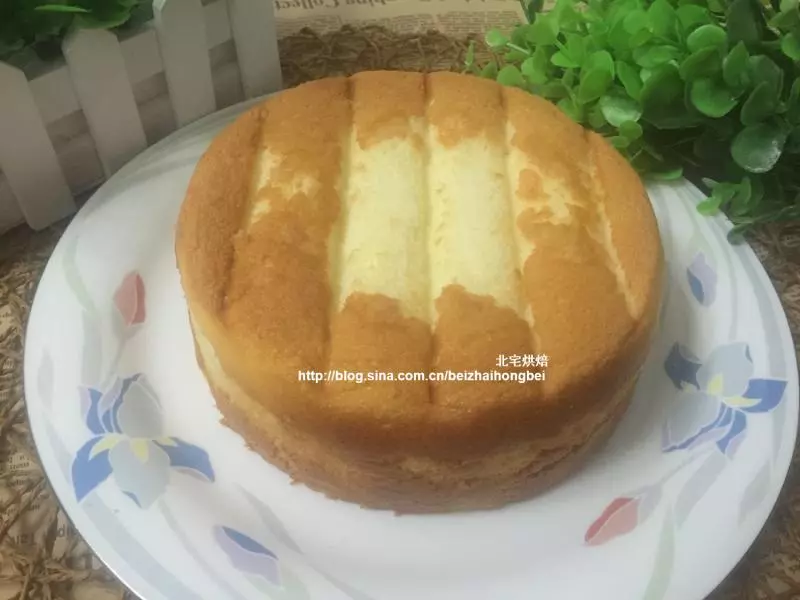
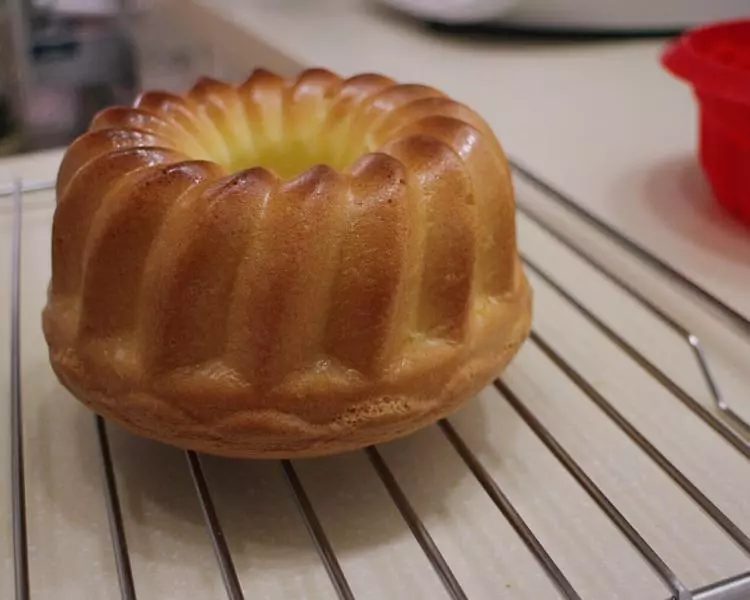
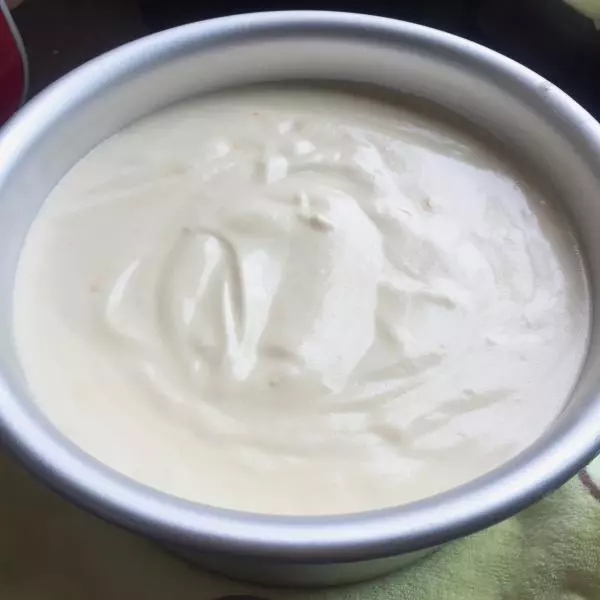
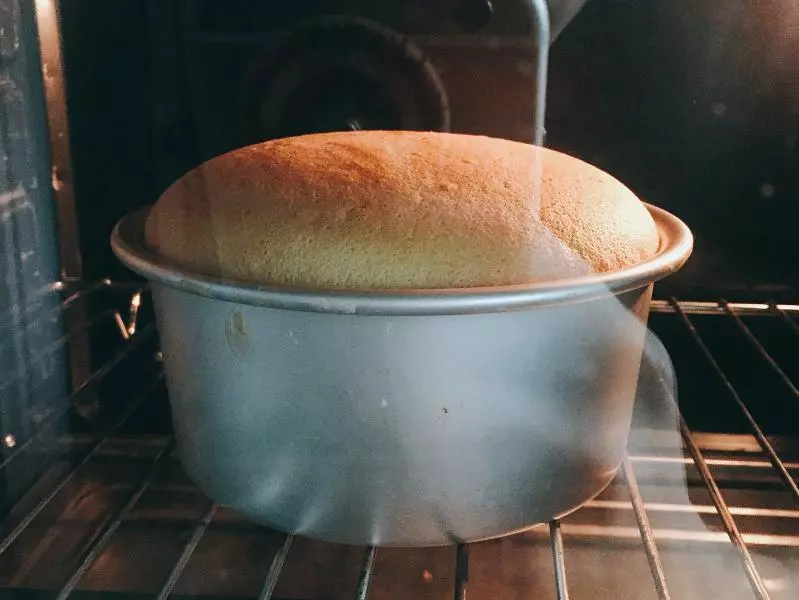
9制作好的蛋糕糊倒入蛋糕模具中至8分满(不必全部倒入),在台面上震几下震出蛋糕糊中的大气泡,使得蛋糕组织更加细腻
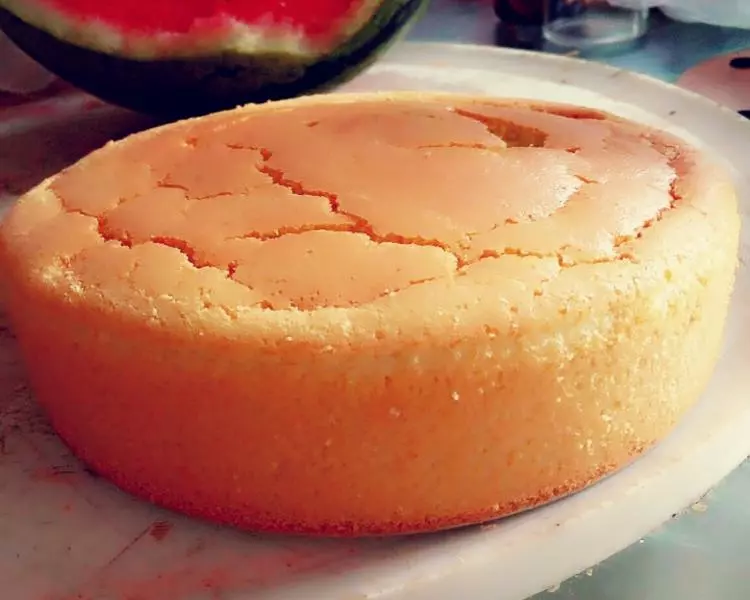
10入炉烘烤,160℃左右,烘烤20~30分钟
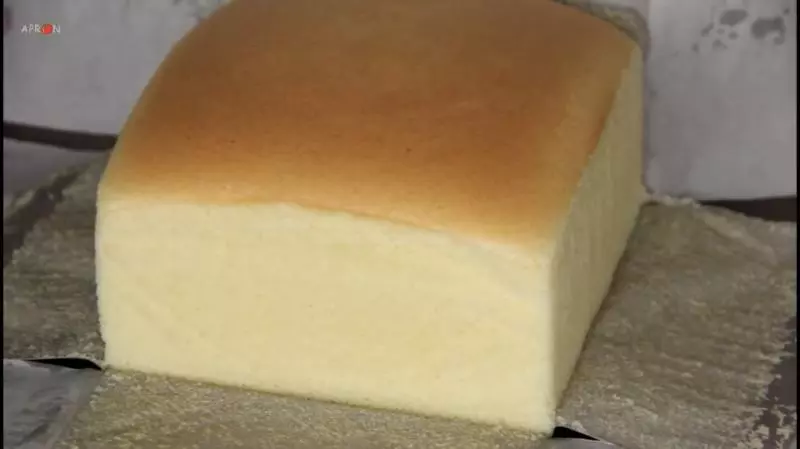
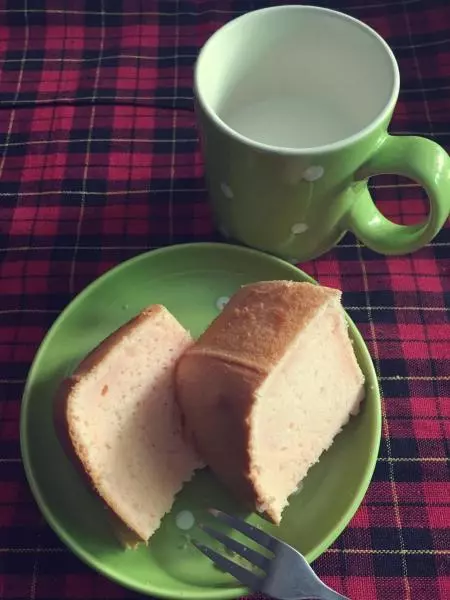
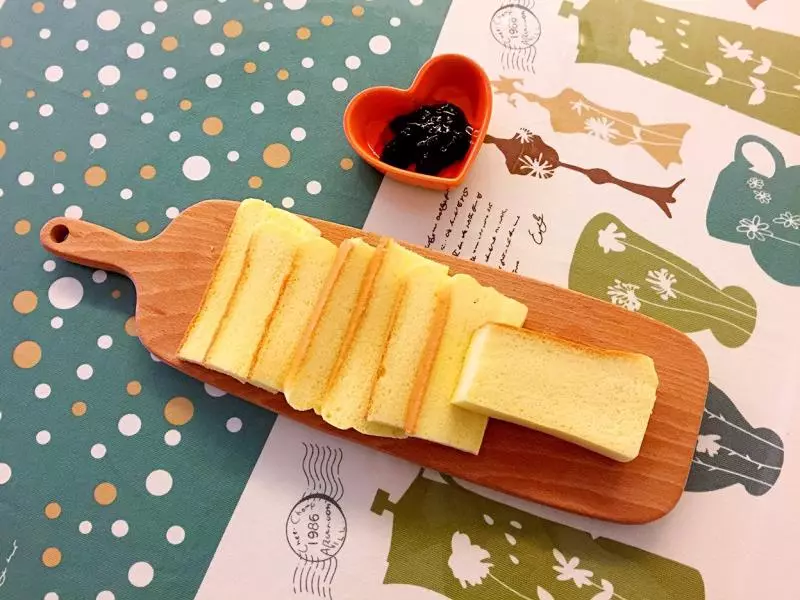
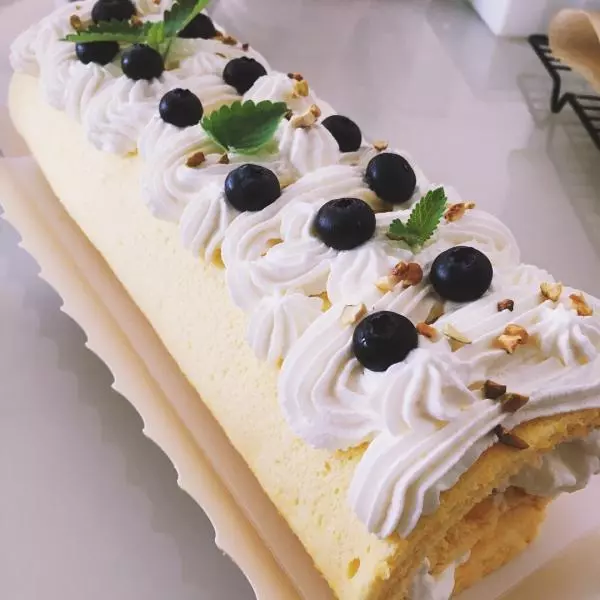
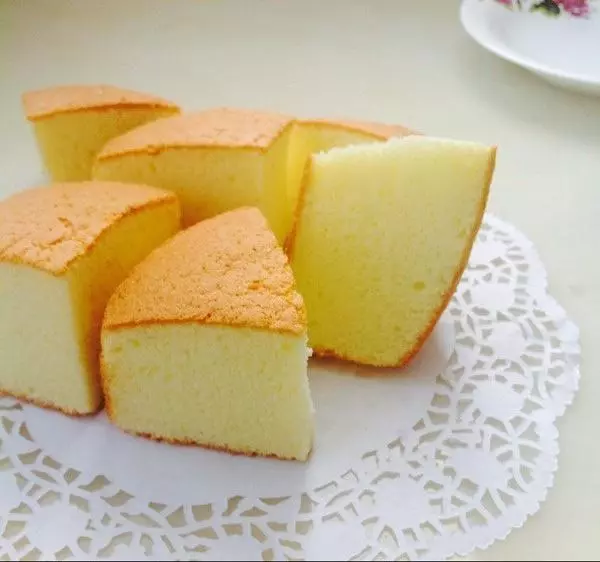
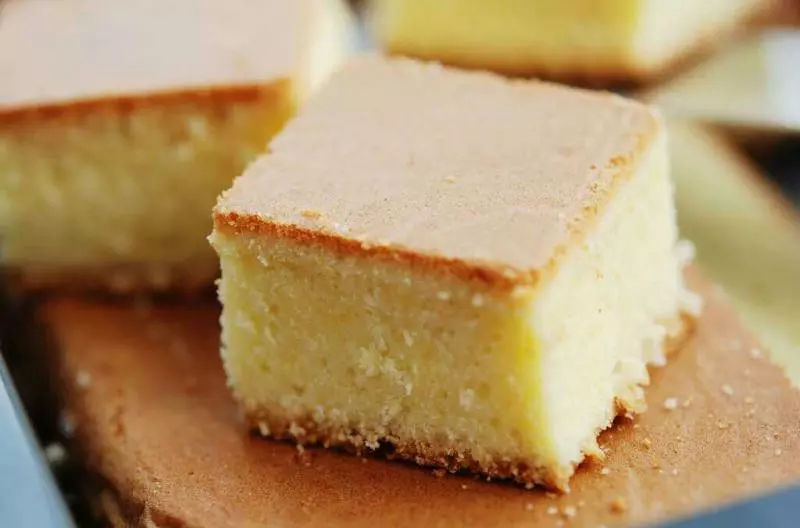
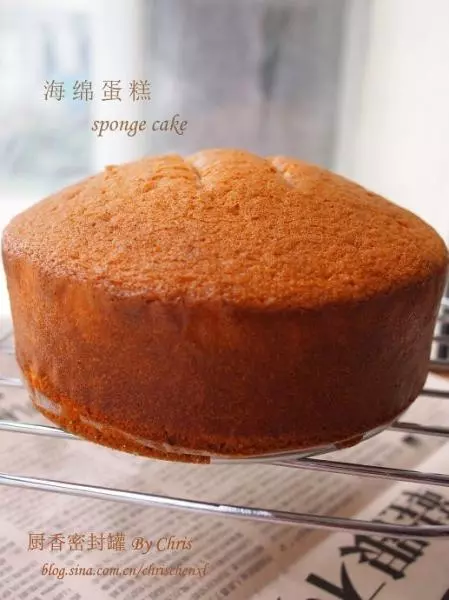
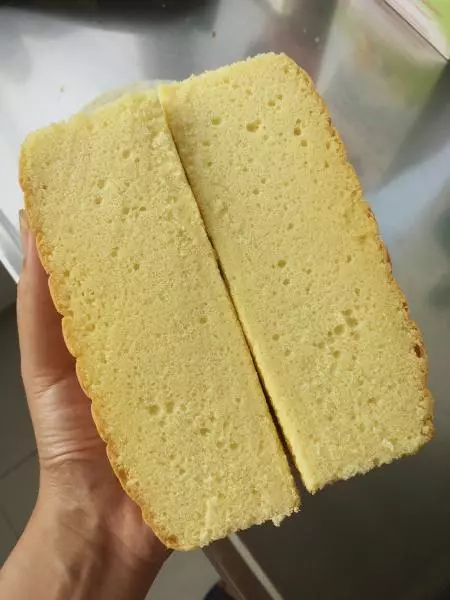
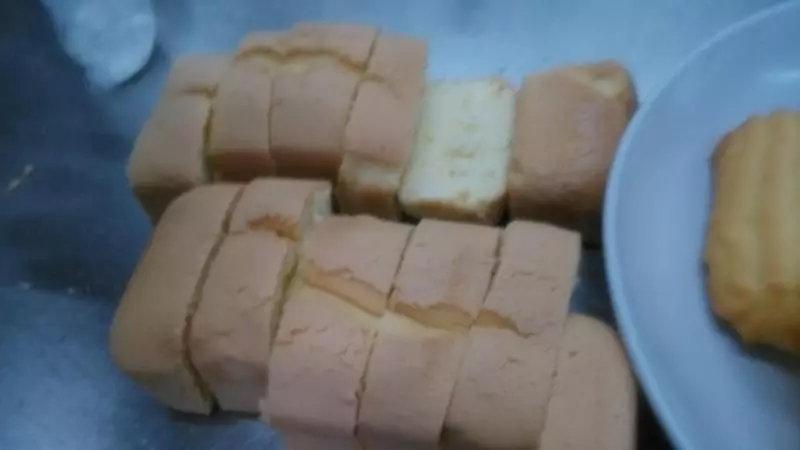
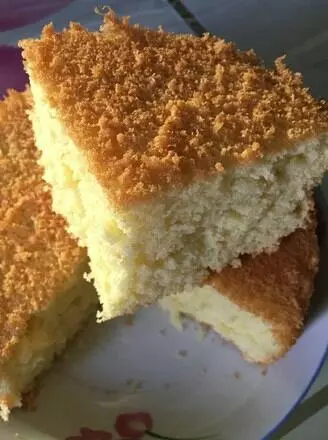
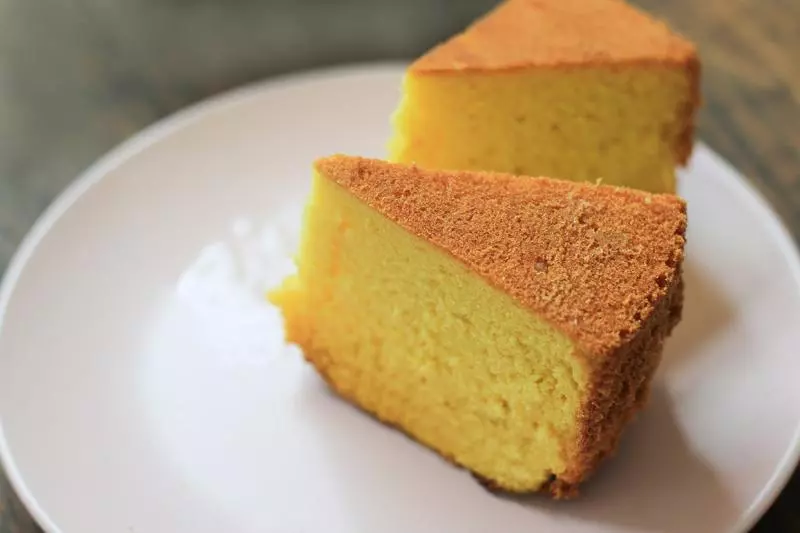
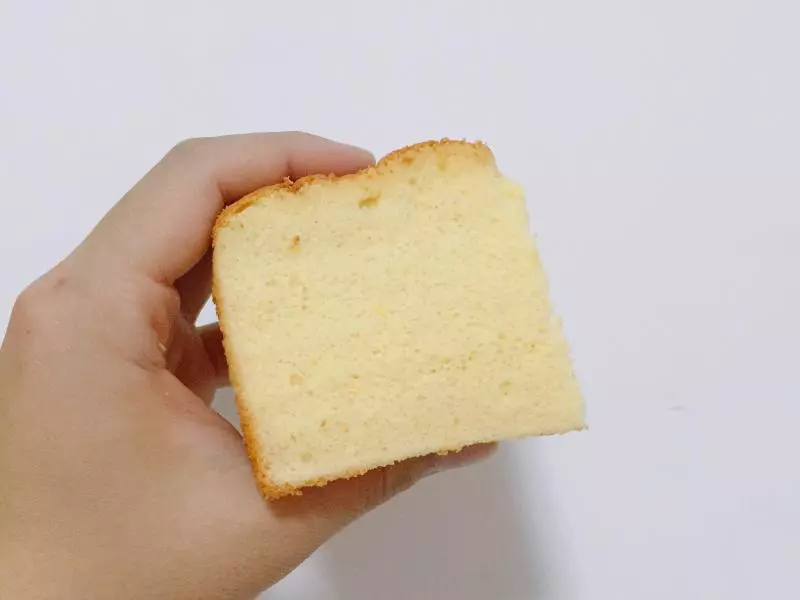
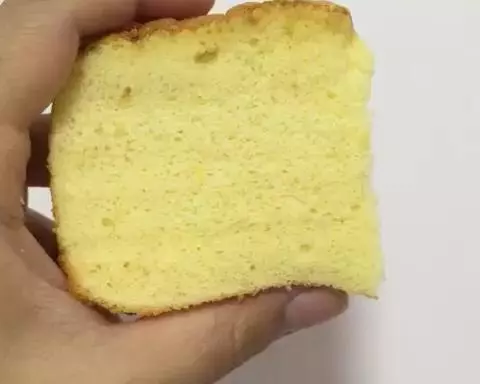
11出炉后倒扣,完全冷却后方可脱模。切件后看看蛋糕的组织,是多么的细腻??

12看看这弹性!!!家里灯光较暗,所以拍视频出来也比较暗,大家体谅哈?
小技巧
1.搅打蛋黄糊的过程中要用刮刀翻底,防止蜂蜜沉底。 2.蛋白霜打发完成后低速搅打可以使蛋白霜更加细腻。 3.蛋糕糊倒至8分满即可,太满容易导致蛋糕体开裂。 4.160℃烘烤20~30分钟仅供参考,具体按照自己的烤箱作调整。蛋糕按下去没有沙沙声,用牙签插入后没有蛋糕屑带出即代表蛋糕熟透。