簡介
鬆軟的蛋糕,搭配美味的奶酪霜和栗子夾餡,太好吃了!
原料
蛋白 4和, 糖 41克, 香草精 數滴, 蛋黃 4個, 糖 20克, 介花油(可換其他無味液體油) 35克, 牛奶 57克, 低粉 45克, 紅曲粉 5克, 奶油奶酪(夾餡用) 68克, 淡奶油 151克, 奶粉 6克, 糖 30克, 糖漬栗子 100克, 櫻桃(裝飾) 幾顆
步驟
1準備材料,此時預熱烤箱190度,預熱溫度高10度,因為開烤箱會降溫。

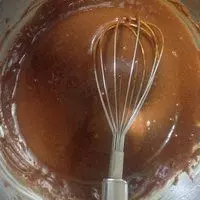
220克糖加油加牛奶隔水小火邊攪拌邊加熱,加熱到糖融化,實測溫度65度,離火。

3迅速加入事先過篩的粉類,攪拌均勻。

4加入蛋黃拌勻。

5完成的蛋黃糊。
6蛋白加香草精打到粗泡,一次性加入41克糖。
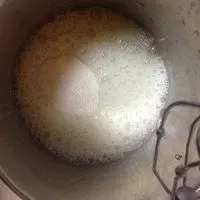
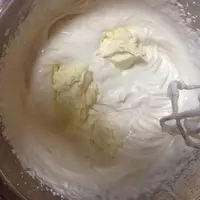
7先快速再慢速打到濕性偏硬性發泡,如圖。

8取3分之一蛋白和蛋黃糊切拌均勻。

9再加入剩下的蛋白和步驟8切拌均勻,得到濃稠光滑的麵糊。

10入28*28的三能金盤,用刮刀弄平表面,震幾下入烤箱。

11180度中層烤14分鐘左右。具體觀察上色。出爐輕震一下,過兩分鐘倒扣在烤網,烤網上事先墊油紙。
12烤蛋糕同時,將奶油奶酪隔水小火加熱打發順滑。繼續坐熱水備用。PS,夏天的話不用坐熱水咯,等涼了再放淡奶油里打發。

13淡奶油加糖加奶粉打到6分有紋路。
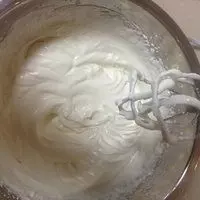
14加入奶油奶酪繼續打發到硬性,可裱花的程度。
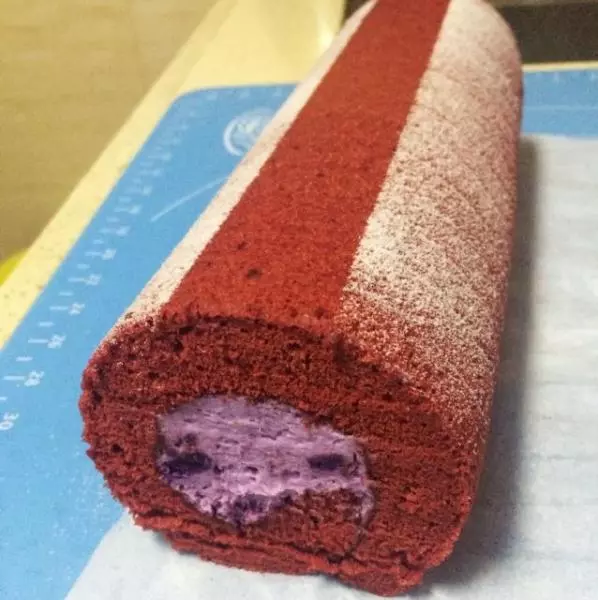
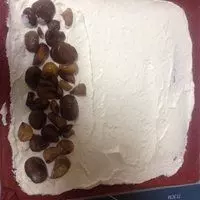
15預留一點裝飾用奶油霜。抹奶油霜,放栗子。
16藉助擀麵杖捲起蛋糕,冷凍20分鐘左右定型。

17切去兩頭,頂上擠花,加櫻桃裝飾,蛋糕卷就完成了。

小技巧
夾餡可以翻倍,那樣卷得會更好看。我是考慮到熱量,不想吃太多奶油。燙麵的蛋糕非常軟,強烈推薦。