原料
雞蛋: 9隻, 紅棗: 275G, 紅糖: 208G, 牛奶: 230G, 色拉油: 90G, 低筋麵粉: 230G, 泡打粉: 8G, 檸檬汁: 幾滴
步驟
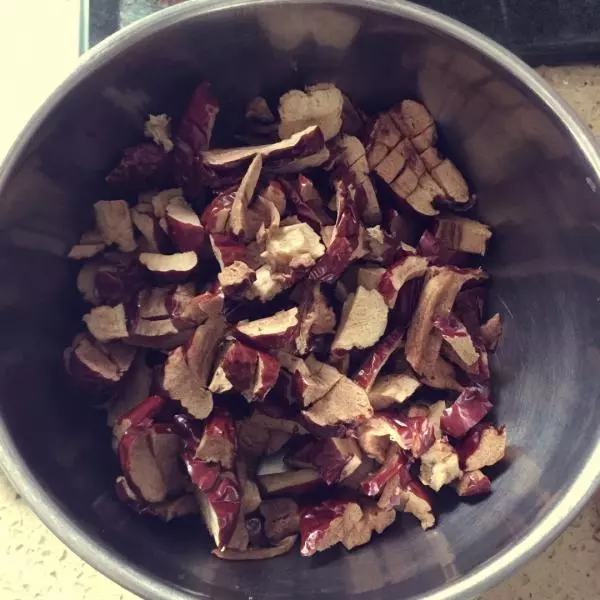
1把紅棗去核切小一點
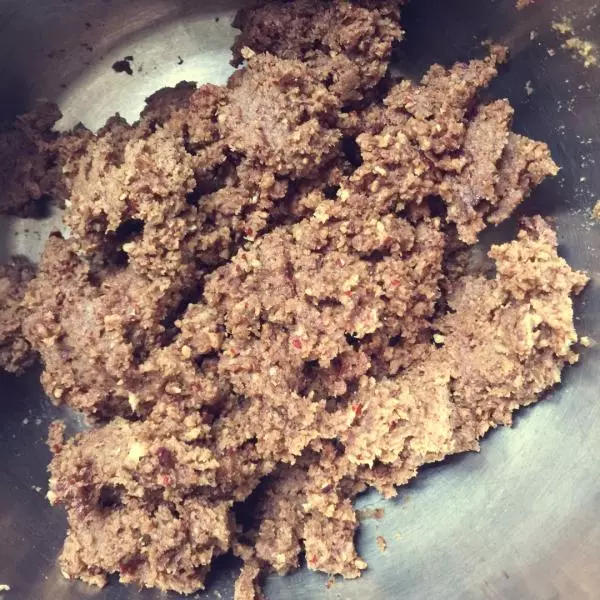
2用攪拌機把紅棗打成棗泥
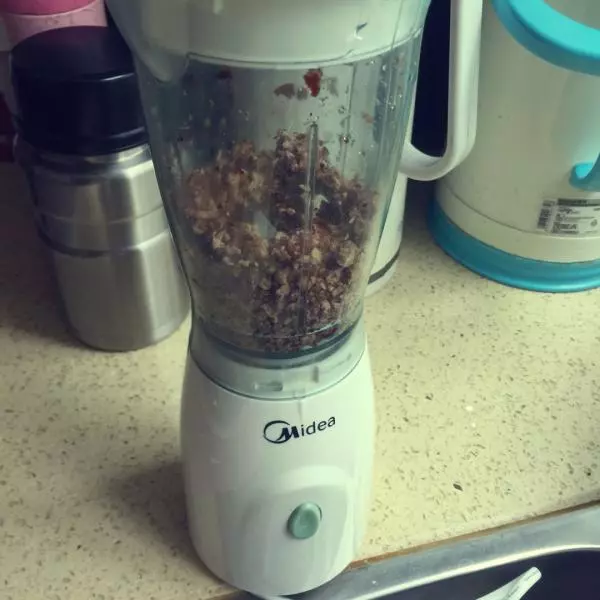
3我打的棗泥比較細,喜歡顆粒感的可以別打這麼細
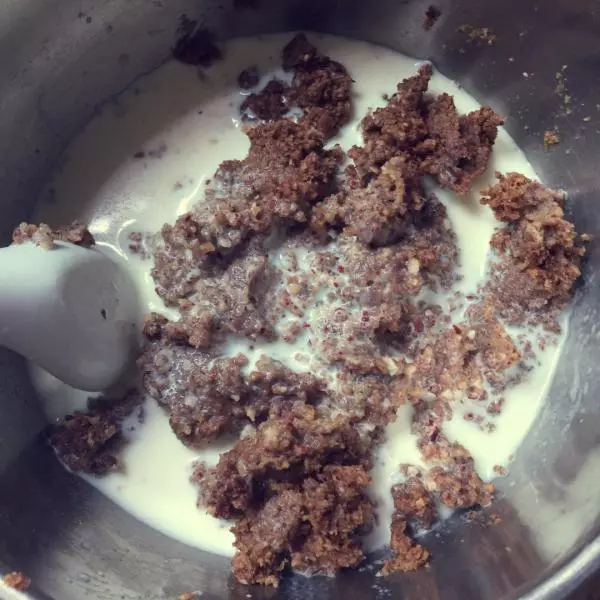
4往棗泥中加入牛奶,其實牛奶直接加入後面的蛋糊中也可以,但我比較喜歡把牛奶倒入攪拌機,然後再加進棗泥里,這樣可以把攪拌機中殘餘的紅棗泥也倒出來
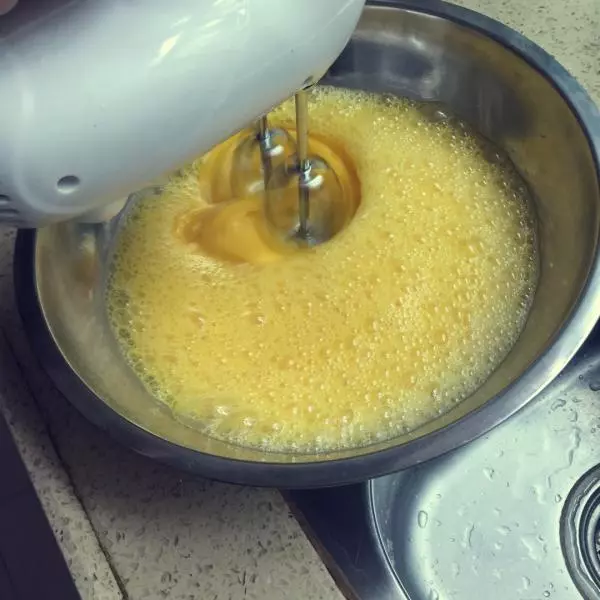
5電動打蛋器調最高速打雞蛋,打15分鐘以上
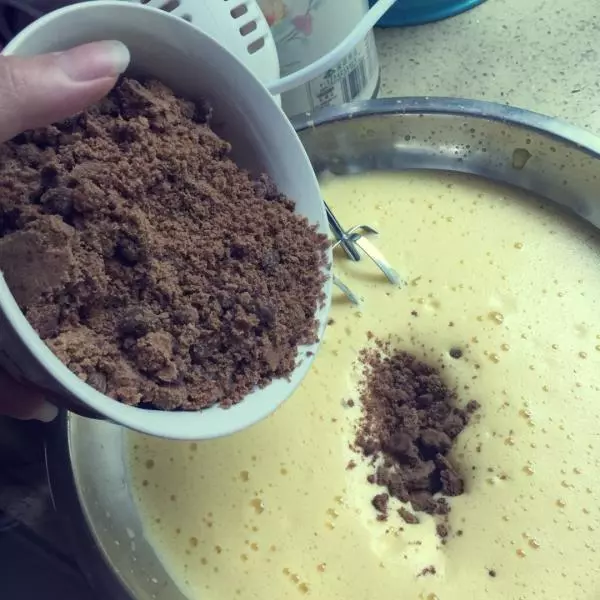
6往蛋黃糊中加入紅糖,電動打蛋器再次打10分鐘
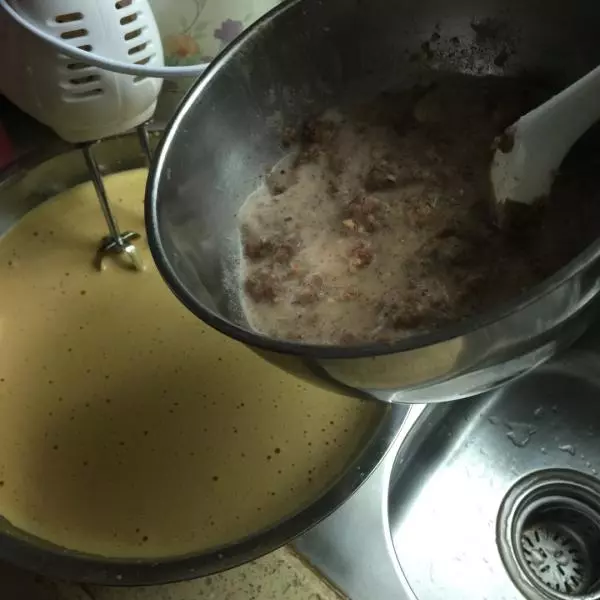
7然後加入牛奶棗泥,再打幾分鐘,直到拌勻為止
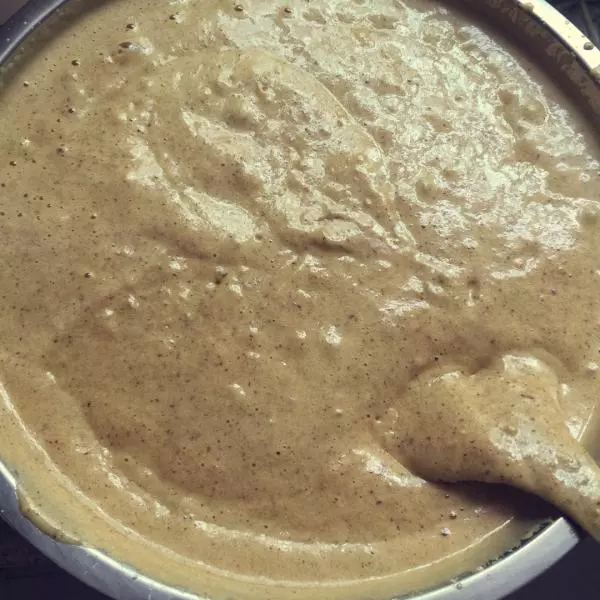
8這是雞蛋、紅糖、牛奶棗泥打好的樣子,非常的細膩

9最後滴幾滴檸檬汁、加入泡打粉和低筋麵粉,攪拌均勻
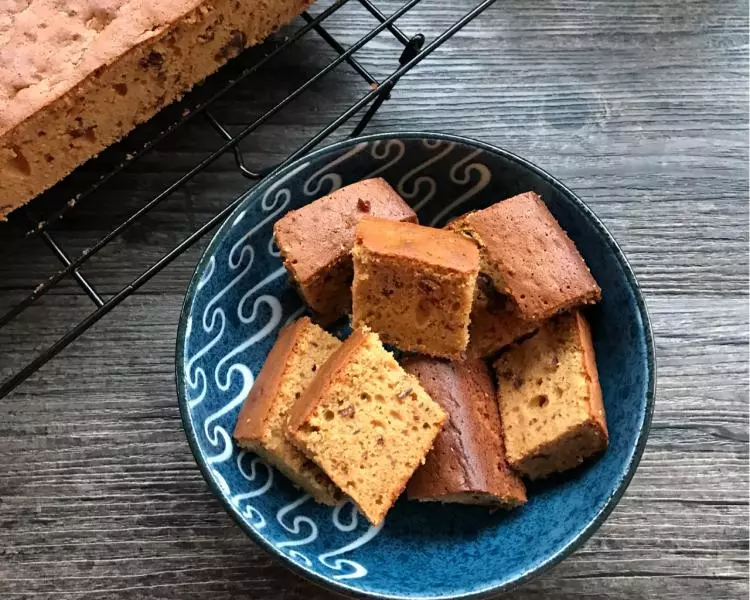
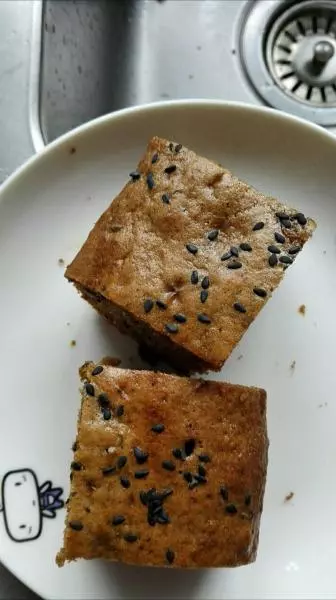
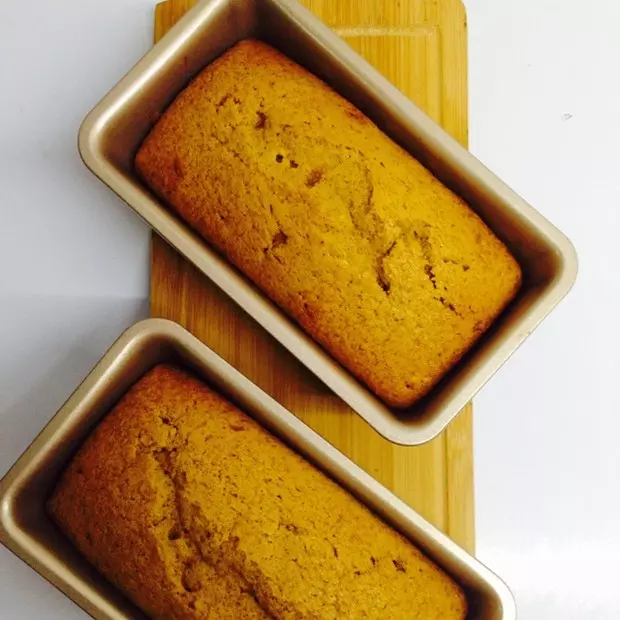
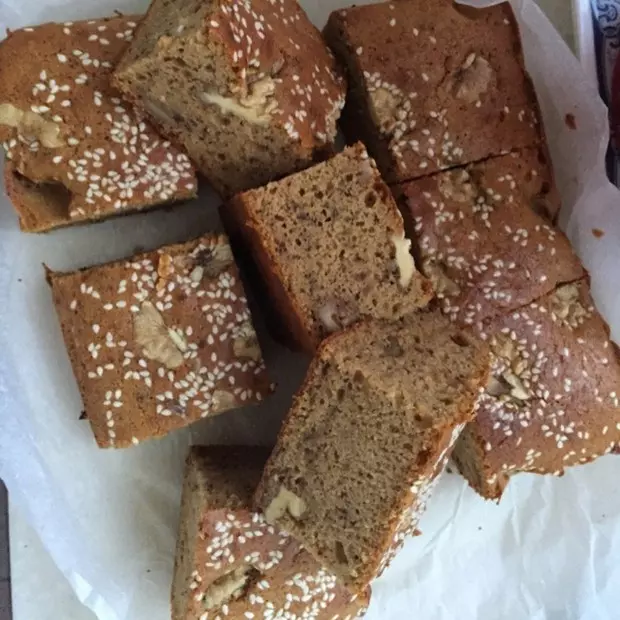
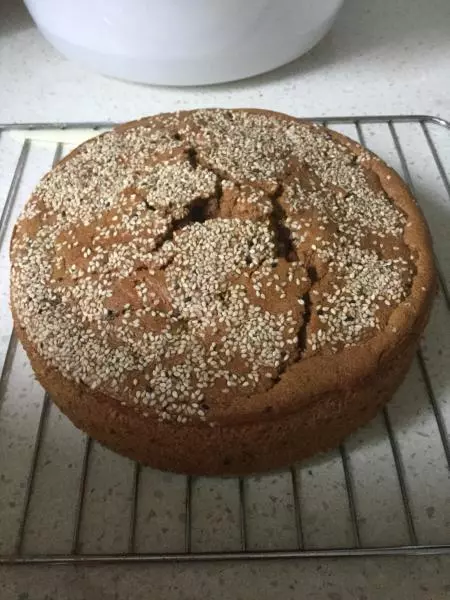
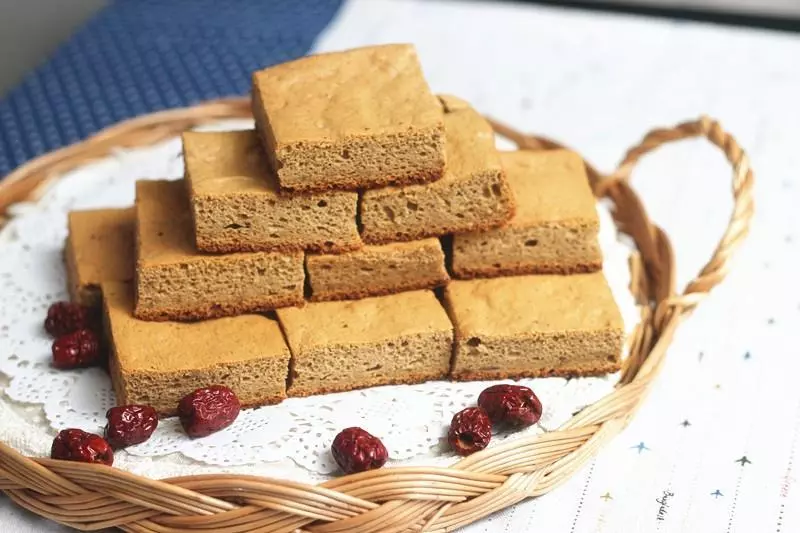
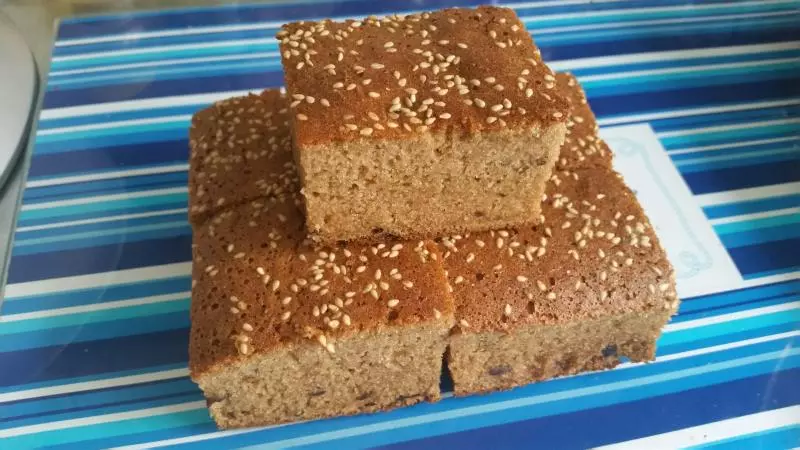
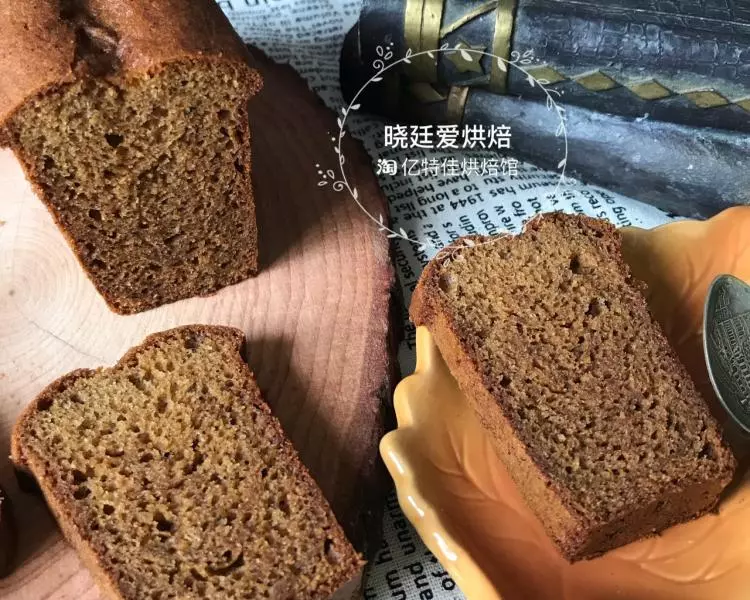
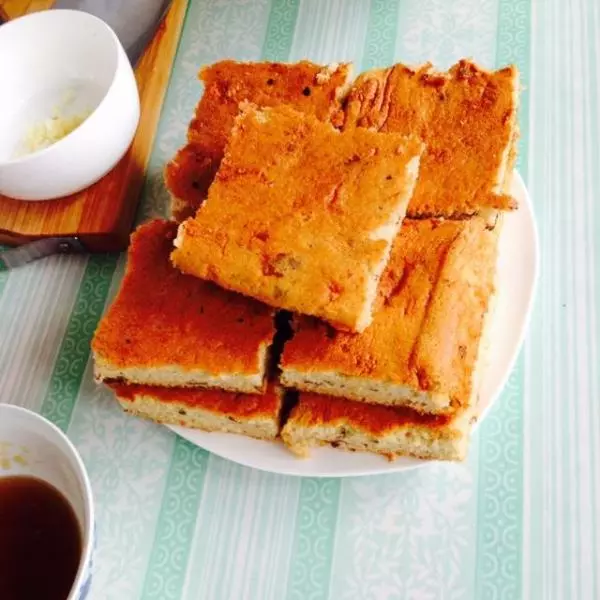
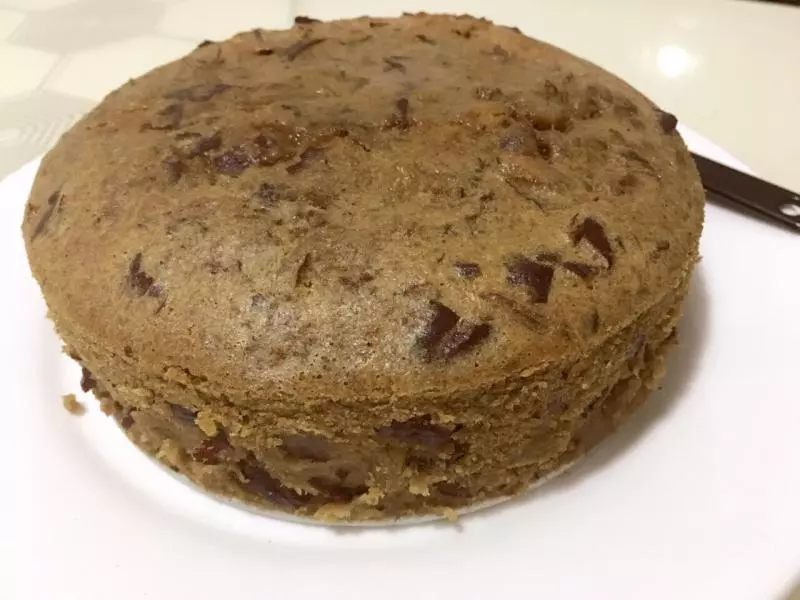
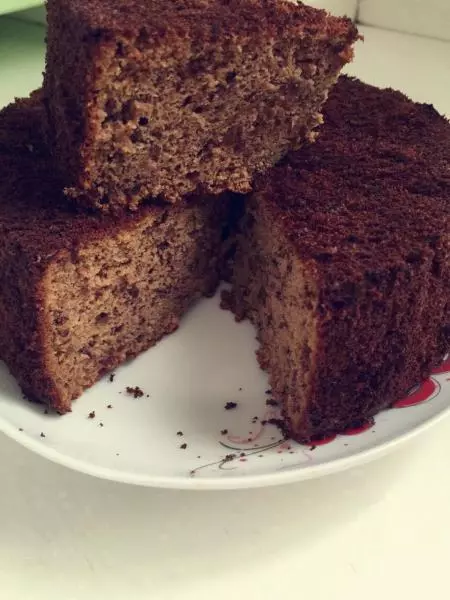
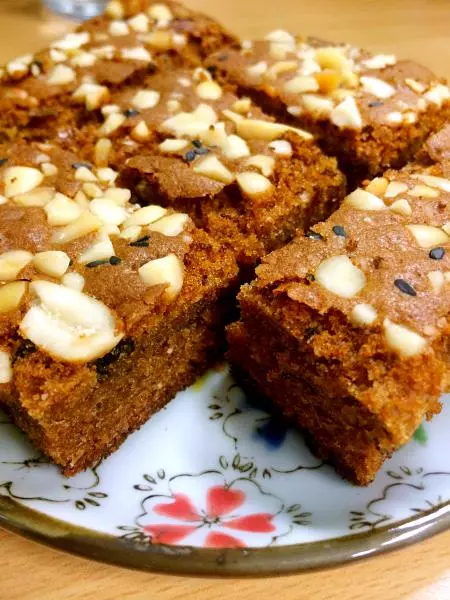
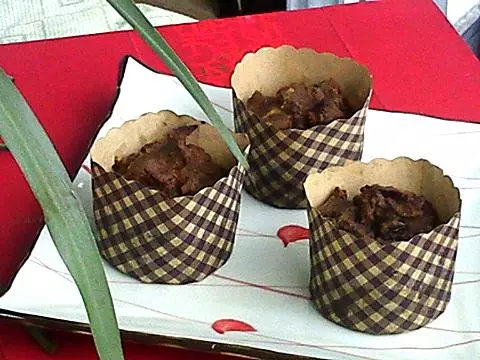
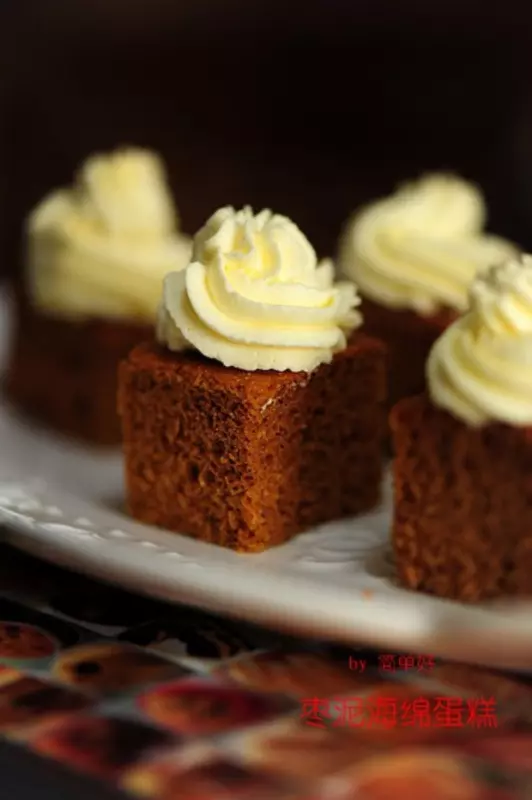
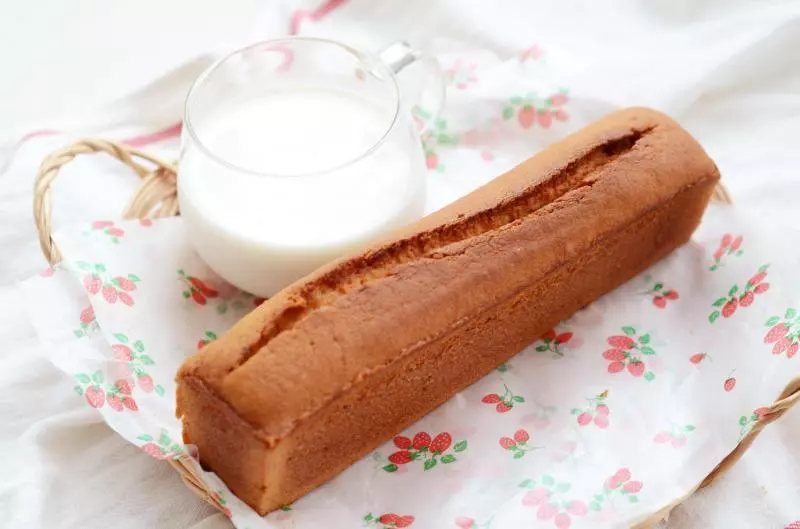
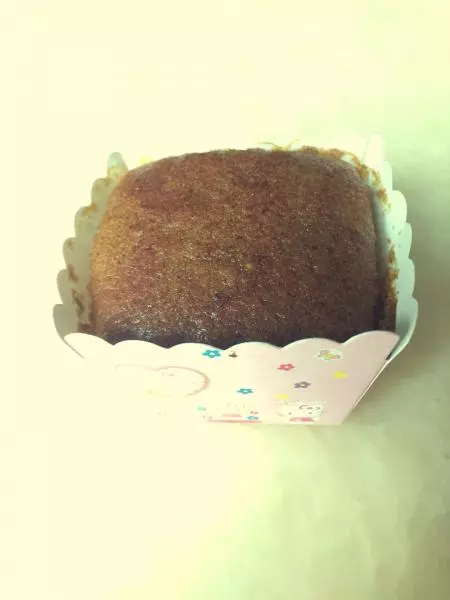
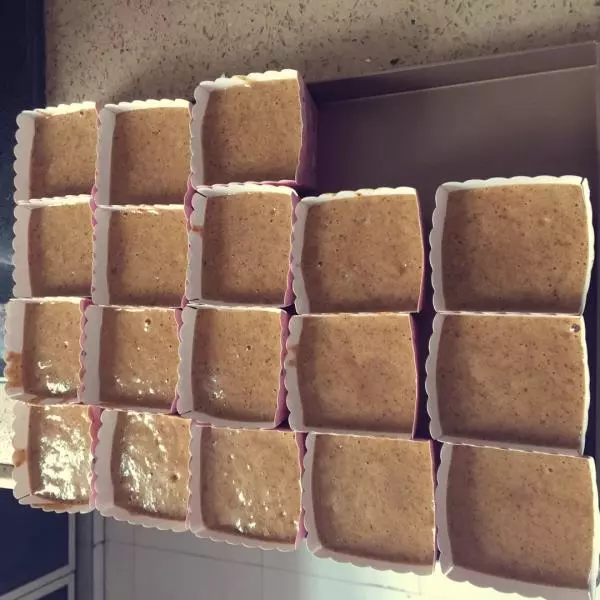
10以上材料可以做18個紙杯蛋糕。 首先130度烤30分鐘,然後160度烤15分鐘,烤完30分鐘後可以鋪一張錫紙在面上,沒有錫紙不鋪也沒有什麼所謂的。畢竟是紅糖做的,鋪錫紙會淺色些,不鋪會深色些
小技巧
我曾經試過不加油去做這種蛋糕,感覺口感上並沒有非常明顯的區別。所以想減肥減脂的童鞋,不加油也是可以的