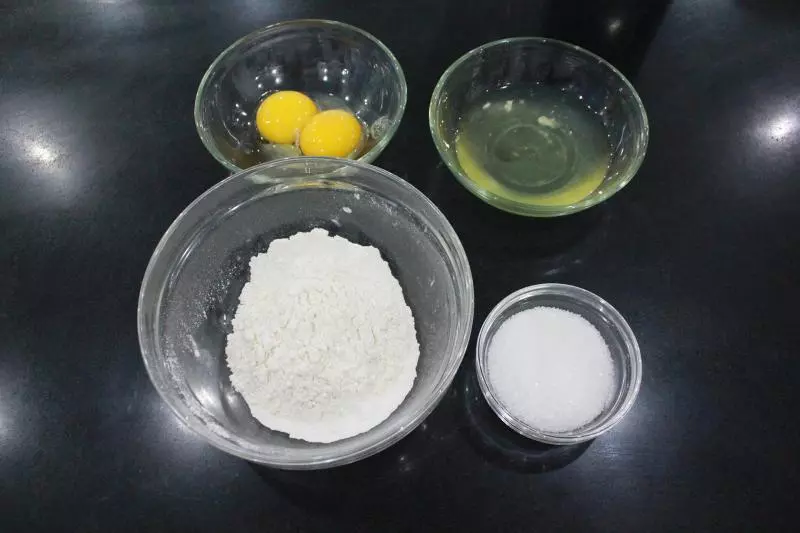
原料
蛋白: 2個, 砂糖: 60g, 蛋黃: 2個, 低筋麵粉: 60g
步驟
1將材料備好。
2把蛋白和砂糖放入盆中。
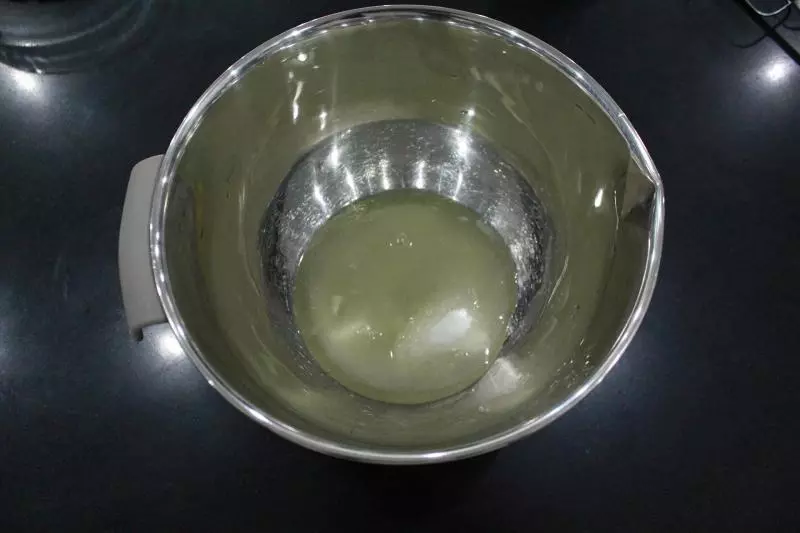
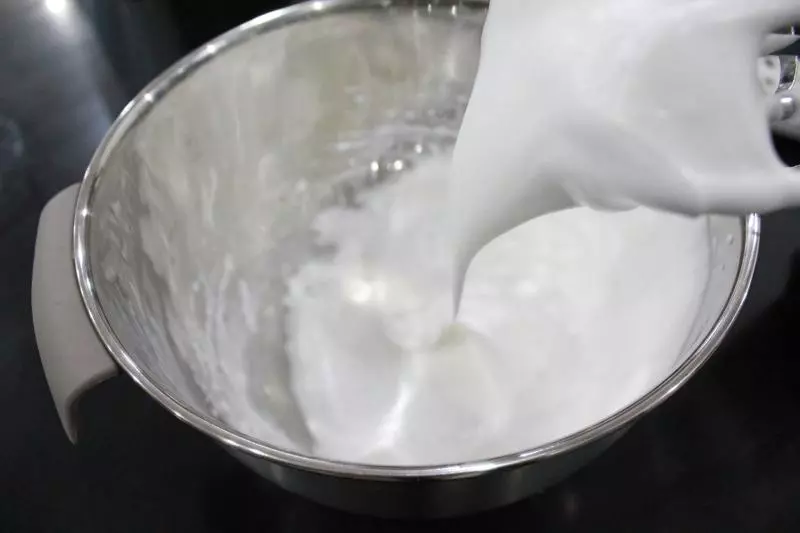
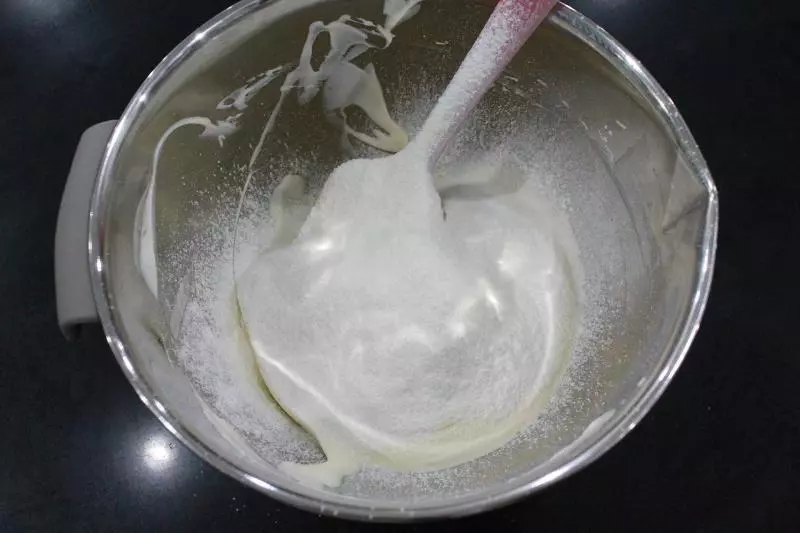
3用東菱打蛋器將蛋白打發至乾性起泡。
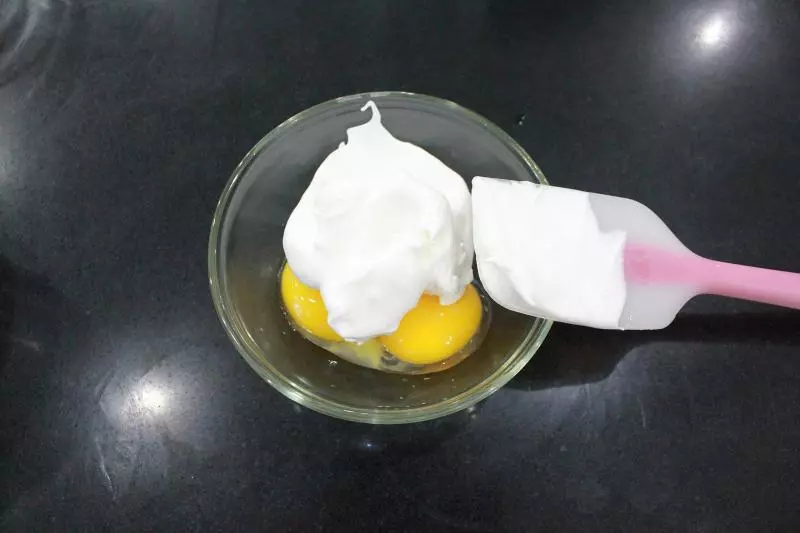
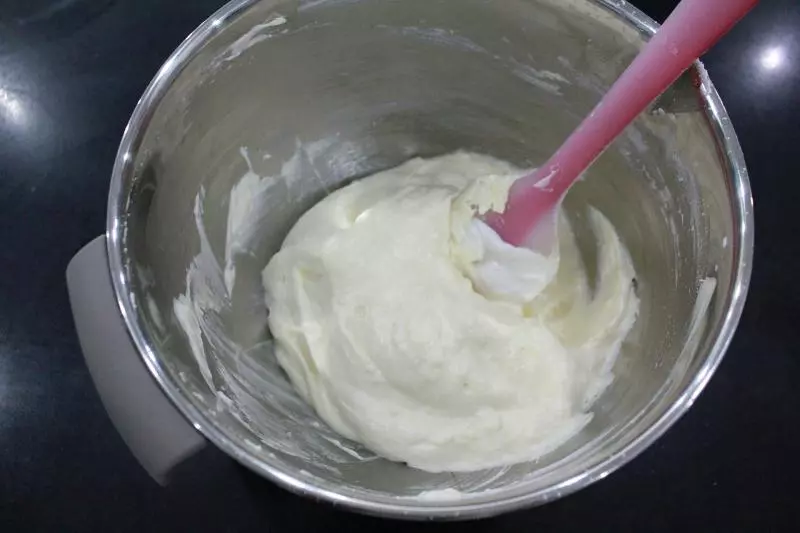
4將打發好的蛋白的四分之一放入蛋黃中。
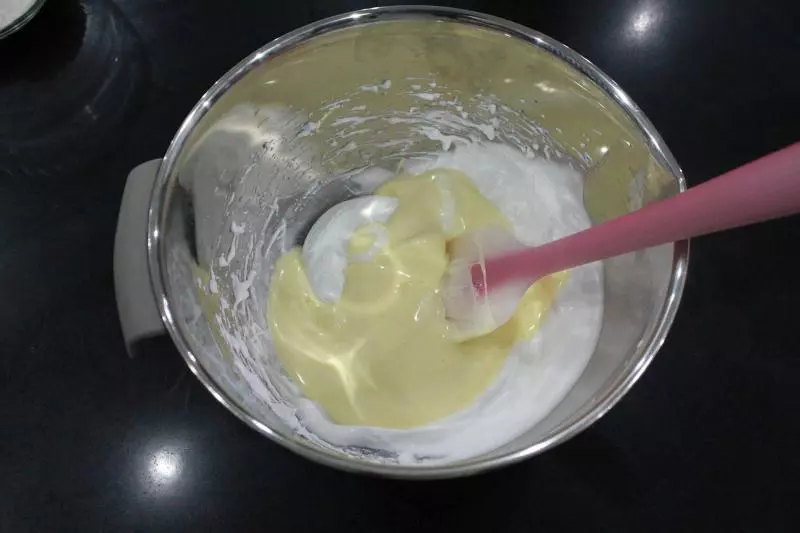
5攪拌均勻。

6再將攪拌好的蛋黃糊放入餘下的蛋白中。
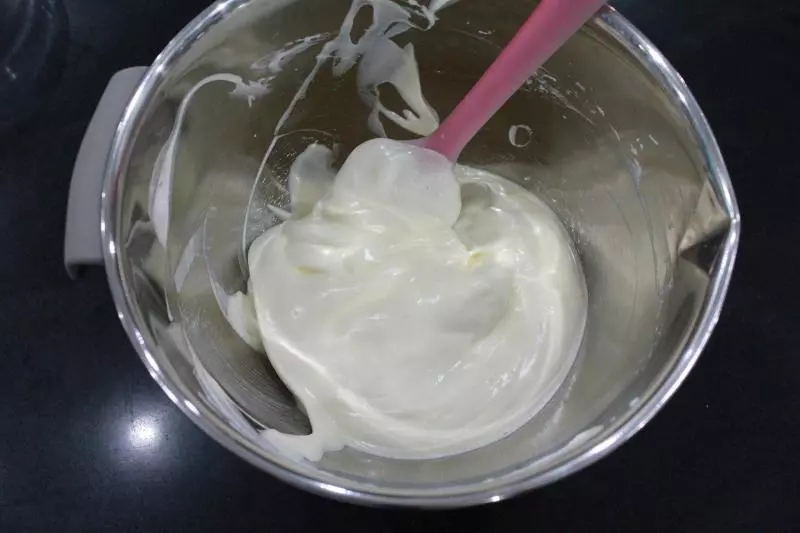
7攪拌均勻。
8加入過篩的低筋麵粉。
9攪拌均勻即可。
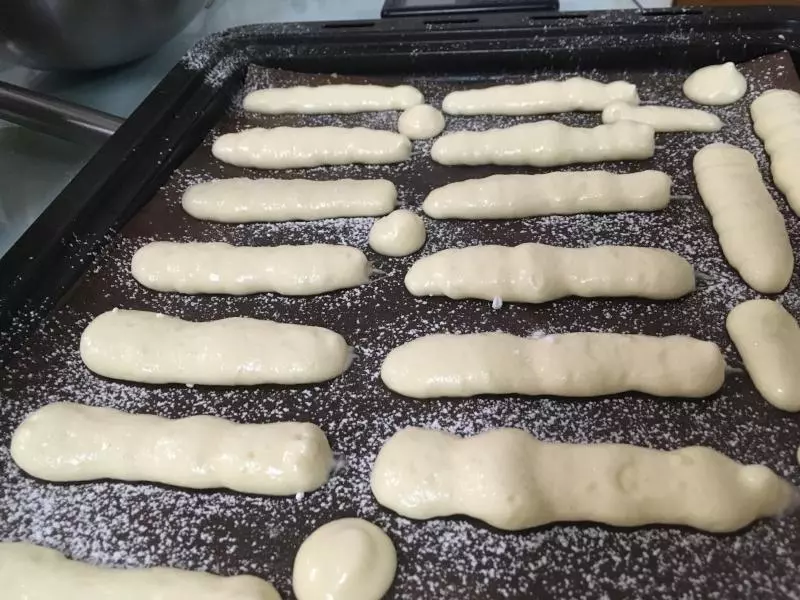
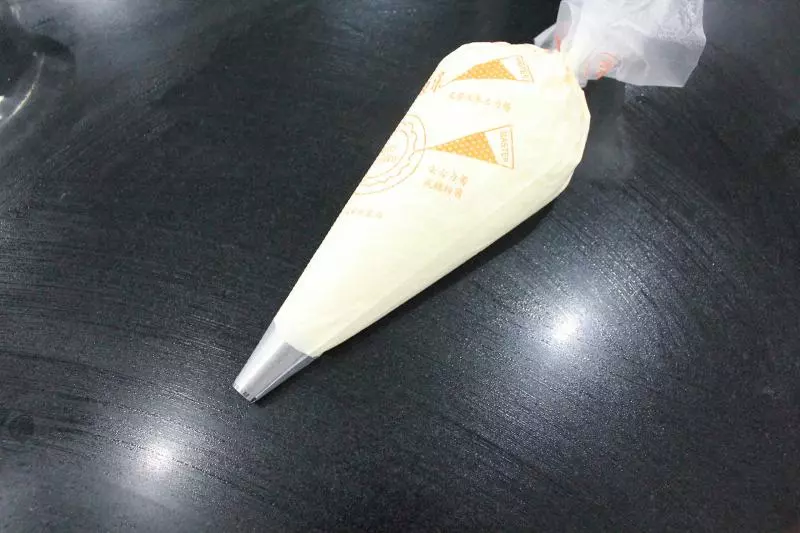
10將攪拌好的麵糊裝入裱花袋中。
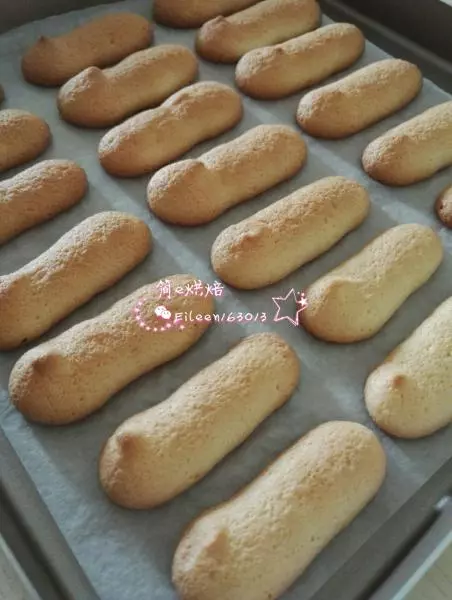
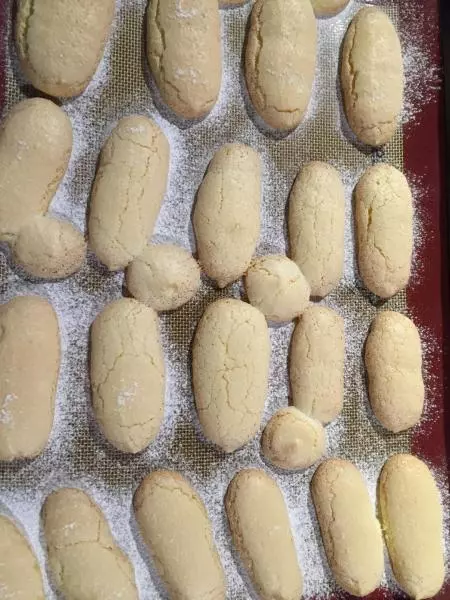
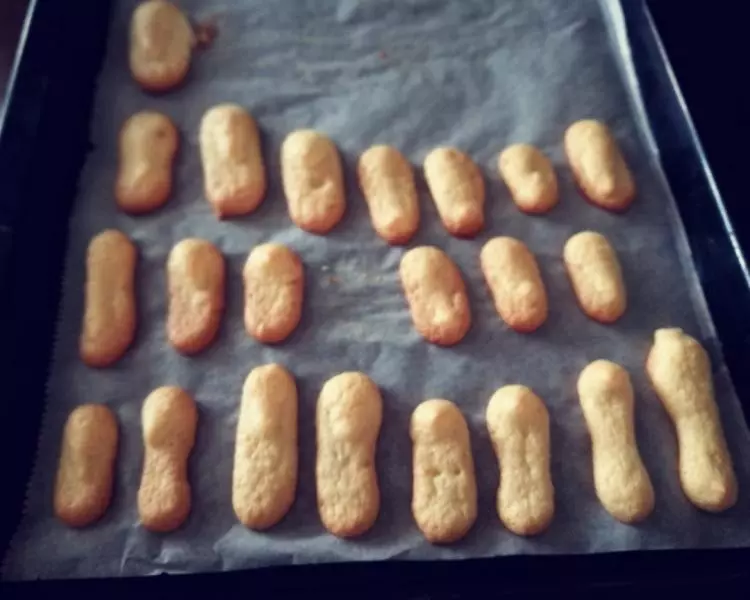
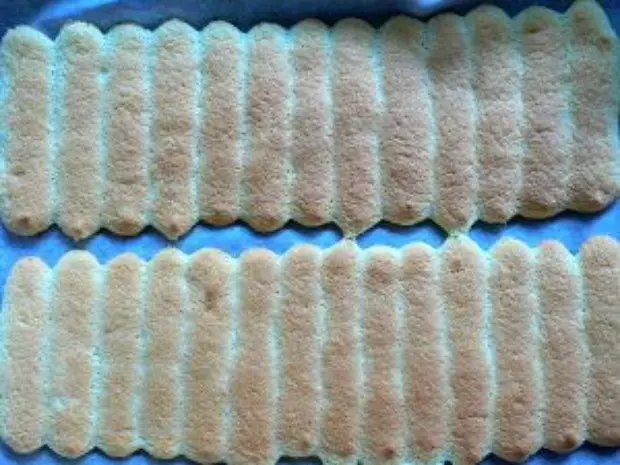
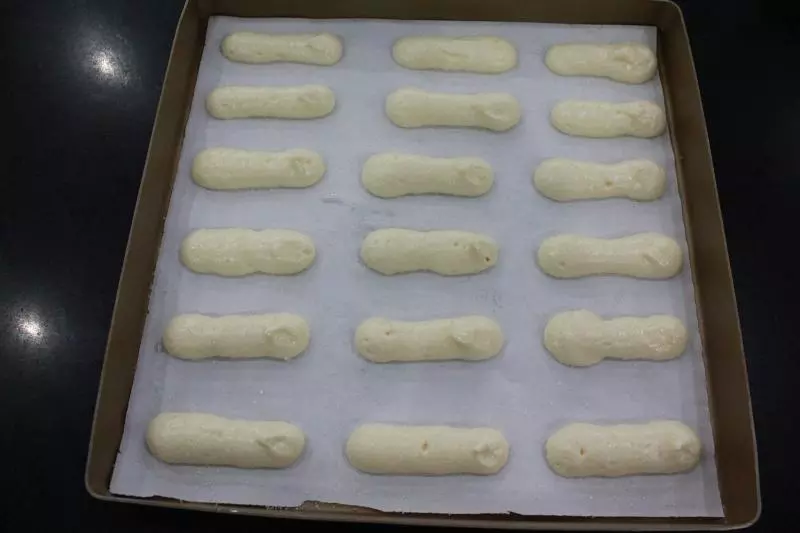
11擠到已經放上油紙的烤盤中,在表面撒上砂糖,放入東菱烤箱進行烘烤,上下管加熱,上管180度,下管160度,時間為22分鐘。
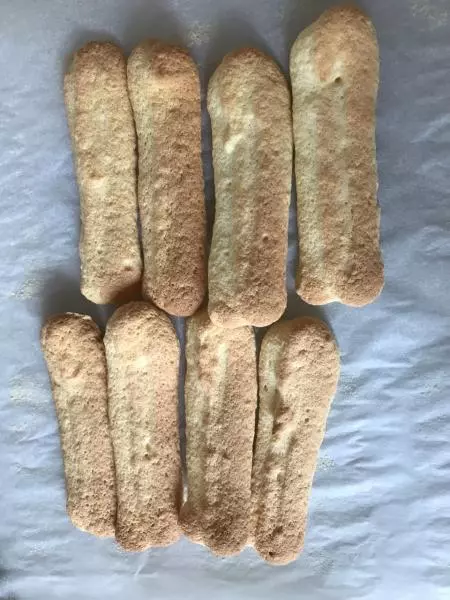
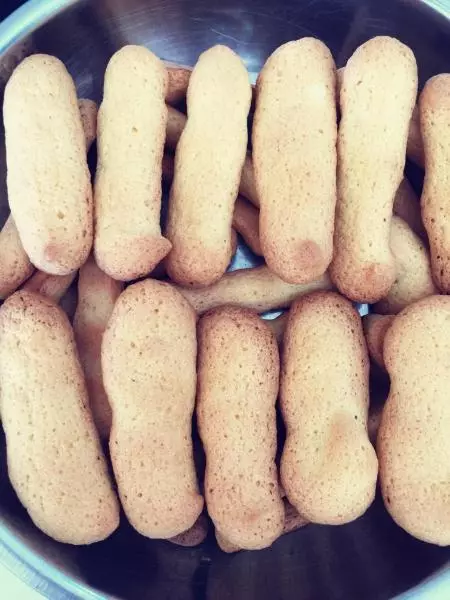
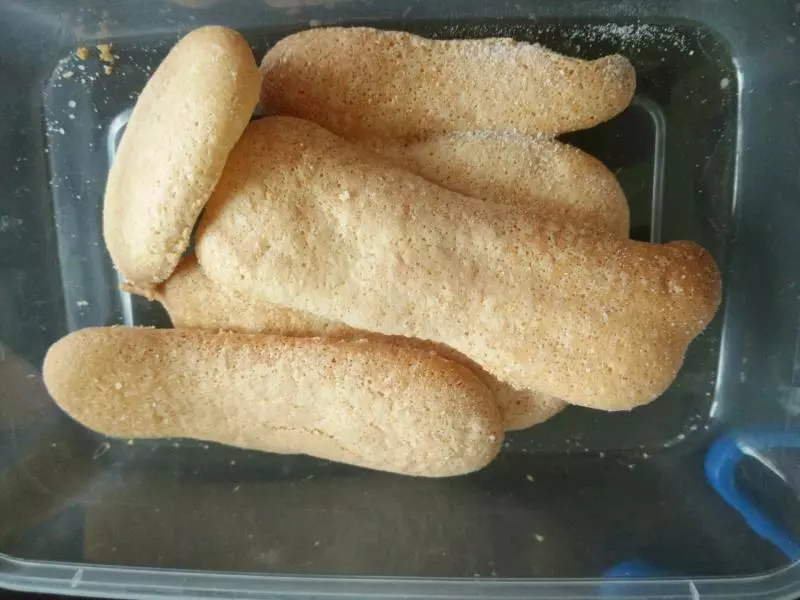
12烤制完成後,拿出放涼,即可把油紙取出。
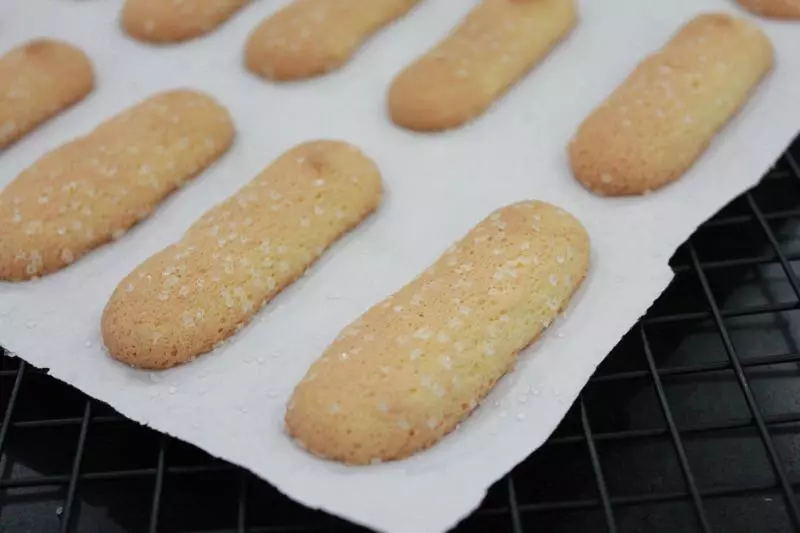
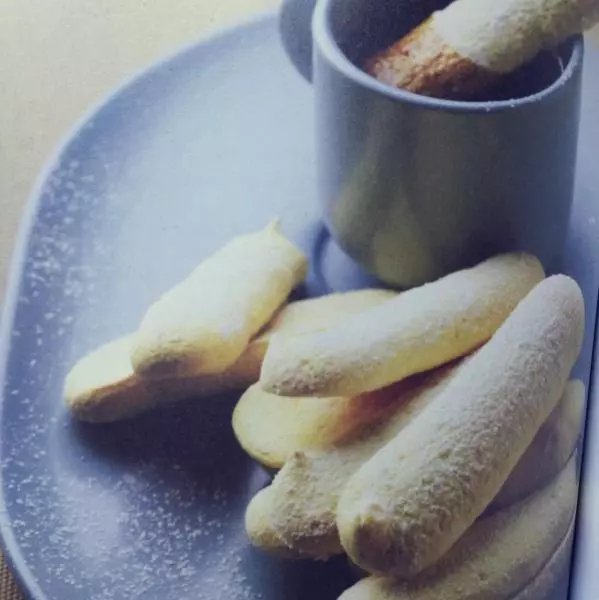
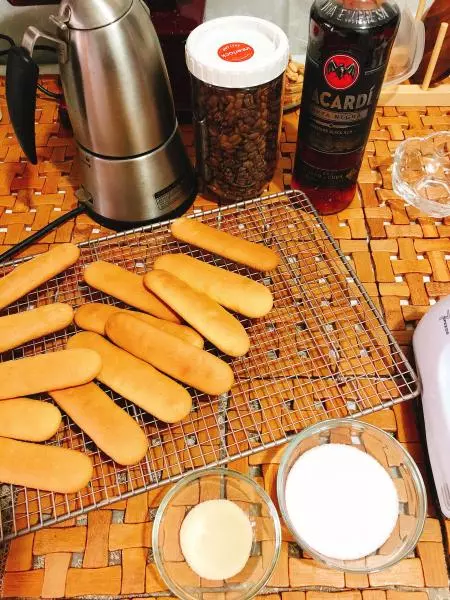
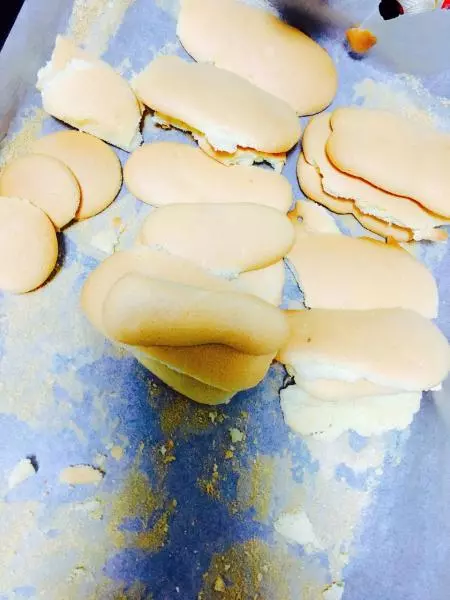
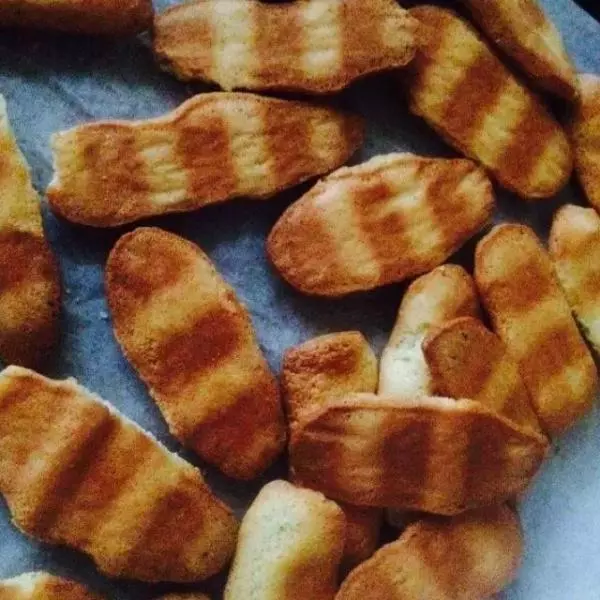
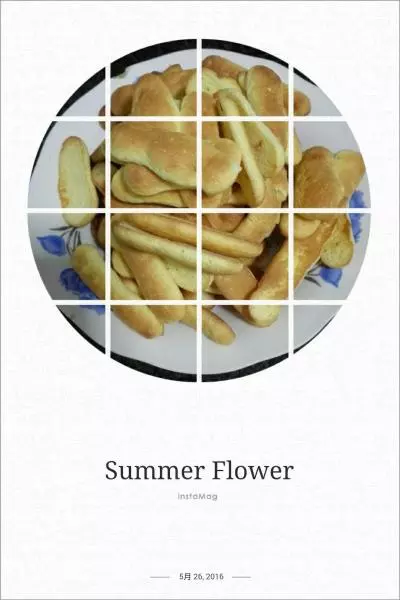
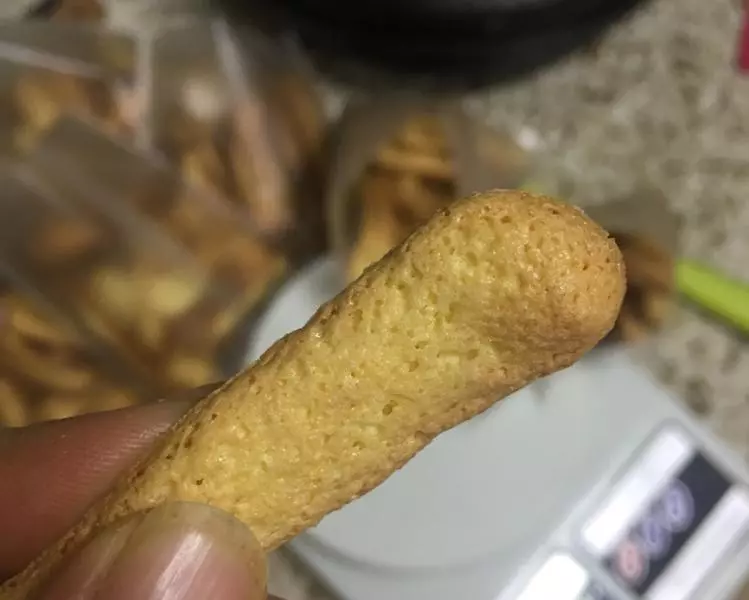
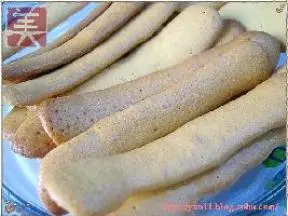
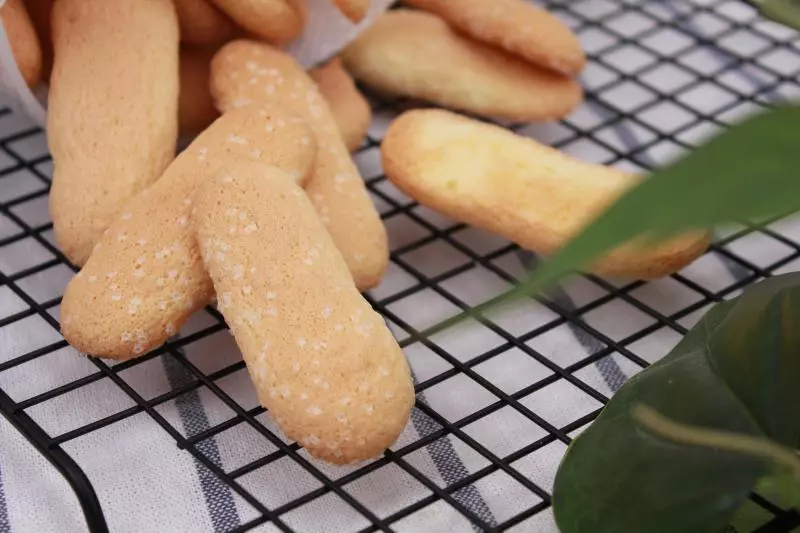
13成品。
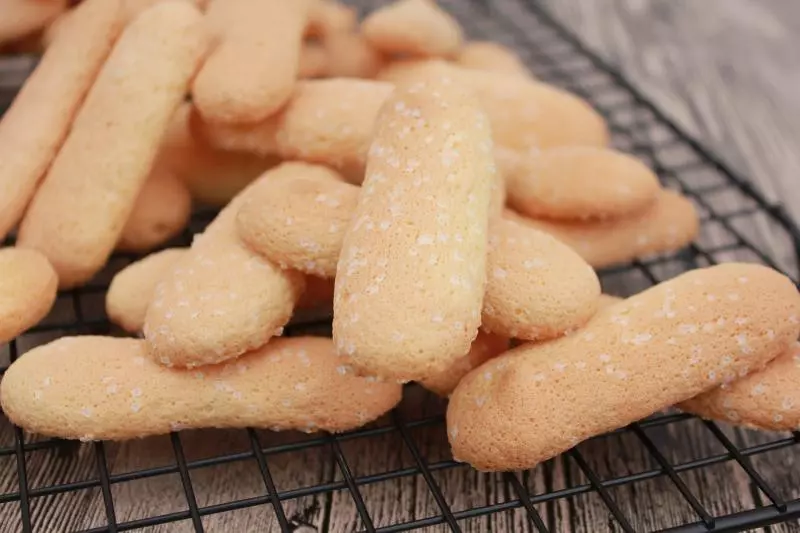
14成品。
小技巧
建議使用可以上下獨立控溫的烤箱,我使用的是東菱的DL-K38B烤箱哦!