原料
黃油: 30克, 葵花籽油: 30克, 低筋麵粉: 60克, 雞蛋: 1個, 細砂糖: 25克, 玫瑰花醬: 25克, 泡打粉: 2克
步驟
1提前隔水融化黃油,備用。
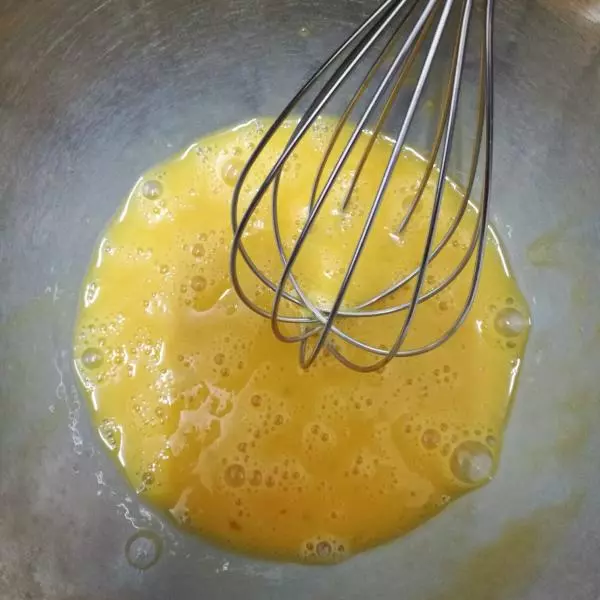
2打散雞蛋。
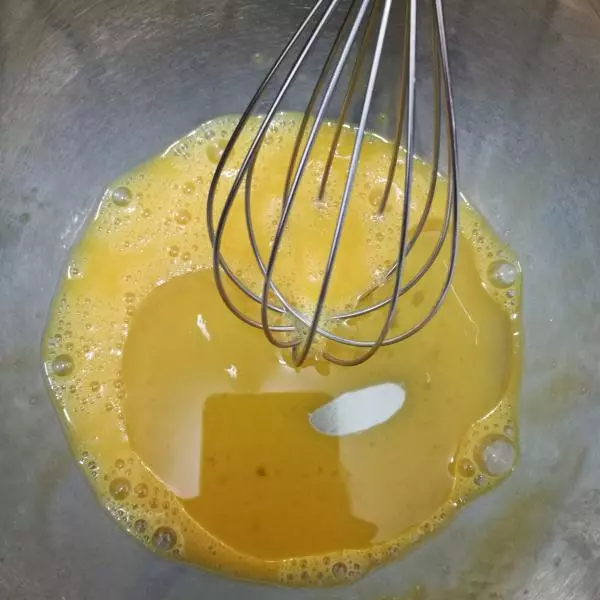
3加入葵花籽油,攪拌均勻。
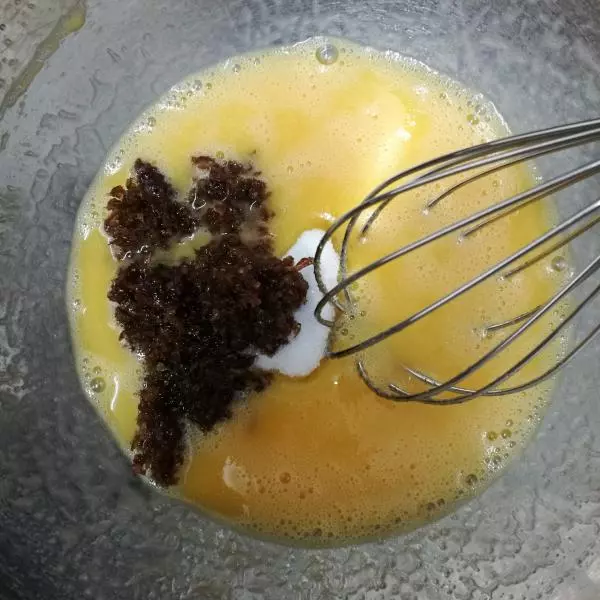
4加入細砂糖和玫瑰花醬,攪拌均勻。
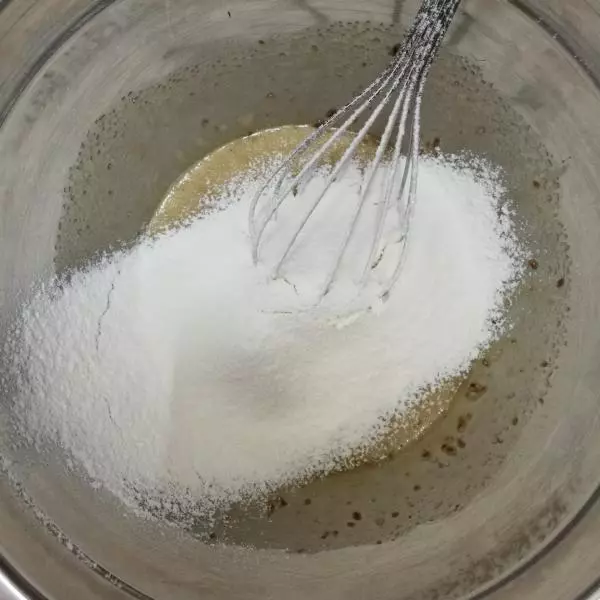
5篩入低筋麵粉和泡打粉,攪拌均勻。
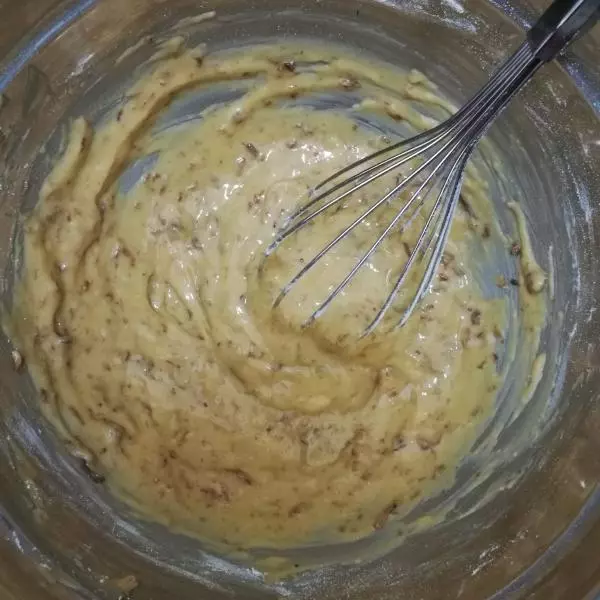
6這是攪拌均勻後的狀態。
7加入提前隔水融化的黃油液體。
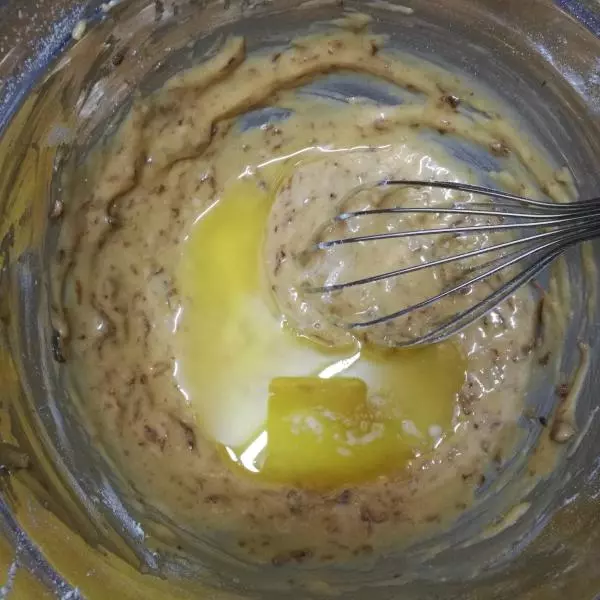
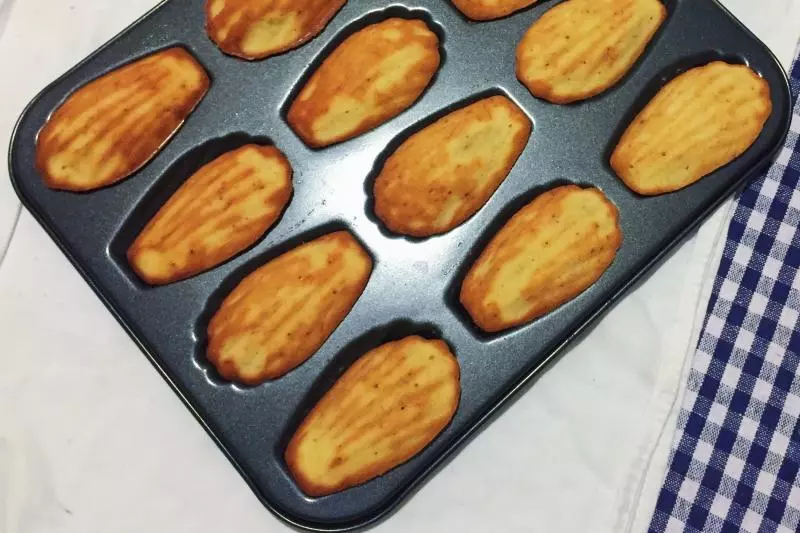
8攪拌均勻。裝入裱花袋,放入冰箱冷藏1個小時以上(我都是冷藏一夜,第二天早上烤的)。

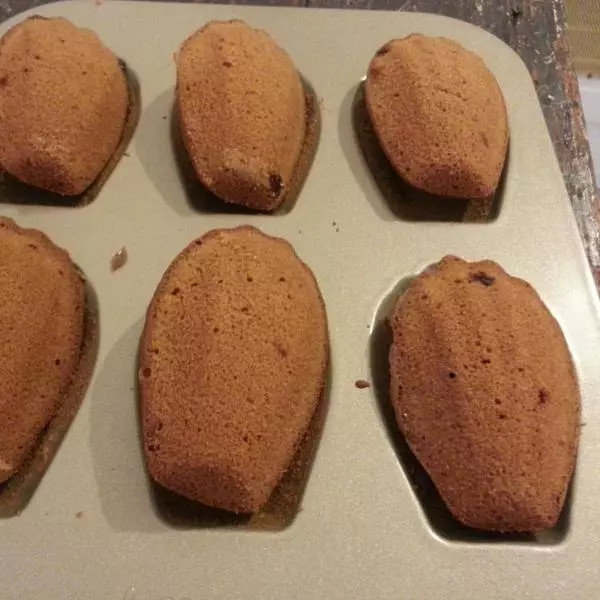
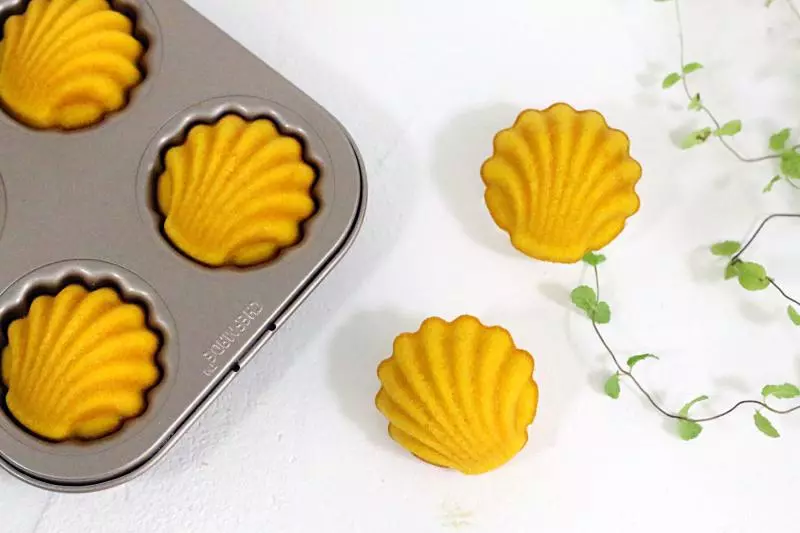
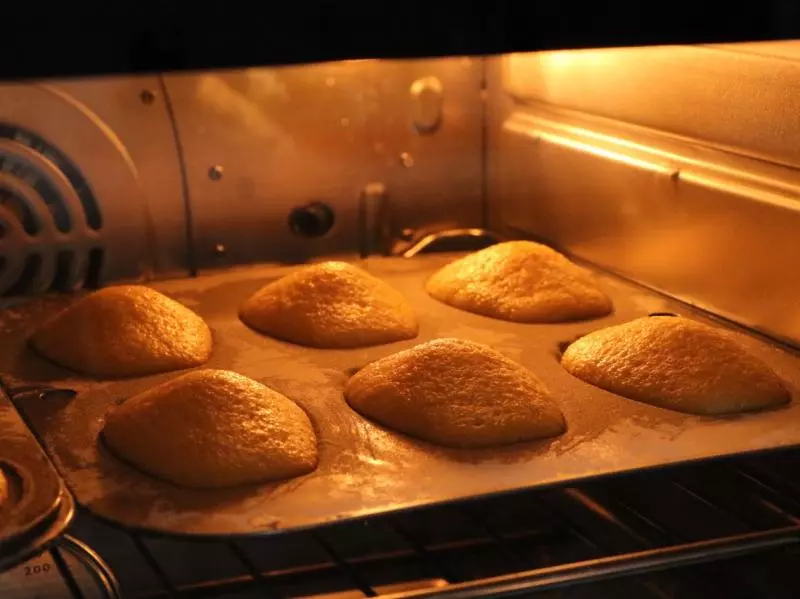
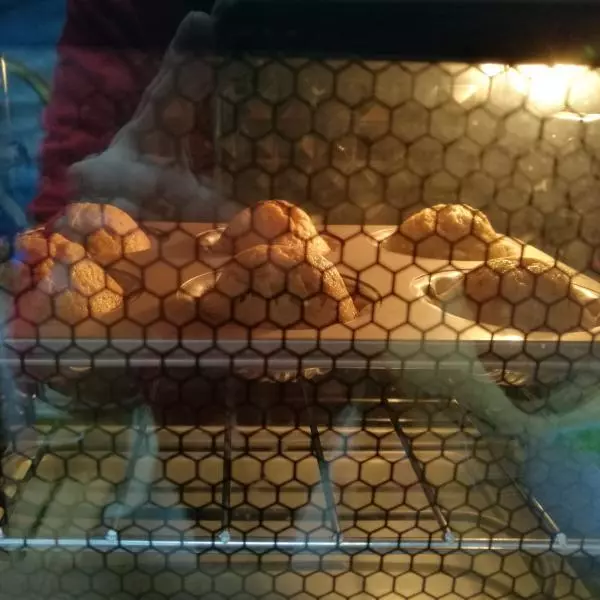
9從冰箱取出蛋糕液,常溫放置30分鐘左右,預熱烤箱,蛋糕液裝模,入烤箱中層,上火160度,下火150度,20分鐘左右。
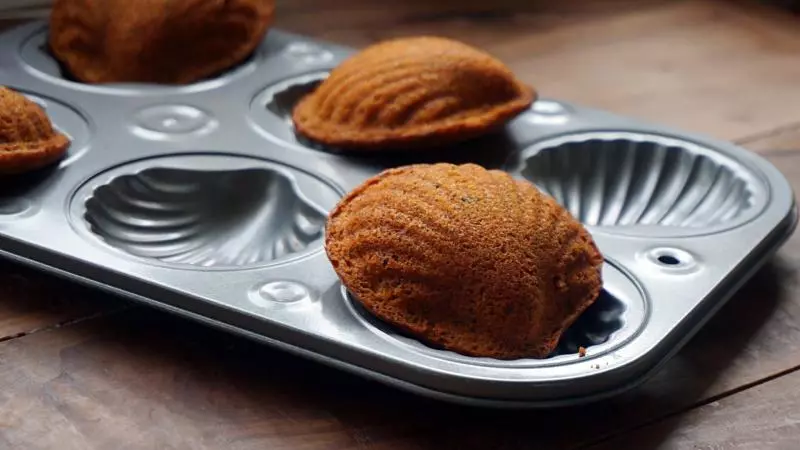
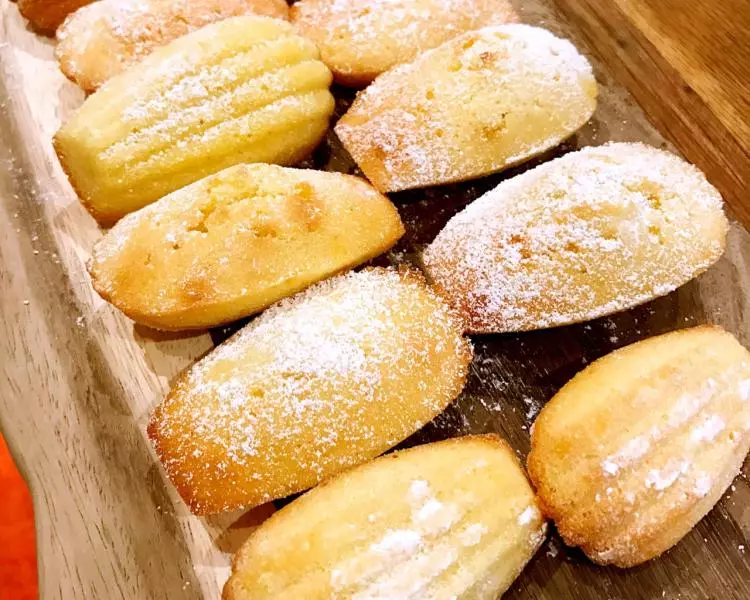
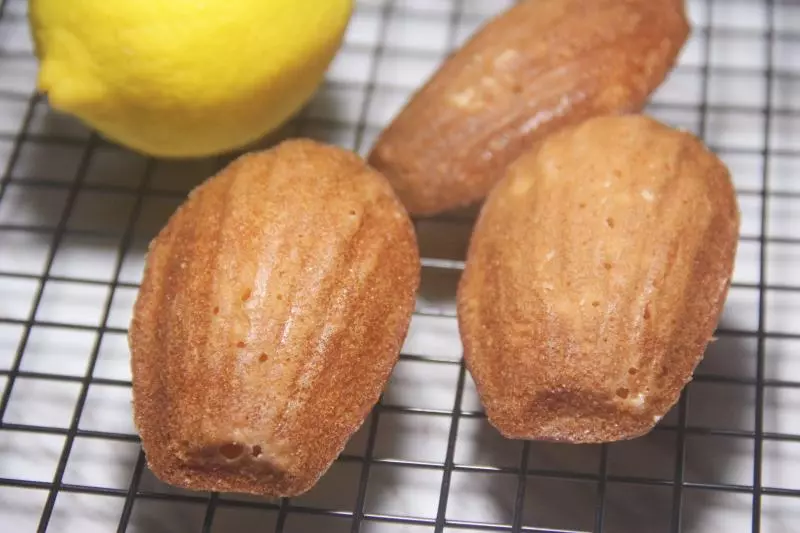
10出爐後立即脫模,晾涼。可馬上食用,也可用保鮮袋密封1-2天食用,口感更佳。
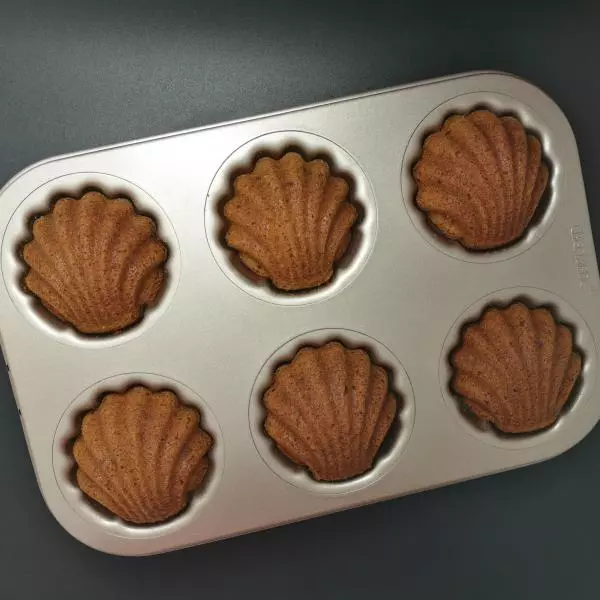
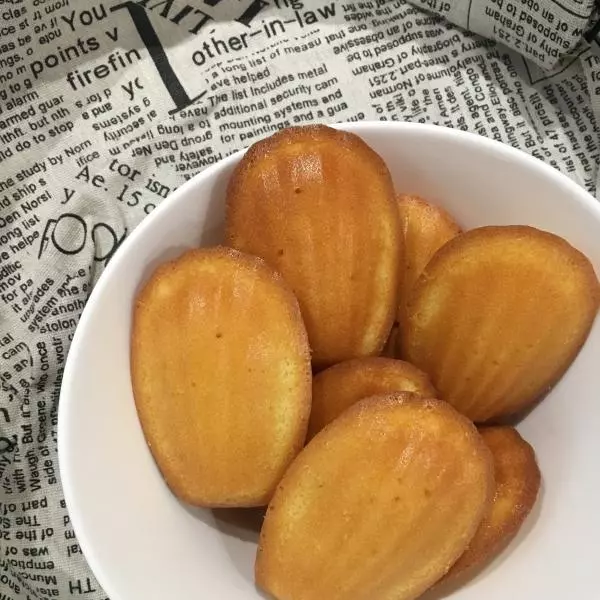
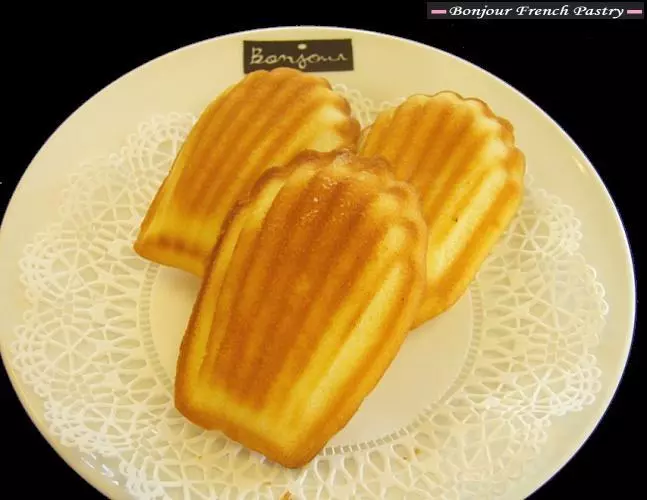
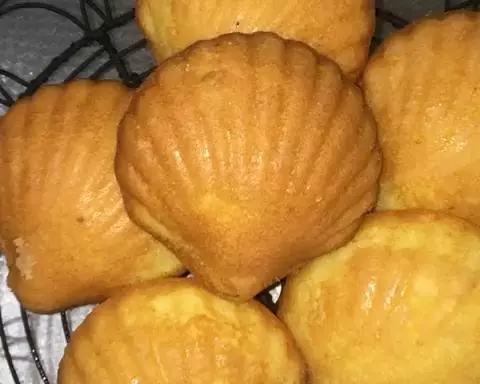
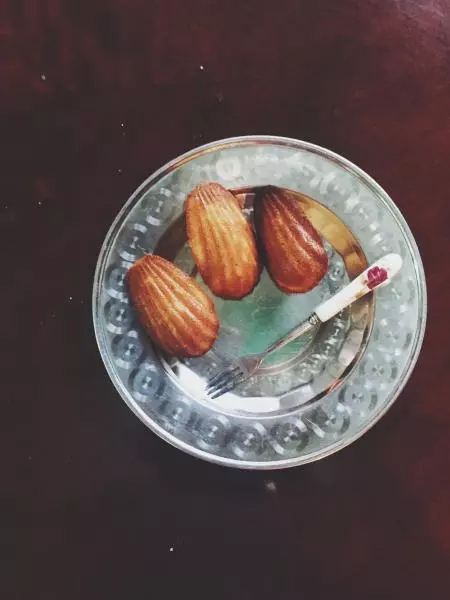
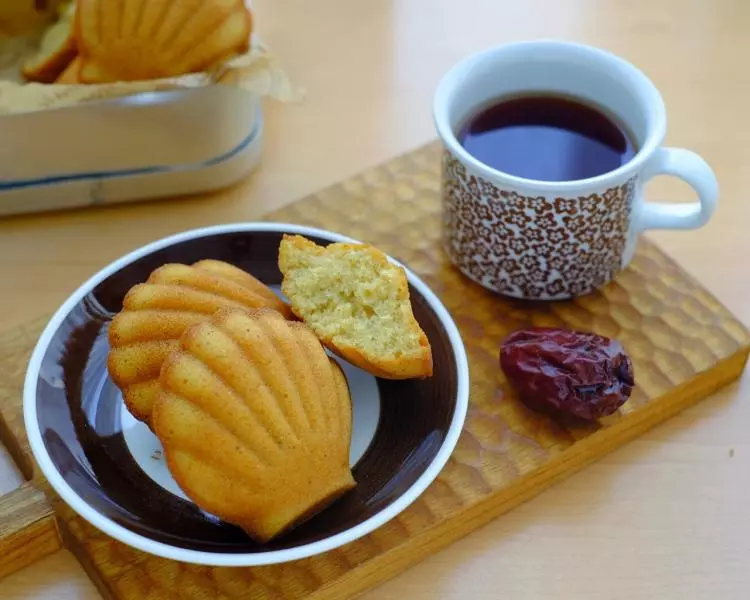
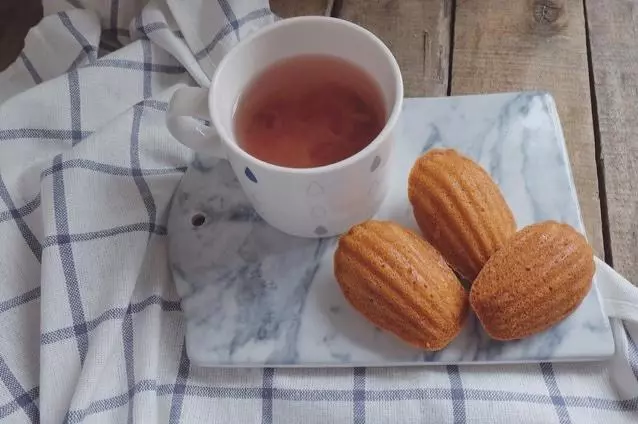
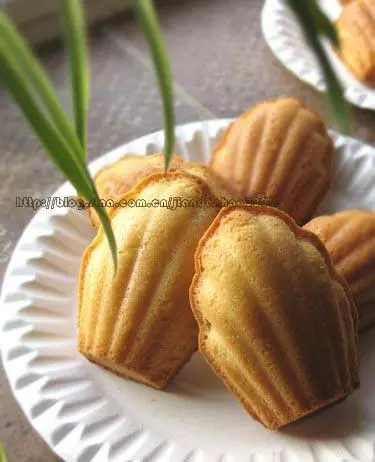
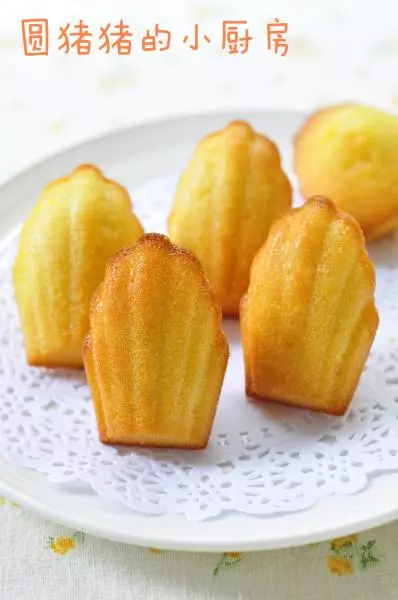
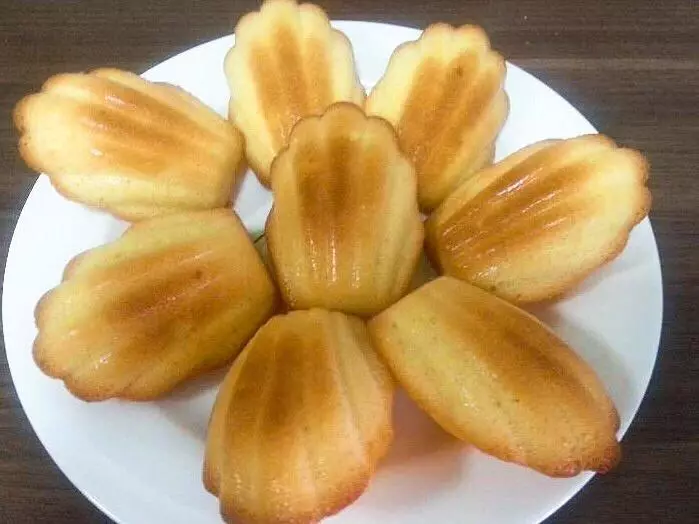
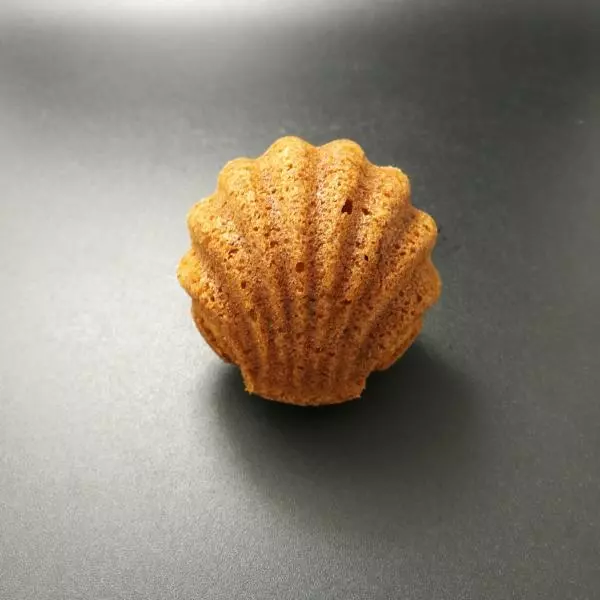
11烤好的成品正面。

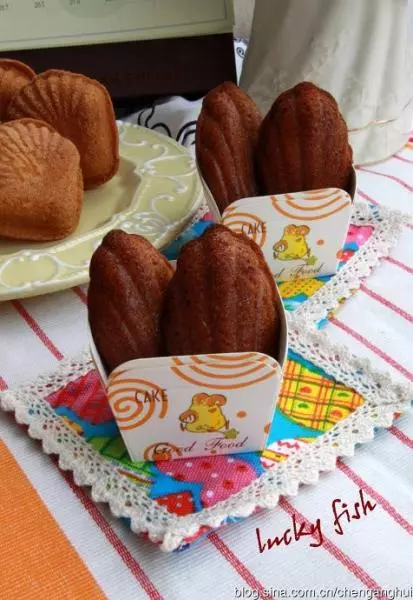
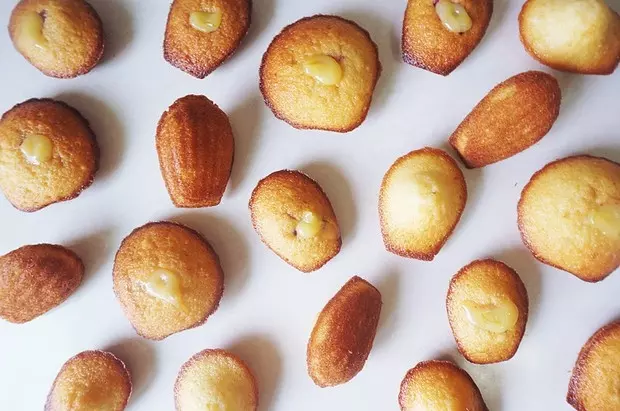
12成品背面。
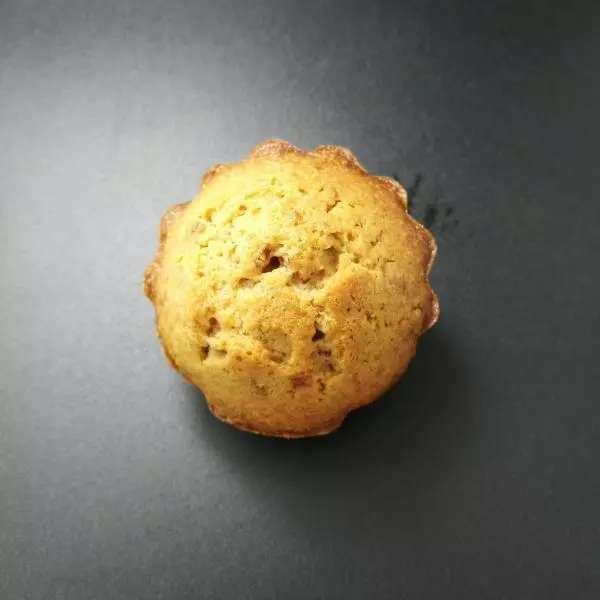
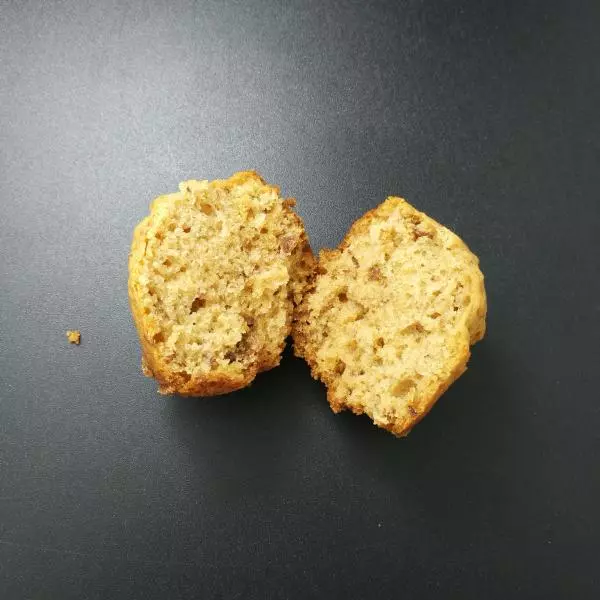
13成品的切面,組織還是不錯的,哈哈~~味道更不錯喲~~
小技巧
每台烤箱溫度不同,請大家要根據自家烤箱溫度烤喲!!!