原料
蛋白: 5個(170-180g), 玉米澱粉: 10g, 細砂糖: 100g, 蛋黃: 5個(80-90g), 玉米油: 60g, 純牛奶: 75g(或水70g), 低筋麵粉: 100g, 香草精: 可選
步驟
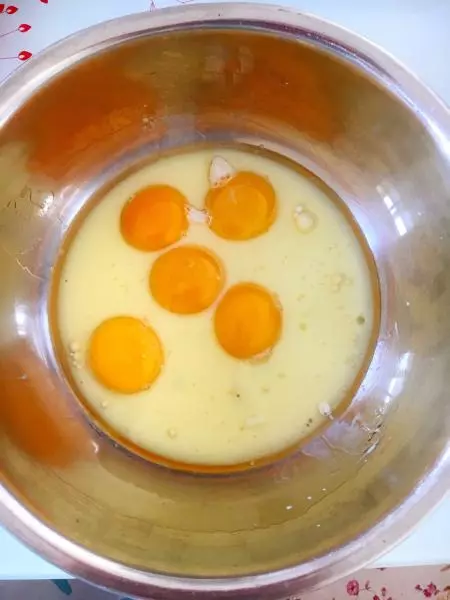
1首先、當然是把蛋清和蛋黃分離啦~由於我比較習慣於先打蛋清…所以呢就要先把油和牛奶倒入蛋黃中…防止蛋黃表面由於失去水分而結皮~
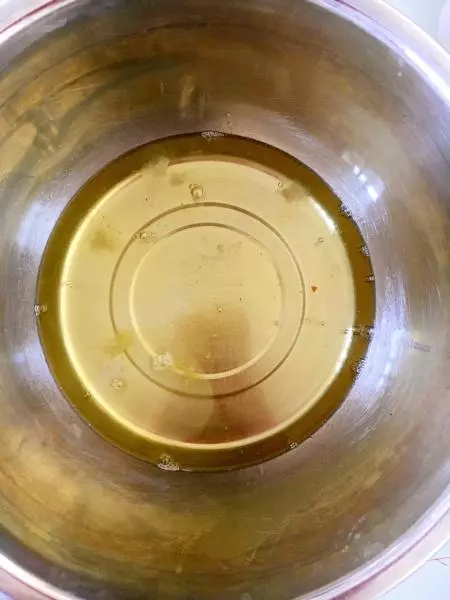
2裝蛋清的容器…一定要無水無油!!!
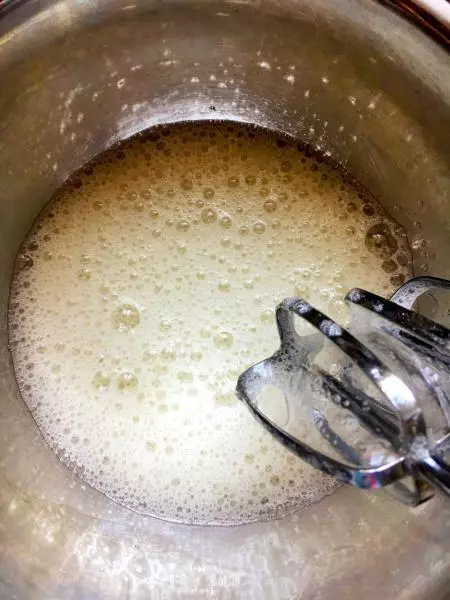
3打至如圖所示的…魚眼泡狀、就可以倒入1/3的砂糖了~
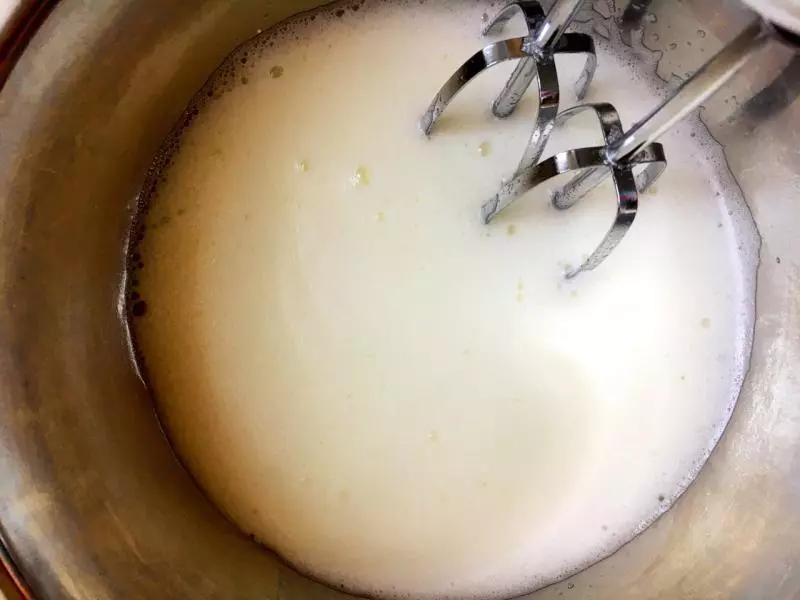
4這樣這樣…蛋白變得細膩了、就可以再倒入1/3的砂糖了~
5當蛋白出現紋路後…就可以將剩下的砂糖和澱粉一起全都倒入蛋白中啦~剩下的事就是打蛋白…打~打~打~?
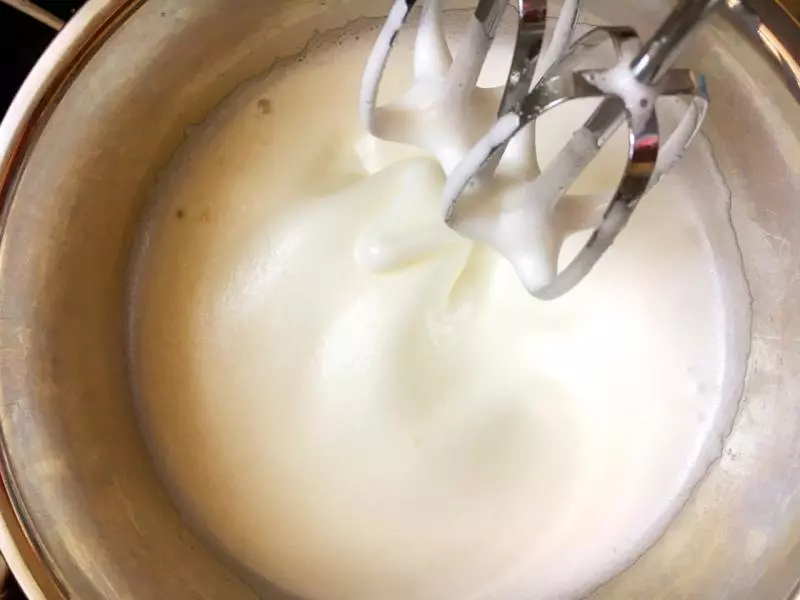
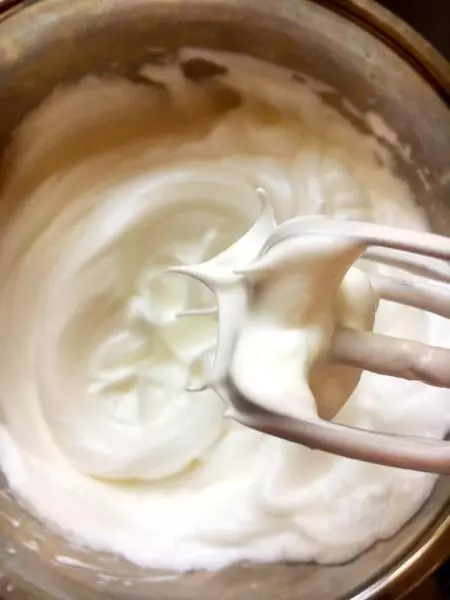
6最後將蛋白打至硬性發泡狀態…光滑、當提起打蛋器時會有如圖所示的堅挺的小尖角就可以了~
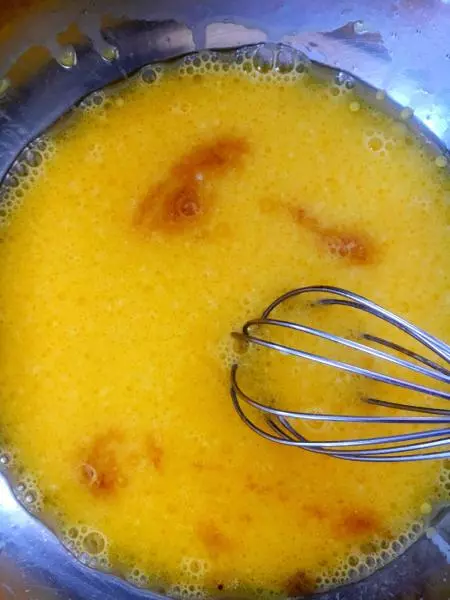
7現在可以開始製作蛋黃糊了…先將容器中的蛋黃、牛奶、玉米油進行攪拌…使其乳化…(這裡我是加入了香草精、大約2ml左右吧)
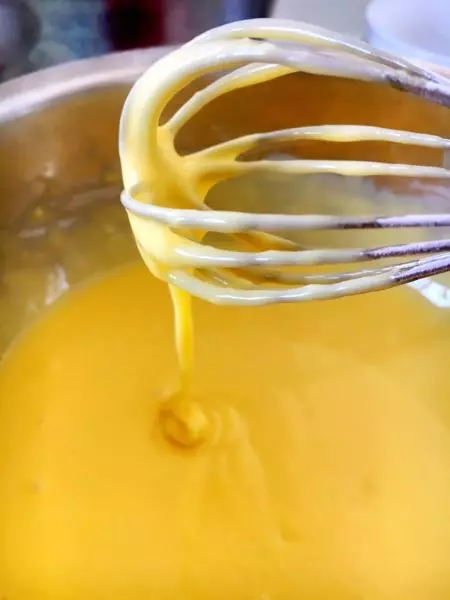
8混合差不多後…篩入低粉

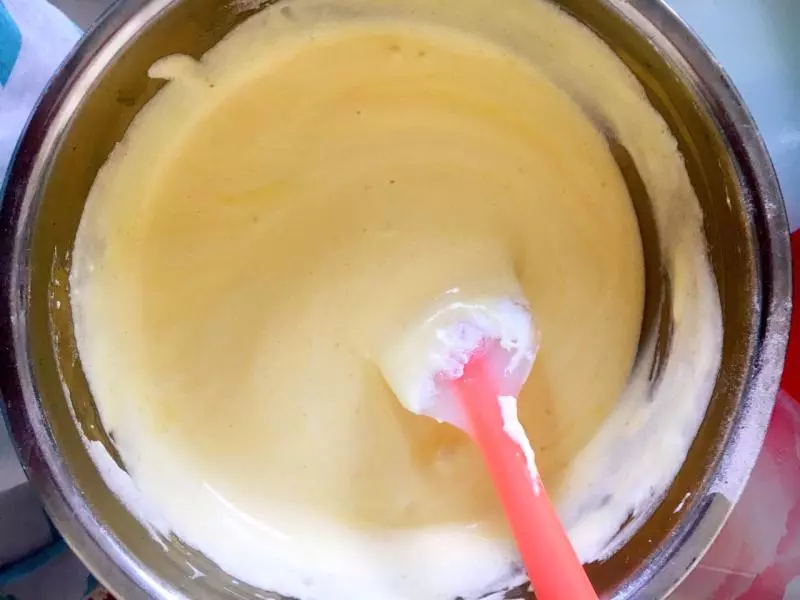
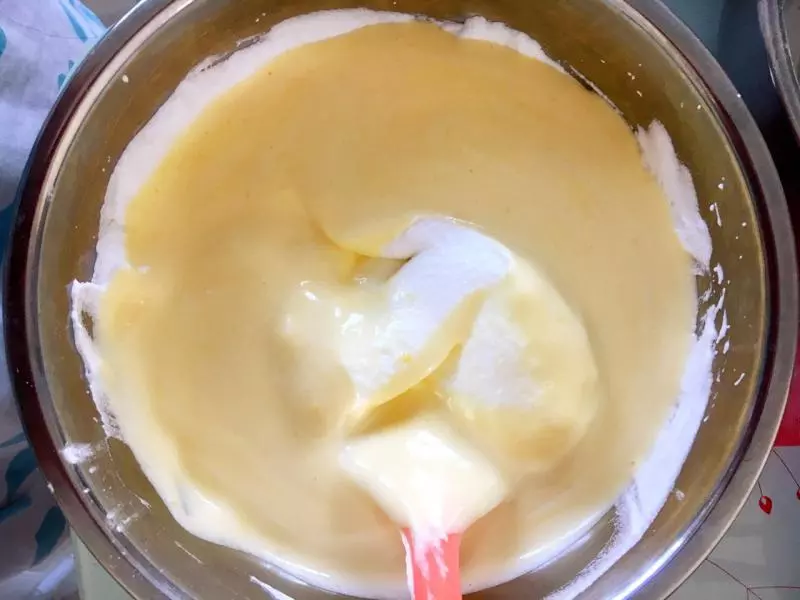
9攪拌至光滑、細膩、有光澤…?(無顆粒) 現在可以給烤箱進行預熱了~上下火160
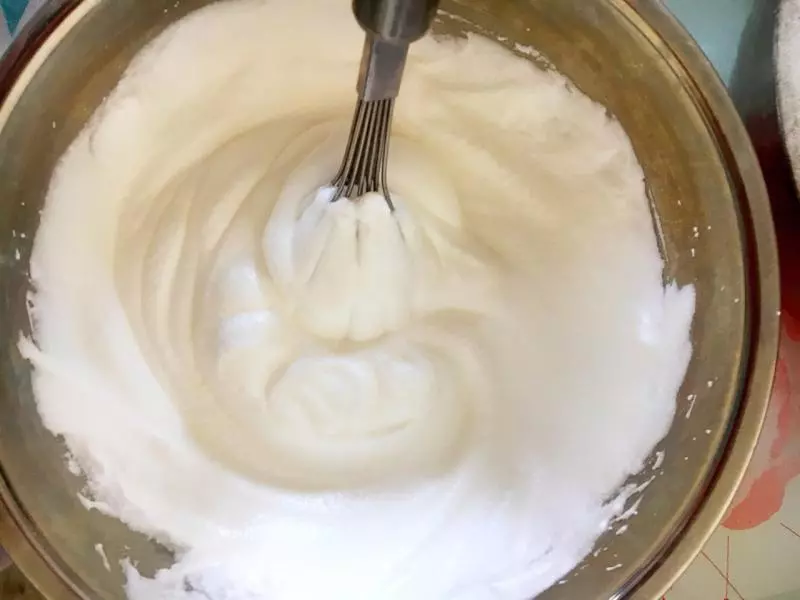
10蛋黃糊好了…將放置在一旁的蛋白霜用蛋抽進行攪拌…一方面可以對蛋白霜進行檢測、另一方面可以使與蛋黃糊混合時更加容易~
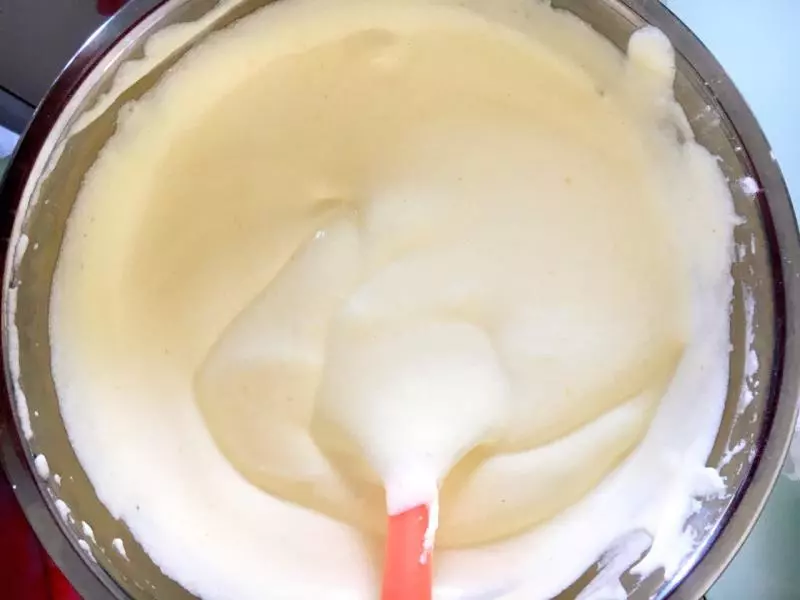
11將1/3的蛋白霜放入蛋黃糊中進行翻拌…混合均勻
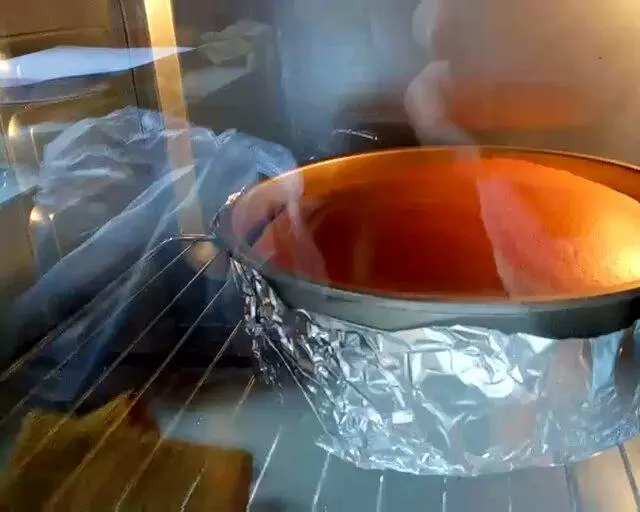
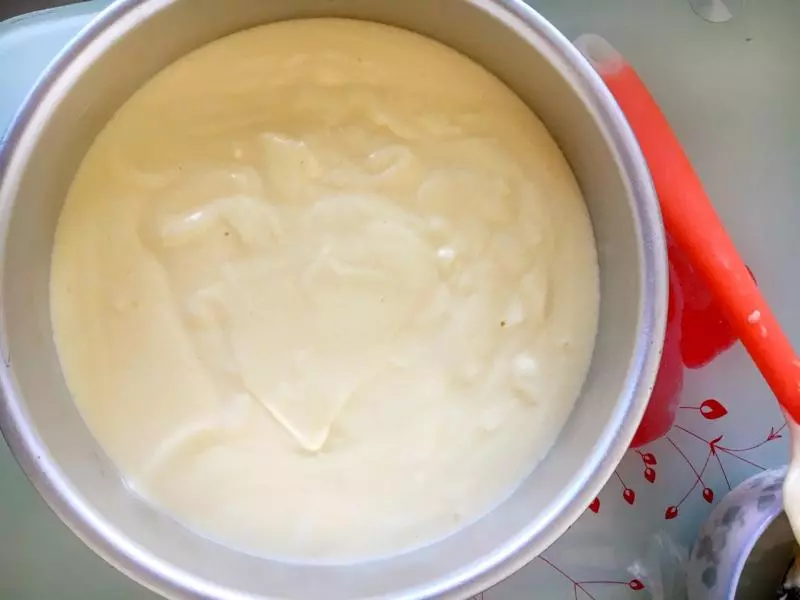
12混合均勻後再全部倒入其餘的2/3的蛋白霜中…進行翻拌混合
13翻拌要迅速…一定要混合均勻、不要存在塊狀蛋白霜…只要蛋白霜打發合格…一般是不會消泡的~
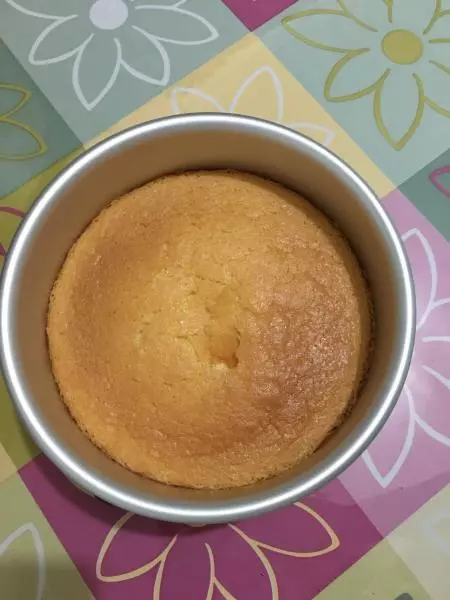
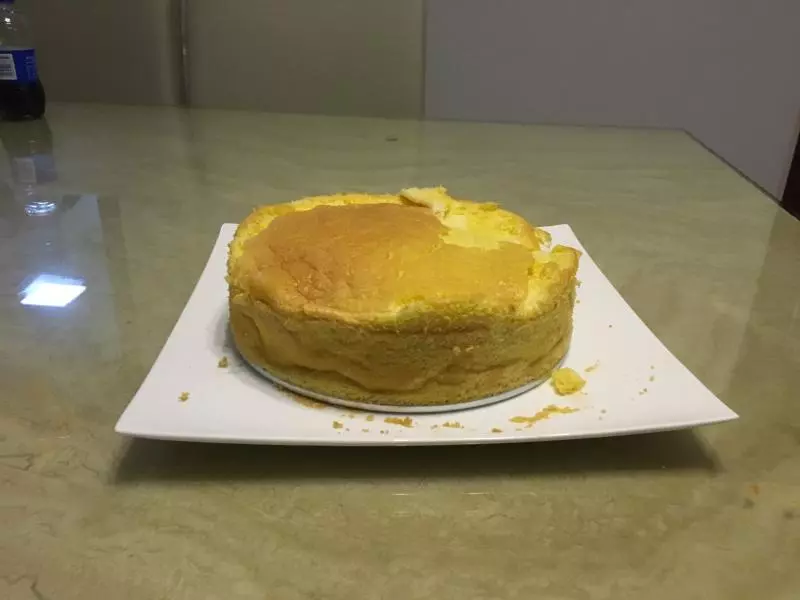
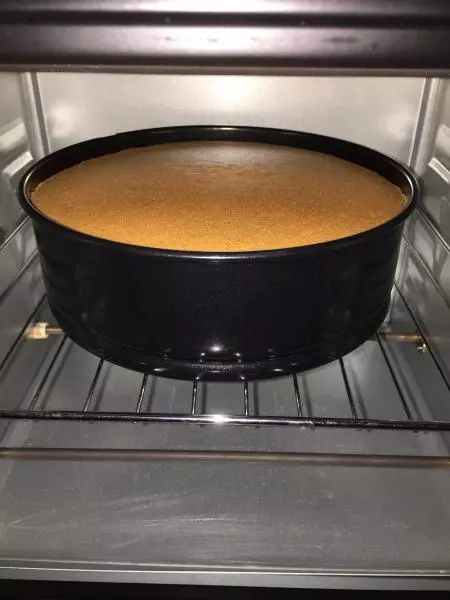
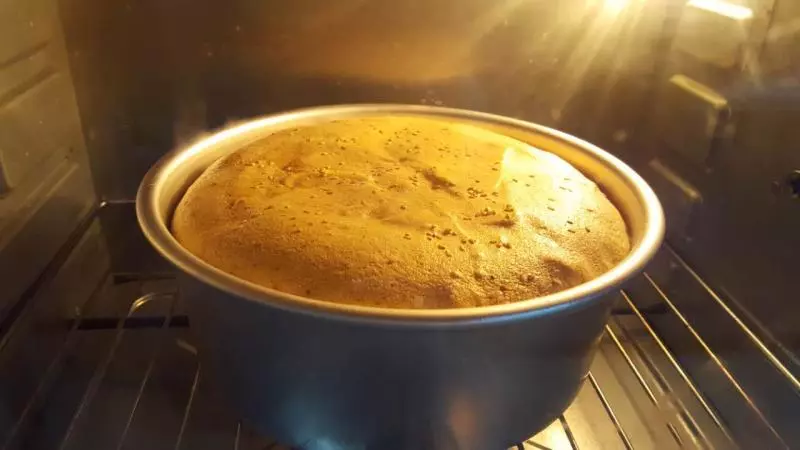
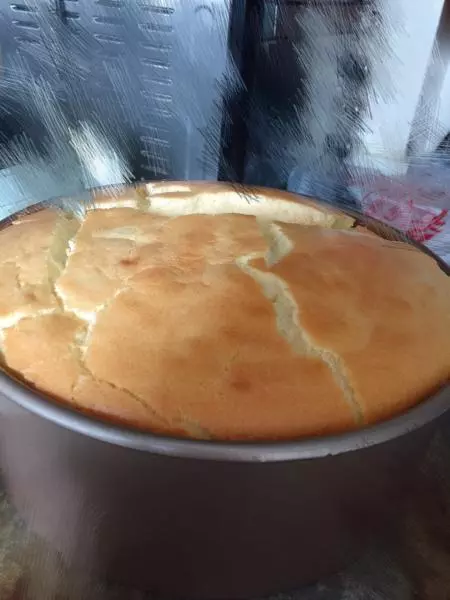
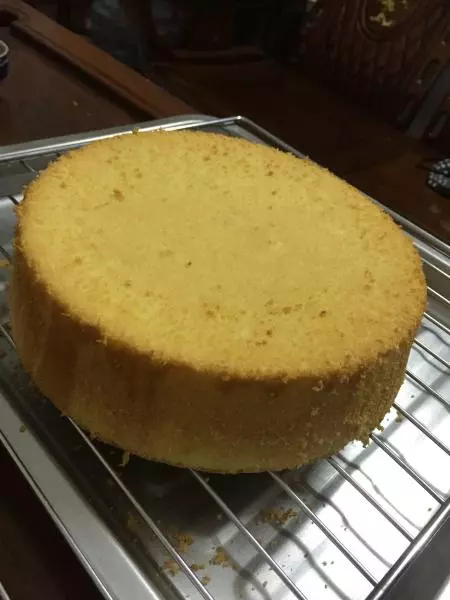
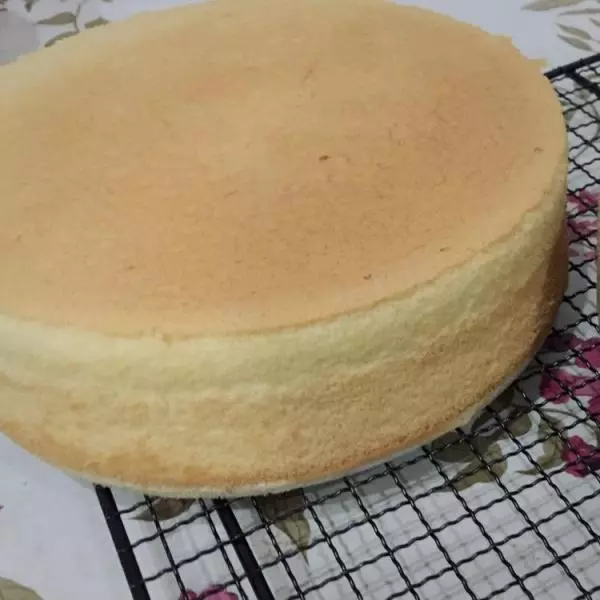
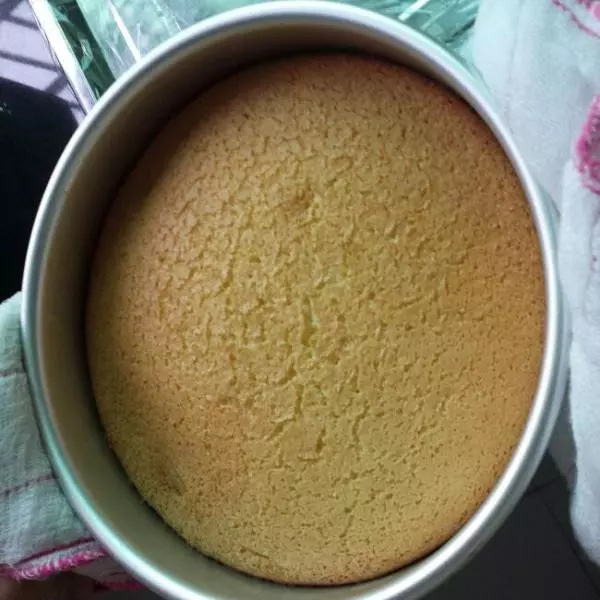
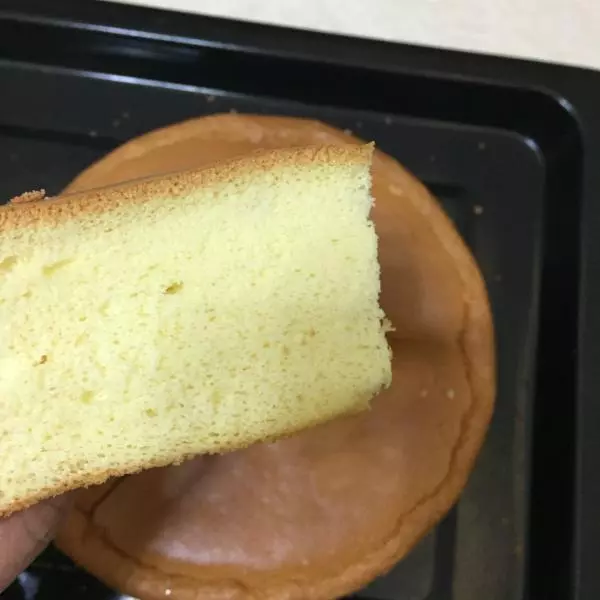
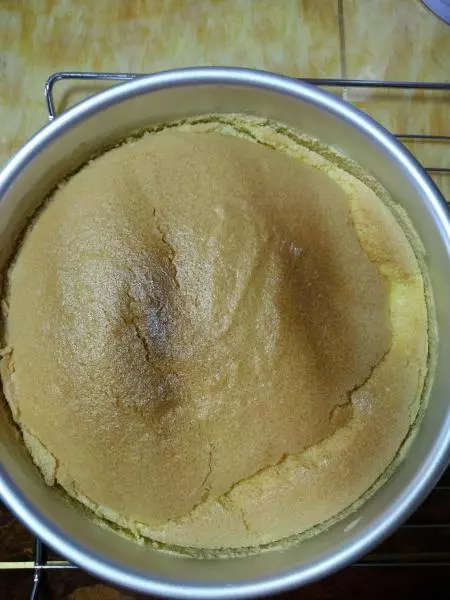
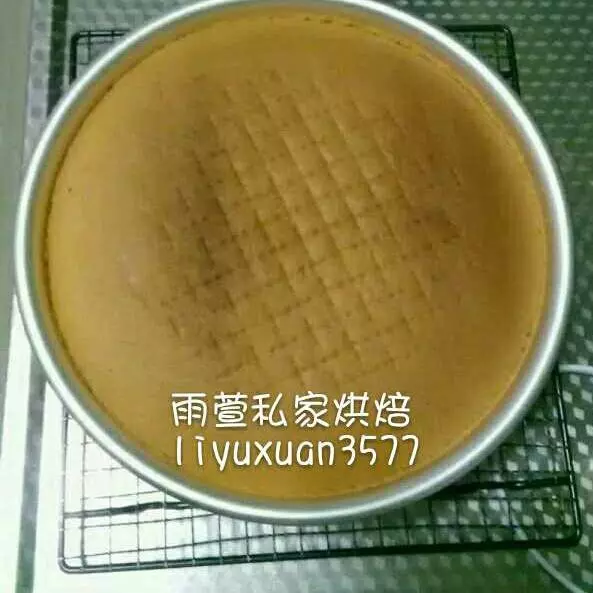
14將混合好的麵糊從高處倒入模具中(大約就400cm左右高處倒入吧……這樣可以減少氣泡的存在)然後可以用刮鏟將表面進行一定的刮平整理…最後將模具輕震、排出較大氣泡~ 可以開烤了!上下火160、55-60min(當然具體還是要根據自己烤箱的脾氣而定)
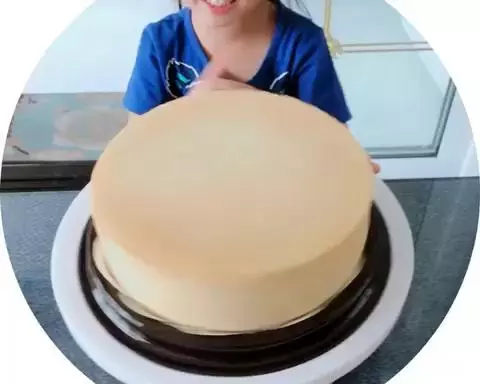
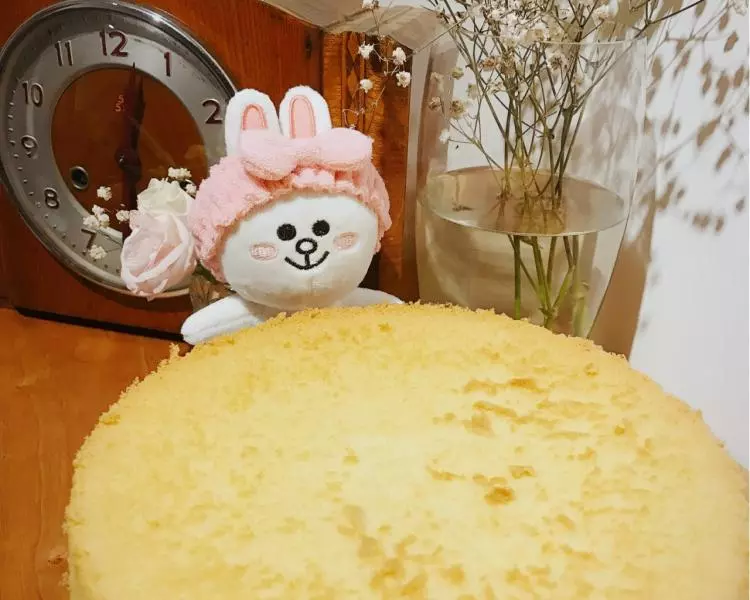
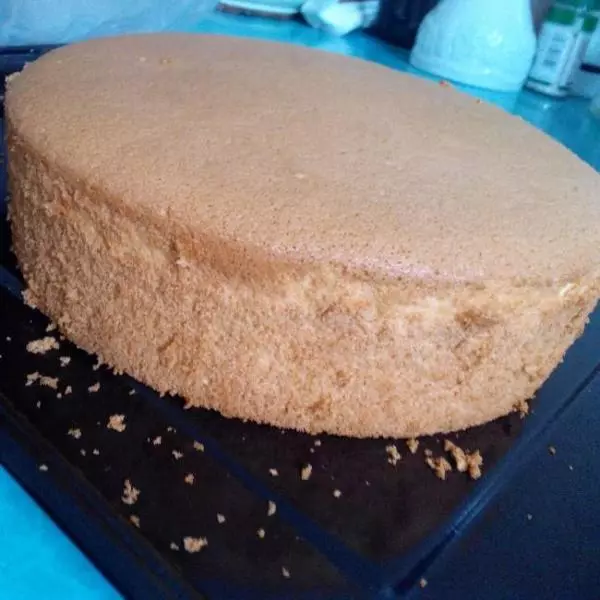
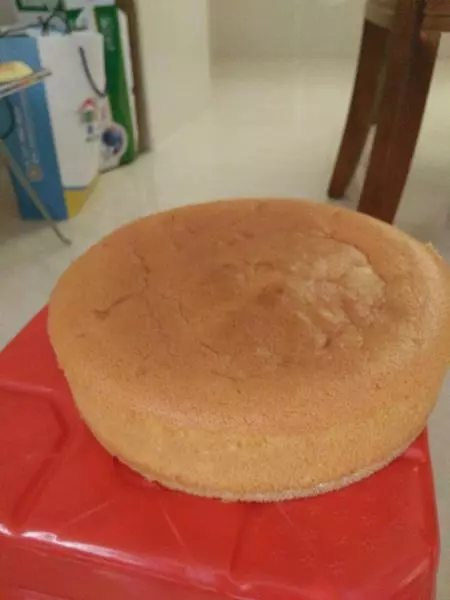
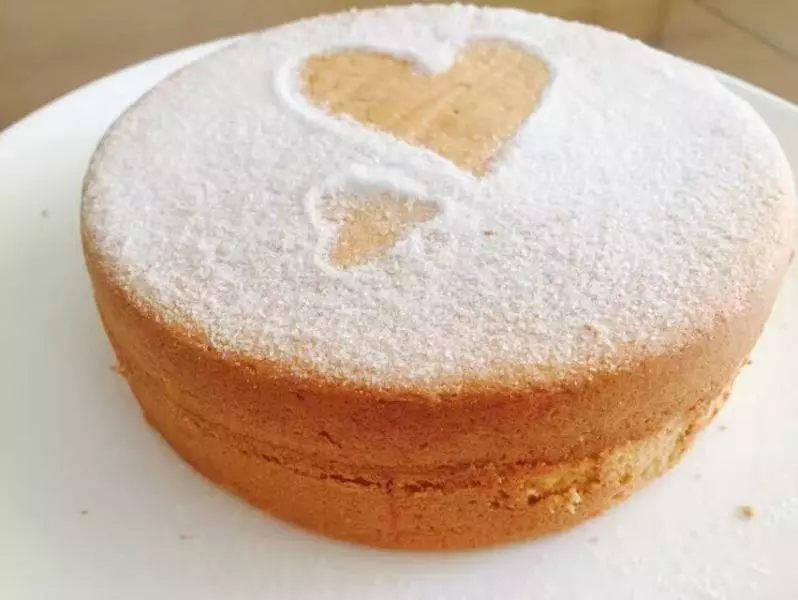
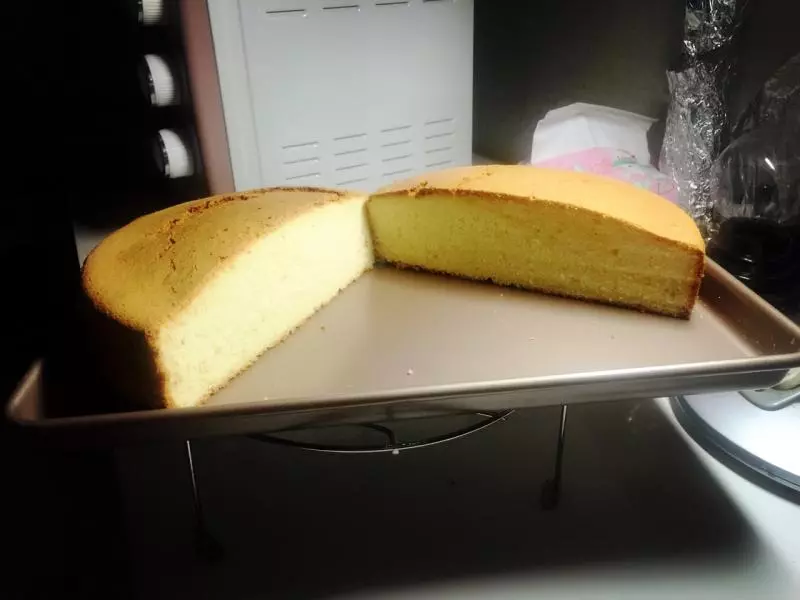
15怎麼樣…哈哈…高度是有的吧~
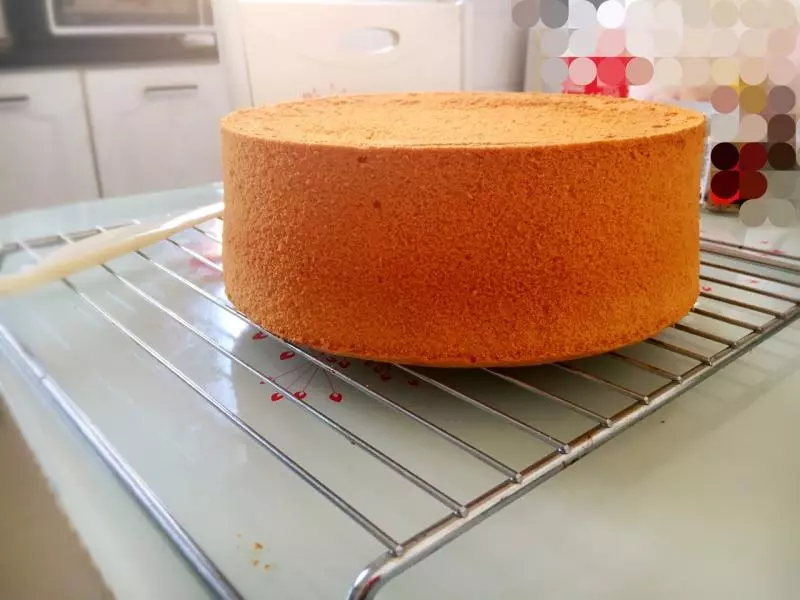
16表面也平整…漂亮?

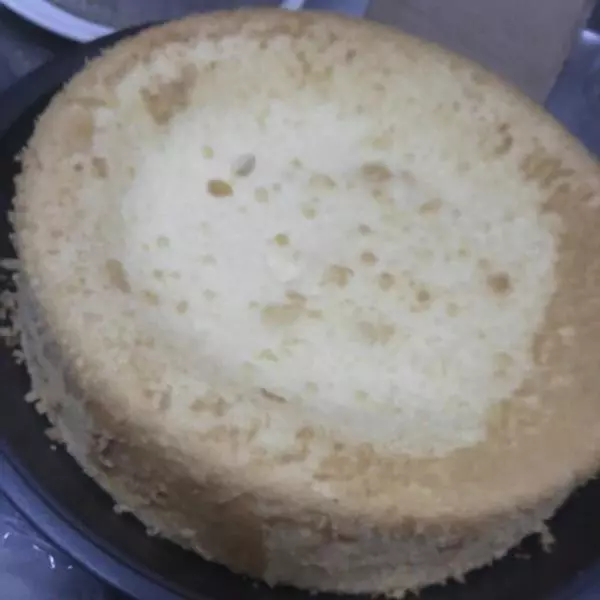
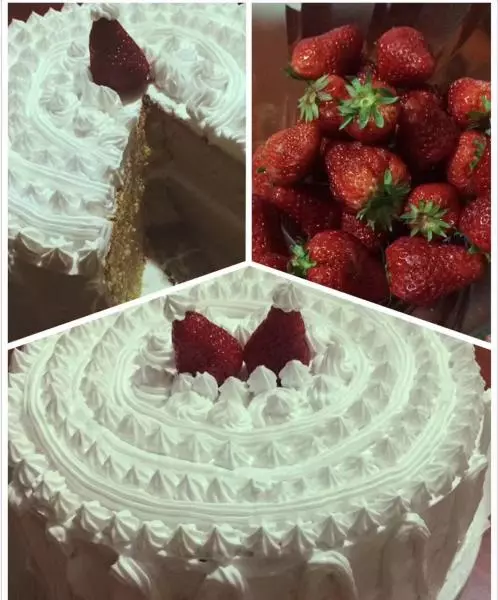
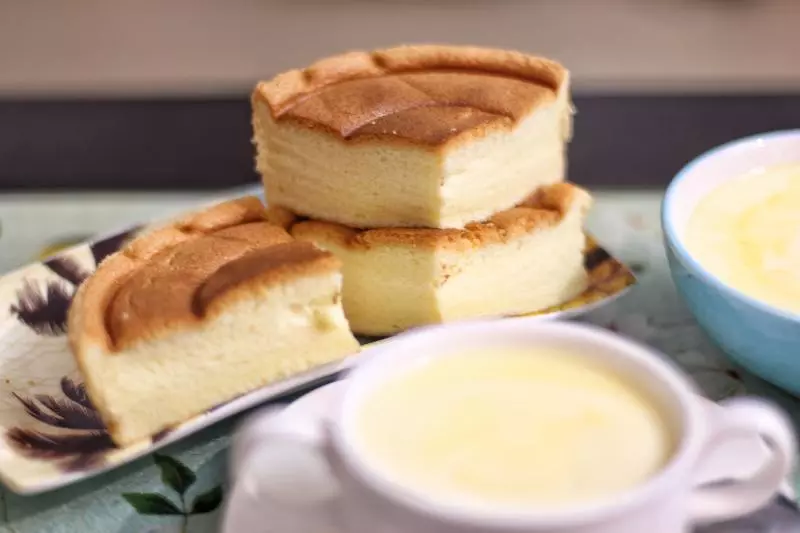
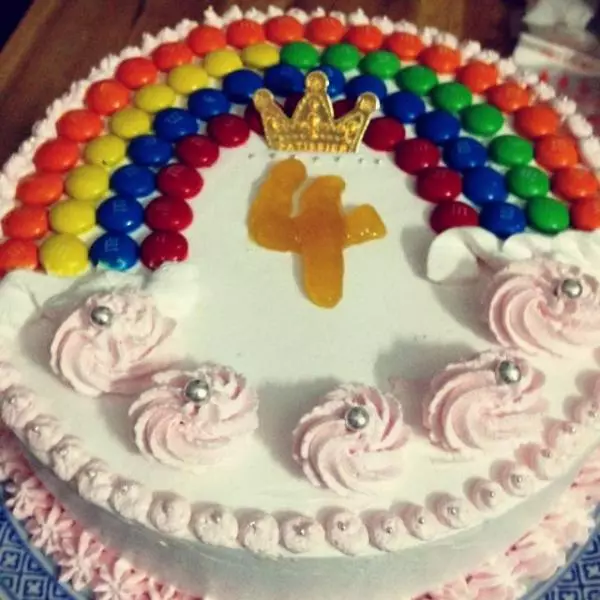
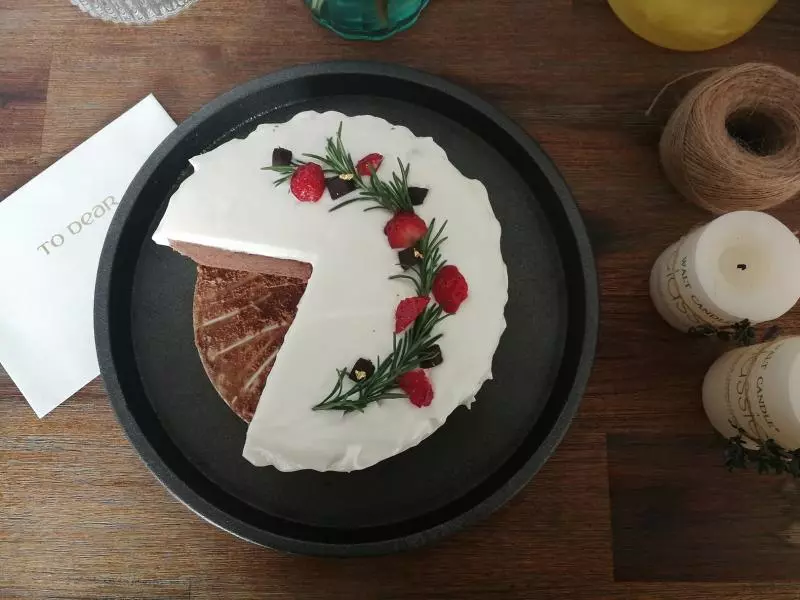
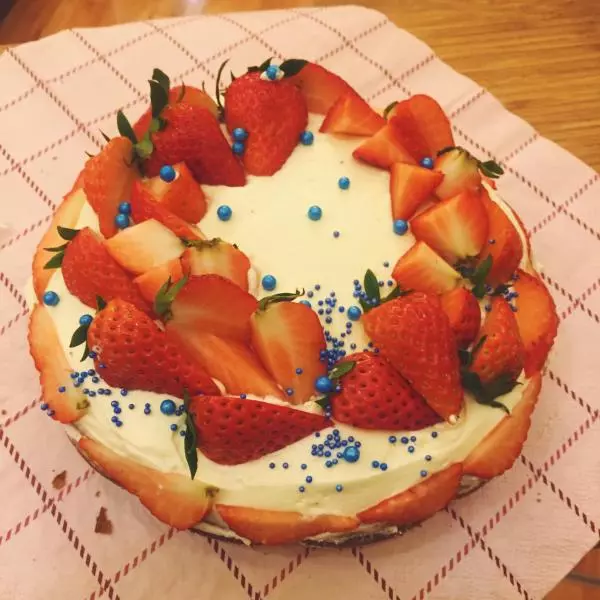
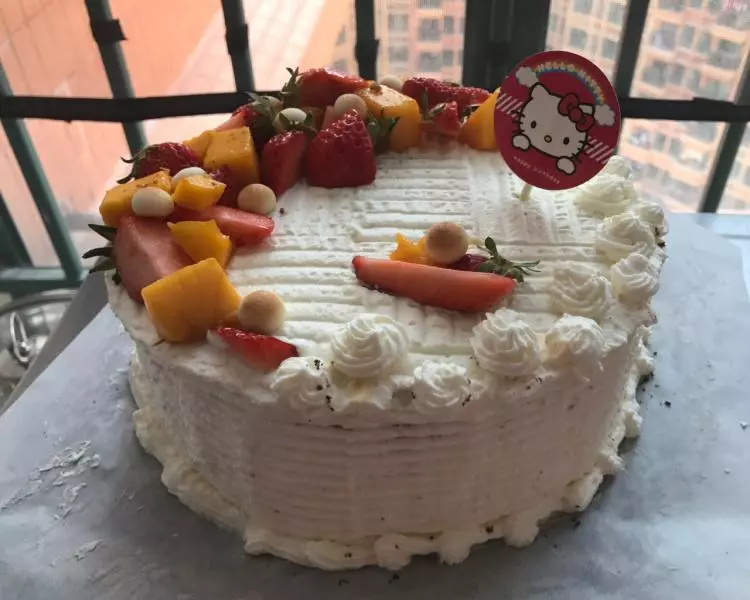
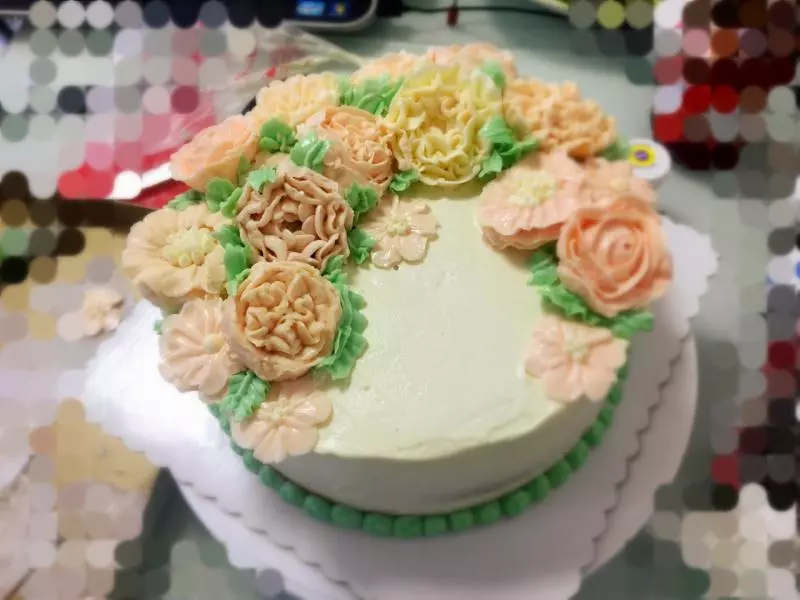
17這是用這個蛋糕底自做了一個偽韓式裱花蛋糕…用我的殘手…哈哈哈~
18???