原料
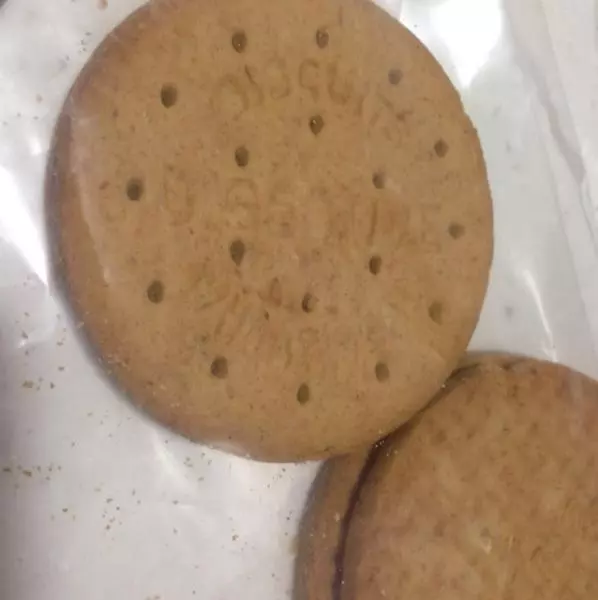
優谷消化餅: 90克(約6片), 無鹽黃油: 30克, 奶油奶酪: 200克, 細砂糖: 35克, 雞蛋: 2個, 淡奶油: 75克, 玉米澱粉: 7克, 六寸活底圓形模具: 1個, 油紙: 一小張, 錫紙: 一小張, 榴槤肉: 150克
步驟
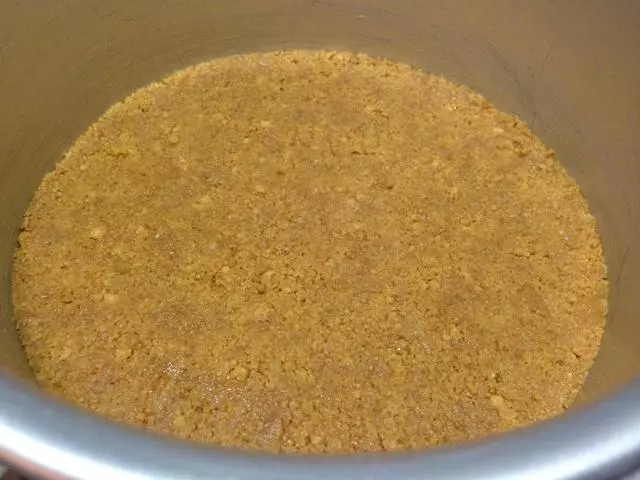
1消化餅乾放入拉鏈袋用擀麵杖搗碎。
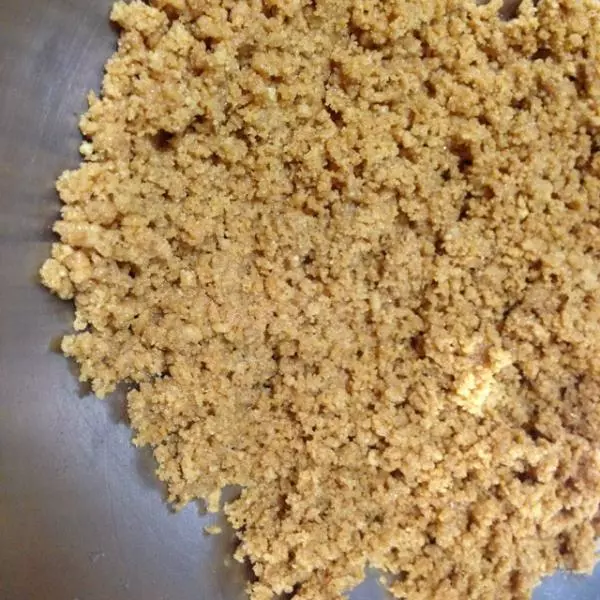
2消化餅乾碎中加入軟化到快要化掉的黃油,拌勻。
3六寸模具的活底用油紙包一下放入模具中,這樣蛋糕冷卻後比較容易脫模
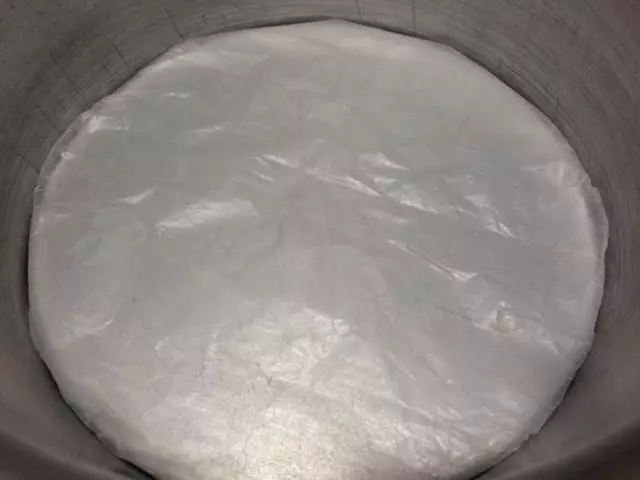
42加入3中,用勺子壓平,放入冰箱冷藏。
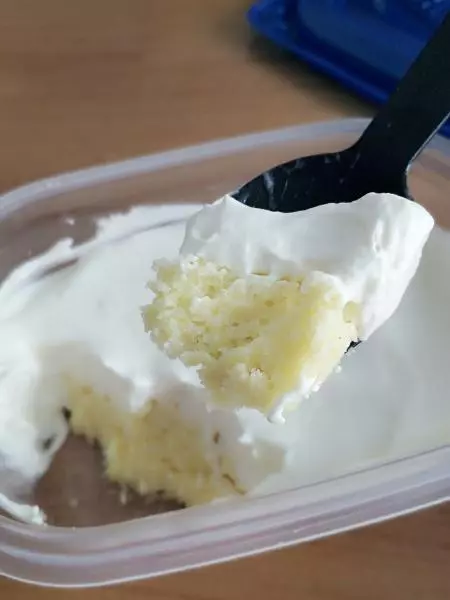
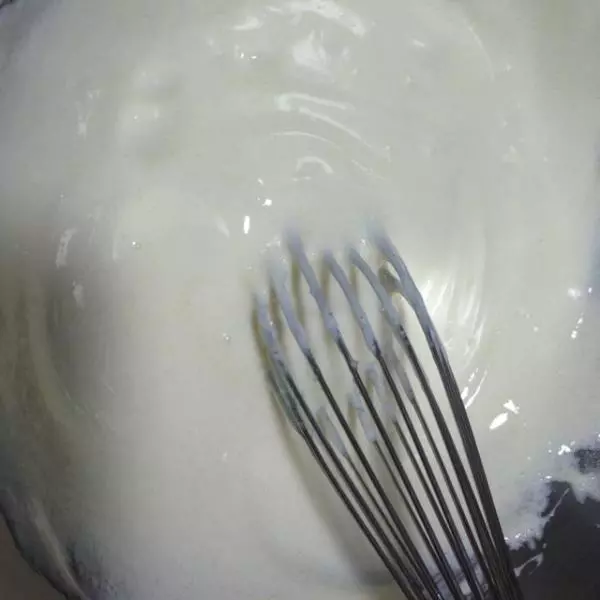
5室溫軟化的奶油奶酪中加入細砂糖,用蛋抽攪拌均勻
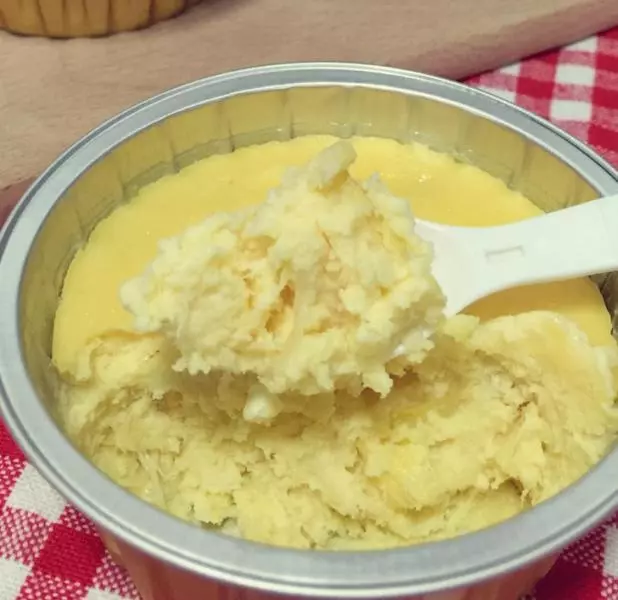
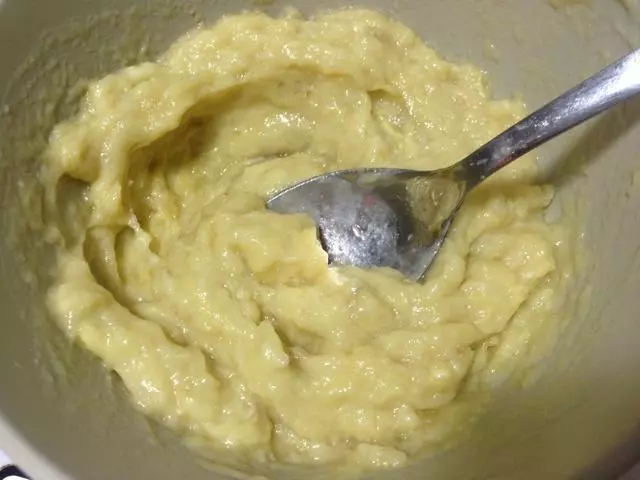
6加入攪拌碎的榴槤肉,拌勻。
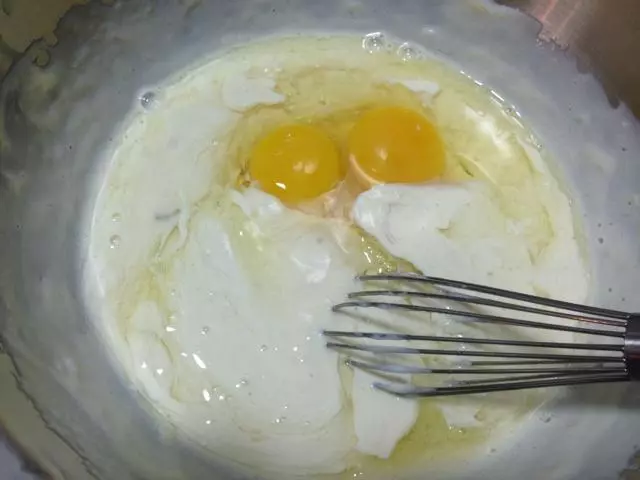
7加入雞蛋,拌勻
8加入淡奶油,攪拌。

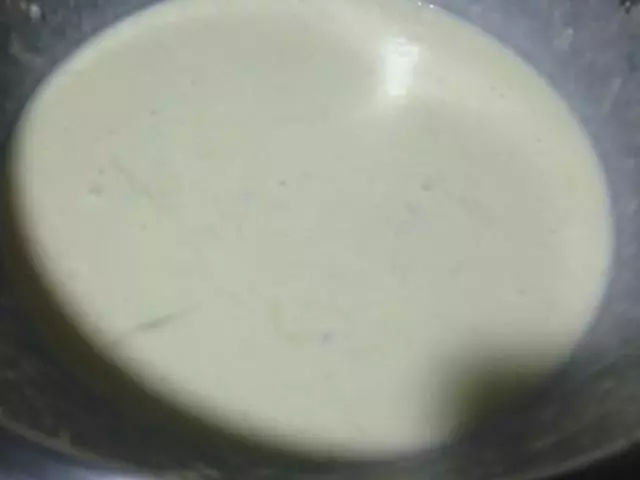
9篩入澱粉,攪拌均勻,榴槤乳酪糊完成
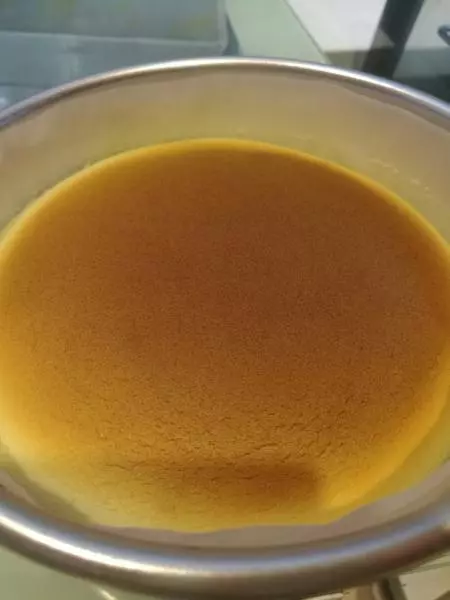
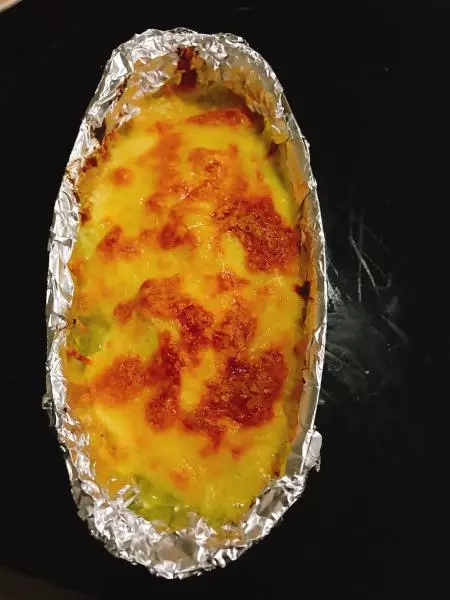
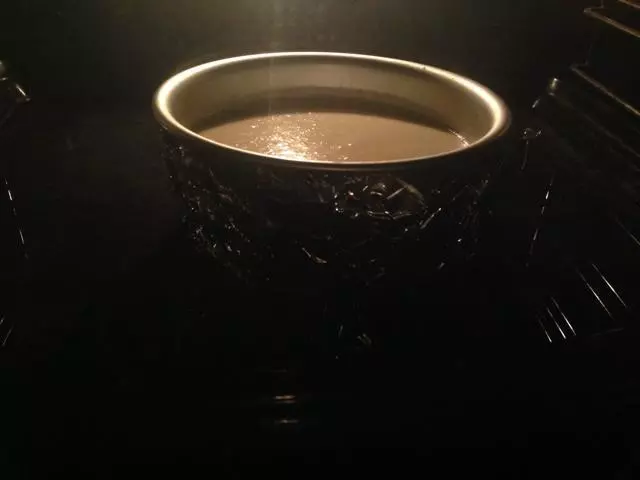
10烤箱預熱200度。取出模具用錫紙包住模具底部,榴槤奶酪糊注入模具,用力鎮幾下,排除大氣泡。入烤箱。
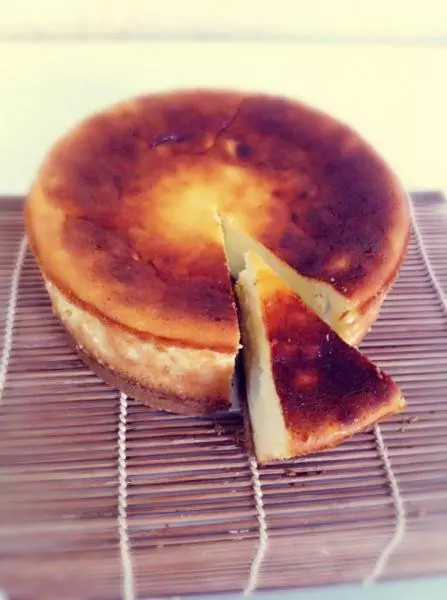
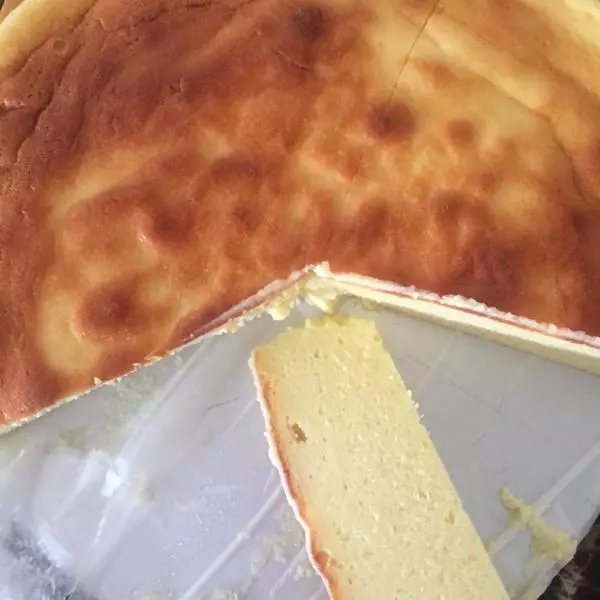
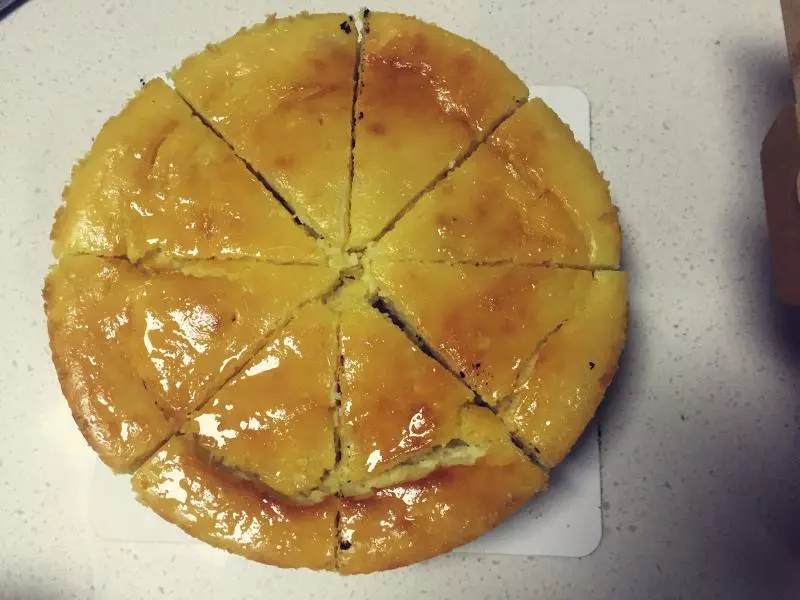
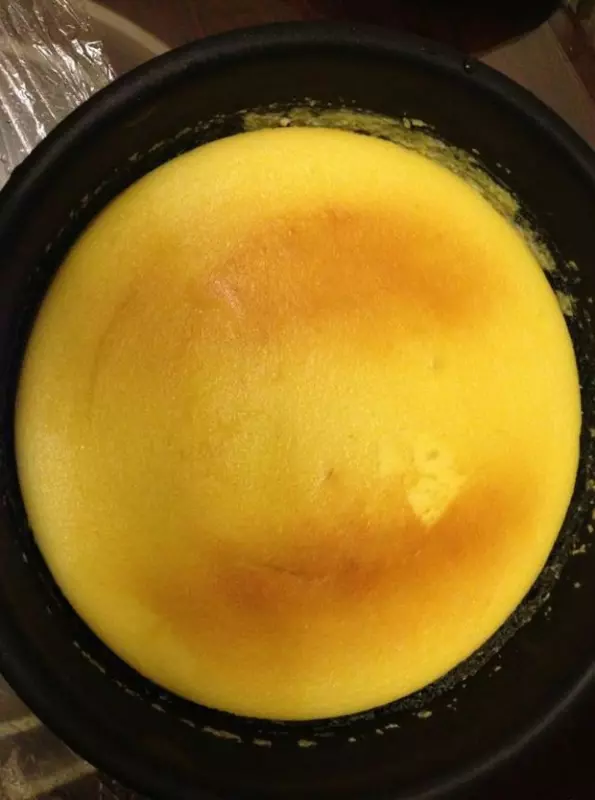
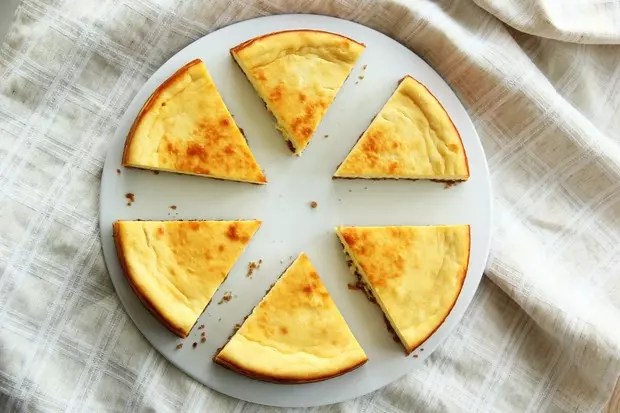
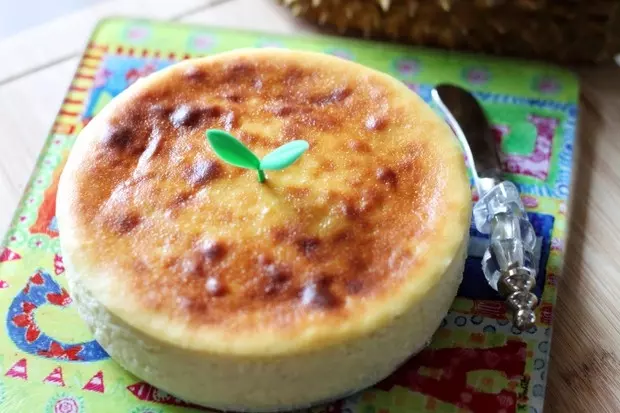
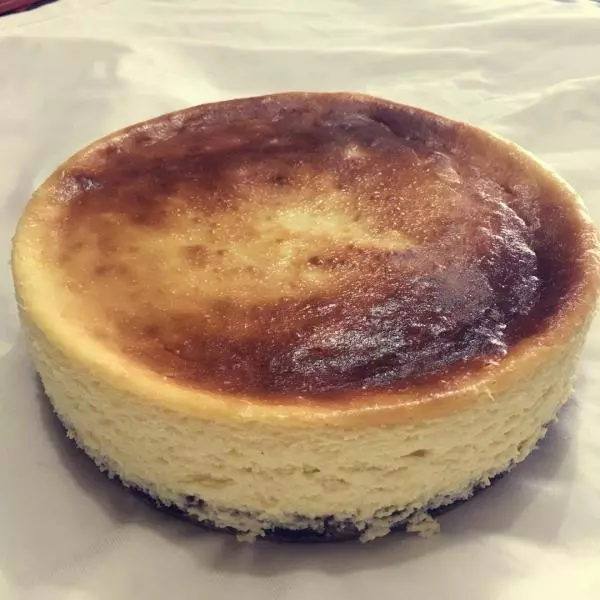
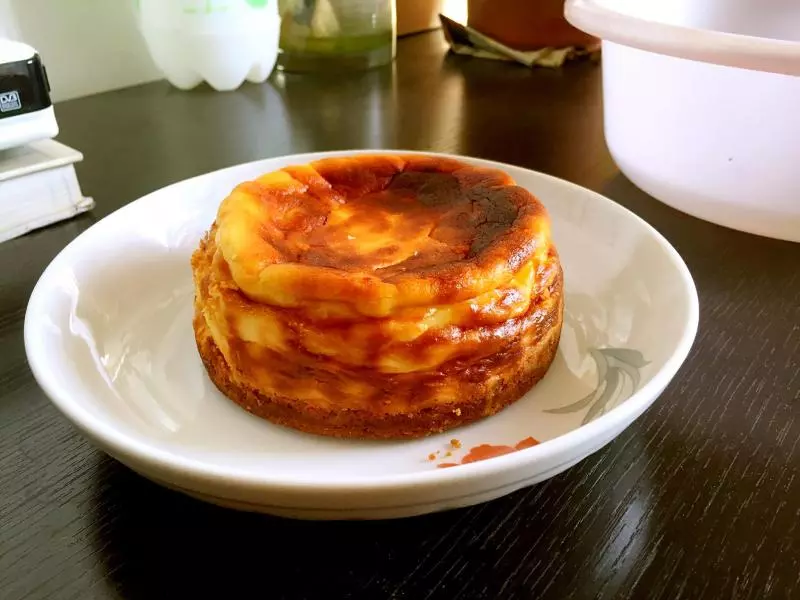
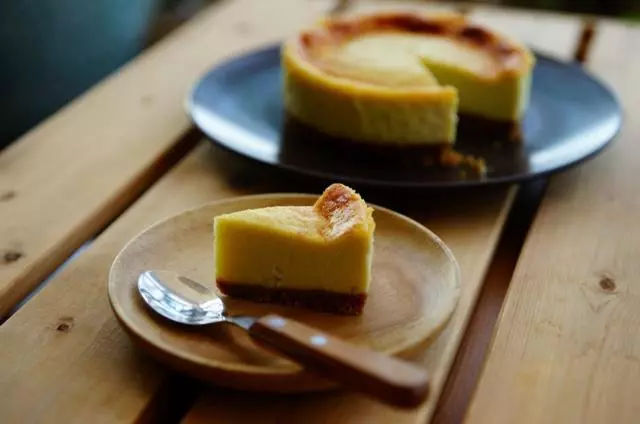
11200度上下火烤15分鐘後,降至175度,烤45分鐘。出路冷卻後冷藏,就可以享用啦~
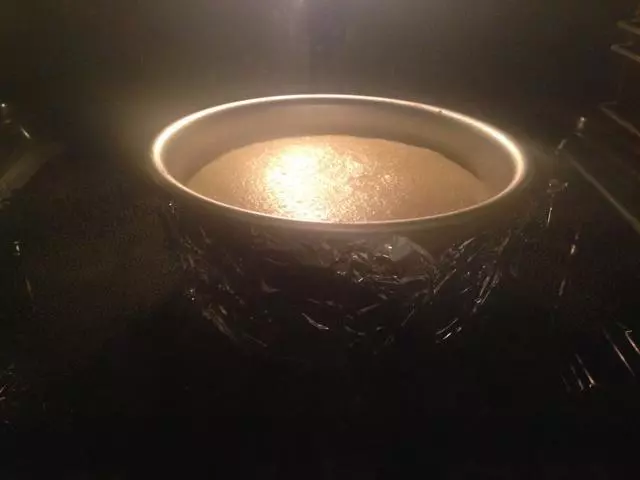
12喜歡錶面微焦的美式芝士蛋糕的樣子的話,可以最後加上火200度烘5分鐘^_^
小技巧
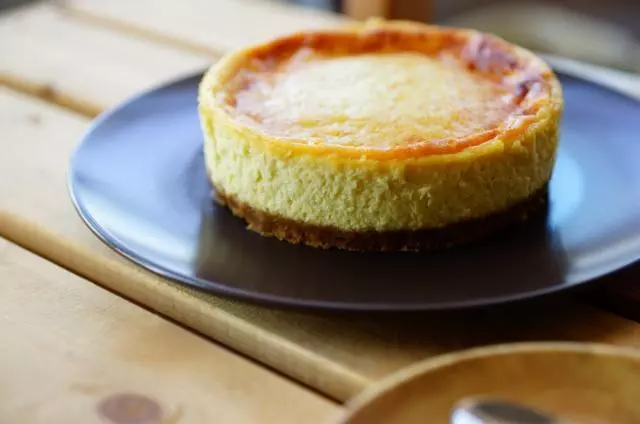
我總喜歡美式芝士蛋糕那種粗曠的感覺,表面微焦,冷卻後皺巴巴有一點點塌陷大感覺,所以最後上火200度又烘了5分鐘,喜歡清新風的話這個步驟可以省略,方子裡的溫度和時間剛好是沒上色,芝士蛋糕的本色。