原料
馬斯卡彭奶酪: 250克, 咖啡酒: 50ml, 吉利丁片: 10克, 細砂糖: 70克, 蛋黃: 3個, 純凈水: 60ml, 淡奶油: 200ml, 細砂糖: 30克(加入蛋白), 全雞蛋: 2個, 低筋麵粉: 60克, 細砂糖: 30克(加入蛋黃), 可可粉: 適量, 糖粉: 適量
步驟
1準備好所有材料

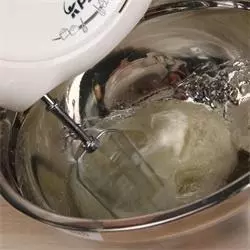
2用隔蛋器分離蛋清,分別裝入兩個打蛋盆內

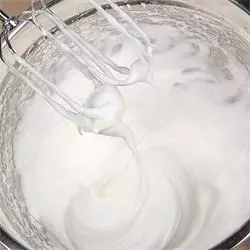
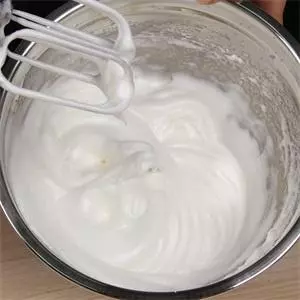
3細砂糖分三次加入蛋清裡面打發,至出現尖勾,光滑細膩狀
4打發蛋黃到發白濃稠狀,同樣別忘了加入細砂糖哦!

5打發到蛋白非常有光澤,尾端呈挺立狀
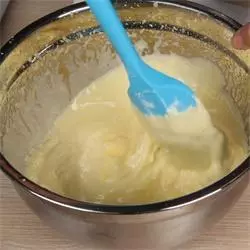
6將細砂糖加入蛋黃
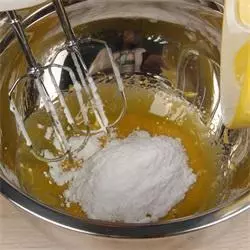
7蛋黃打發至發白濃稠狀

8分次加入麵粉翻拌均勻
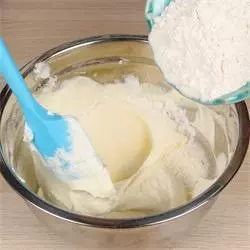
9麵糊攪拌至儘量沒有顆粒狀

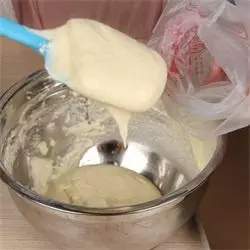
10將麵糊裝入裱花袋
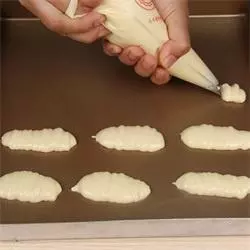
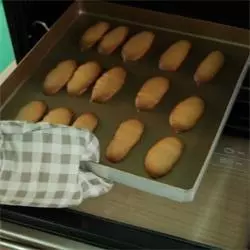
11在烤盤上寄出手指餅乾形狀
12放入烤箱中層170度,20分鐘。烤至表面金黃色就可以出爐嘍
13先把細砂糖加水中小火煮沸。慢慢倒入蛋黃糊打發,

14打發至膨脹到3倍大,發白,濃稠出現紋路,將吉利丁片隔水融化後倒入(吉利丁粉也可以哦)

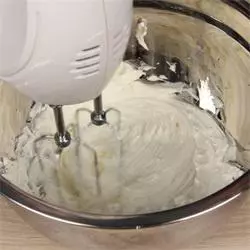
15將馬斯卡彭奶酪倒入打蛋盆中

16用打蛋器把馬斯卡彭奶酪拌順滑即可
17先將一半的蛋黃糊和馬斯卡彭奶酪混合均勻,壓拌和翻拌結合,直到沒有任何奶酪顆粒。再把芝士糊倒入剩餘的蛋黃糊中翻拌均勻

18把淡奶油打發至六七成
19將淡奶油加入蛋黃糊中攪勻均勻
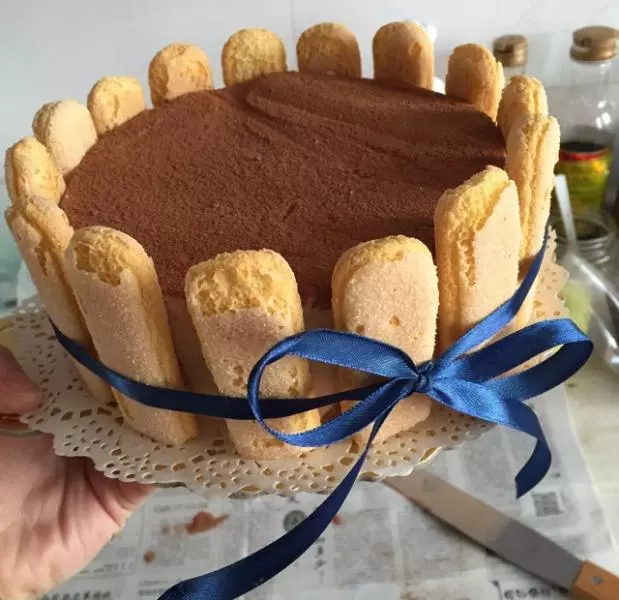
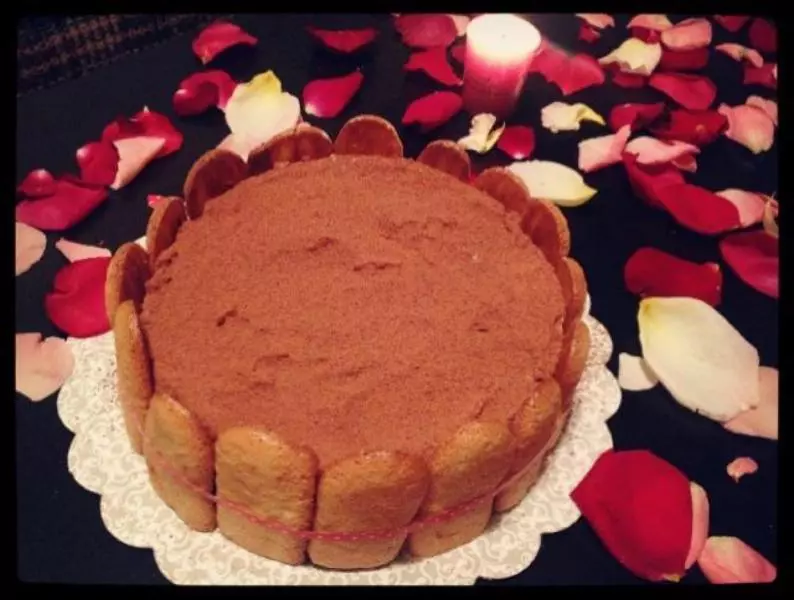
20.手指餅乾在咖啡酒裡面滾一圈,讓手指餅乾把表面的酒吸收。然後放進模具的底部

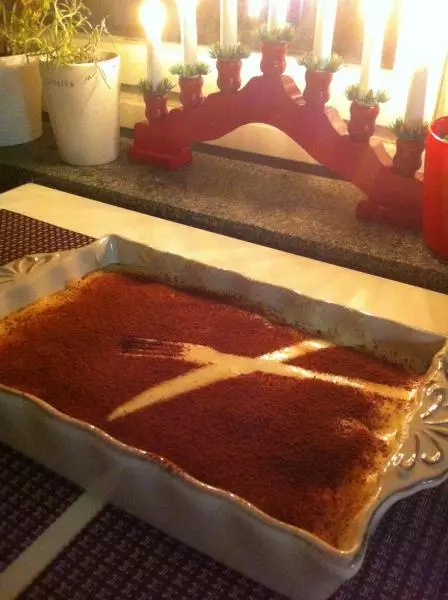
21倒入提拉米蘇糊

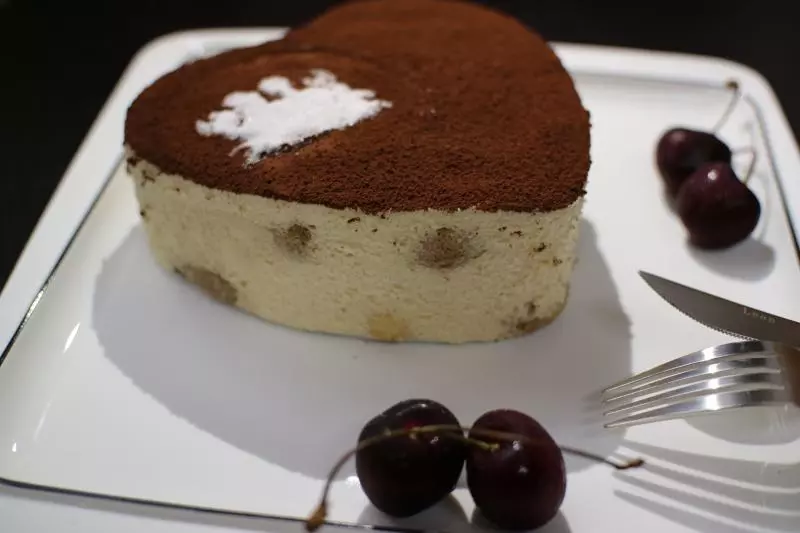
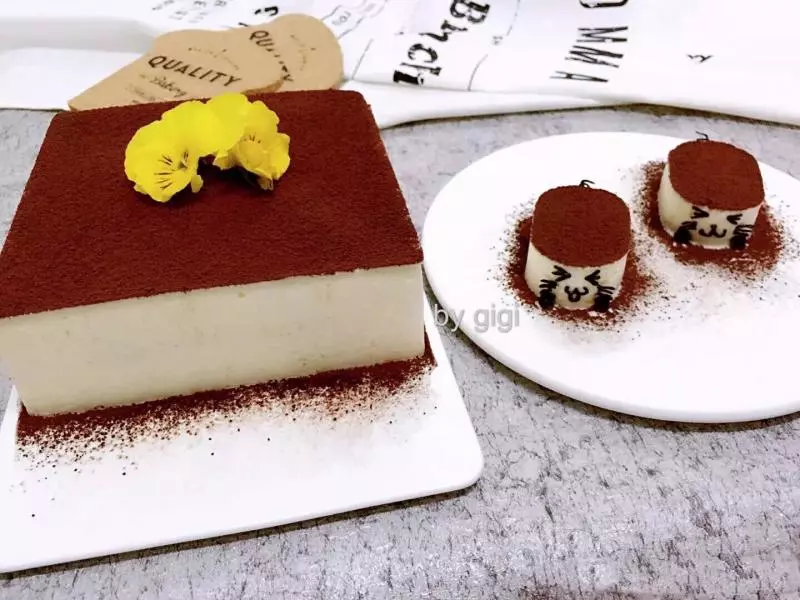
22一層手指餅乾一層提拉米蘇間隔倒進去

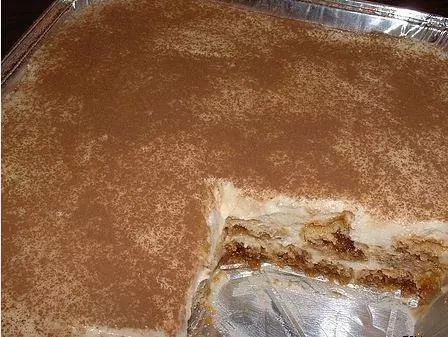
23直到倒滿整個模具,最後放進冰箱冷藏,至少5個小時哦

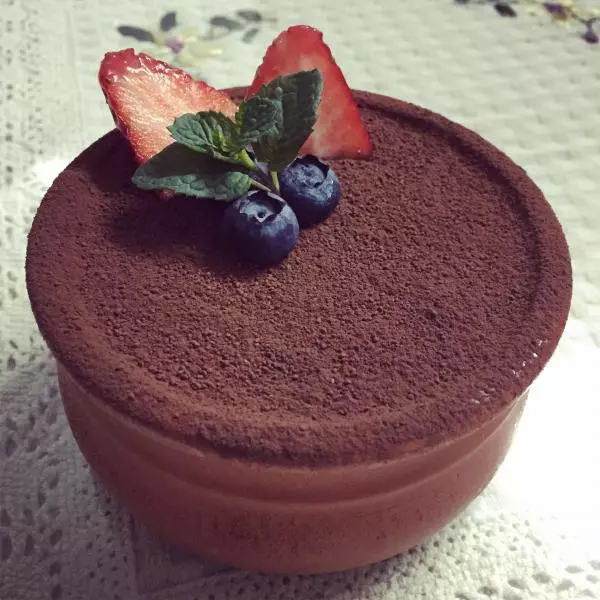
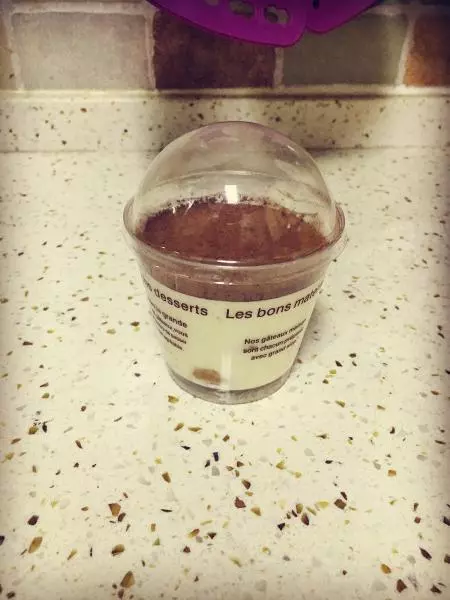
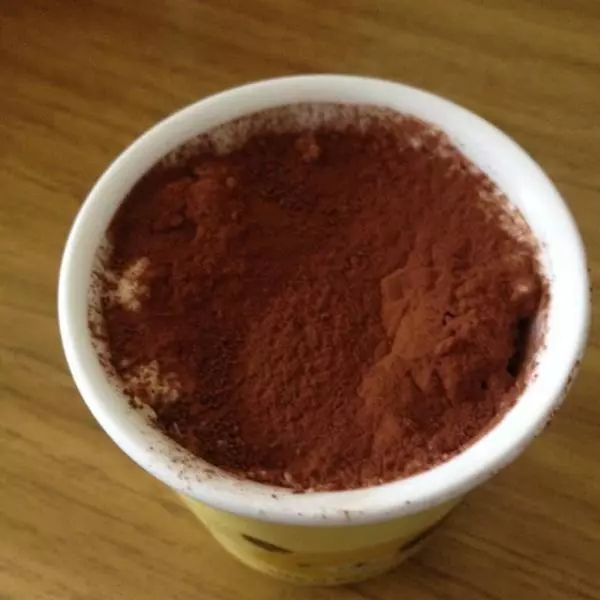
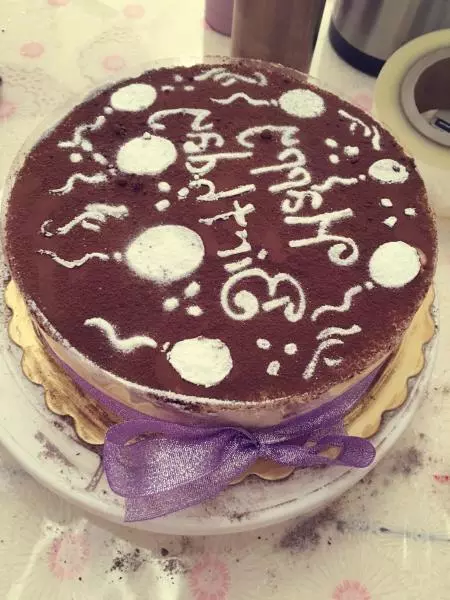
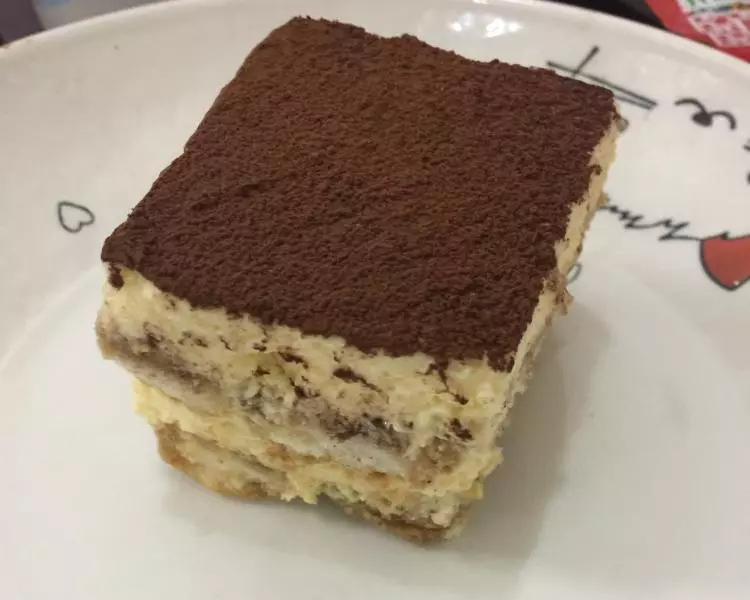
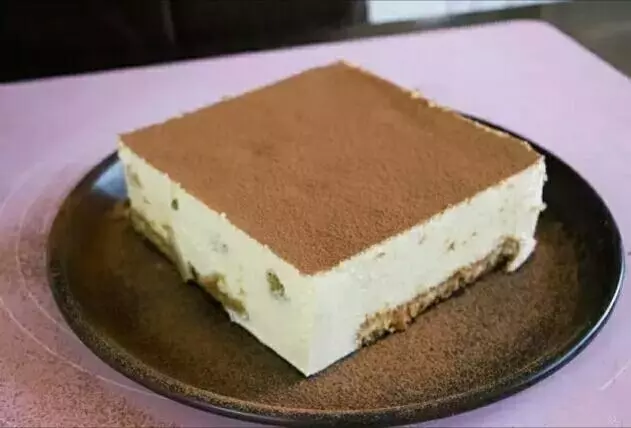
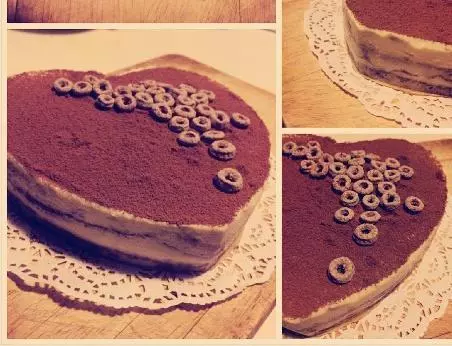
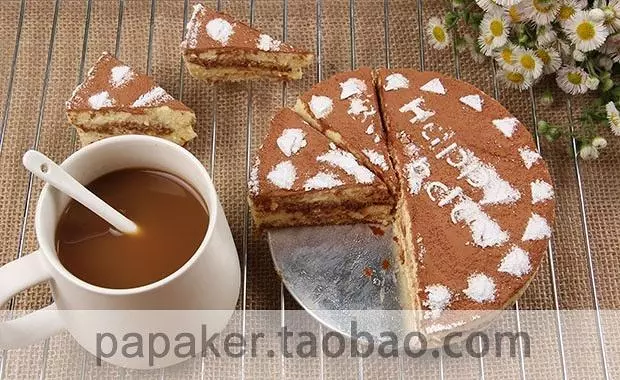
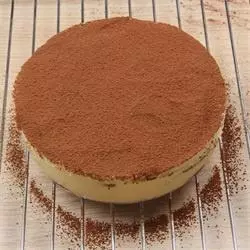
24脫模,撒上可可粉
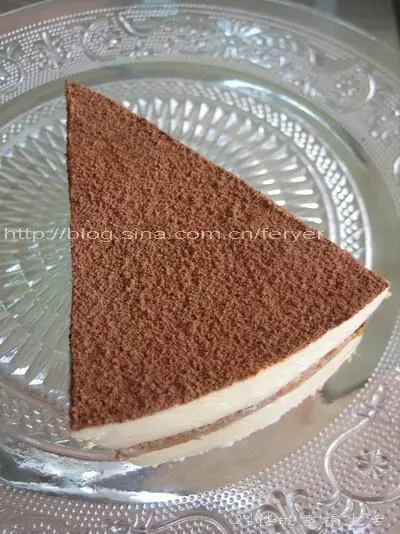
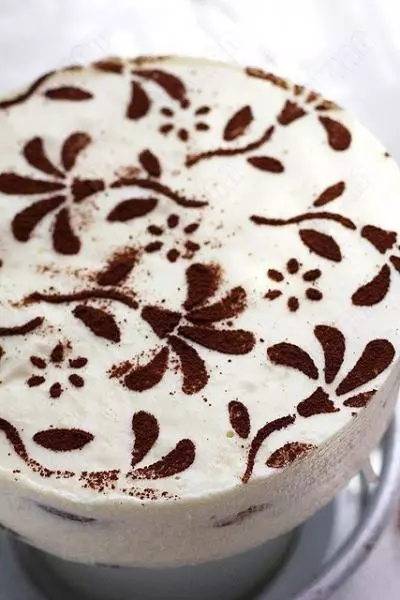
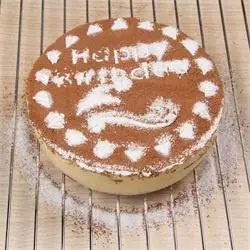
25用蛋糕印花模,撒上糖粉
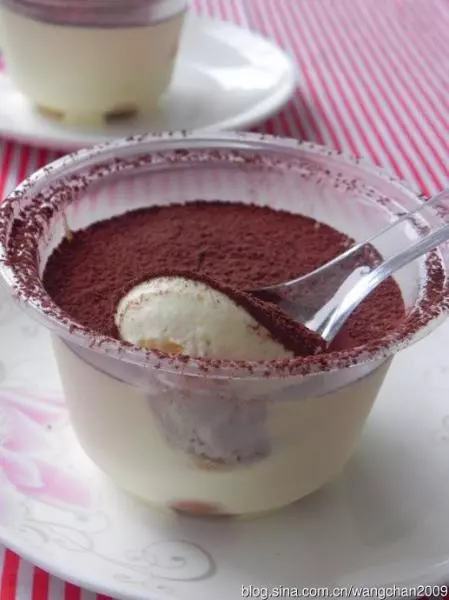
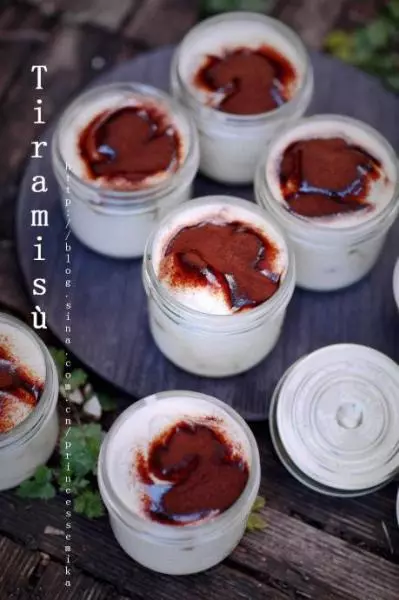
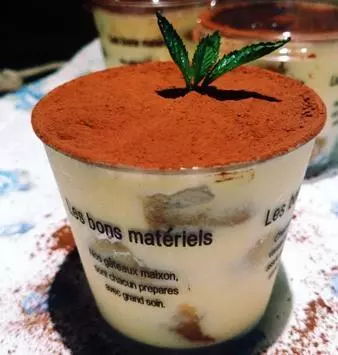
26也可以裝入提拉米杯哦