原料
低筋麵粉: 70G, 雞蛋: 3個, 玉米澱粉: 20G, 酸奶: 200G
步驟
1蛋黃蛋白分開。其中蛋黃加入濃稠酸奶,攪拌均勻
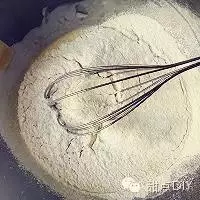
2篩入低粉和玉米澱粉,攪拌均勻
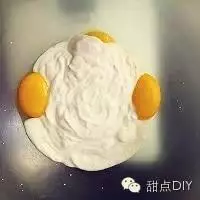
3至攪拌成如圖細膩光滑,蛋黃糊製作完成,一旁備用。
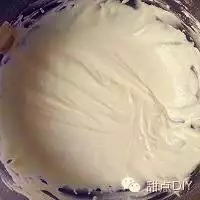
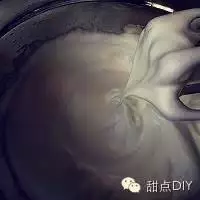
4蛋白加幾滴檸檬汁或白醋,分三次加糖,打發至大彎鉤狀態。
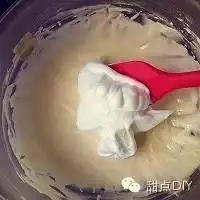
5蛋白分三次加入蛋黃糊中,用翻拌和切拌的手法攪拌均勻
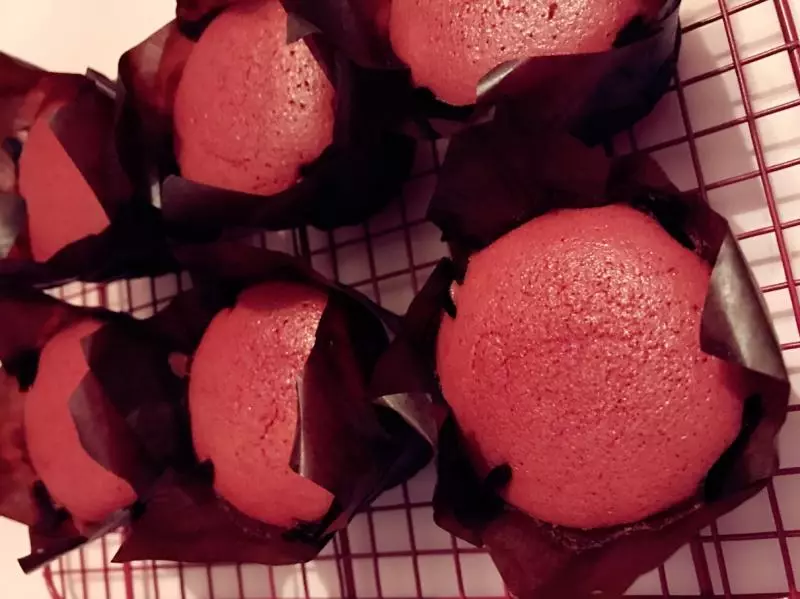
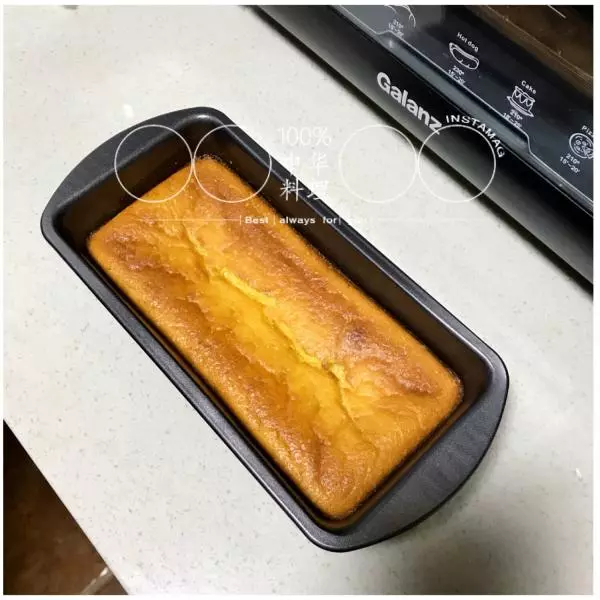
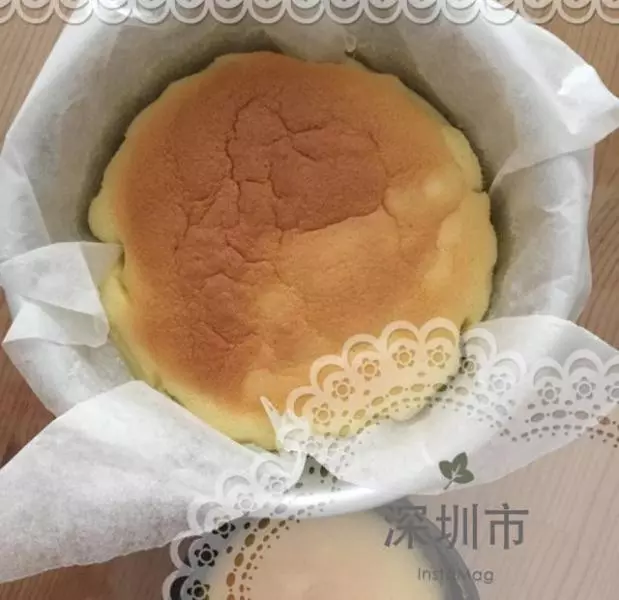
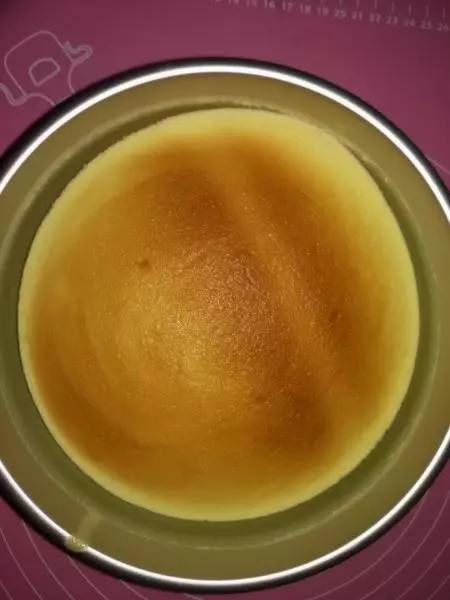
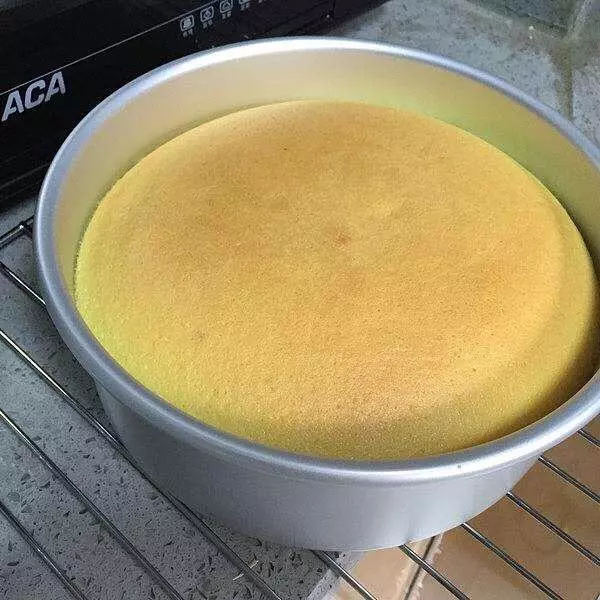
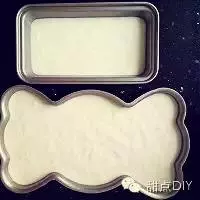
6把攪拌好的蛋糕糊放入模具中,八九分滿即可,多餘出一部分我放入了一個迷你小蛋糕模具中,輕震出大氣泡。
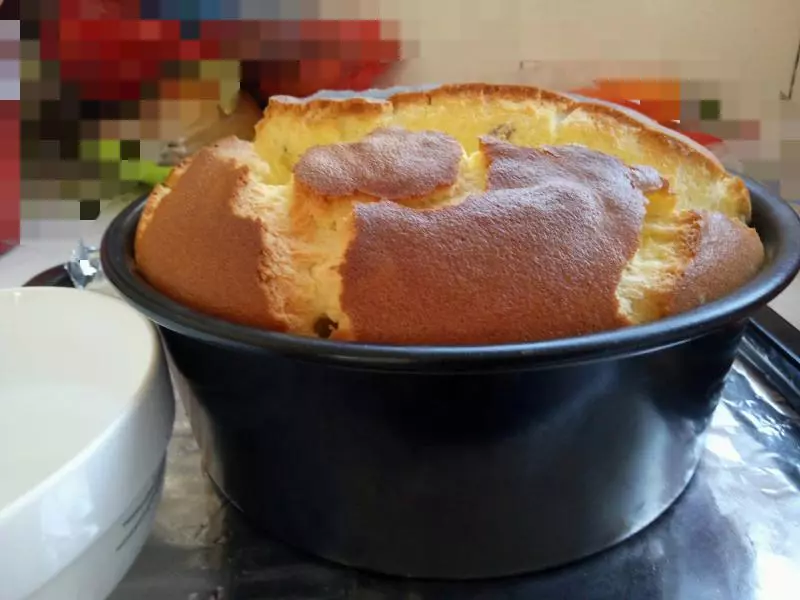
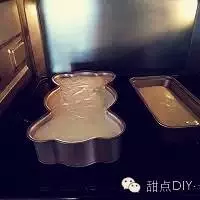
7預熱好的烤箱中把烤盤加滿水,放入模具,110度80分鐘,轉120度20分鐘,關火,在烤箱中燜30分鐘再取出。(其實後面我心急了些,轉120度以後略開裂了,所以實際上110度100分鐘會更完美。每個烤箱溫度不同,我這個烤箱,溫度偏高20到30度)
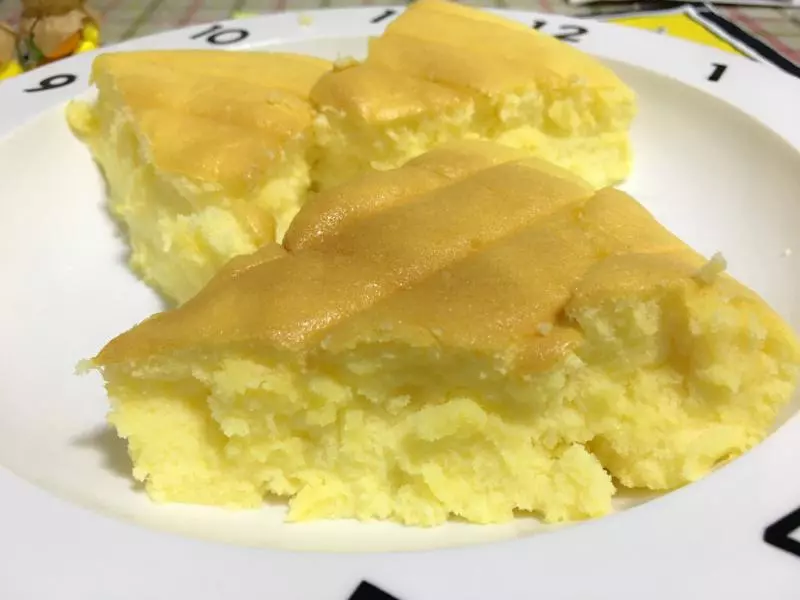
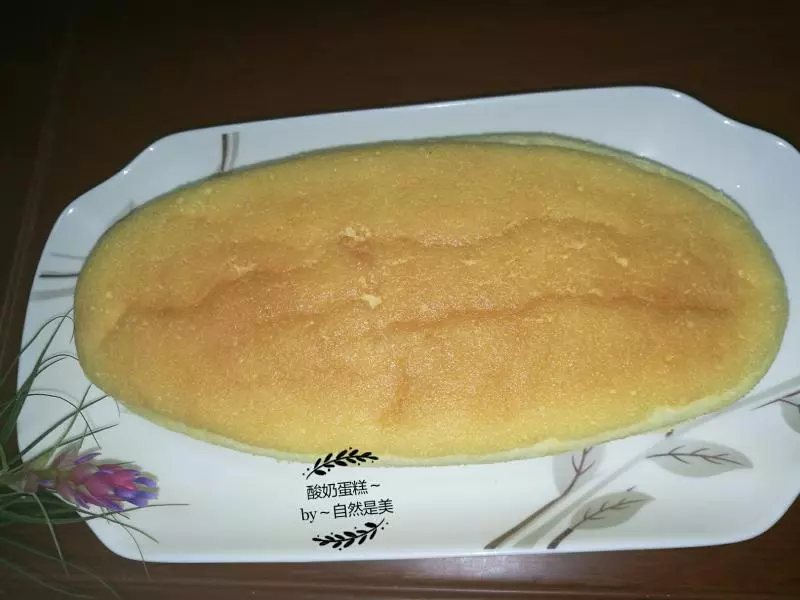
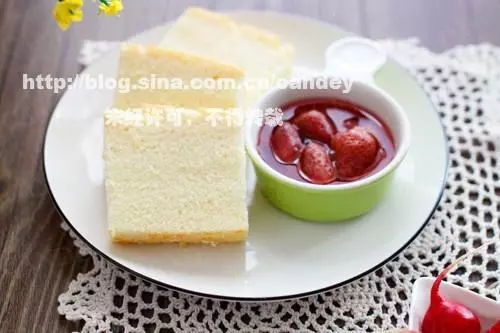
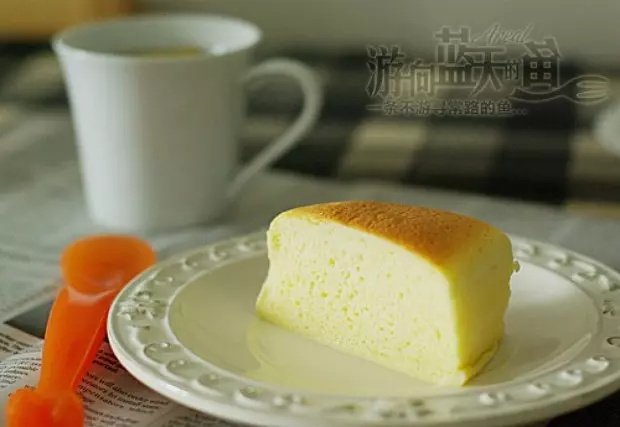
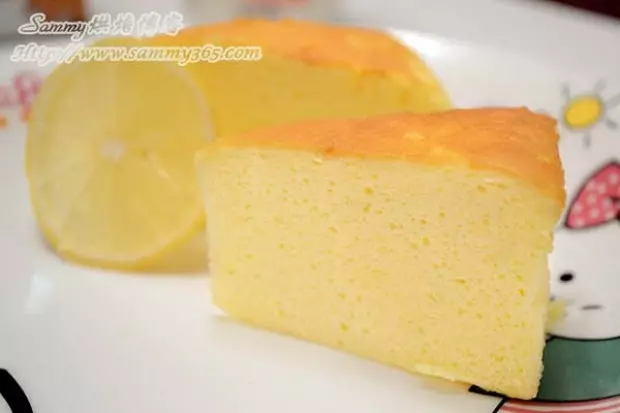
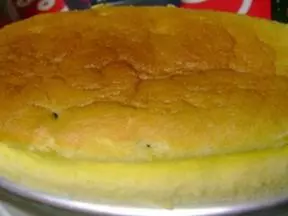
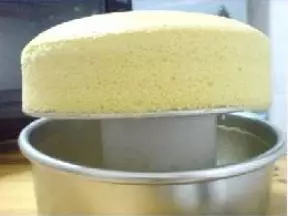
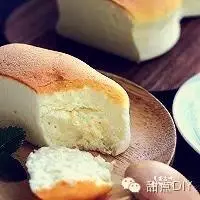
8倒出脫模即可。如果放冰箱中冷藏後食用口味更佳