原料
雞蛋: 5個, 水: 50g, 玉米油: 50g, 細砂糖(蛋清): 50g, 低筋麵粉: 60g, 奶油: 250g, 細砂糖(奶油): 20g, 水果: 自己喜歡
步驟
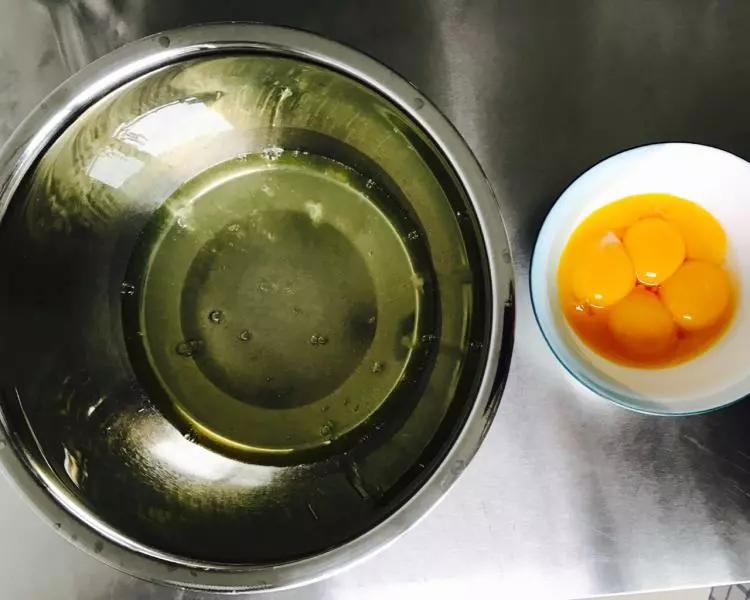
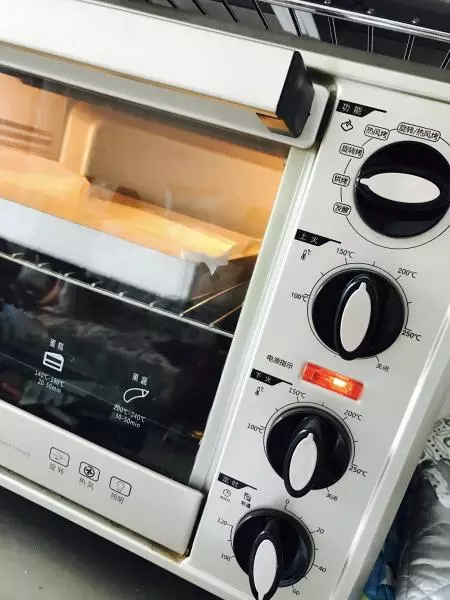
1預熱烤箱(ACA烤箱,上下火175度) 將蛋清和蛋黃分離 蛋清放冰箱冷藏備用,蛋黃放一邊備用 ⚠️裝蛋清的盆需要無油無水哦
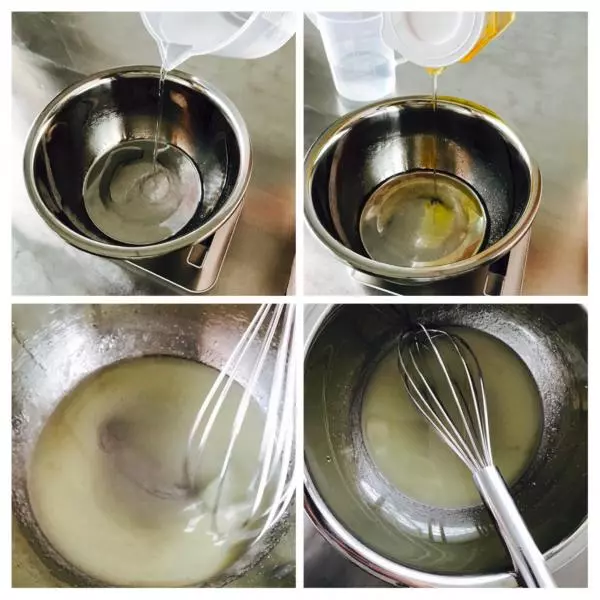
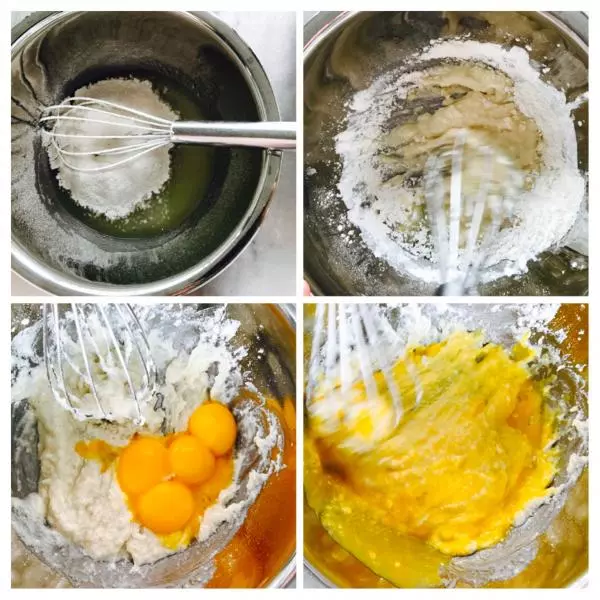
2另取一隻乾淨的盆 加入50克水 再加入50克油 用手動打蛋器在盆內來回不停劃(一字、Z字、圈圈均可),使水油融合,液體狀態發生變化
3將冰箱裡的蛋清取出來,加入50克糖 用電動打蛋器打至大彎鉤狀態 (粗泡➡️細膩➡️有光澤➡️紋路很清晰、提起打蛋器蛋白有一個彎勾、不是很硬) 打過頭就打渣了哦 打完蛋白放冰箱冷藏備用

4水油盆里接著加入60克麵粉 用手動打蛋器混合均勻,一字、Z字、均可,不可劃圈圈哦,混合至無乾粉便可 再加入5個蛋黃,用同樣的手法劃均勻
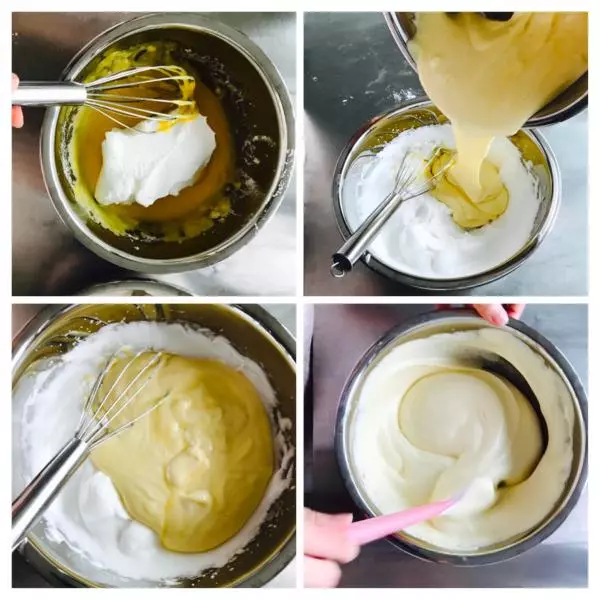
5將蛋白從冰箱取出 取1/3的蛋白放入步驟4的蛋黃糊里 用刮刀翻拌,翻拌均勻後倒回到2/3的蛋白盆內 繼續用刮刀翻拌
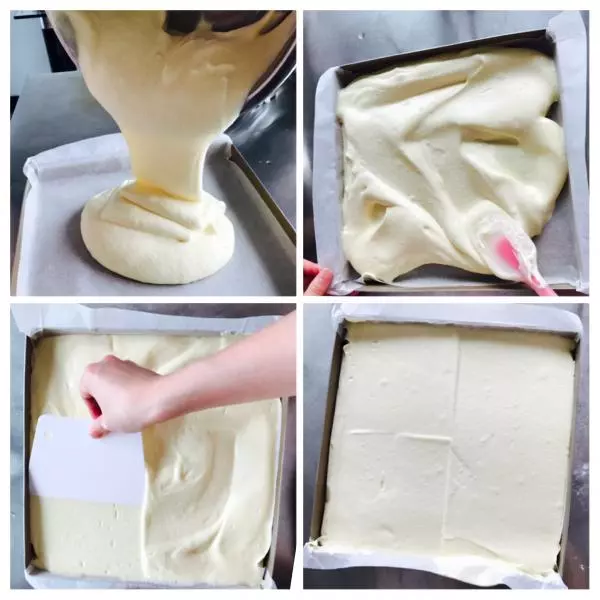
6烤盤墊油紙 將拌好的蛋糕糊倒入烤盤 利用各種工具將面抹平【偷笑】 抹平後用手在烤盤下面拍幾下排出氣泡
7入烤箱 中層
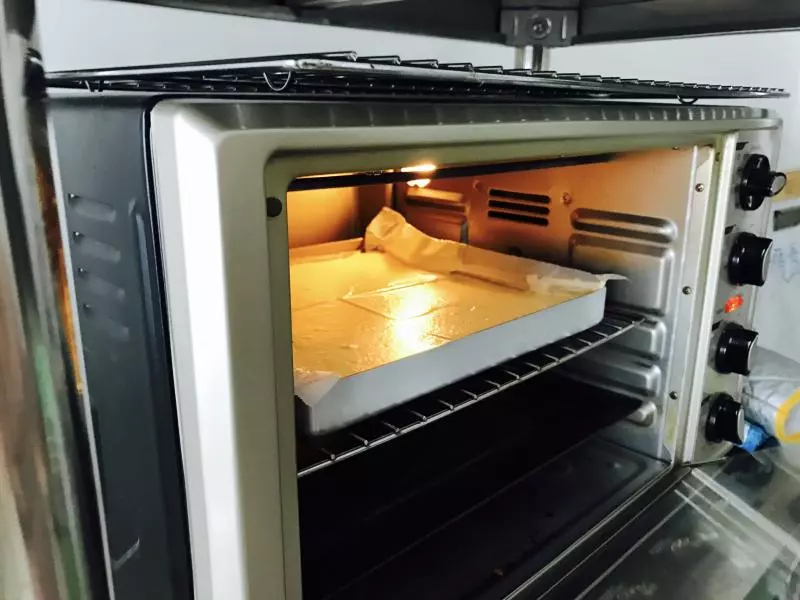
8上下火175度,19分鐘 每隻烤箱溫度不一樣哦 大家需要多烤幾次測下自己烤箱的烤溫 測是否烤好的一個小方法:用手輕輕按下蛋糕卷,沒有沙沙聲、不粘手就表示烤熟了
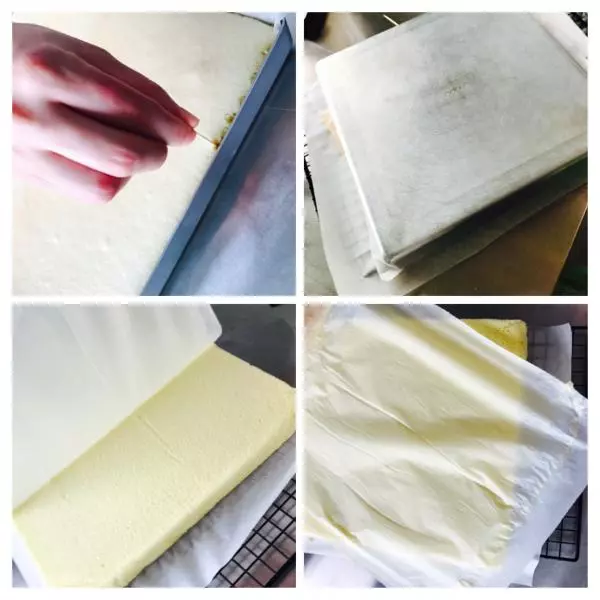
9出爐後用牙籤在烤盤四周劃一下,使蛋糕與烤盤四周分離 網架上墊一張油紙,將蛋糕卷的胚倒扣 拿掉烤盤、揭掉油紙 涼胚(晾的時候胚上蓋上油紙以免胚變干)
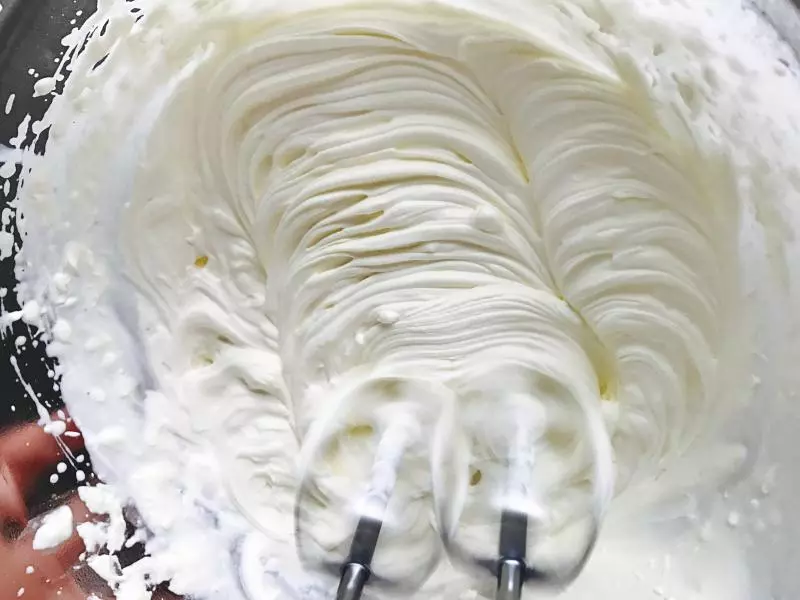
10250克奶油+20克細砂糖用電動打蛋器打至紋路清晰 打好後取50克奶油單獨備用 兩份奶油均放冰箱冷藏備用
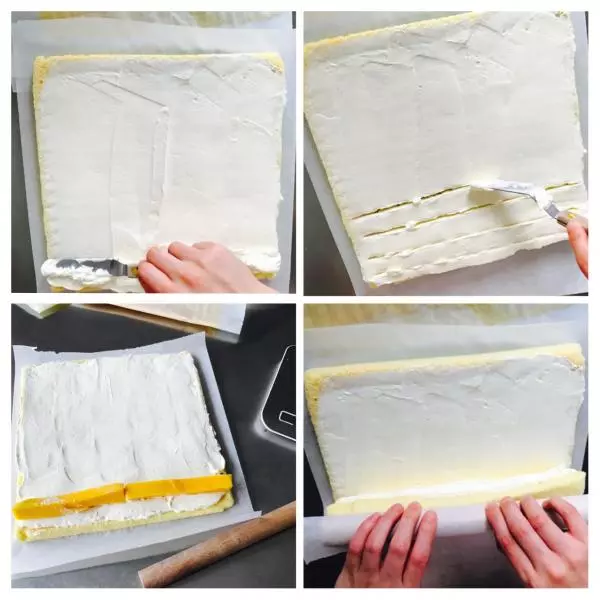
11準備一張新的油紙蓋在蛋糕卷上(此面為毛巾面、即蛋糕卷的面層) 將蛋糕卷翻面 揭掉反面油紙、抹奶油
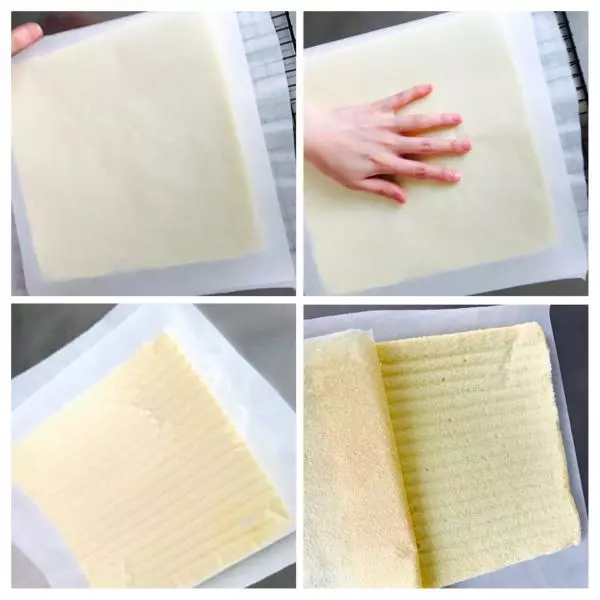
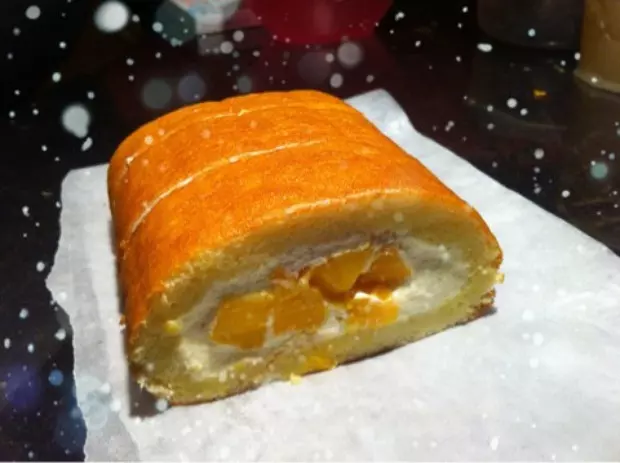
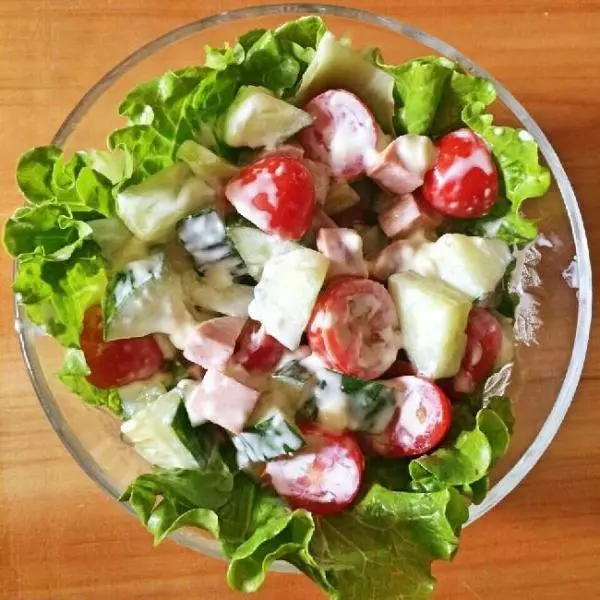
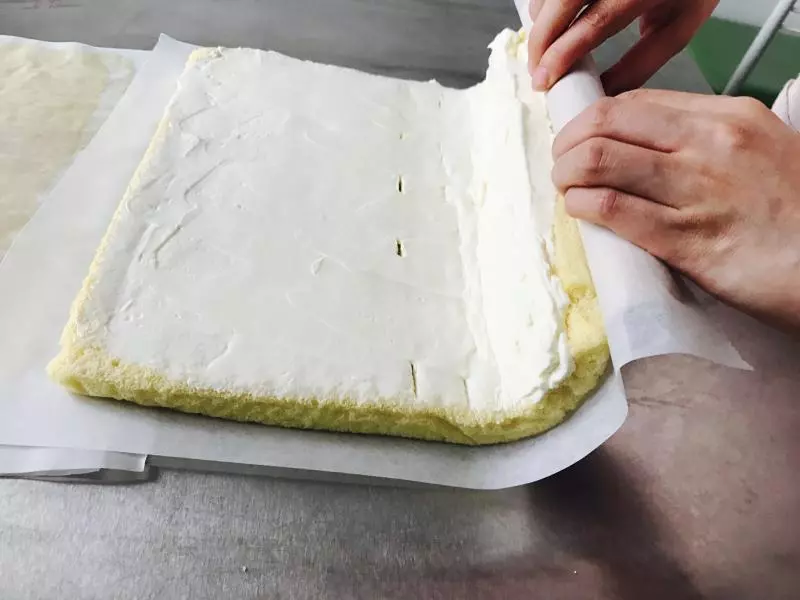
12利用小抹刀將奶油抹開 放水果的那一頭奶油抹厚一點 用小抹刀在放水果的那一頭輕輕劃幾條 放上喜歡的水果 卷 利用擀麵杖將蛋糕卷捲起
13像這樣 (只是示範下,沒放水果)
14這樣
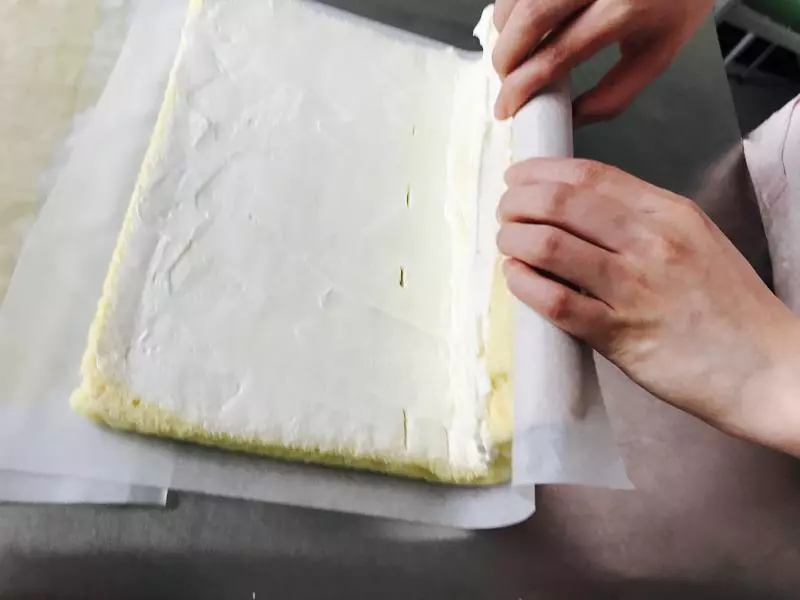
15這樣
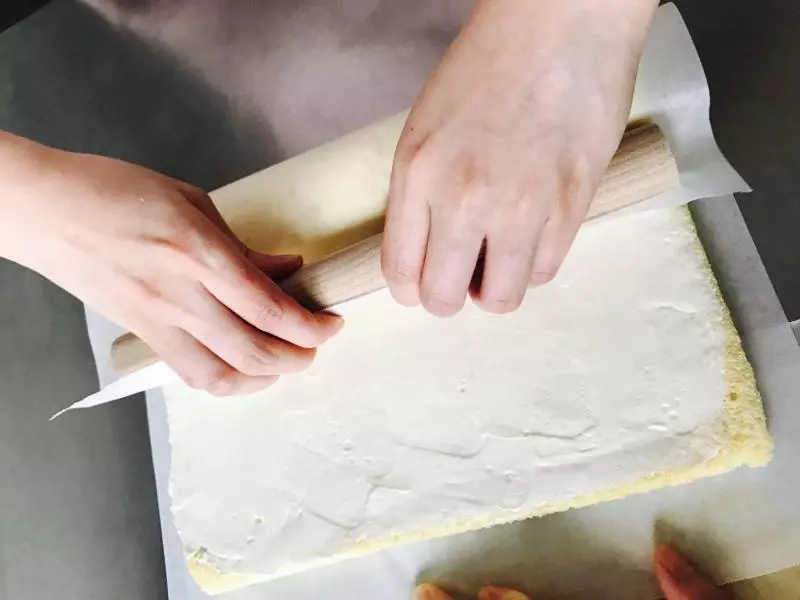
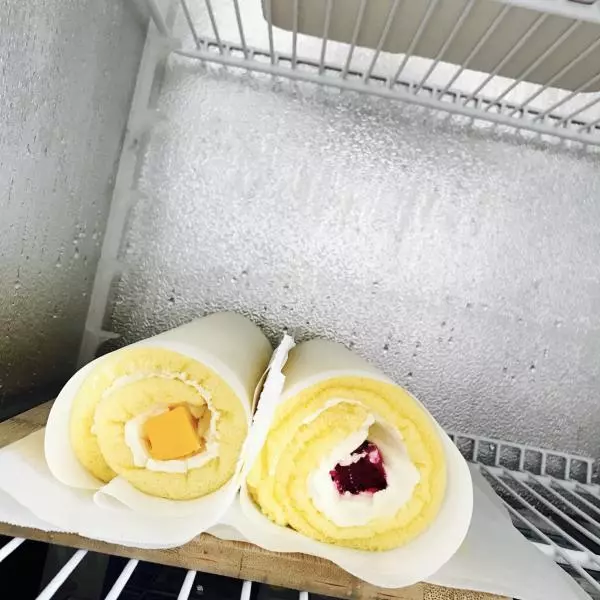
16卷好後放冰箱冷藏定型1小時
171小時後將蛋糕卷拿出來去頭去尾
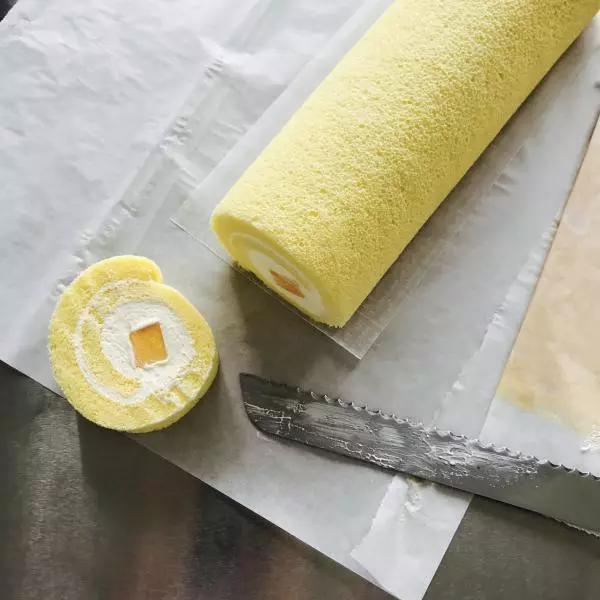
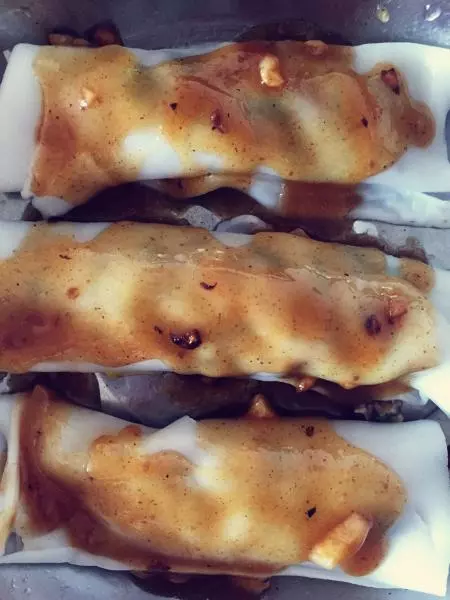
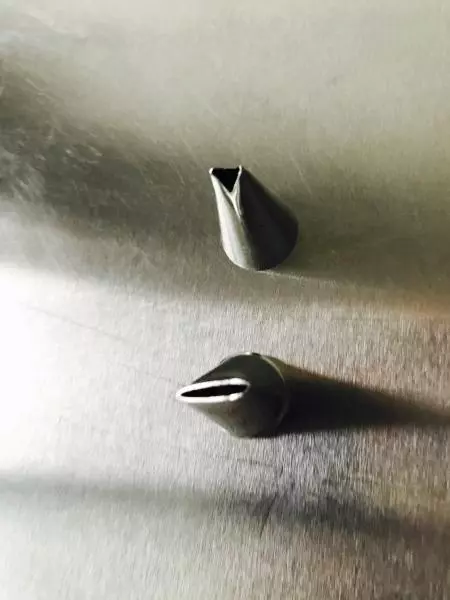
18將剛才的50克那有調色,調成自己喜歡的顏色,裝入裱花袋 靠上的是擠葉子的裱花嘴 靠下的是花瓣的裱花嘴
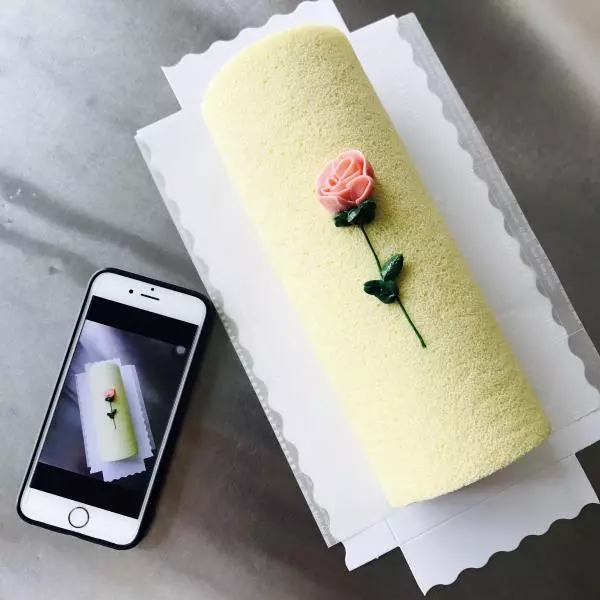
19按箭頭的方向裱,直接裱在蛋糕卷的正上方

20這張圖更形象些【偷笑】

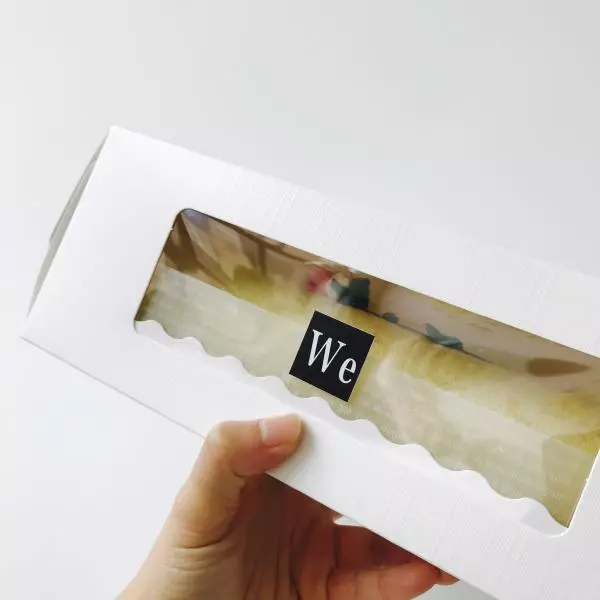
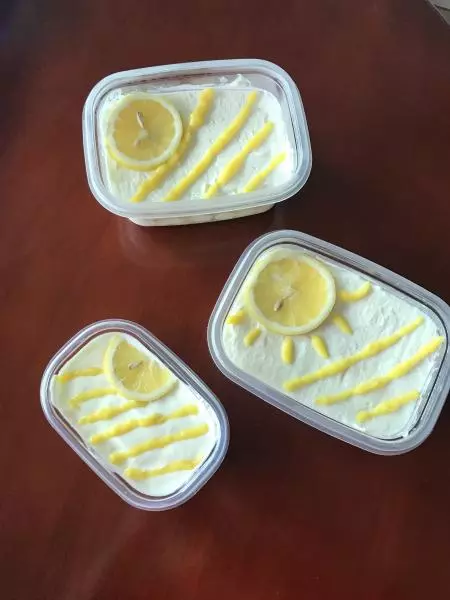
21打包
22let it go