原料
高筋粉(金像): 200克, 乾酵母: 2克, 牛奶: 150克, 高筋粉(金像): 50克, 細砂糖: 15克, 鹽: 3克, 奶粉: 13克, 乾酵母: 1克, 蛋白: 30克, 淡奶油: 30克, 無鹽黃油: 10克
步驟
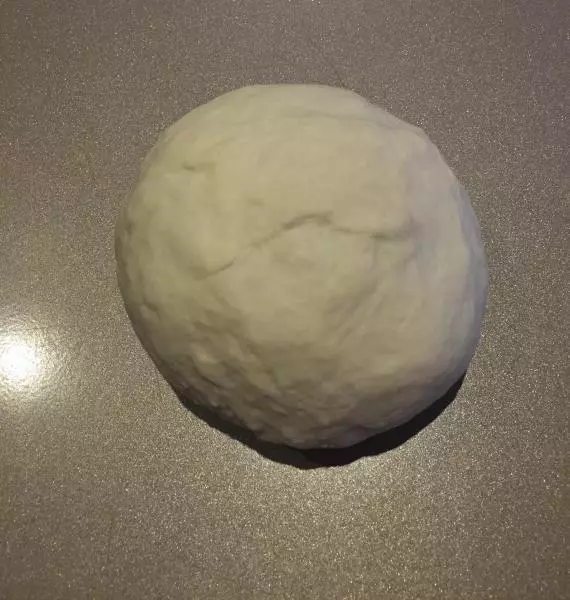
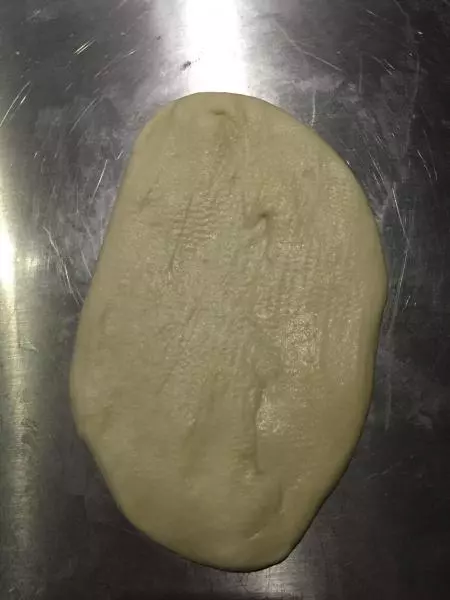
1將中種材料揉成團。
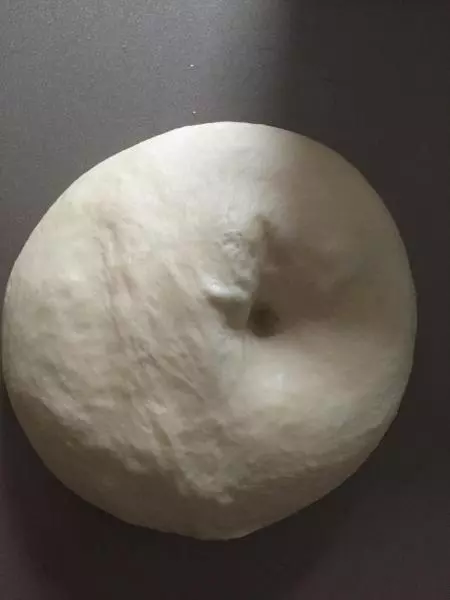
2室溫發酵到3,4倍大,裡面充滿蜂窩狀,手指戳洞有塌陷,聞著有酸味。 Ps,我是冷藏發酵24小時,28度回溫半個小時。
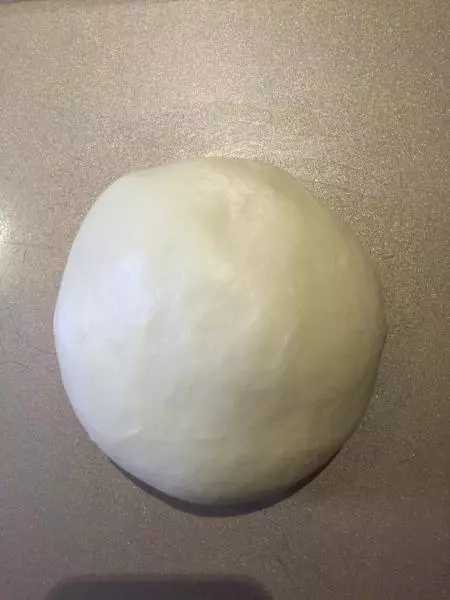
3撕碎中種,混合除黃油和鹽的主麵糰,揉到擴展後加入黃油和鹽揉到完全。
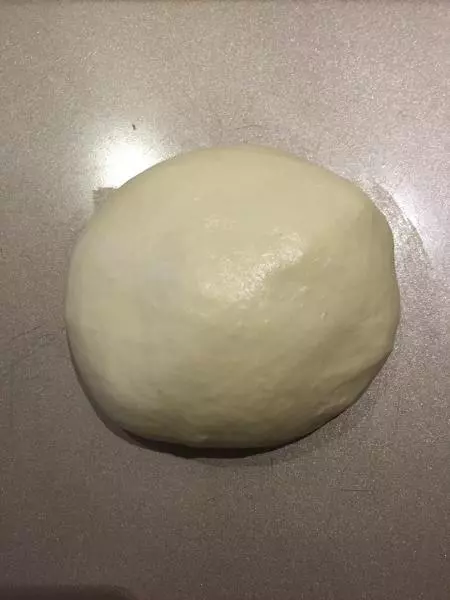
4室溫鬆弛15到30分鐘。我這次鬆弛了30分鐘。
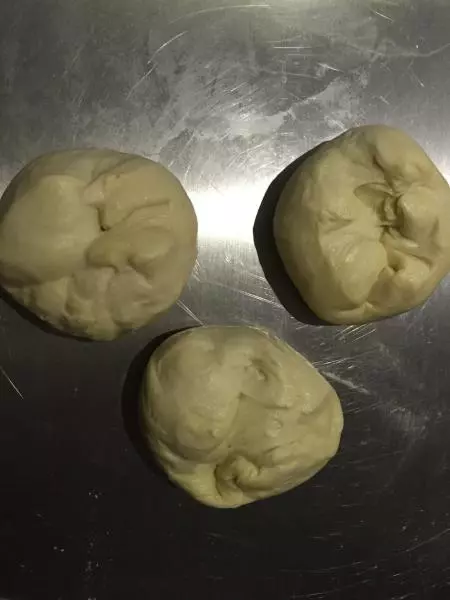
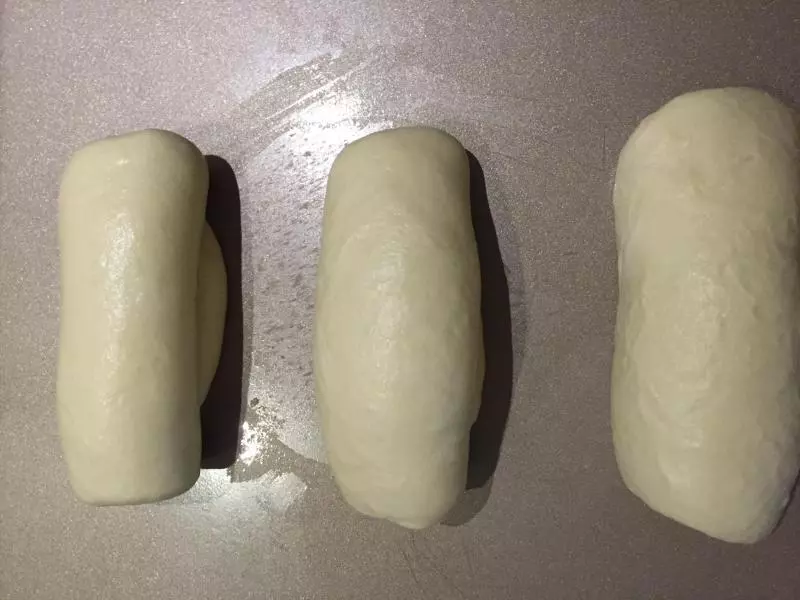
5不必排氣,均分3分。 滾圓,收口向上。
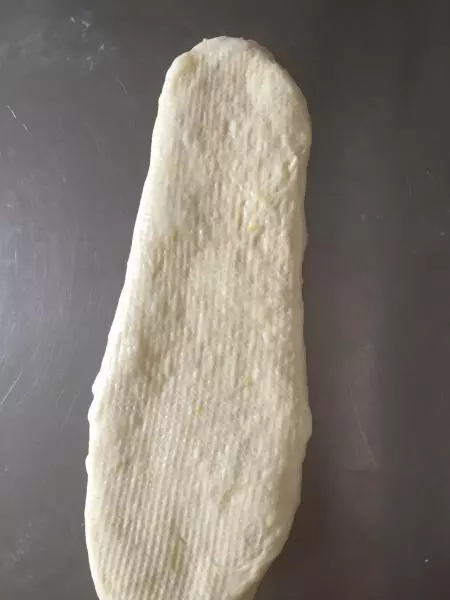
6不必鬆弛,直接擀開成長橢圓形。
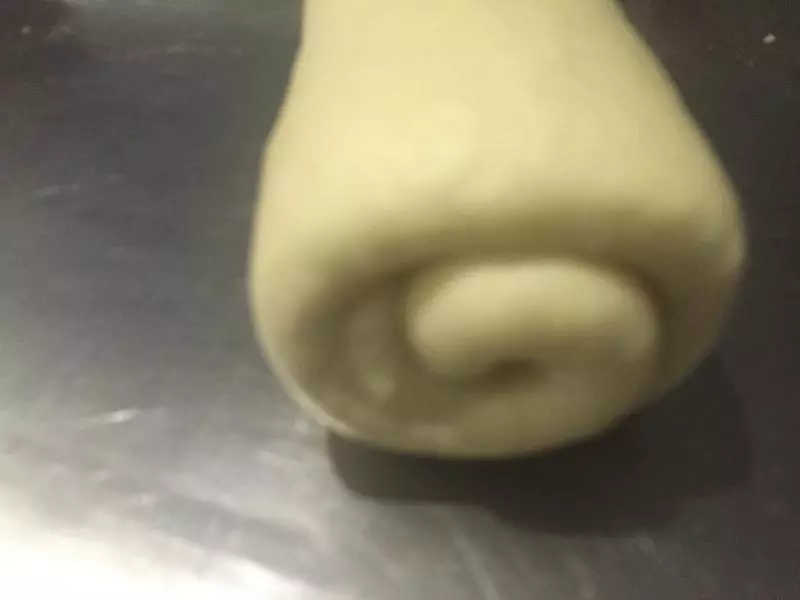
7捲起1.5~2個圈,蓋保鮮膜鬆弛15分鐘。
8再次擀開成牛舌狀。旁邊小泡泡要按掉。
9翻面後捲起2.5~3個圈。
10收口向下,排入吐司模。
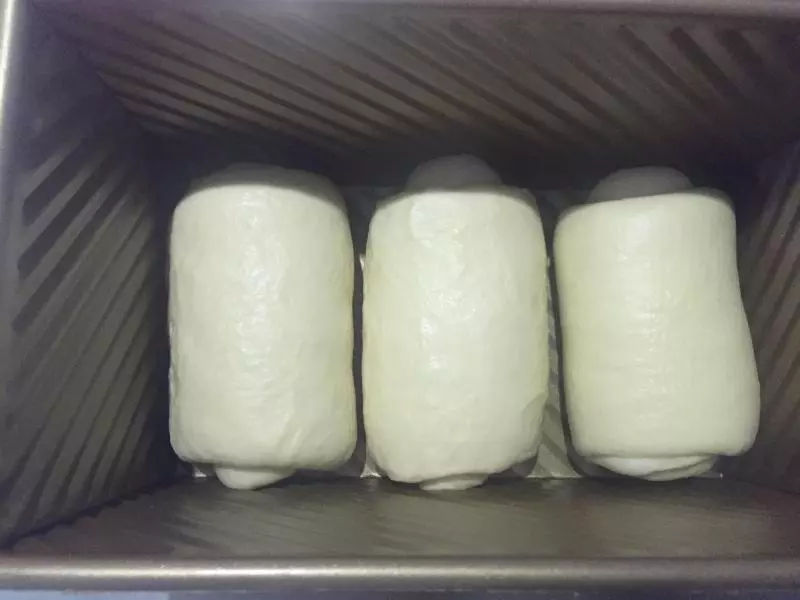
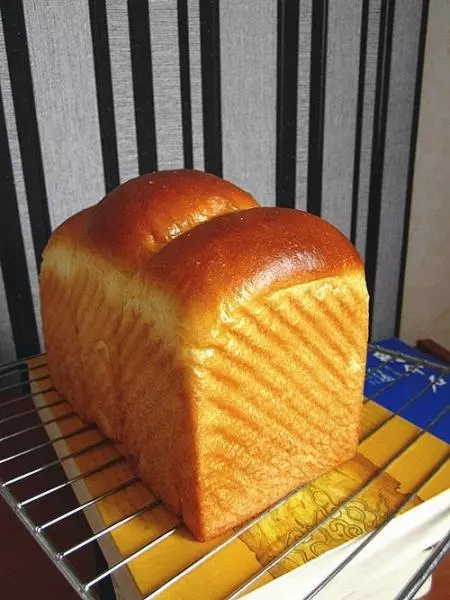
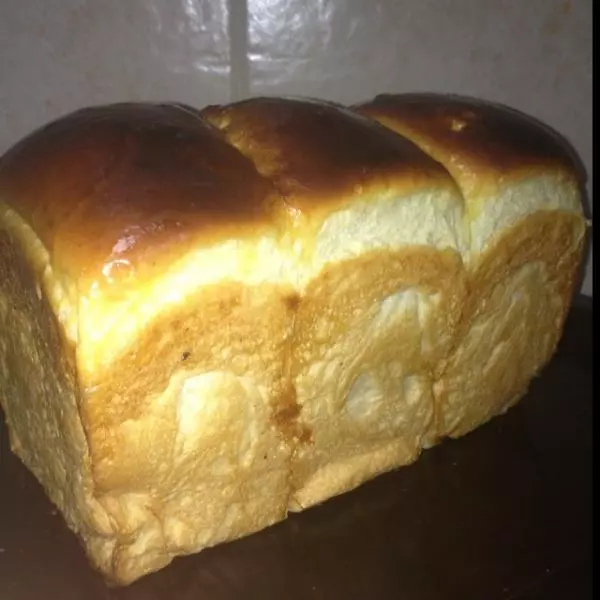
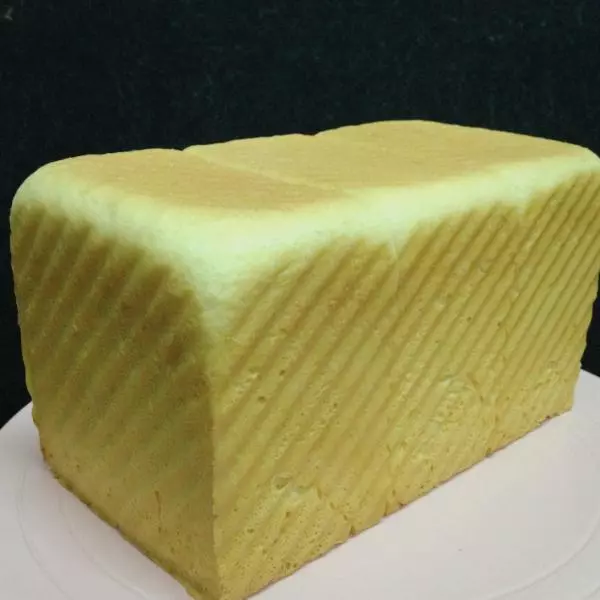
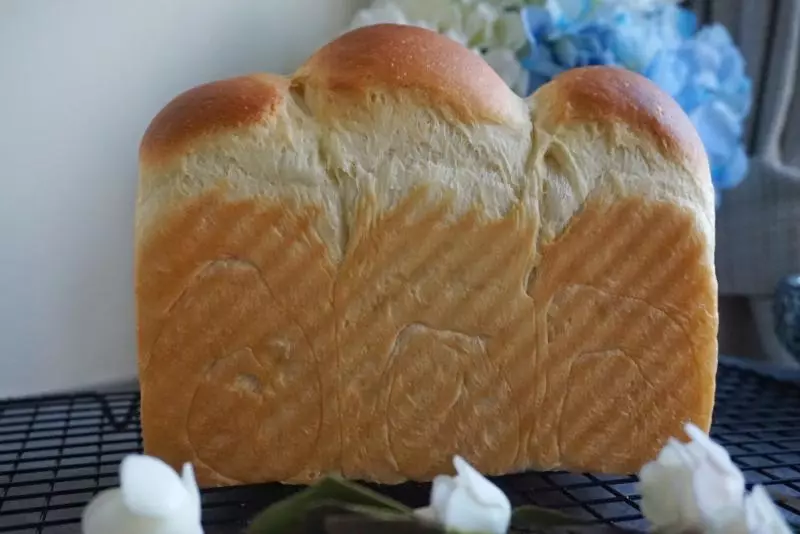
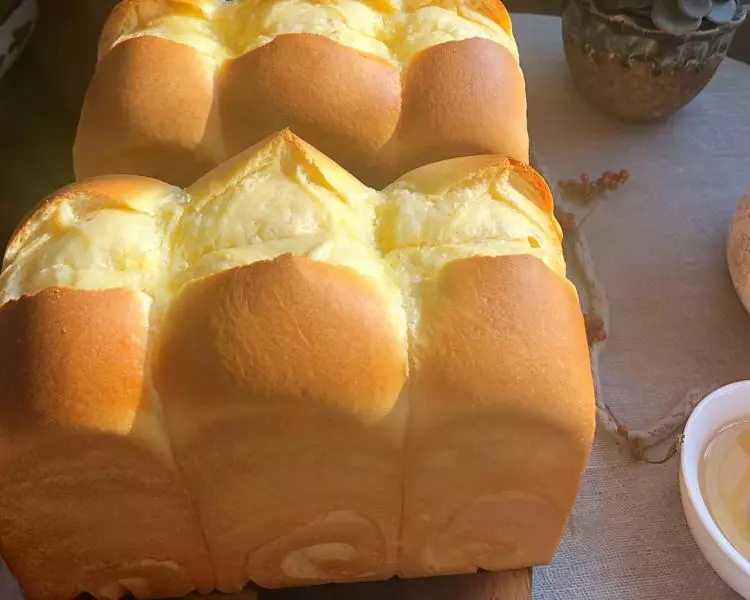
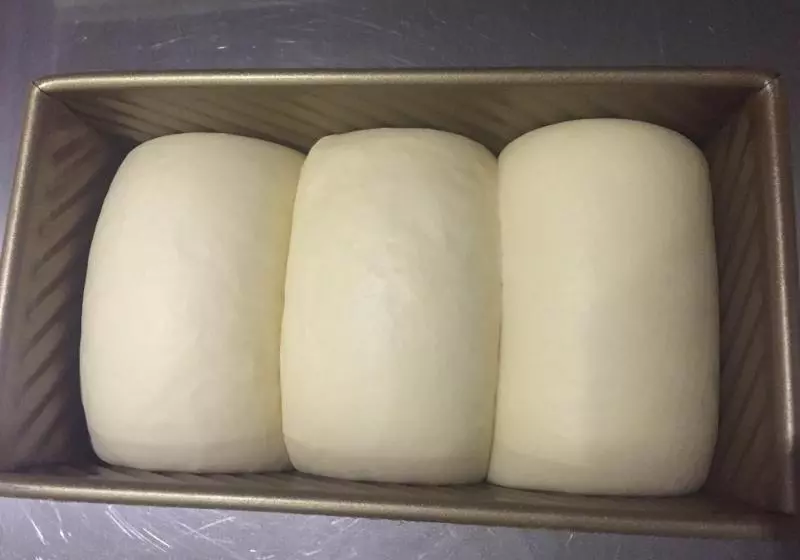
11在38度左右的溫暖濕潤處進行最後發酵。手指按壓麵糰,緩慢回彈,即發酵完成。 發酵好的吐司表面應該是很光滑,略微有點彈性不粘手的。而不是不光滑,很粘手那種。
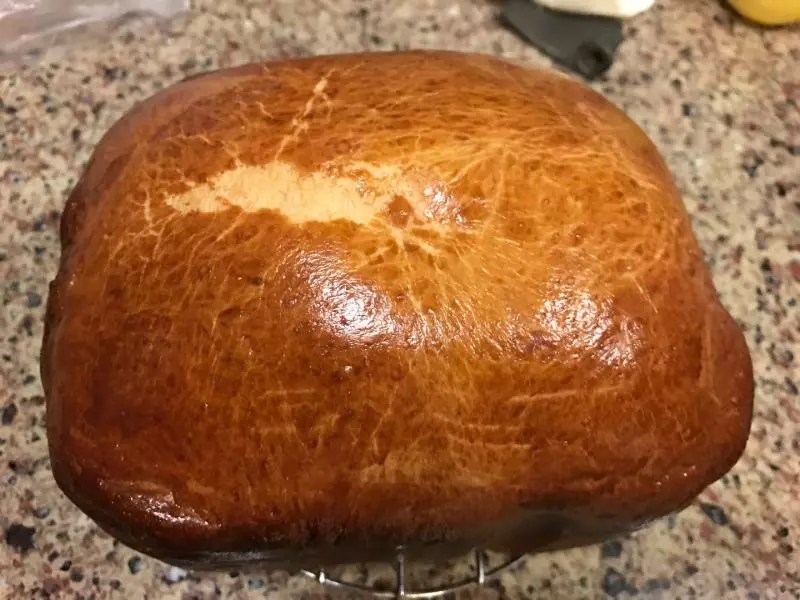
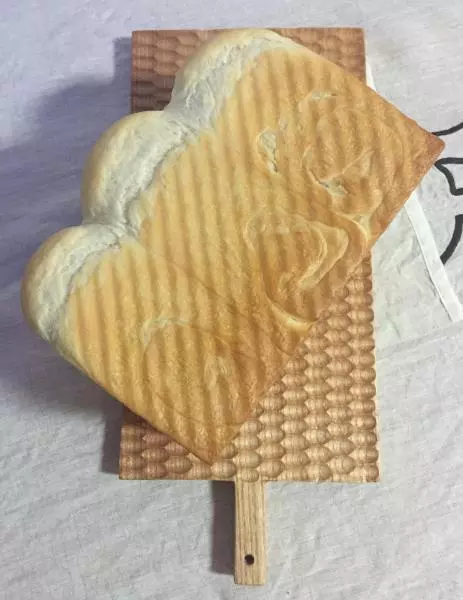
12入預熱180度烤箱中下層上下火烤35分鐘。火力時間根據自己烤箱調節。

1310分鐘,高度基本定型,表面上色,就可以蓋錫紙了。

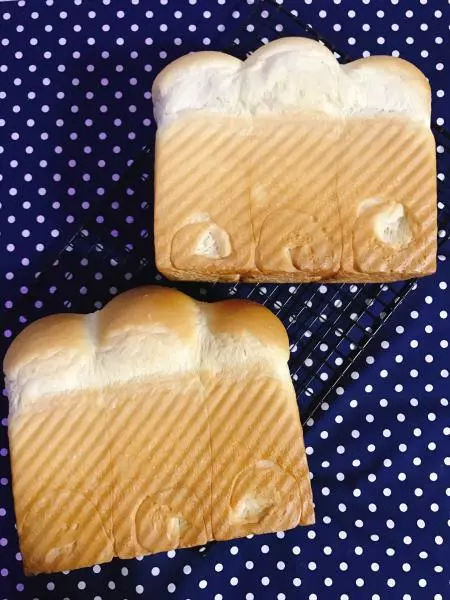
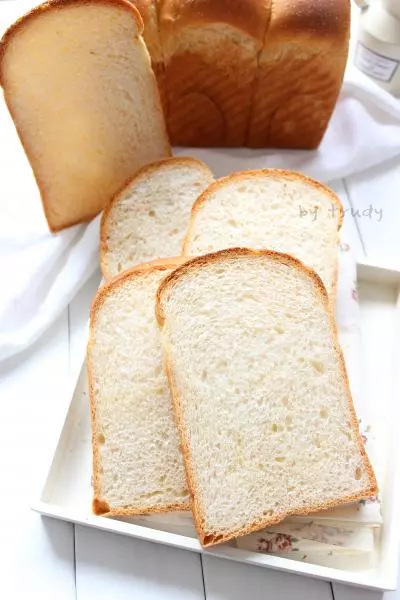
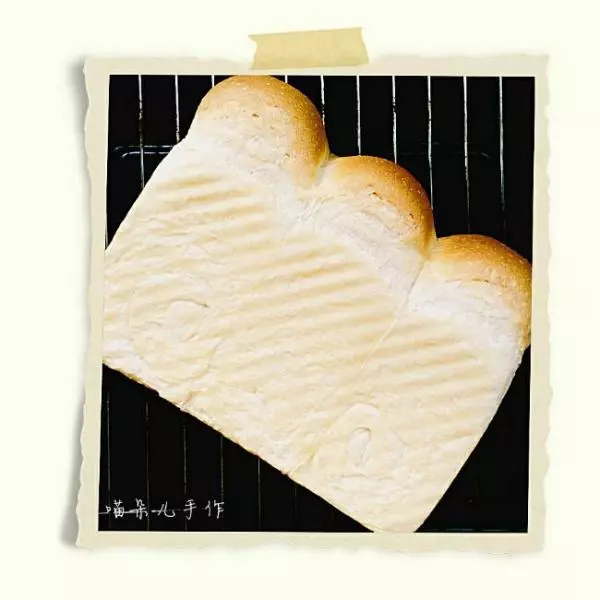
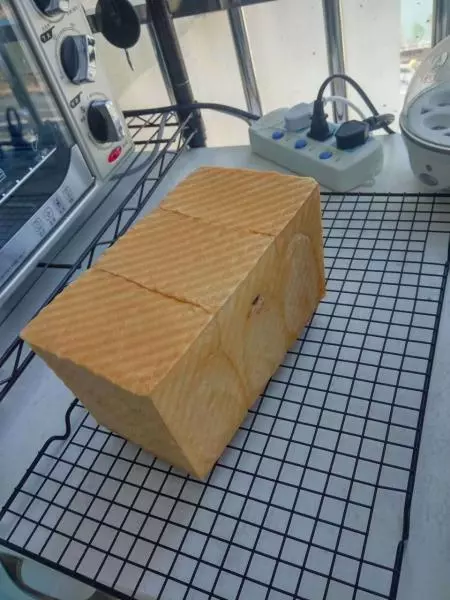
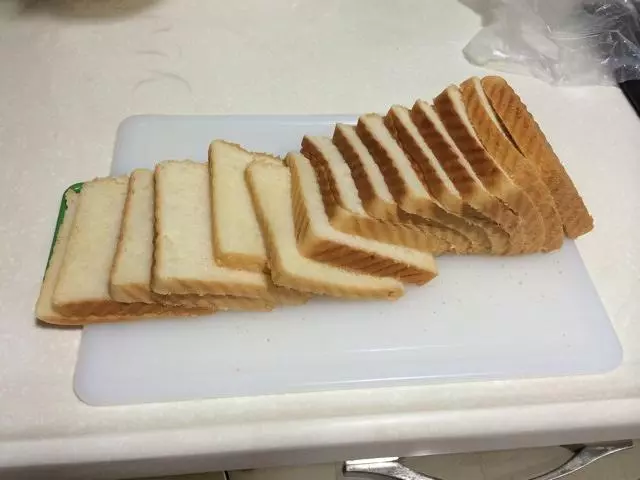
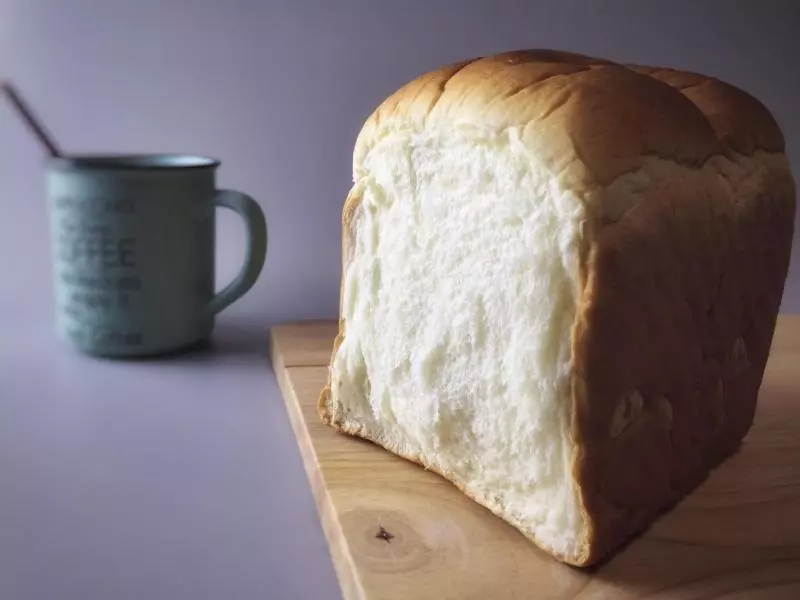
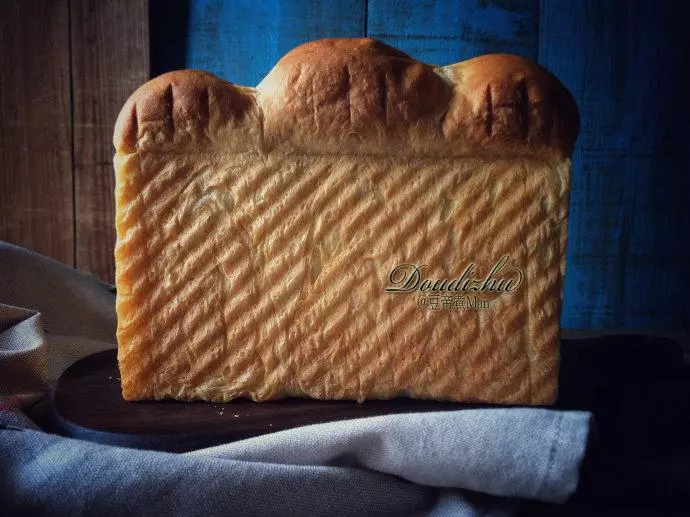
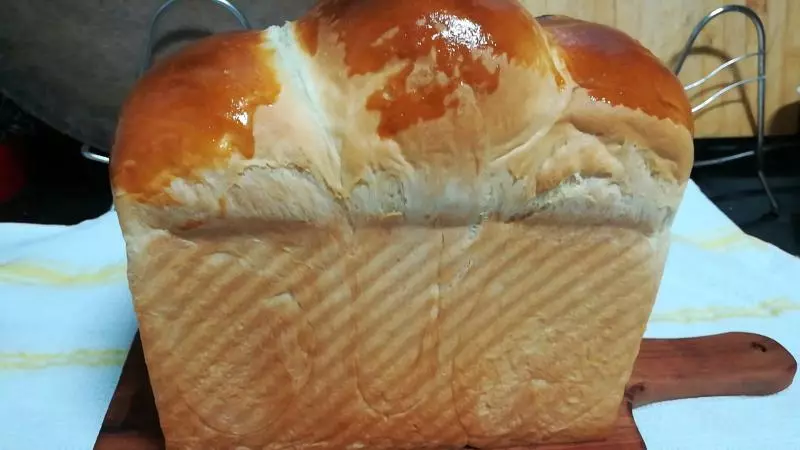
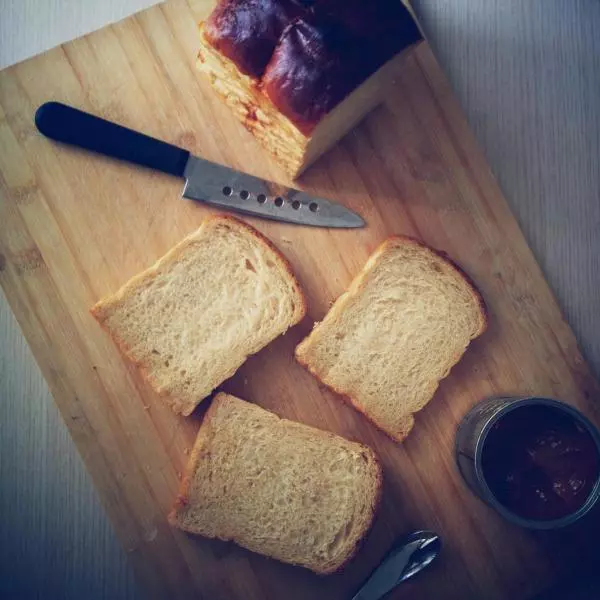
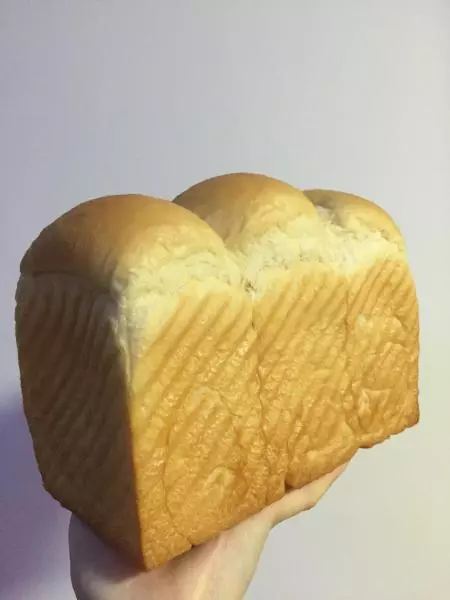
14出爐震一下脫模,放烤網涼至手溫密封保存。徹底涼透切片。
15做我的方子有任何問題歡迎加微博微信或QQ群來諮詢,也方便大家互相交流學習。加入時驗證碼請寫上您的下廚房暱稱,方便對號入座哦。下廚房激情吐司三群 532176519 微信和QQ:1192973676(微信已滿) 微博:Leibaobao00
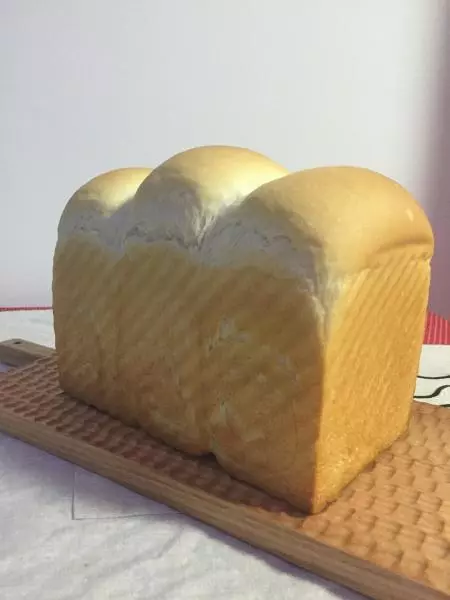
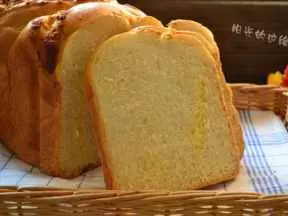
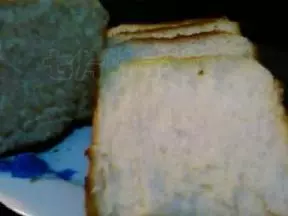
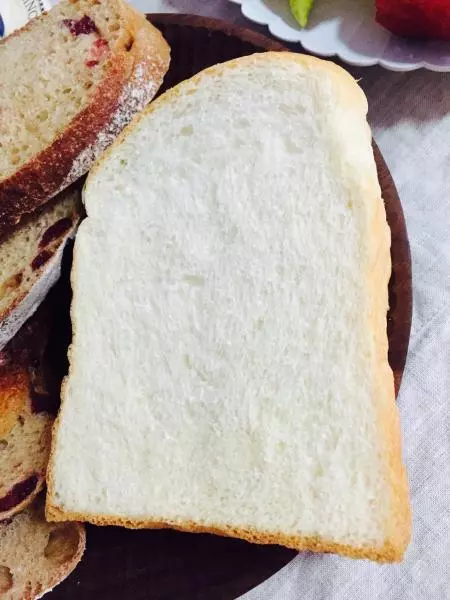
16第二天的吐司,這個烤的略乾了點,昨晚天氣冷烤箱溫度又有點偏高了,不然應該是水潤潤的。
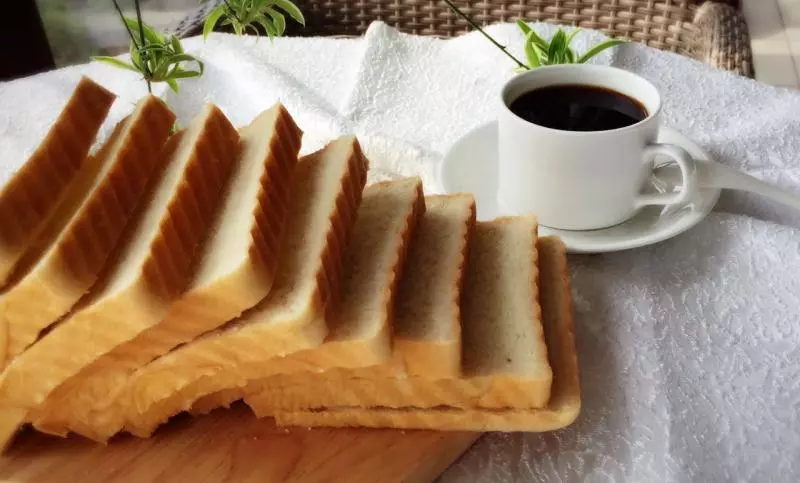
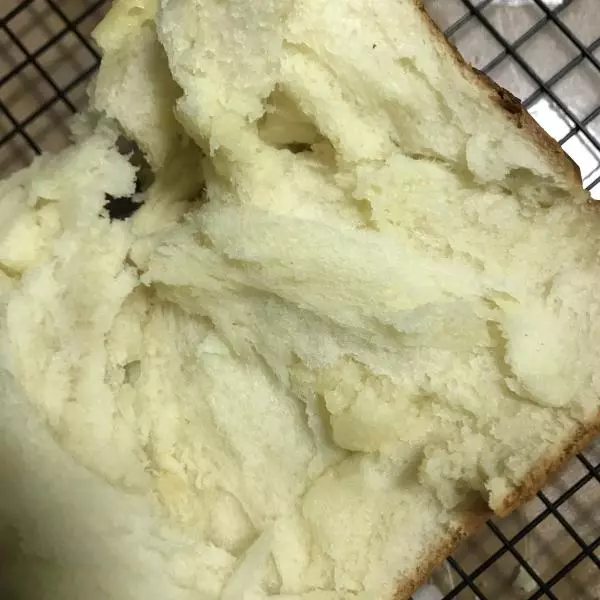
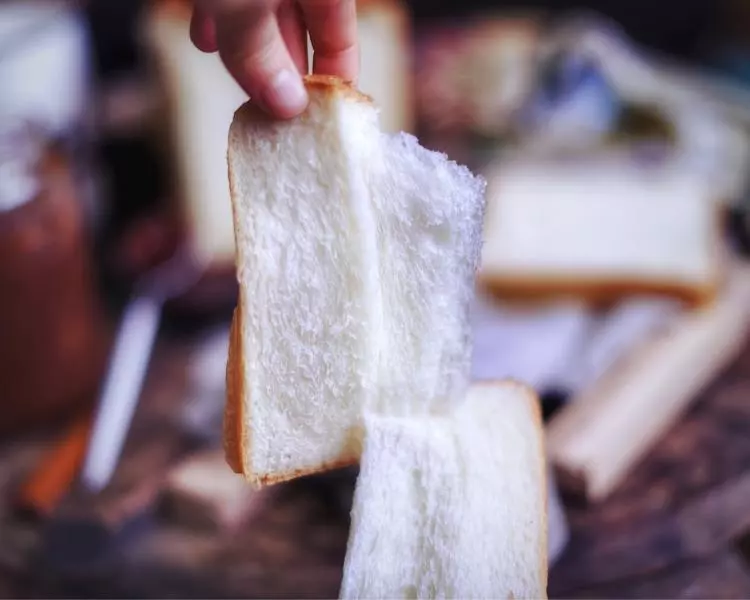
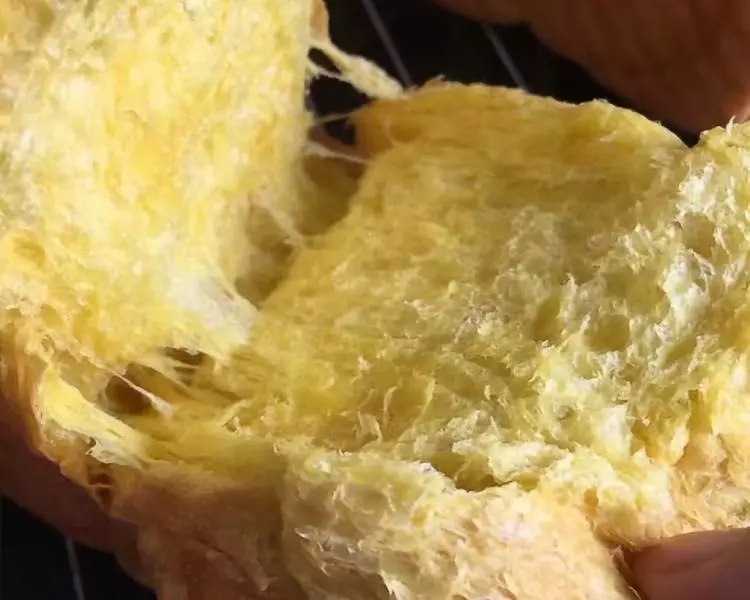
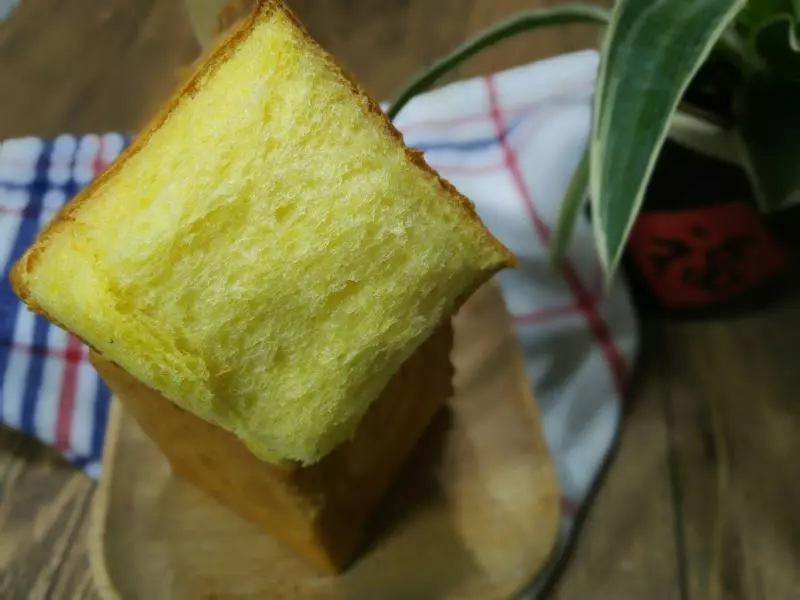
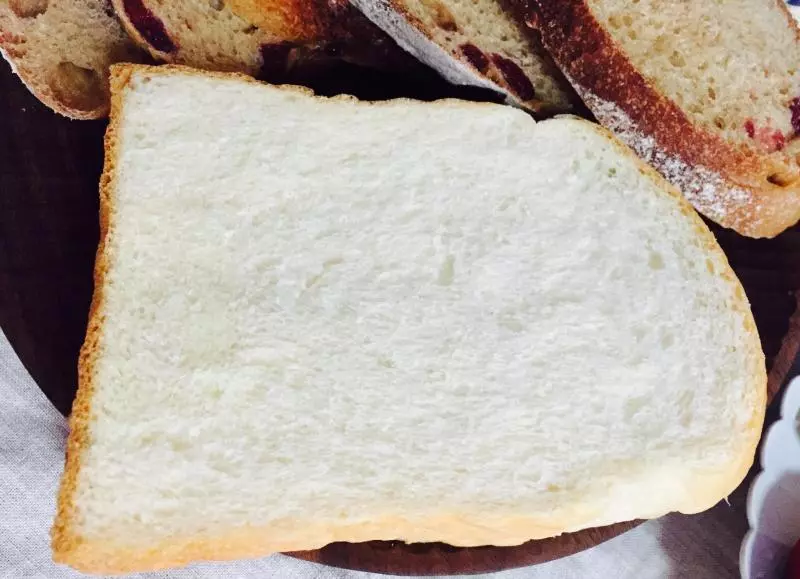
17超細膩的組織。
小技巧
碎碎念 1:想要吐司長得高,就必須揉出膜,但是膜不能太薄,太薄就沒有張力,要薄也要不易破,這才是好的麵糰。 2:操作時手上,擀麵杖抹少許油,不然會粘,實在太粘的話,可以用少許手粉,注意,不管是油還是手粉,都不能太多哦,多了會影響最後成品組織。 3:第一次發酵溫度28度左右,不要超過30度,第二次發酵溫度38度左右,千萬不要超過40度。 當然中種不用一發,鬆弛就夠了。 4:擀卷手勢不要太野蠻。 5:此吐司我採用的是後鹽法,所以鹽是和黃油一起加入的,其實鹽可以更晚一些時候再加,只要保證揉均勻。