简介
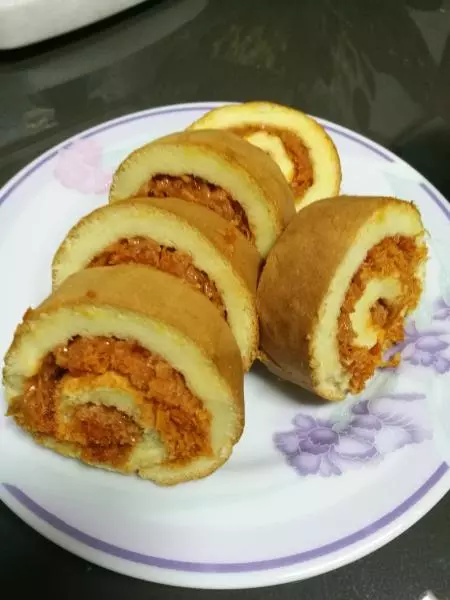
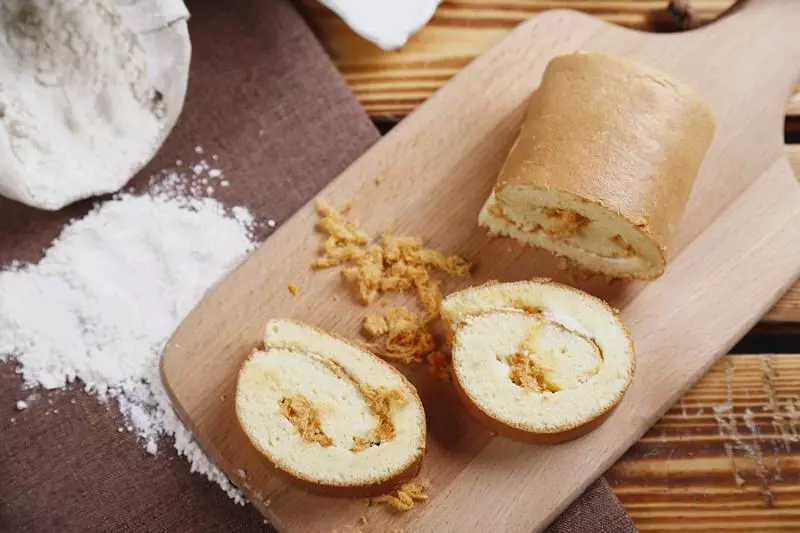
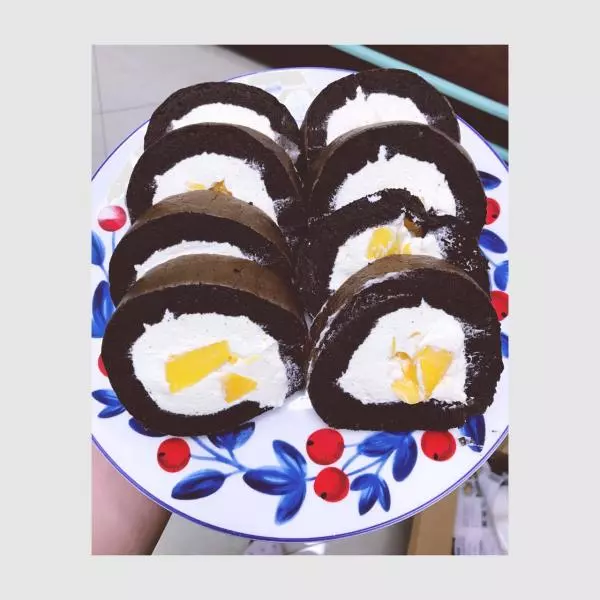
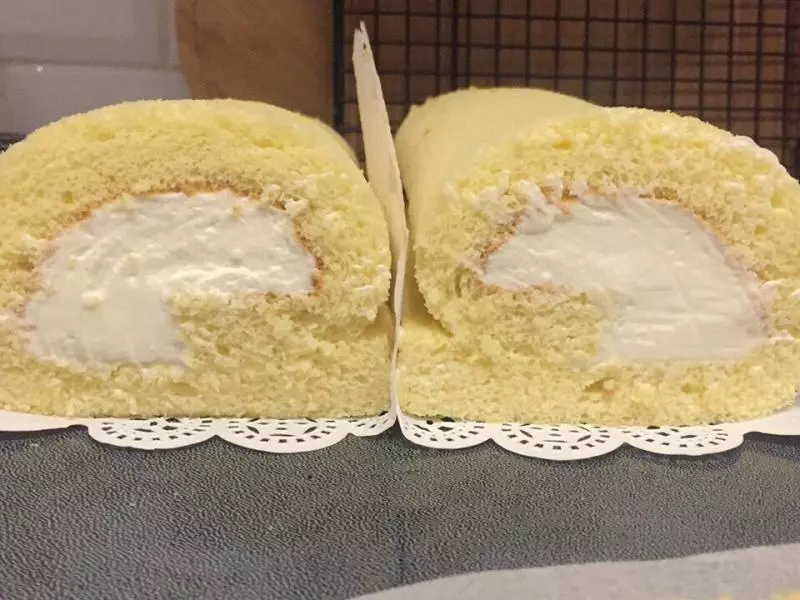
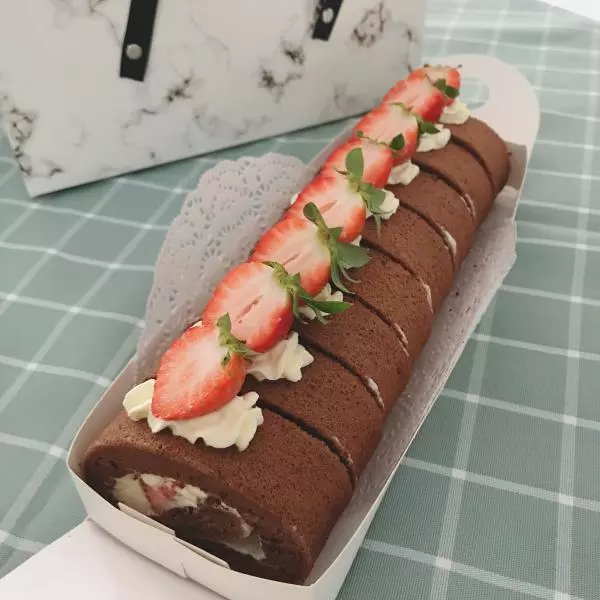
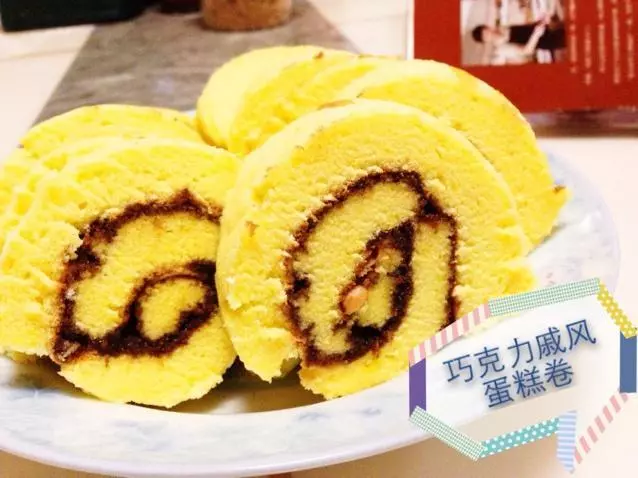
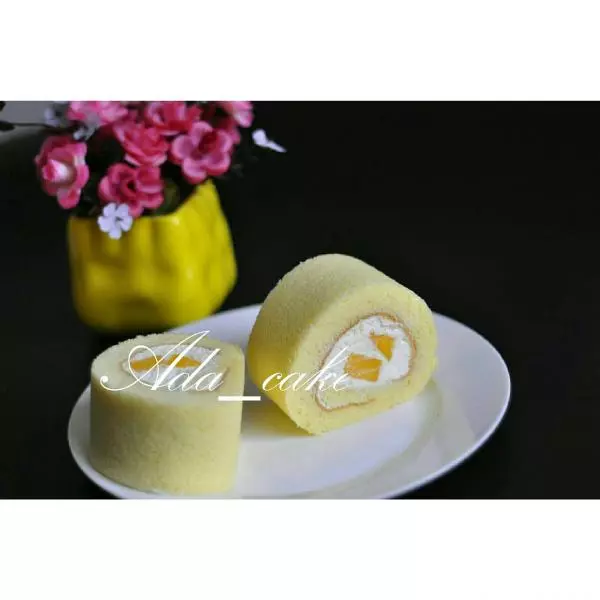
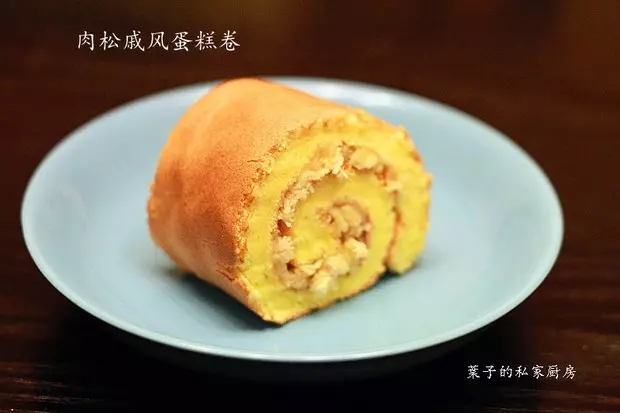
这款蛋糕真的是太好吃了,口感松软,满嘴香啊。我们家人的最爱。蛋糕体用了戚风,戚风本就是柔软蛋糕的代表,加上肉松和沙拉酱的加入,堪称完美,绝对优势打败市场上卖的蛋糕卷。
烘烤:11寸放烤盘一盘,烤箱中层,175度,烤18分钟左右
原料
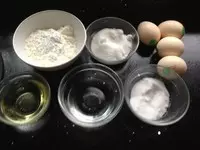
鸡蛋 4个, 细砂糖(加入蛋白) 55g, 细砂糖(加入蛋黄) 20g, 葵花籽油(或玉米油) 50g, 低筋面粉 80g, 水 50g, 泡打粉 1/2小勺(2.5ml), 肉松 适量 (根据自己喜欢的程度添加,约80g), 沙拉酱 适量 (约80g)
步骤
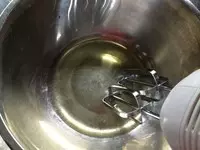
1准备好材料,把蛋黄和蛋白分离 ,蛋白一定要放入无水无油的大碗或盆里。
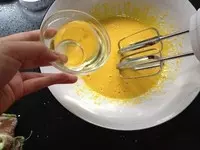
2细砂糖放入盛蛋黄的碗里,用打蛋器打发至体积膨大,状态浓稠,颜色变浅
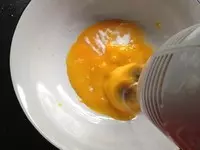
3分3次加入葵花籽油,每加一次都打匀了再家第二次。不能一次倒入,防止水油分离
4加入葵花籽油的蛋黄呈浓稠的状态
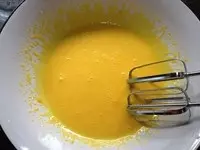
5加入水,轻轻搅拌均匀

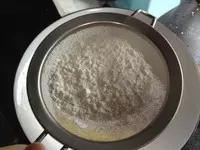
6低筋面粉和泡打粉筛入蛋黄糊里
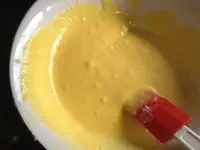
7用橡皮刮倒翻拌均匀,放在一边待用
8将打蛋器擦洗干净,保证无水无油,再来打蛋白
9把蛋白打发到鱼眼泡状态时,加入1/3的糖,然后打均匀后,再分2次加入剩下的细砂糖
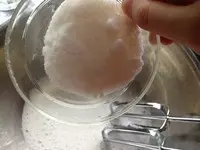
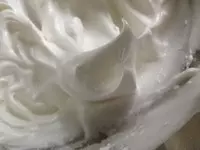
10将蛋白打发到湿性泡发的状态(提起打蛋器,蛋白能拉出弯曲尖角)时就可以了
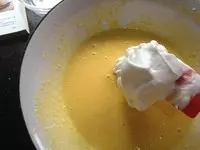
11把1/3的蛋白挖进蛋黄糊碗里,以从下往上翻拌的形式拌匀。不能画圈喔
12把拌匀的面糊倒入剩下的蛋白里,还是以从底部往上翻匀,即做好了戚风蛋糕糊
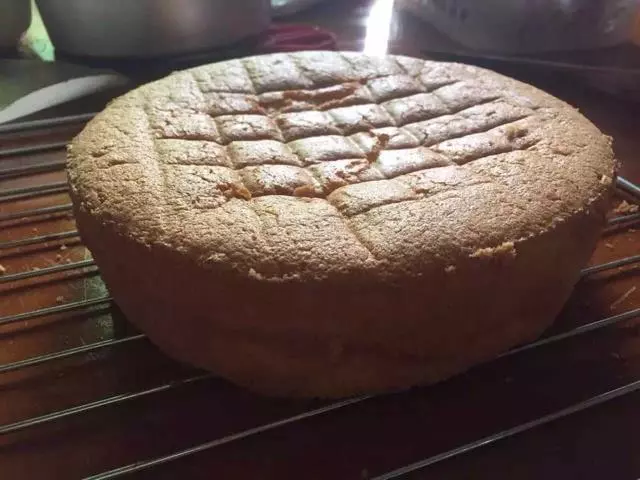
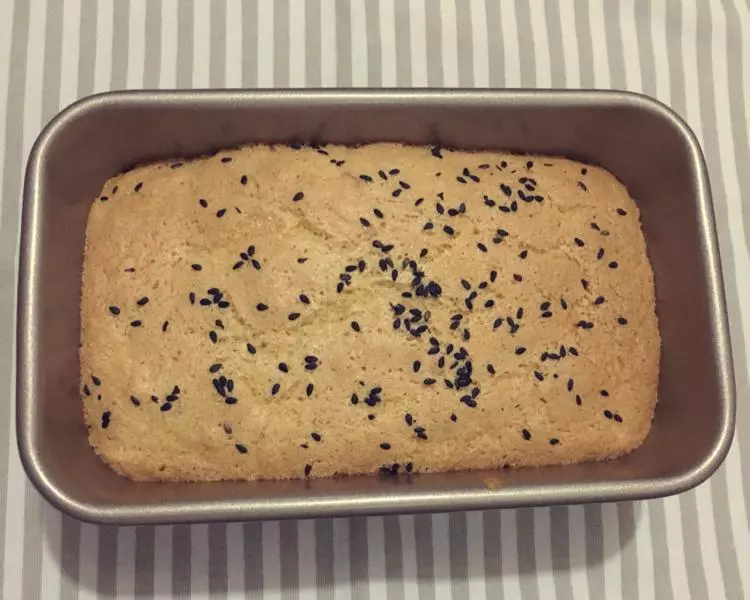
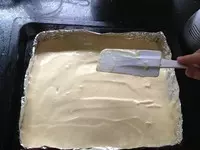
13把蛋糕糊倒入铺了锡纸的烤盘里,用橡皮刮倒抹平,然后用力震一下,排大气泡。放入175度预热好的烤箱中层,烤18分钟左右(温度和时间根据自己家烤箱情况调整),烤制表面金黄
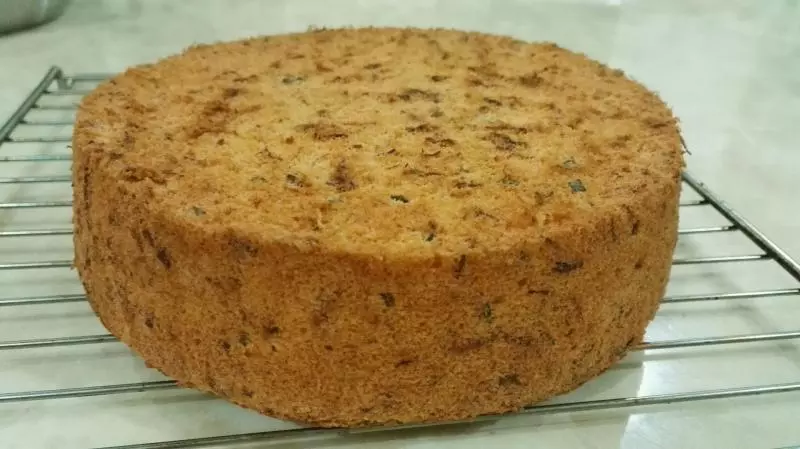
14准备一张新的油纸或锡纸,把烤好的蛋糕倒扣在上面,趁热去掉锡纸。此时底面是朝上的

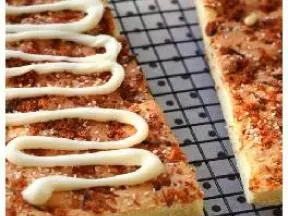
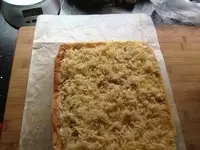
15待蛋糕冷却,把蛋糕翻过来,然后在蛋糕上面抹一层沙拉酱,再撒一层肉松
16准备卷之前,在蛋糕边缘一厘米处用刀轻轻切一条印子,不要切通喔

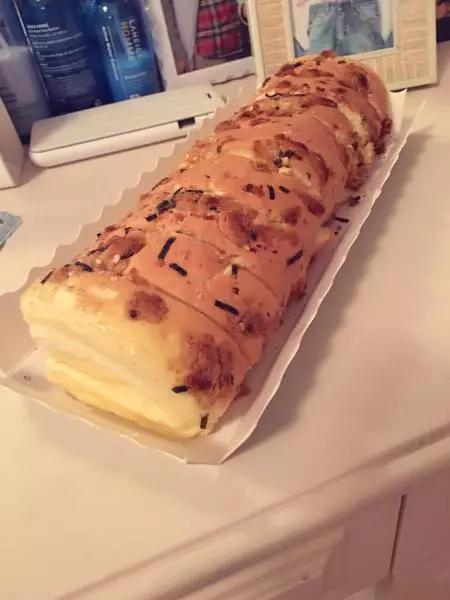
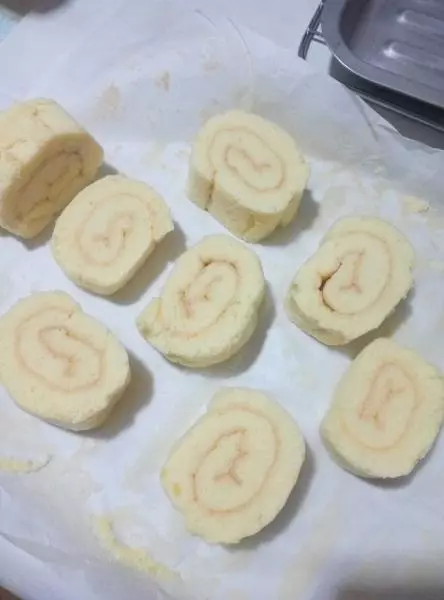
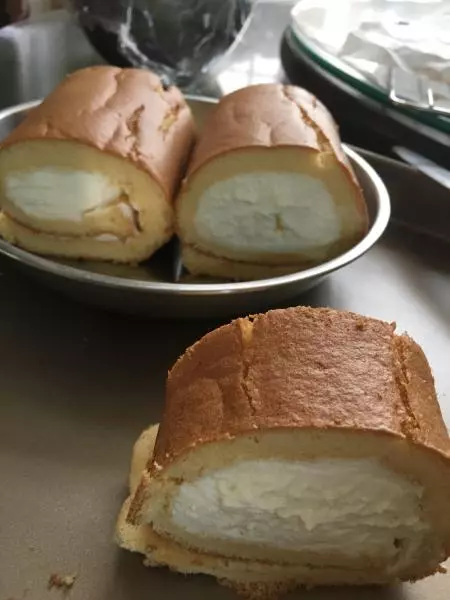
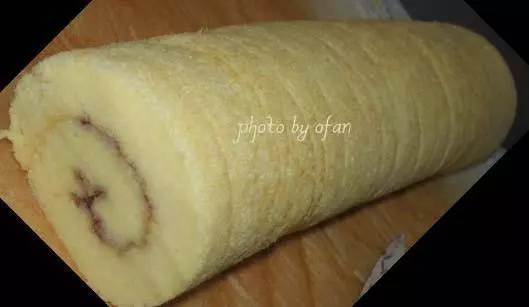
17然后慢慢卷起蛋糕,用锡纸像糖果一样裹紧。
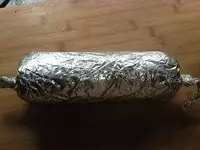
18放入冰箱冷藏半小时以上定型后,即可取开切割
小技巧
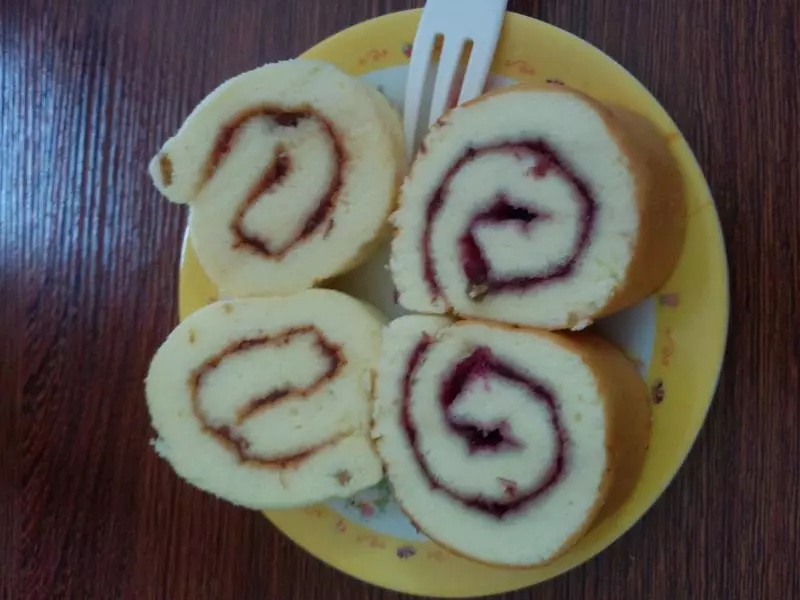
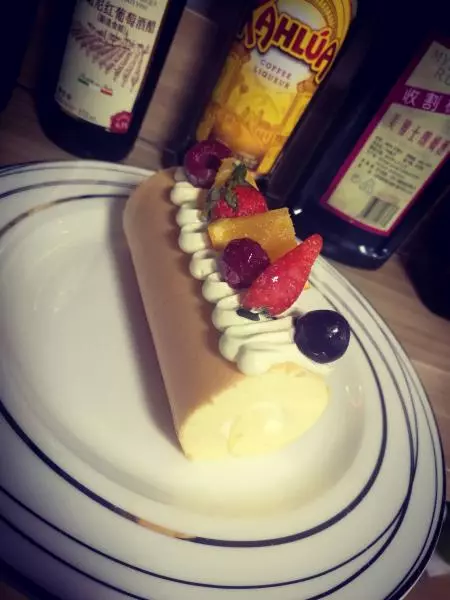
1,11寸的方烤盘。大约边长是28cm左右,也可根据自己家长烤盘调整量来制作,或用锡纸自己捏一个大小合适的烤盘 2,因为不同的烤箱温度都有差异,凭经验来衡量烤制的时间和温度,烤至表面金黄即可,要多观察。 3,也可以在上面抹果酱,比如草莓或蓝莓,也很好吃。 4,制作过程中的1---12步即是普通戚风蛋糕的做法。也可根据自己的口味和发挥,更改馅料和大小 5,蛋糕烤好后,要趁热撕掉锡纸。冷却后,就不容易撕掉了。 6,原方子来自君之