简介
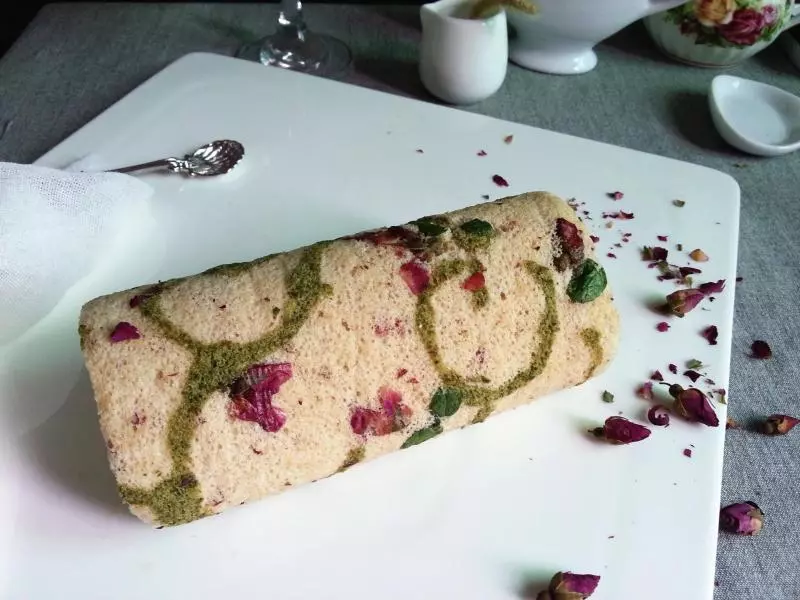
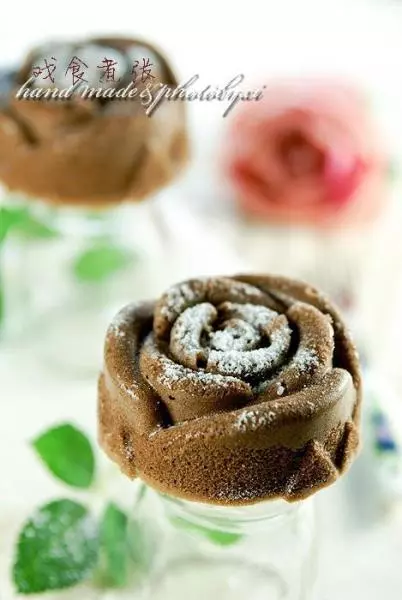
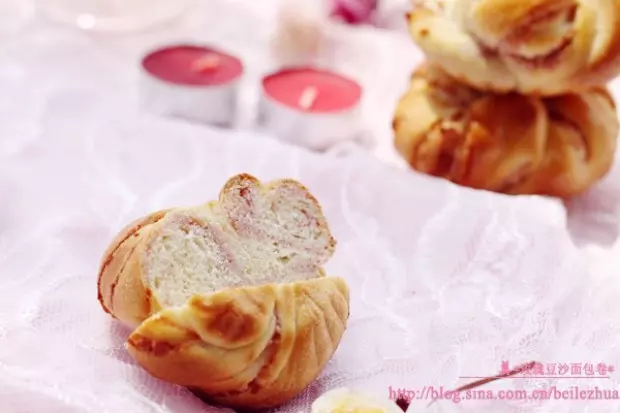
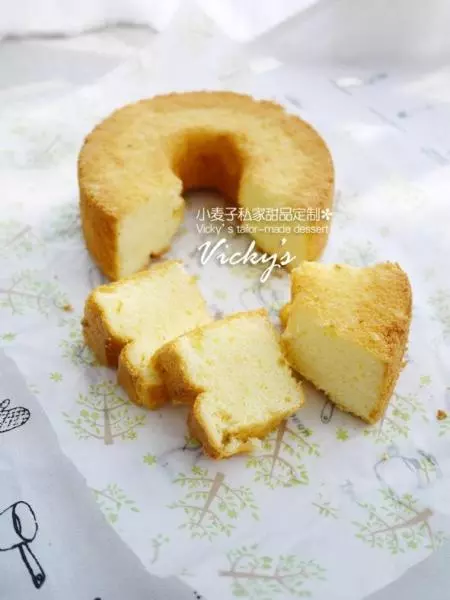
美美的毛巾卷,柔软,玫瑰香~很喜欢。。。。。
表面玫瑰花瓣可以用牡丹或者新鲜花瓣,就不用泡很久了
也可以不用画,直接放点花瓣和叶子在上面,也非常漂亮~
组织请看下面作品图
原料
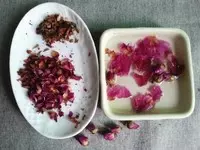
低筋面粉 55克, 鸡蛋(冷藏) 3个, 白砂糖(粗、细) 25克, 蜂蜜 10克, 食用油 30克, 水(牛奶) 30克, 抹茶粉 0.5克, 干玫瑰花(小的 20朵, 薄荷叶 随意, 盐 一点点
步骤
15朵玫瑰花放在一点点温的水里(不能太热)泡软一点点,然后中间轻轻剥开,把芯去掉; 剩下玫瑰花冲洗一下,晾干,捏碎花瓣,不要芯和花萼; 薄荷叶泡水; 准备做蛋糕卷时,把花和薄荷叶放在纸巾上面沾去水分
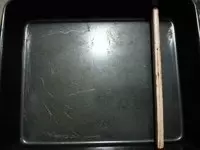
2烤盘垫油纸(烤盘大的可以用纸盒或者木条隔成喜欢的大小,再垫油纸)我的尺寸:内径22X22
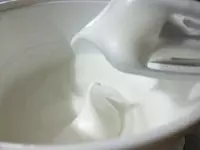
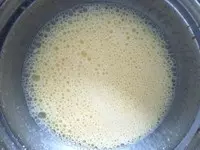
3蛋白,蛋黄分开放入盆中; 先蛋白垫冰袋高速打至粗泡、无液体,然后一次加入砂糖,高速20秒,转低速打到长长弯钩;

4加入10克蜂蜜、拇指食指捏一点点盐放进去,低速半分钟打至浓稠,关闭打蛋器,用打蛋器用力搅拌几圈,竖直提起打蛋器,蛋白打光滑细腻有光泽,盆中蛋白和打蛋器蛋白有小的弯钩;(如果没有达到,就重复)
5蛋白放在冰袋上面;(夏天盖保鲜膜放冰箱冷藏) 不用洗打蛋器,直接低速打蛋黄几秒,打均匀;
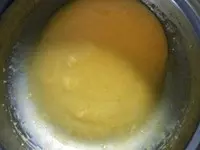
6放入30克油,低速打几秒,打均匀
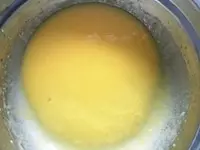
7放入30克水低速几秒,打均匀
8筛入55克低筋粉,用硅胶铲,把蛋糊往盆子边压一压,然后抄底翻过来同时逆时针转动盆子;
9直到没有颗粒,像绸缎的蛋黄糊
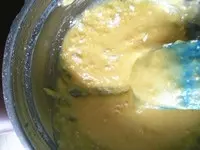
10舀一大勺蛋白放入蛋黄糊,对角铲入,然后把蛋糊翻过来(时钟2点位置铲到8点位置)同时逆时针转动盆子;混合均匀,
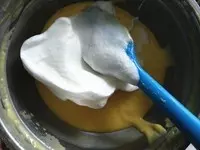
11把均匀的蛋黄糊全部倒入(垫着冰袋的)蛋白糊,重复刚刚动作,混合均匀,像绸缎;
12烤箱175度预热10分钟,同时放一个烤箱自带的烤盘在烤箱最下层;放一个烤网在上层一起预热;
13取0.5克抹茶粉和15克面糊拌匀,装入裱花袋,挤紧,上面扎起来,然后下面剪一点点口

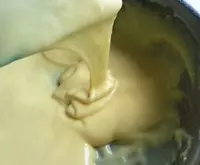
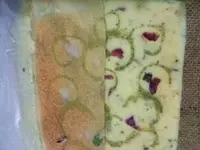
14抹茶面糊在烤盘上面随意挤半圆,把吸干水的玫瑰花和薄荷叶随意摆放,喜欢的那一面朝油纸

15放进去预热的烤盘上面。底层175烤40秒,拿出来;烤箱继续加热;
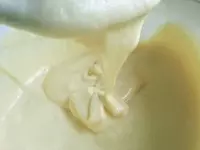
16碎玫瑰花瓣放进去蛋糊拌均匀;

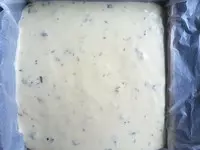
17蛋糊高处连续倒入烤盘,轻轻晃动烤盘,面糊平整,放入预热的那个烤盘上面,底层烤8分钟(我用手机计时),然后拿去下面的烤盘,把蛋糕烤盘换方向,放入烤网上面,上层烤4分钟;(手机计时)
18(砧板垫干净毛巾)时间到烤盘拿出来,把蛋糕卷连油纸扯到毛巾上面,撕开蛋糕卷四边油纸;
19拿着油纸,把蛋糕卷翻过来,撕去上面的油纸,然后盖回去蛋糕卷上面,慢慢冷却
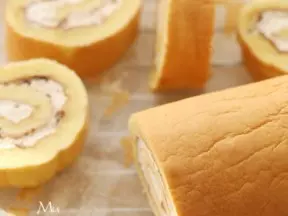
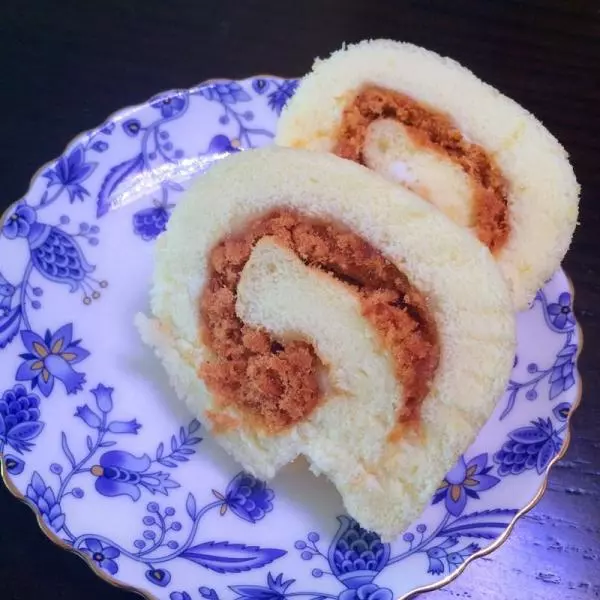
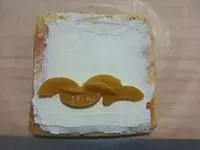
20冷却的蛋糕卷,拿走上面盖的油纸,把蛋糕卷将要连接的2边切一点,用另外干净油纸盖上去,和毛巾一起翻过来,拿走毛巾;然后裹玫瑰酱或者奶油水果
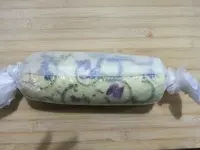
21慢慢卷起来,(很软,我直接拿油纸卷的,也可以用擀面棍辅助) 油纸两头扎紧放入冰箱冷藏定型半小时(我放0度)
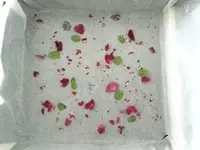
22不用画也可以做个漂亮的蛋糕卷:花瓣和叶子随意摆放,再倒入蛋糊
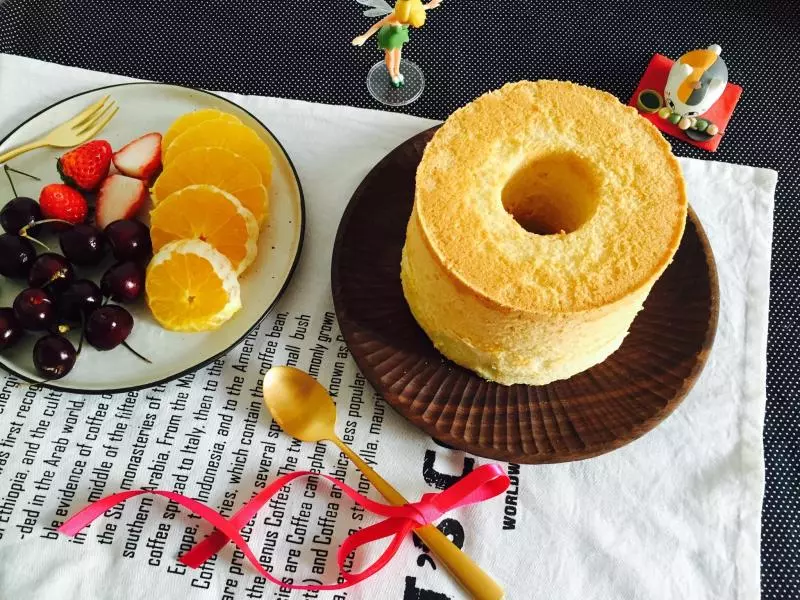
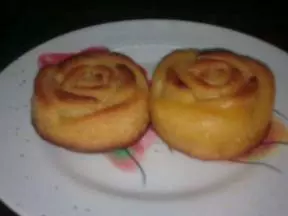
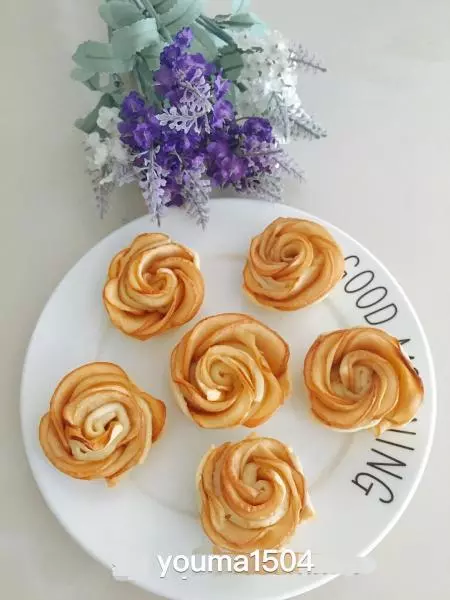
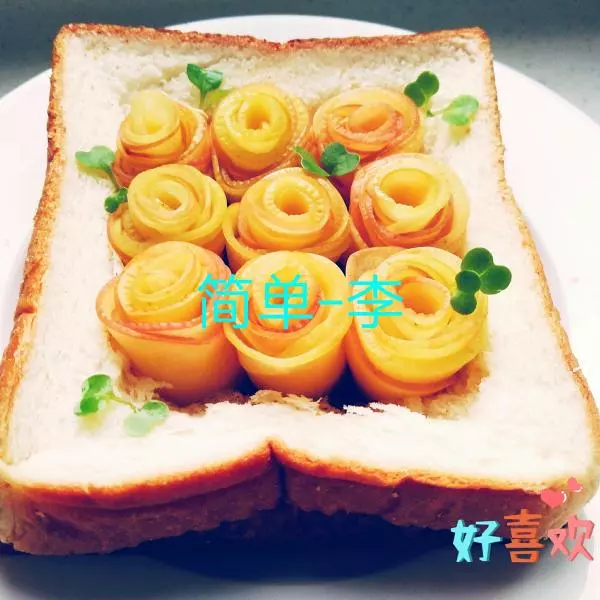
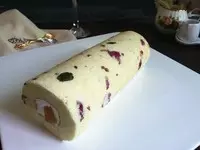
23成品:
小技巧
1;蛋白糊是一直垫冰袋的,我用便宜油纸,可以撕去皮
2;冷藏奶油用80-100克,加10克糖粉(喜欢甜的可以加20克,因为蛋糕卷不会很甜)和一克柠檬汁,或者几滴香草精,放在小的深盆,垫冰袋打发,涂抹奶油,蛋糕卷最远处留一点不要涂,水果放在三分之一处,
3:烤箱温度不一样,温度只供参考,可以用平时自己烤蛋糕卷的·温度和层次,可以试试用中层,160度,烤13--15分钟。