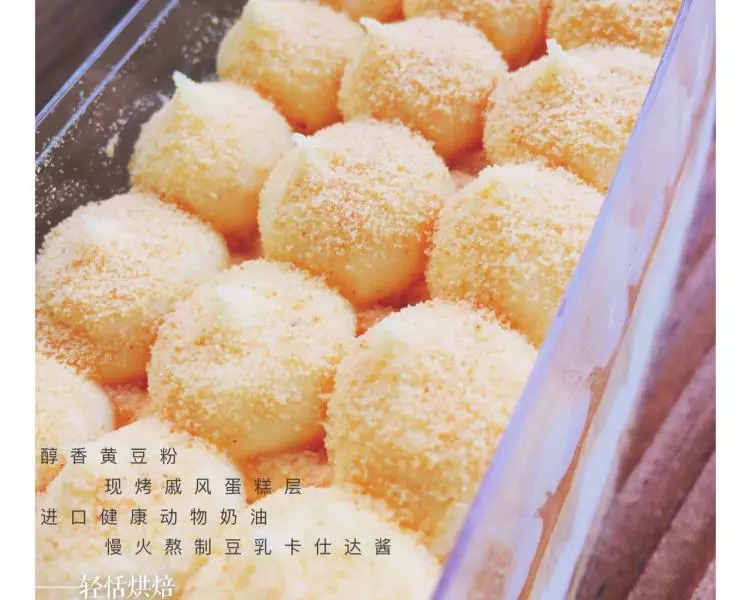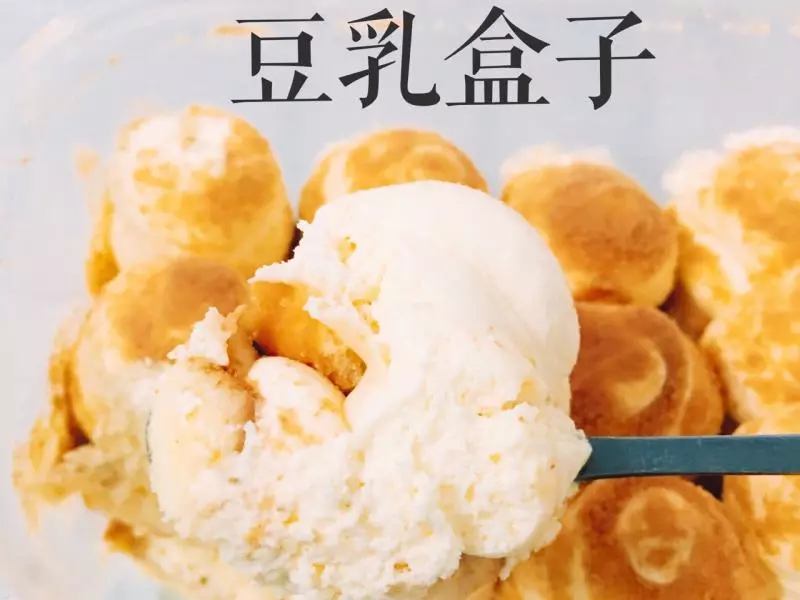
原料
蛋糕底: , 28*28的烤盘: , 蛋黄糊: , 蛋黄: 4个, 糖粉: 25g, 牛奶: 65g, 玉米油: 65g, 低筋面粉: 95g, 香草精: 适量, 柠檬汁: 少许, 蛋白糊: , 蛋白: 4个, 糖粉: 55g, 豆浆卡仕达酱: , 无糖豆浆: 300g, 蛋黄: 3个, 香草精: 适量, 玉米淀粉: 10g, 低筋面粉: 30g, 细砂糖: 45g, 打发奶油: , 动物奶油: 200g, 糖粉: 20g, 熟黄豆粉: 适量
步骤
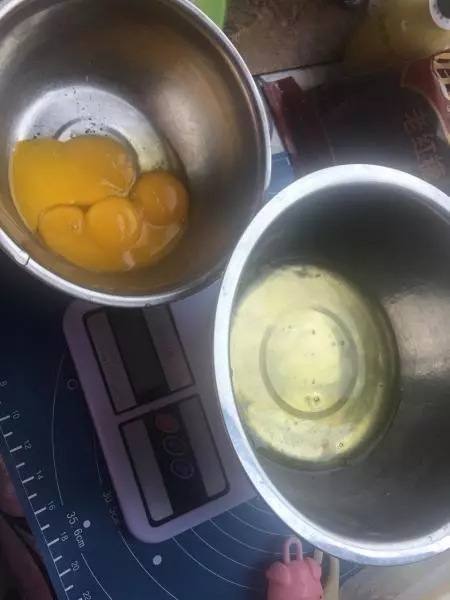
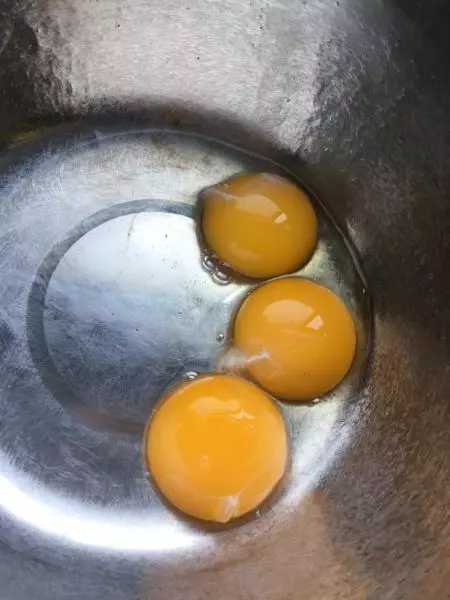
1蛋白蛋黄分离
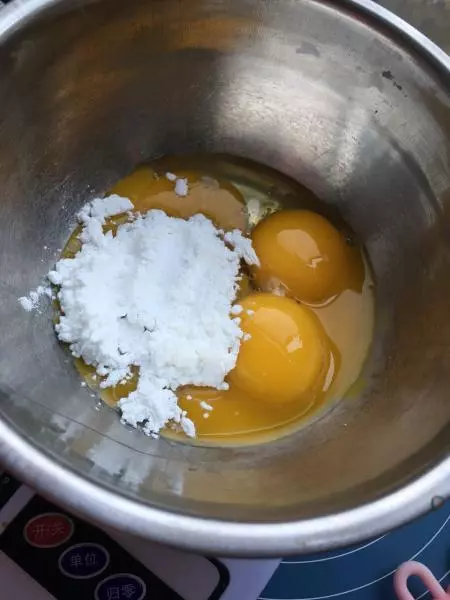
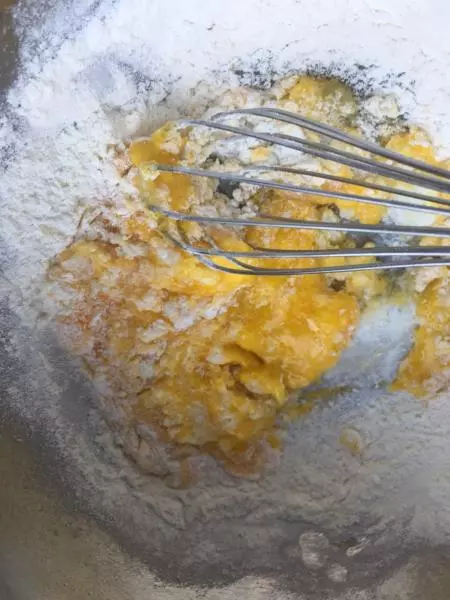
2蛋黄加入糖粉
3加入玉米油
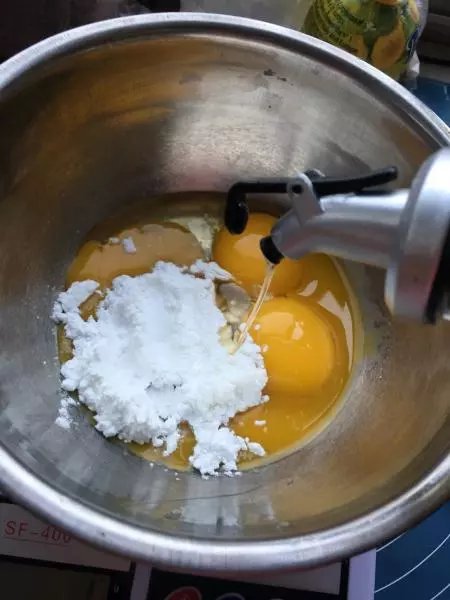
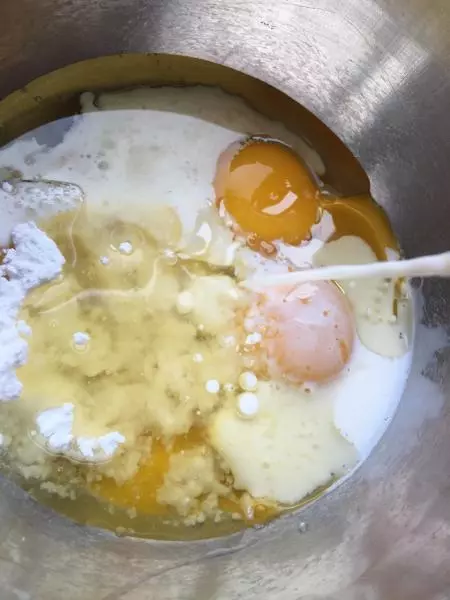
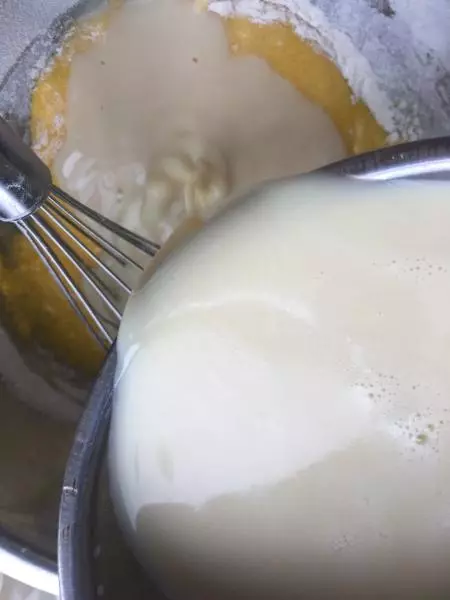
4加入牛奶
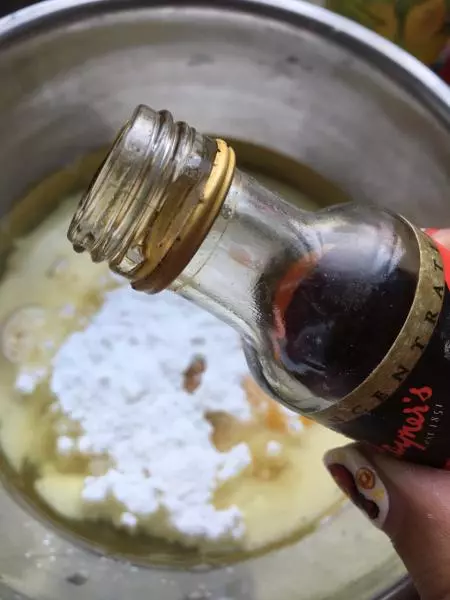
5倒入香草精
6加入适量柠檬汁
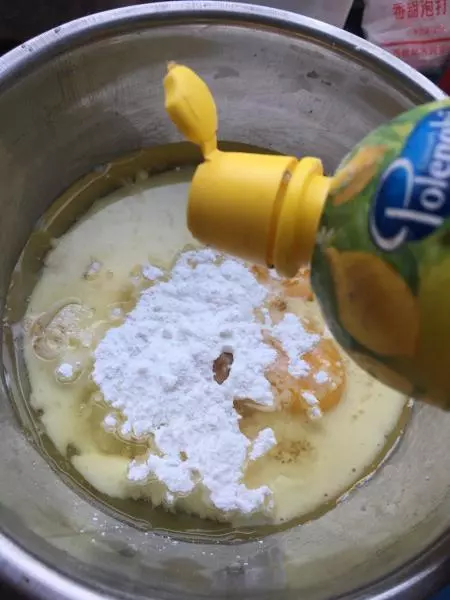
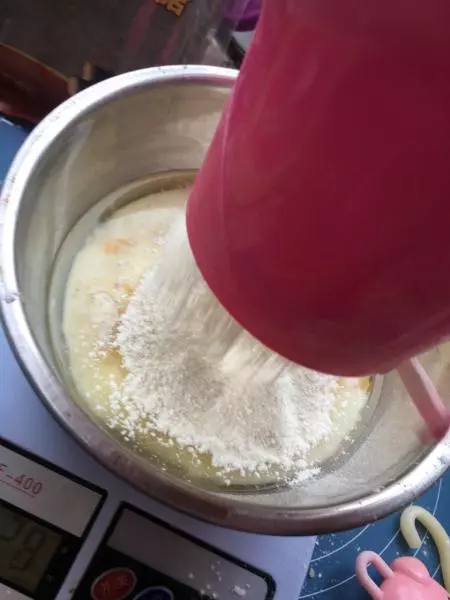
7筛入低筋面粉
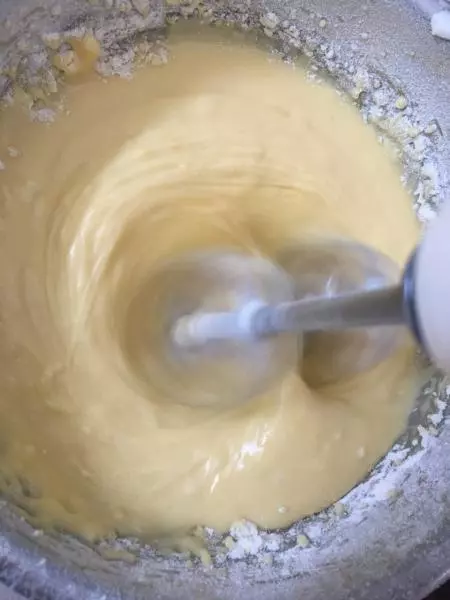
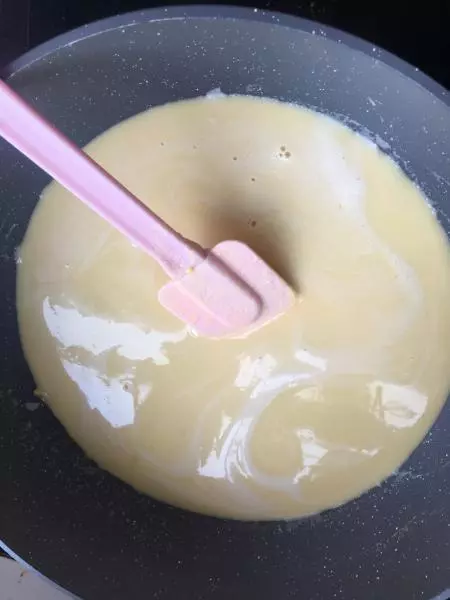
8搅拌均匀
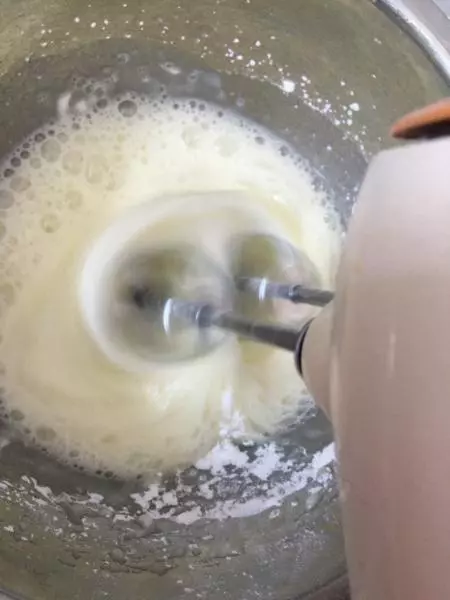
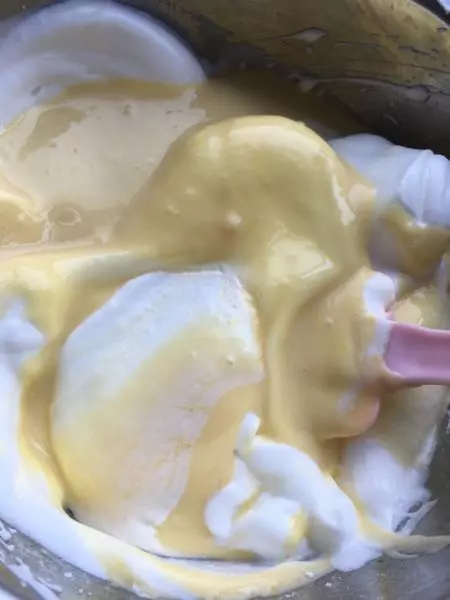
9蛋白中加入糖粉打发,提起打蛋器有个尖角的程度即可
10把蛋白糊与蛋黄糊搅拌均匀
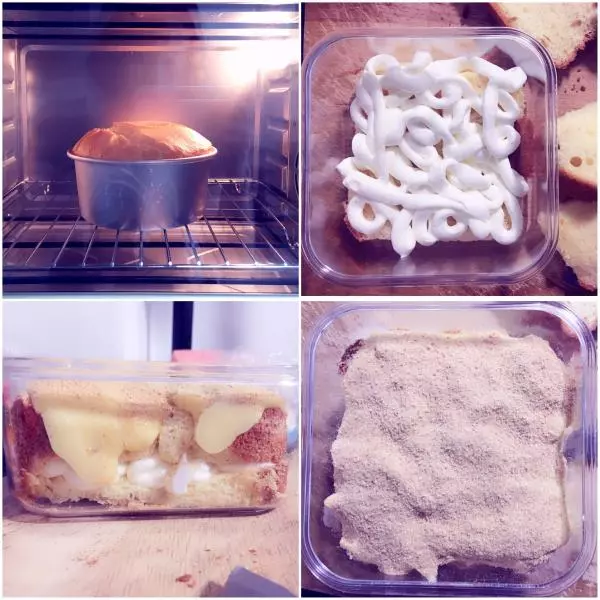
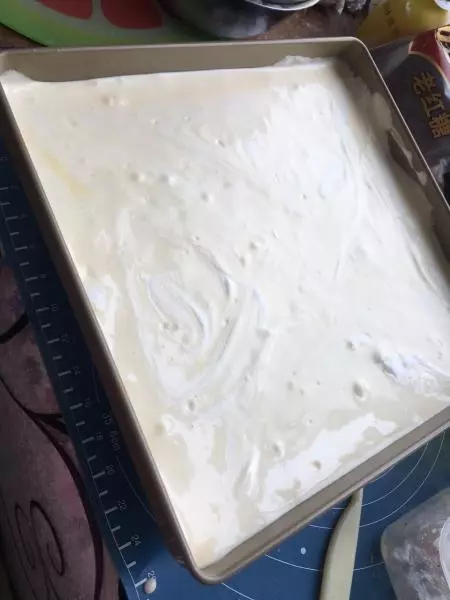
11倒入烤盘,烤箱预热170度烤15分钟即可
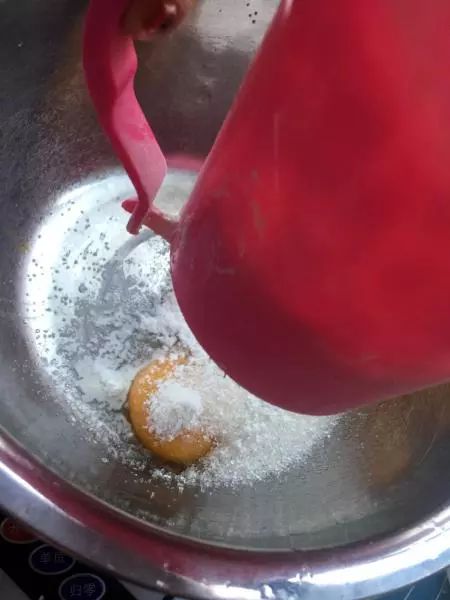
12制作豆浆卡仕达酱 蛋黄三个
13加入细砂糖,过筛的低筋面粉和玉米淀粉
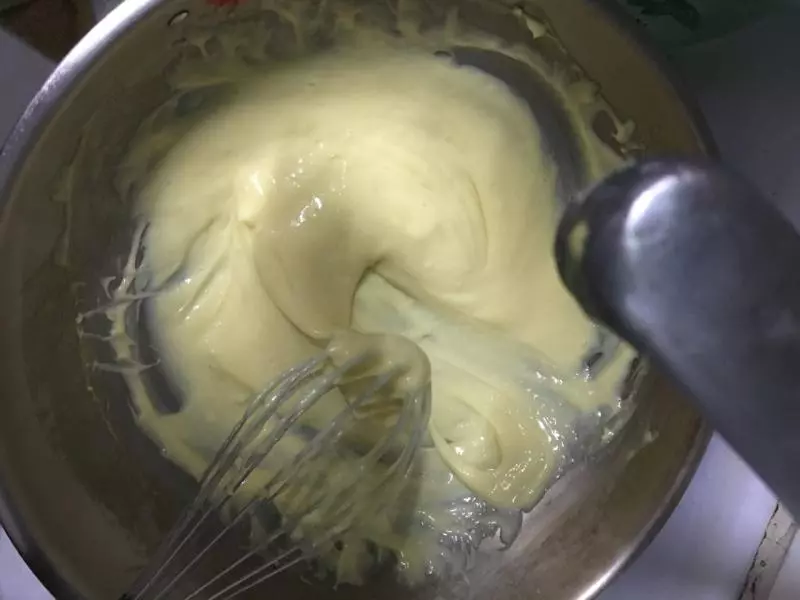
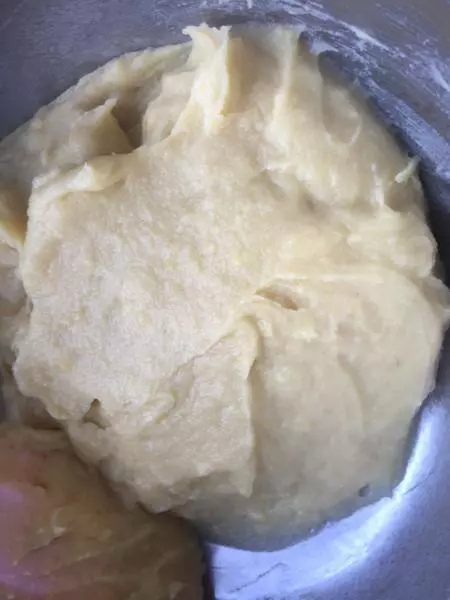
14搅拌均匀
15无糖豆浆加热后倒入
16搅拌均匀后倒入锅中小火加热使其成为糊状
17成为糊状后盛出放凉备用
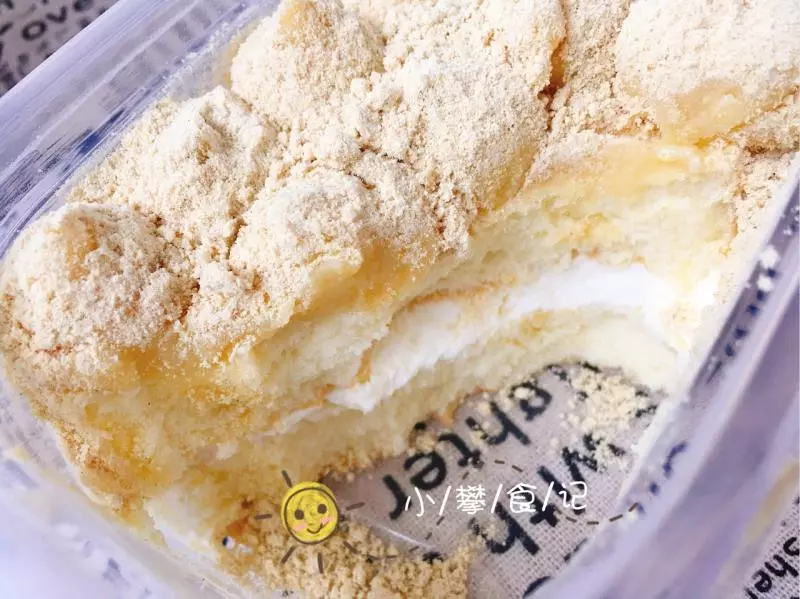
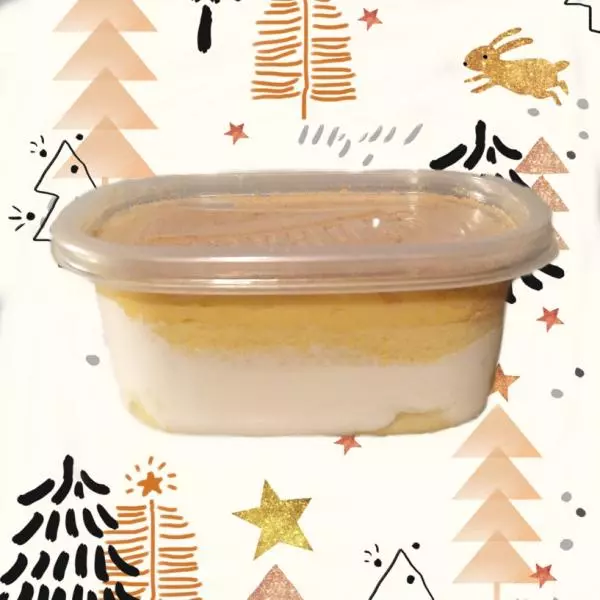
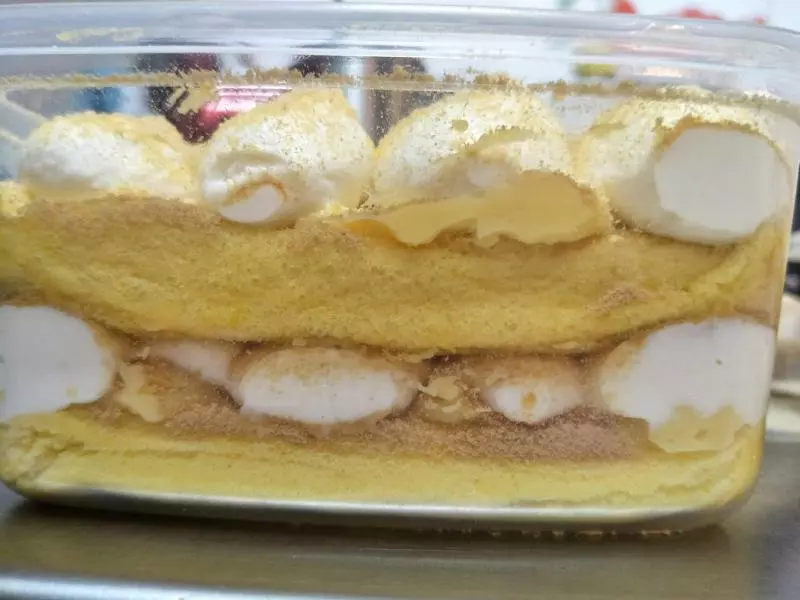
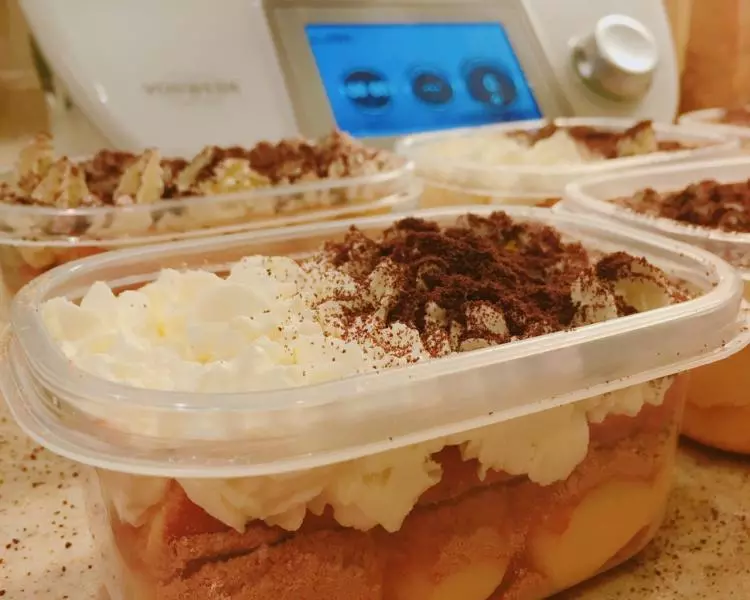
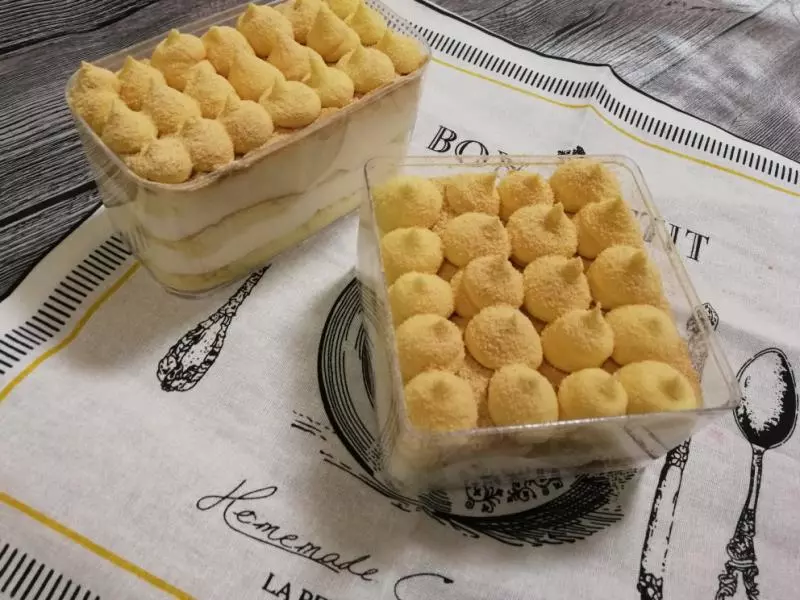
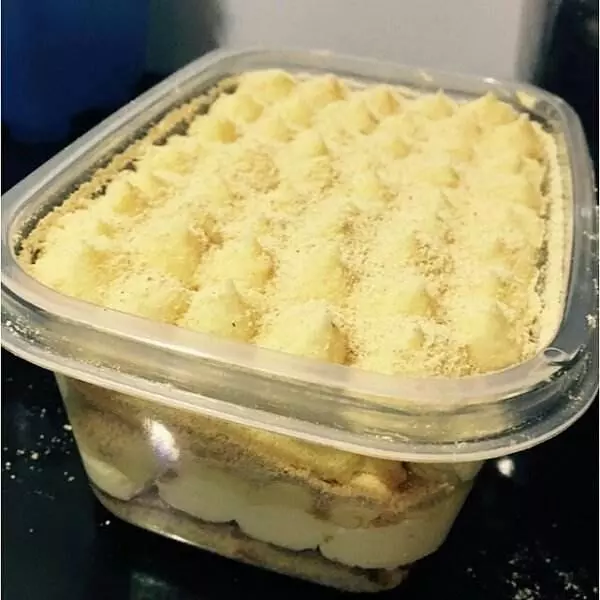
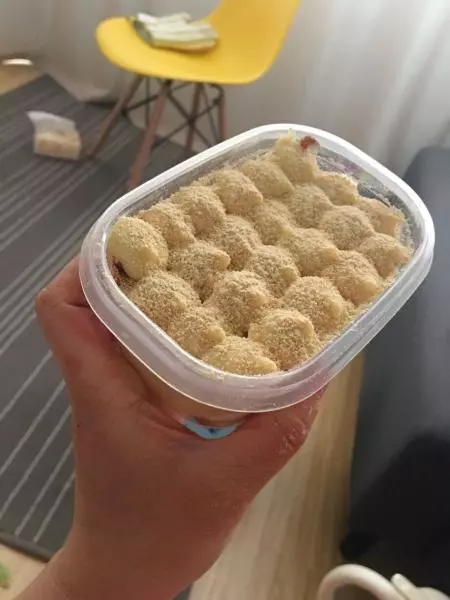
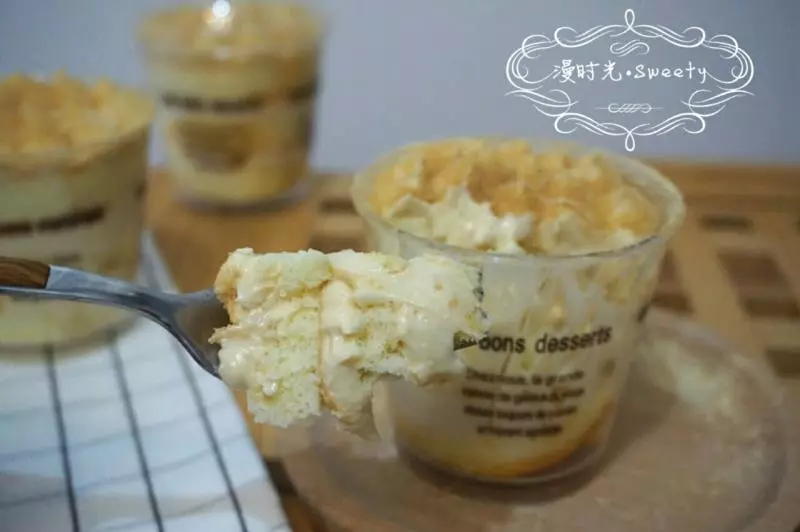
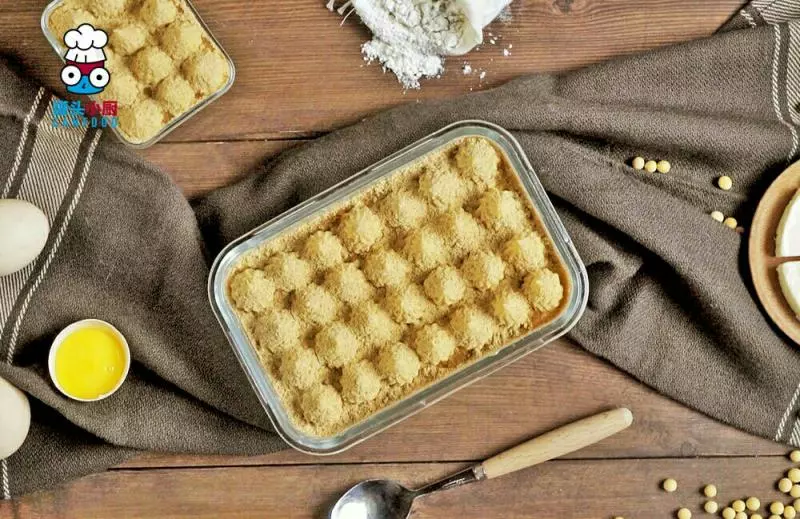
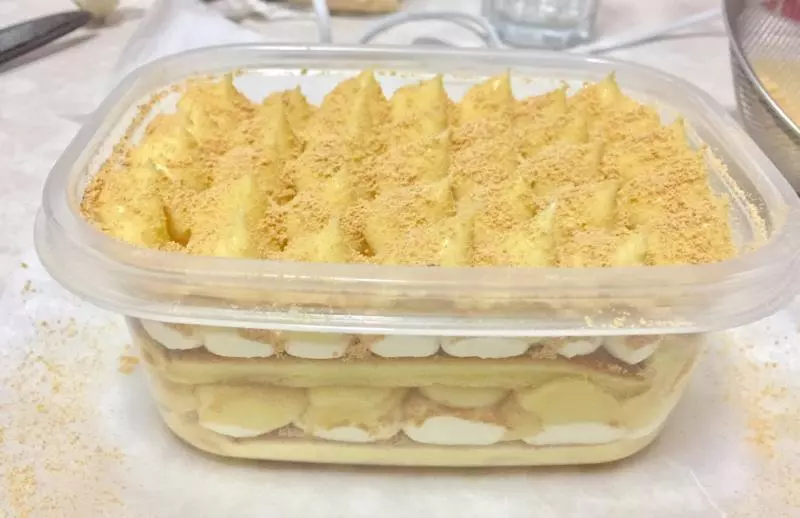
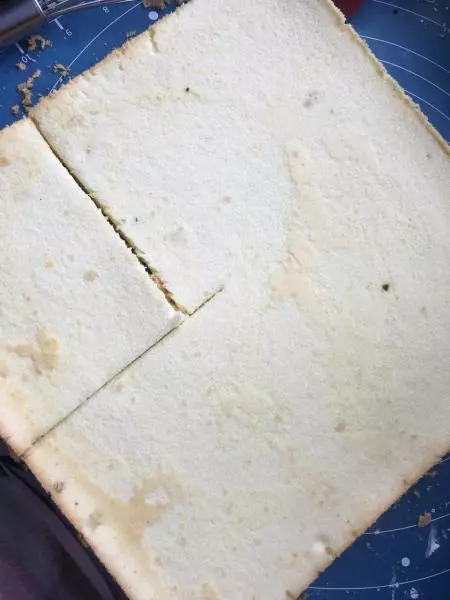
18烤好的蛋糕底切成盒子大小
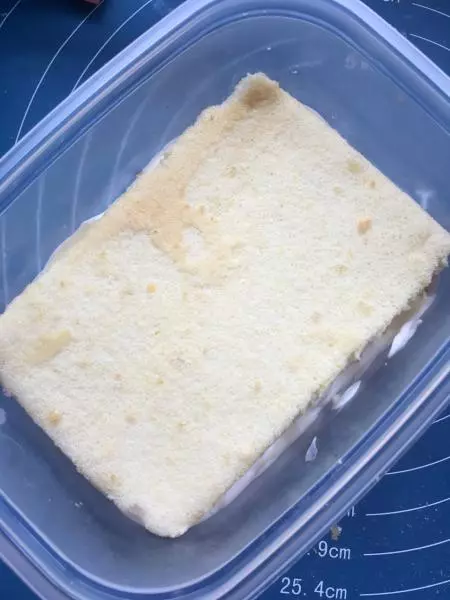
19切好的戚风蛋糕底放入盒子中
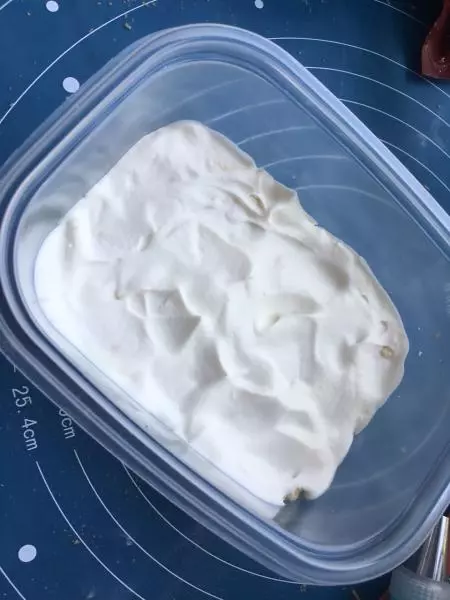
20抹一层奶油
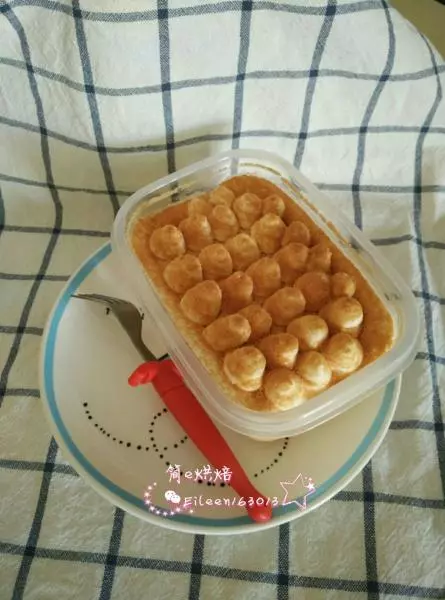
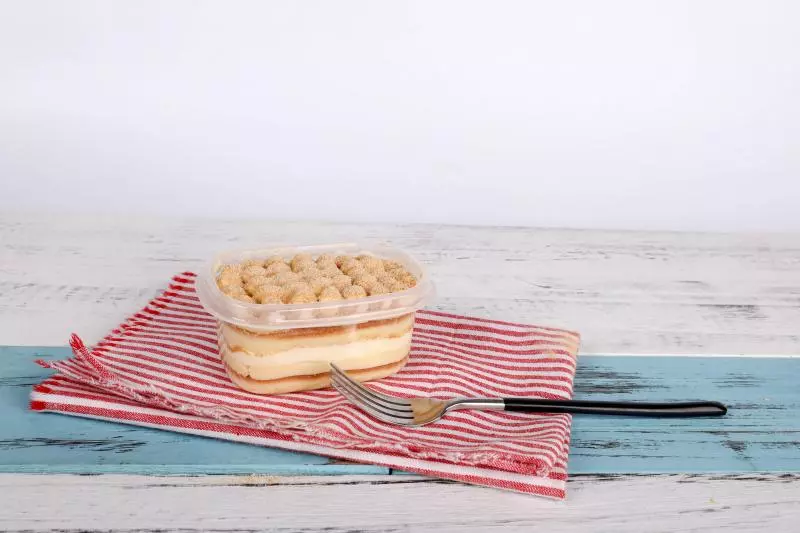
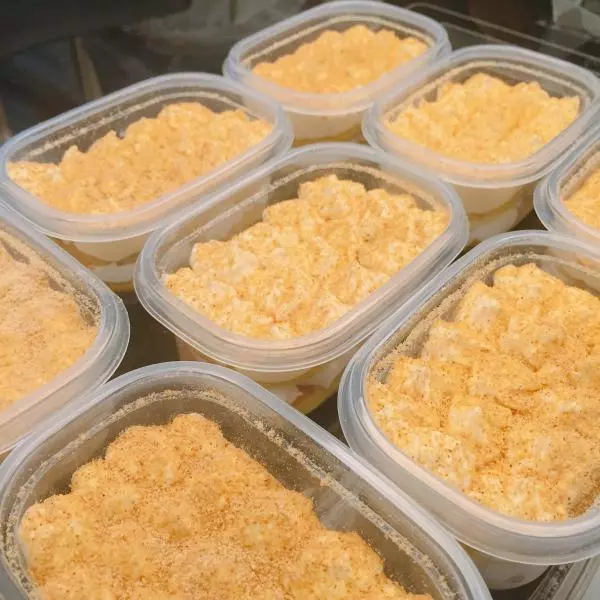
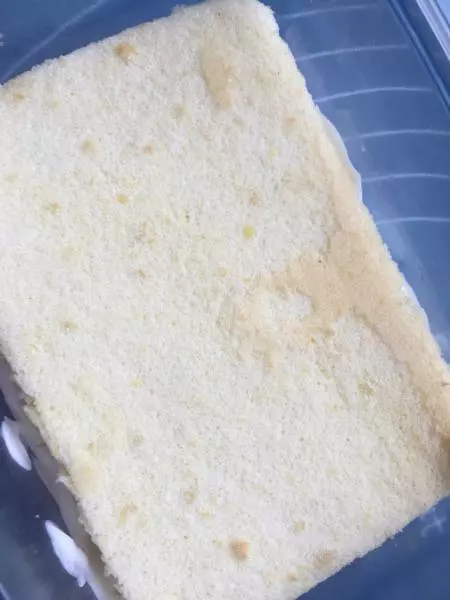
21再放一层蛋糕底
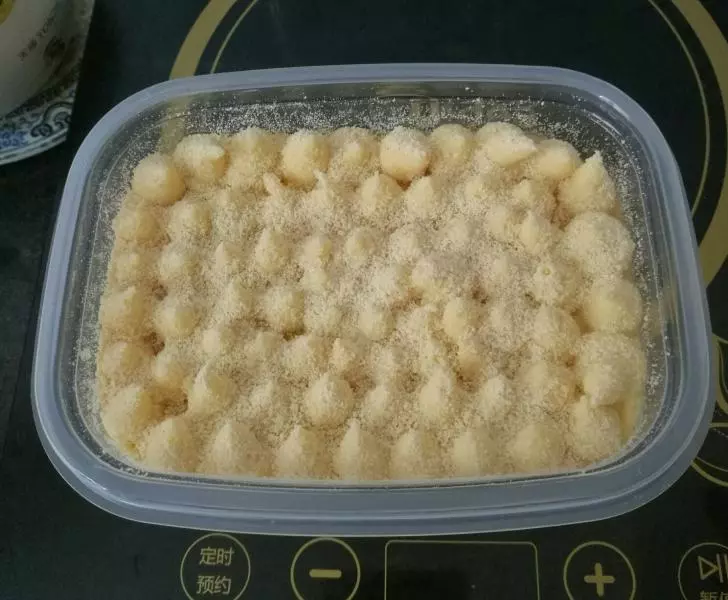
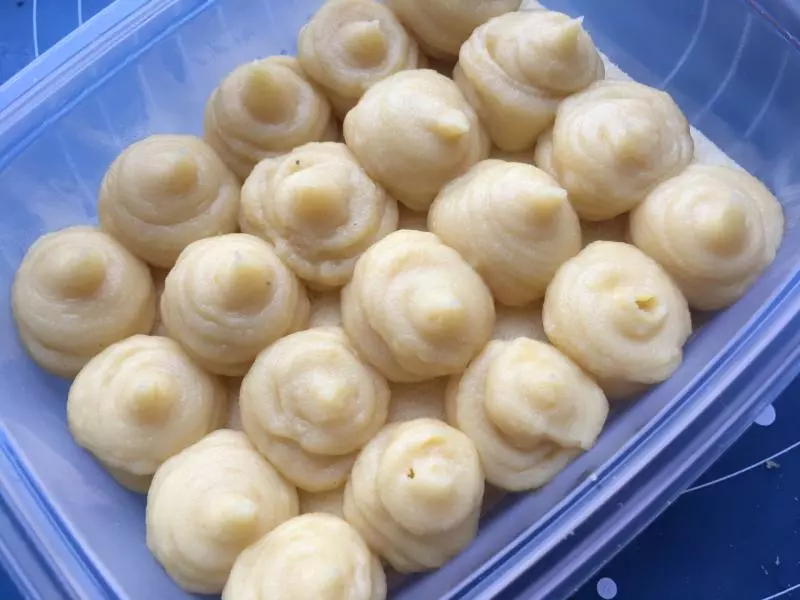
22吧豆浆卡仕达酱放入裱花袋中挤到盒子中
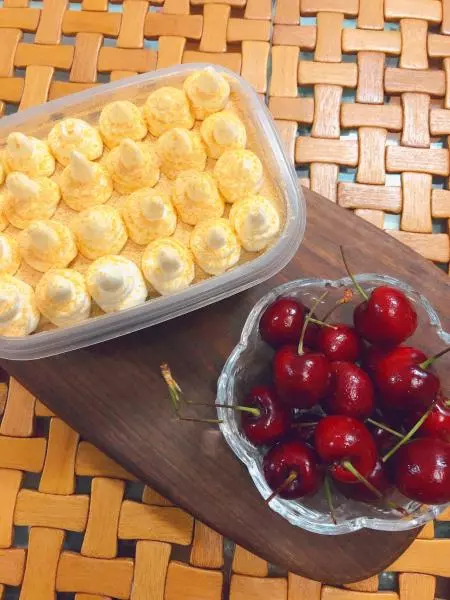
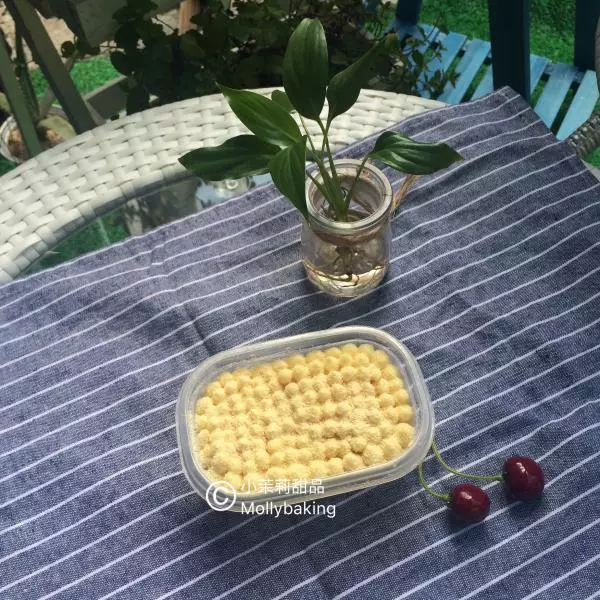
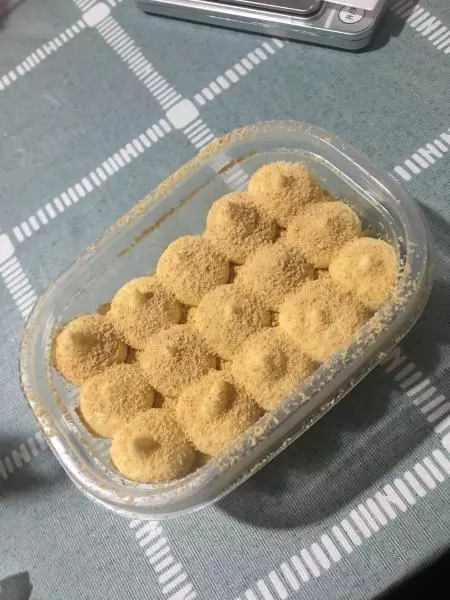
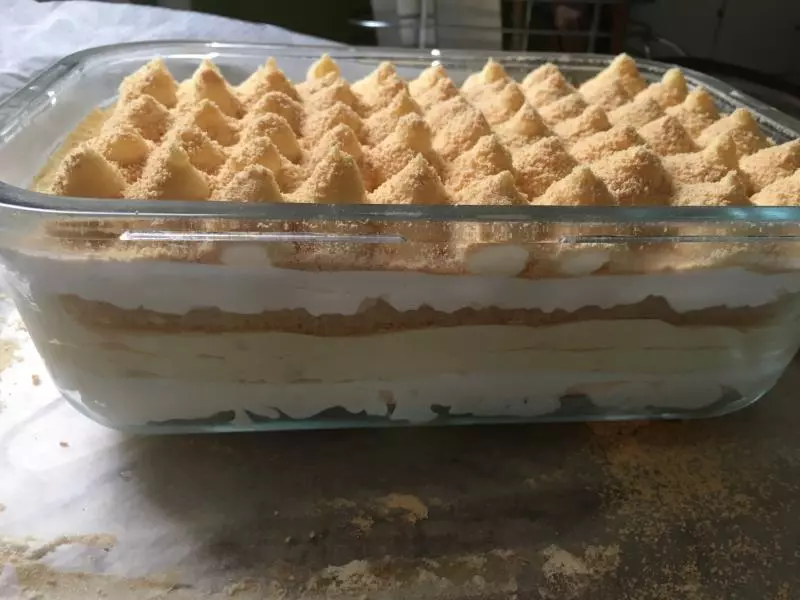
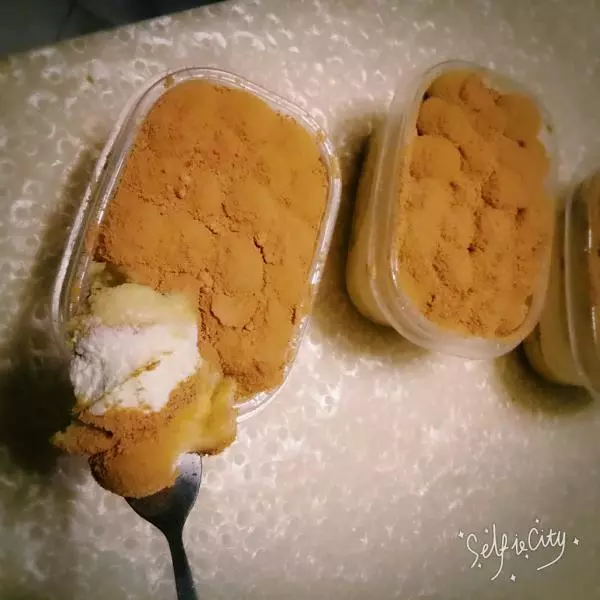
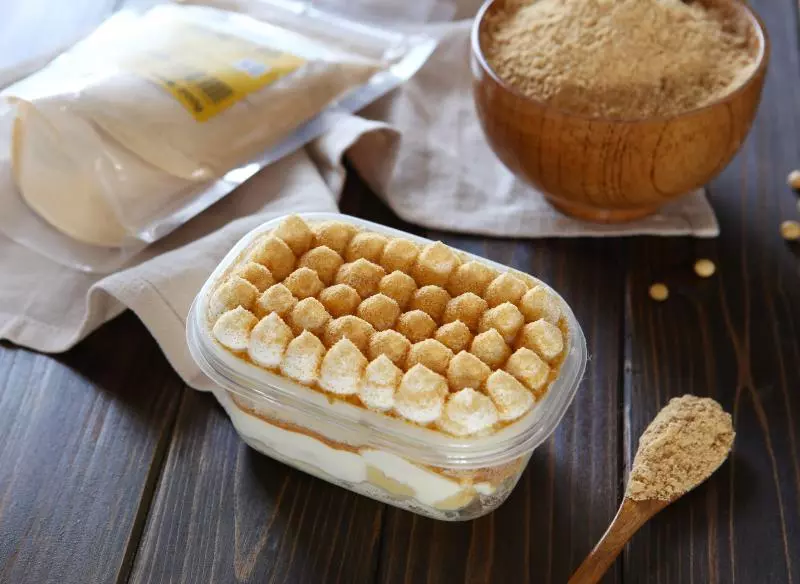
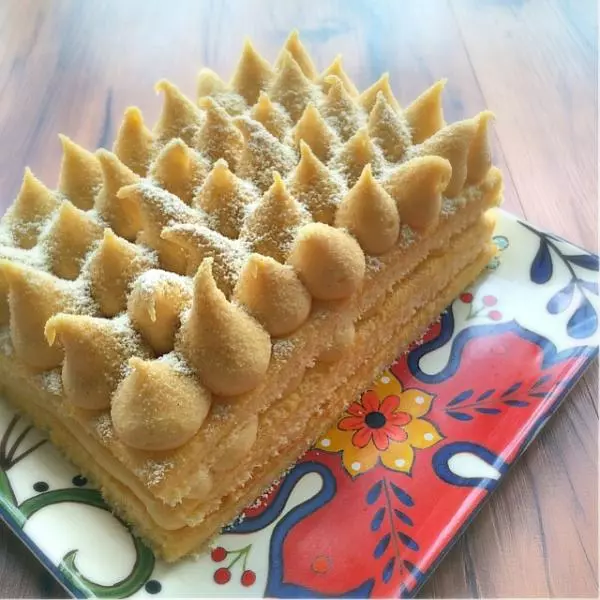
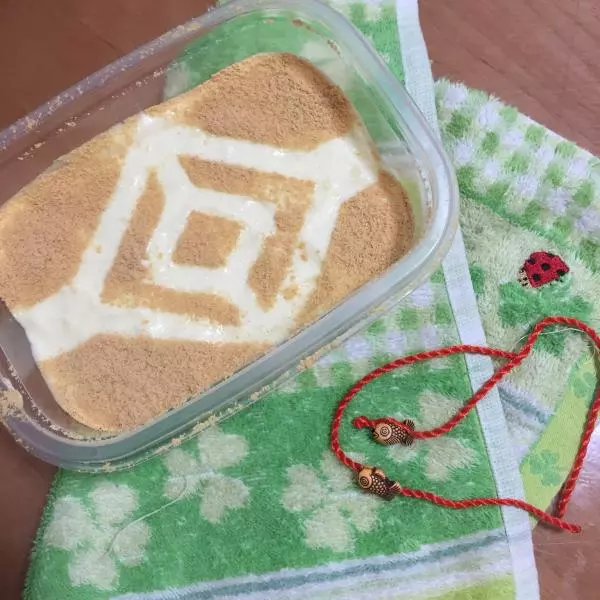
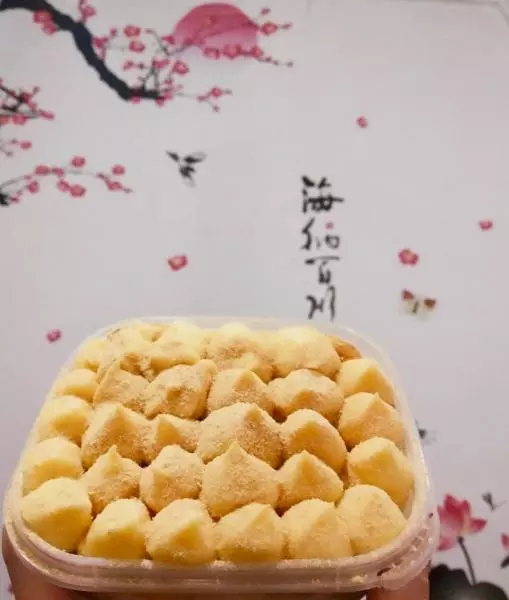
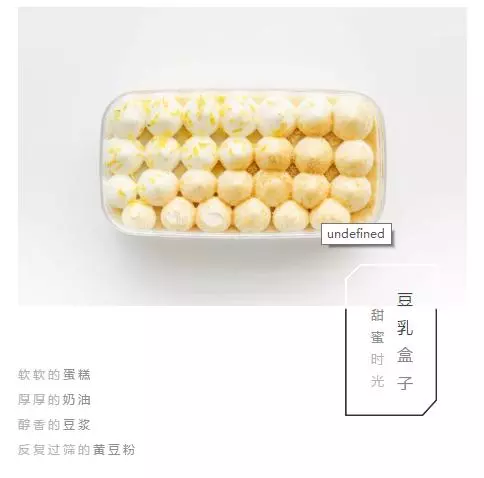
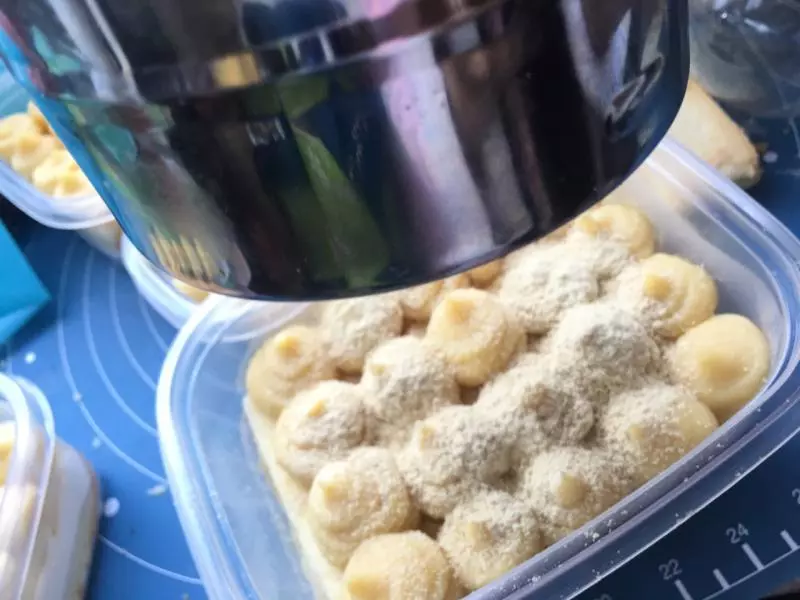
23撒一层黄豆粉即可
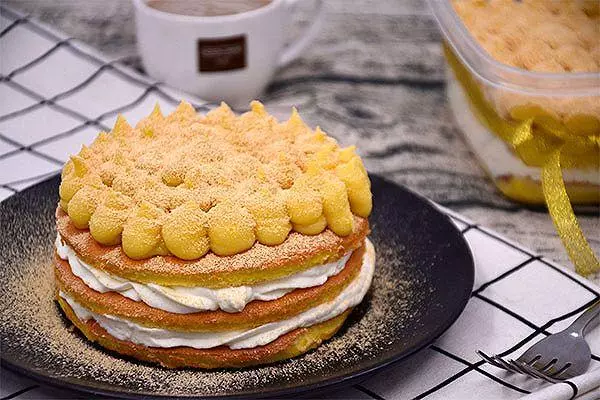
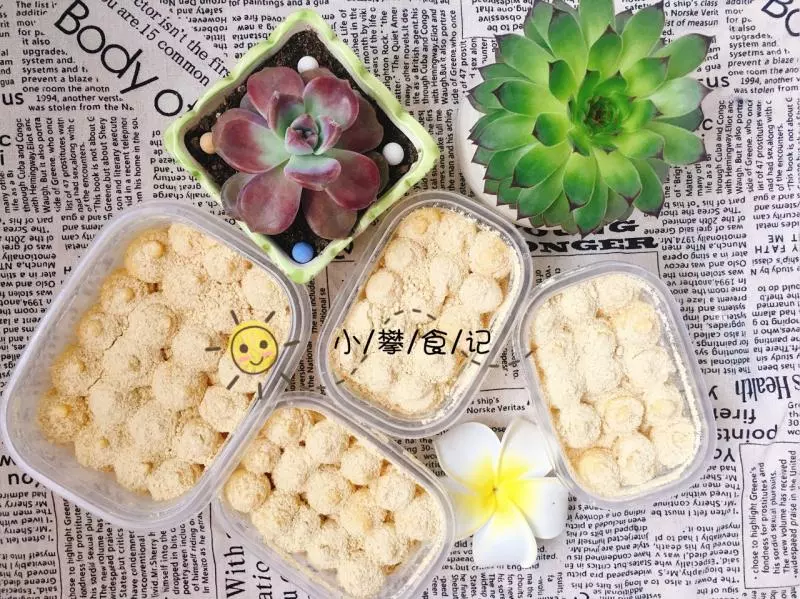
24可以摆拍了
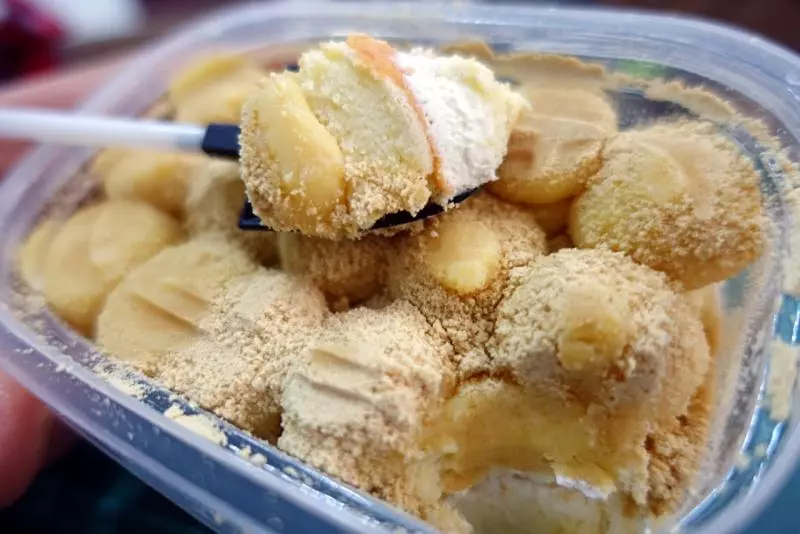
25超级好吃
26摆拍时间到
27好吃到根本停不下来