原料
黄油: 130g, 低筋面粉: 245g, 全蛋液: 60g, 糖霜: 65g, 蔓越莓干: 40g 喜欢吃就多放点
步骤
1这是全部材料

2黄油软化,搅拌均匀,不要上劲。我觉得软化成液体状影响后面步骤操作,就采用室温软化

3筛入糖霜,搅拌均匀

4分多次加入全蛋液,充分搅拌均匀后再加入下一次蛋液。一定要分多次,不要怕麻烦!不然一次加入容易油水分离。

5筛入低粉,用刮刀搅拌均匀。我也是分次加的,这样不容易出现搅拌不均匀的现象。

6加入蔓越莓干,搅拌均匀。颗粒大的话就稍微切一下

7搅拌好的面团大约是这样的,光滑不粘手。

8包上保鲜膜,我没有专门的模具,就用保鲜膜的盒子代替的。然后放冰箱冷冻五十分钟左右。冷冻!冷冻!是冷冻!❄?☃可能家里温度高了加上没有专业模具面团有点软不容易塑型,我是先冷冻了十分钟拿出来塑了下型然后又冻的。

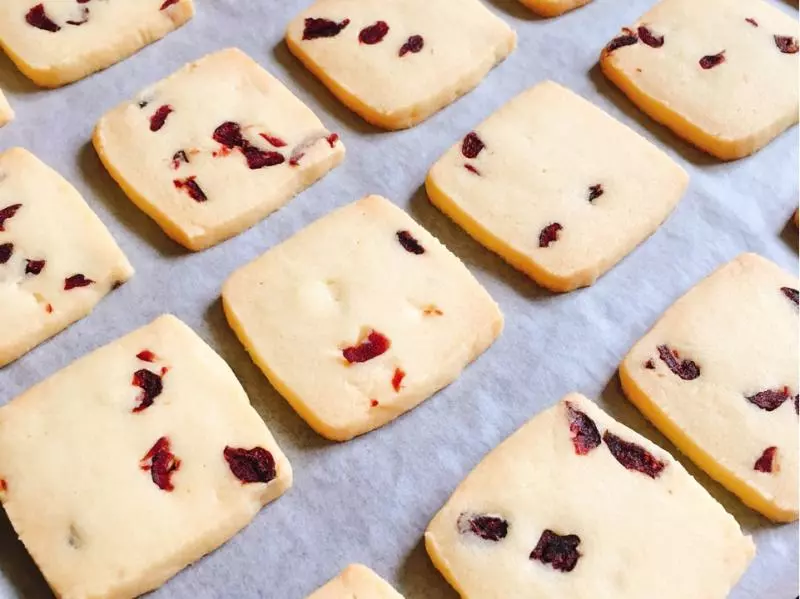
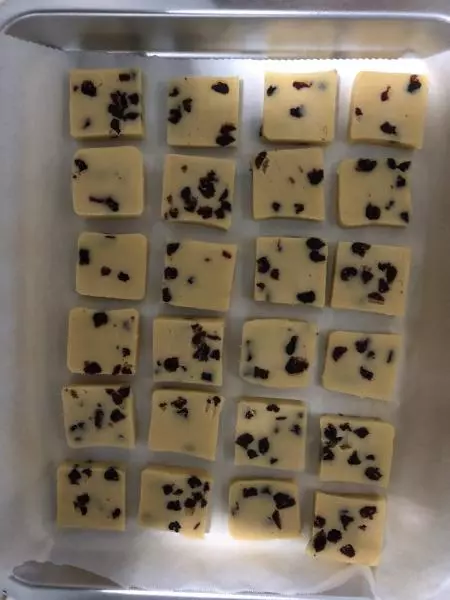
9拿出来切成0.5cm厚的片。厚度没有规定,厚点就多烤会儿。

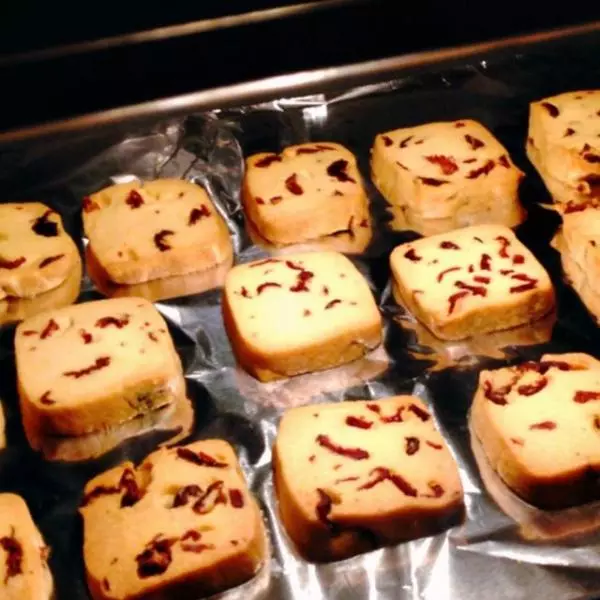
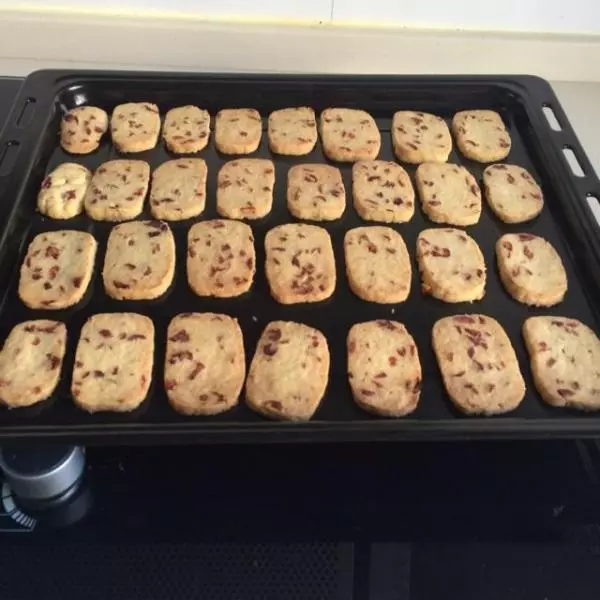
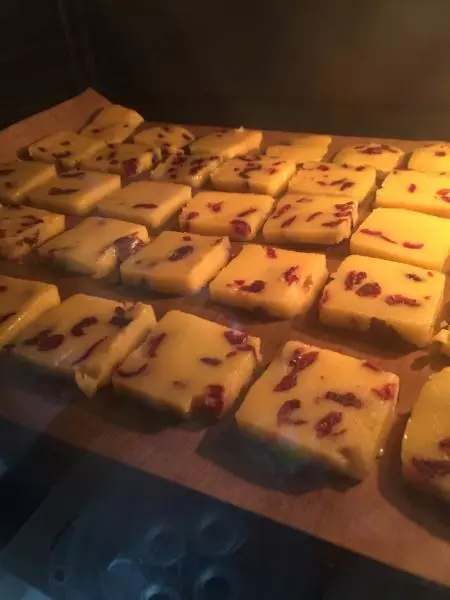
10烤箱上下火160度预热五分钟左右,铺上油纸,平铺烤盘上,160度烤15到20分钟。最后几分钟注意留神一下,喜欢上色重的多烤几分钟。

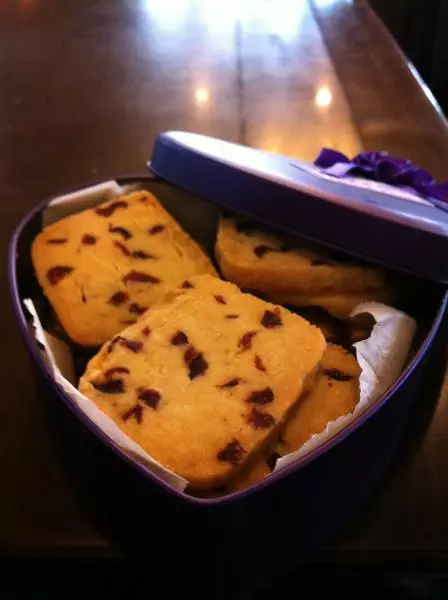
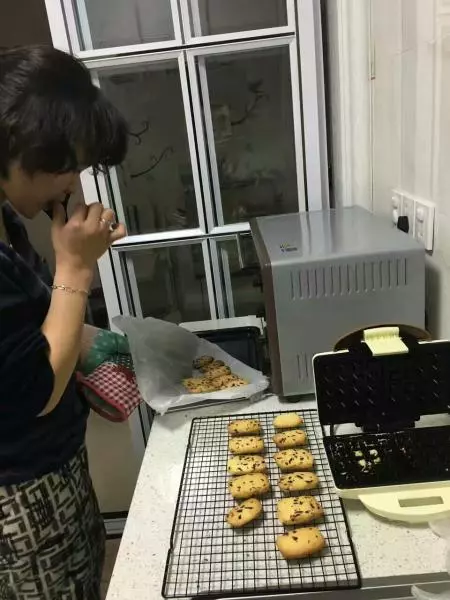
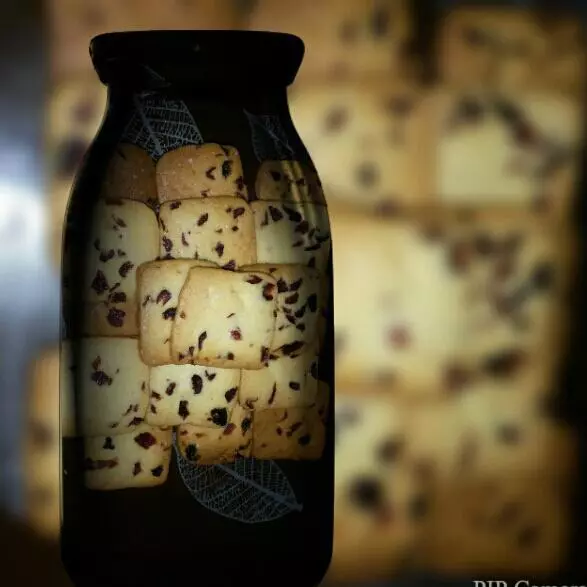
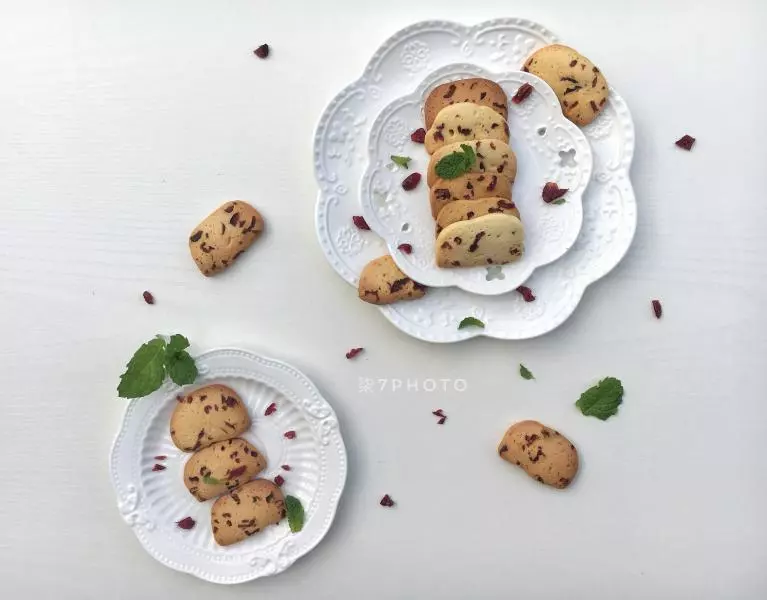
11完工啦!????

小技巧
我因为蛋液放了一整个导致面团有点儿稀,就又放了点儿低粉。自己把握。