原料
花生(熟): 克约370, 鸡蛋(可以适当留一些蛋黄,刷饼面也可以另外再拿蛋黄): 2个, 普通面粉即可: 400克, 玉米油: 200克, 泡打粉: 4克, 糖粉(没有可以白砂糖打碎): 200克, 蛋黄液(用来刷饼面): 1个, 装饰黑芝麻: 适量
步骤
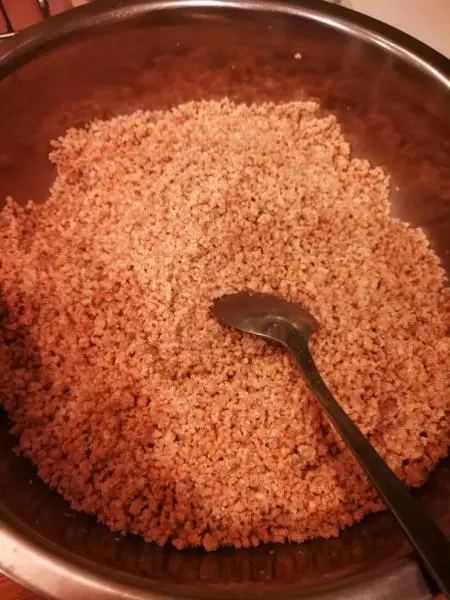
1糖粉和花生碎(被料理机打过的)混合备用(有一些花生皮没问题的)
2打鸡蛋不用说了

3玉米油和鸡蛋液混合。
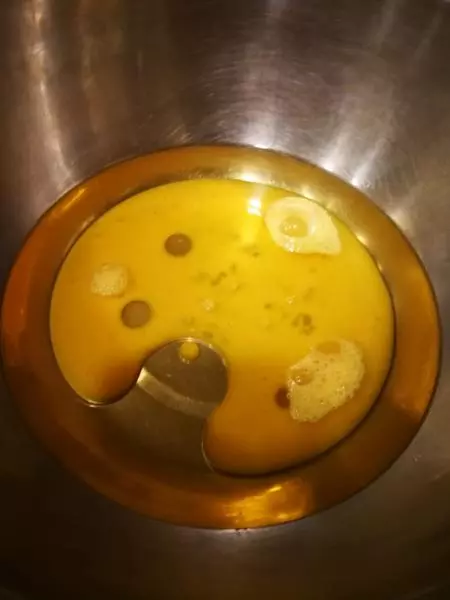
4搅拌机打匀。完美

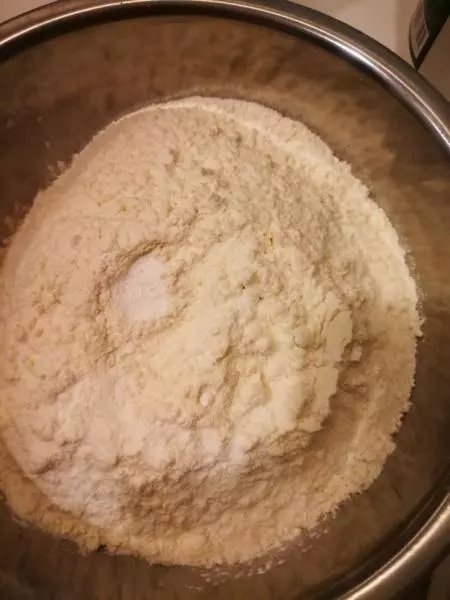
5面粉和泡打粉混合。加入之前的油蛋液中。
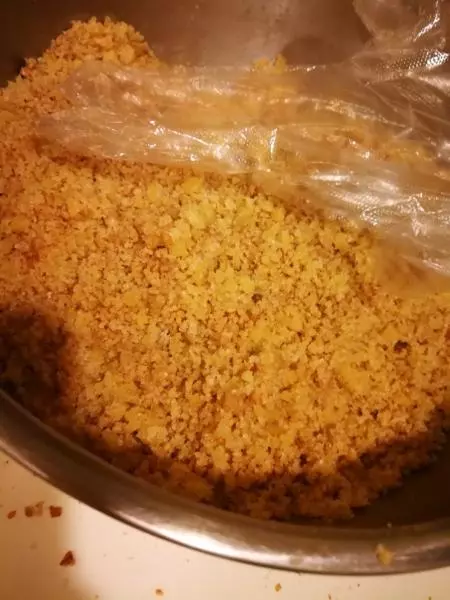
6再加花生碎, 嚯嚯嚯嚯嚯嚯~ 不用担心颗粒状。
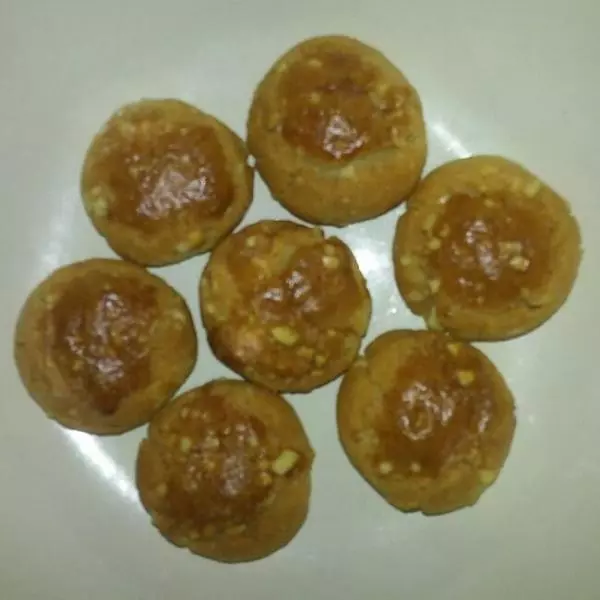
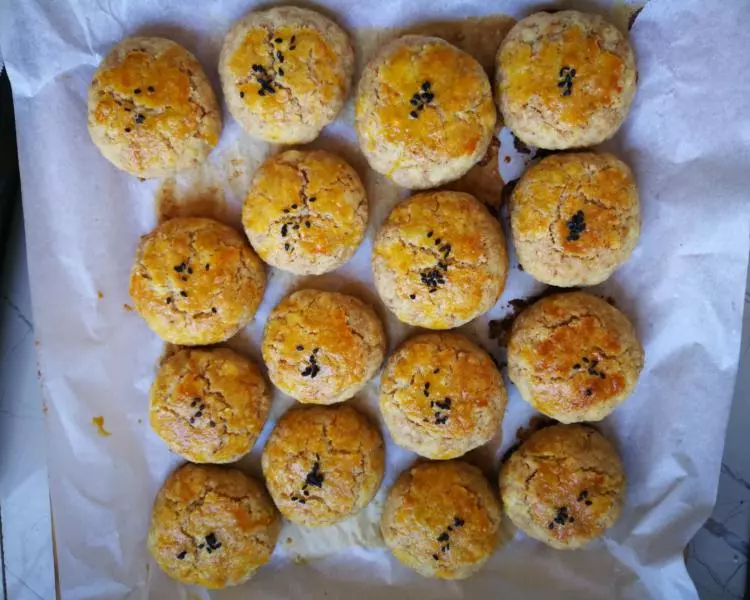
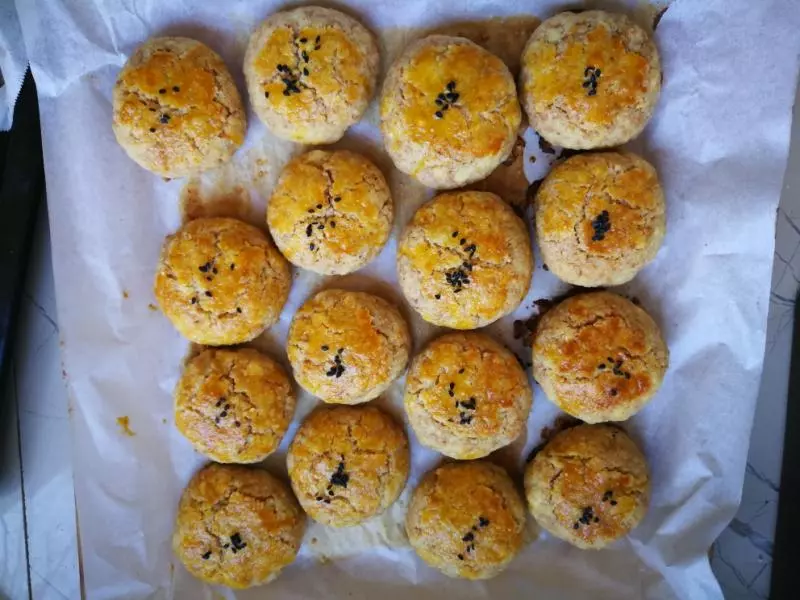
7捏握成饼。这个方子,我一层16个 正好2层!

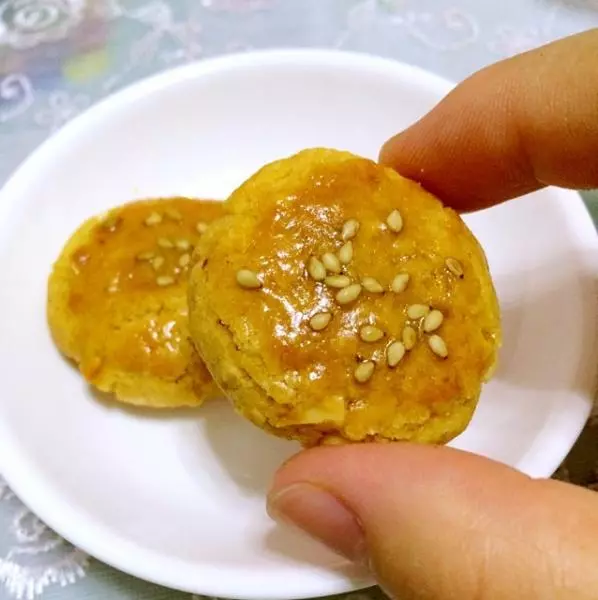
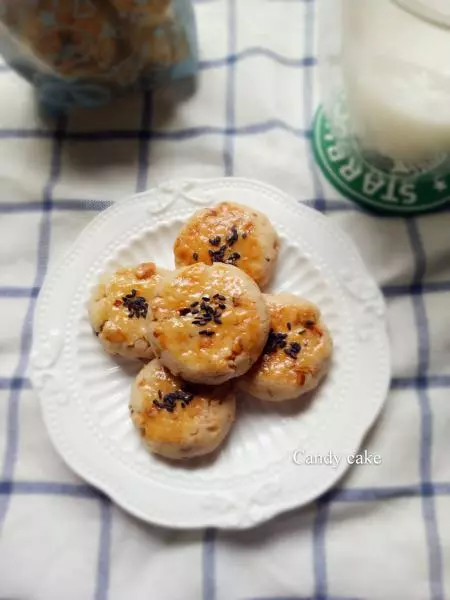
8刷蛋液,撒芝麻。入烤箱。170度大概15分钟。注意上层的上层,和下层的下层,不要糊。可以10分钟后。上下对调再来5分钟。

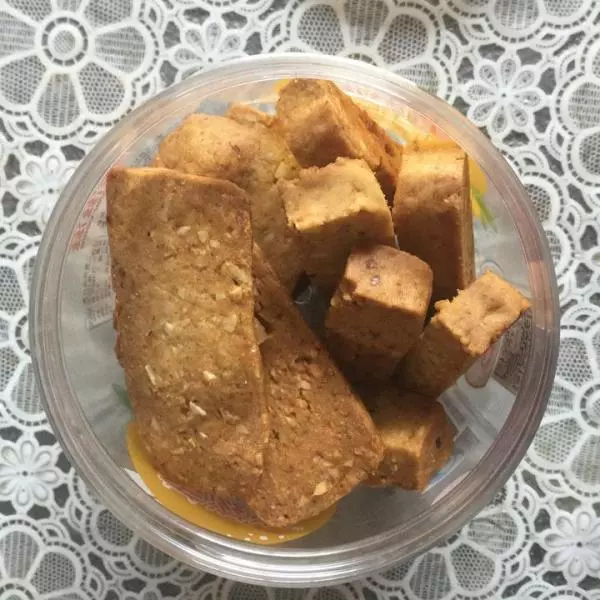
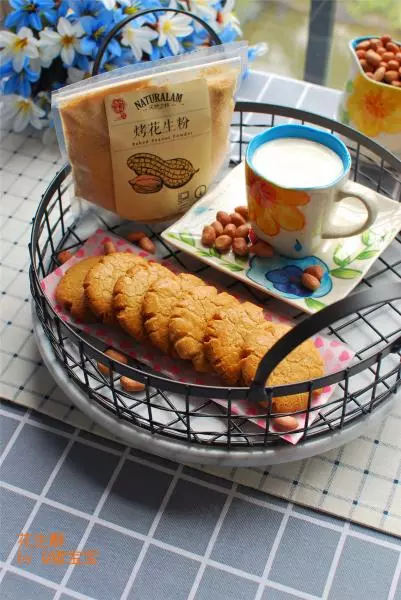
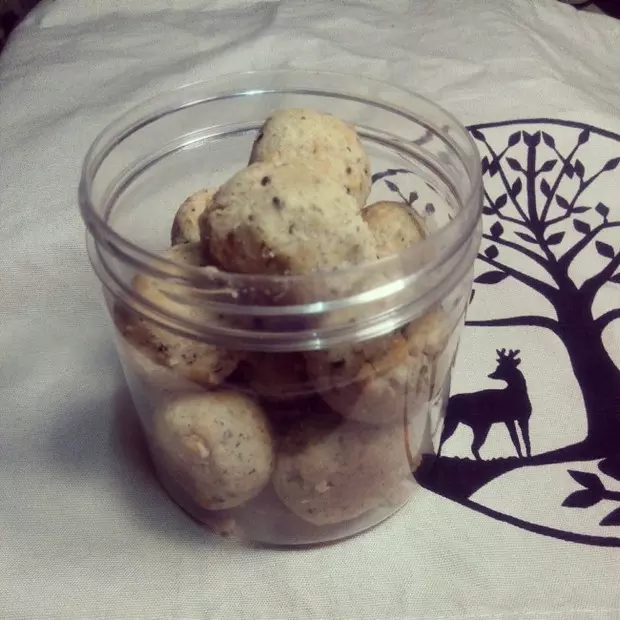
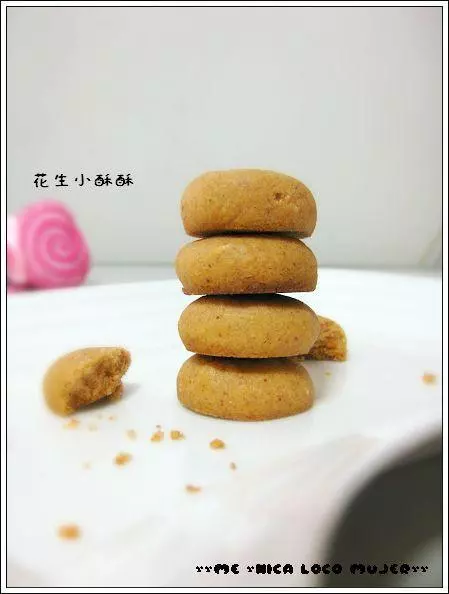
9刚刚出炉,是湿软的,不要动。放凉,自然就酥了。入口即化!酥到你哭!
10满满的花生香。 还挺顶饱的

小技巧
烘烤会变涨,注意间距!