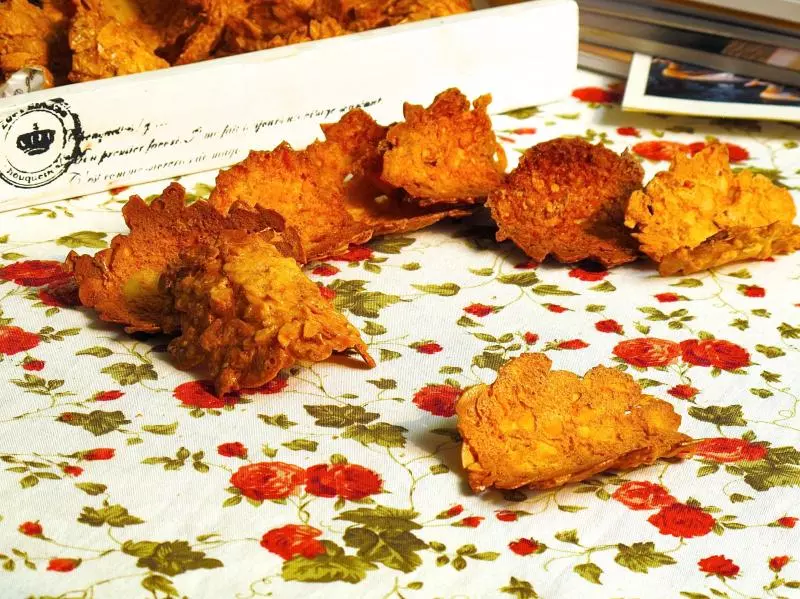
原料
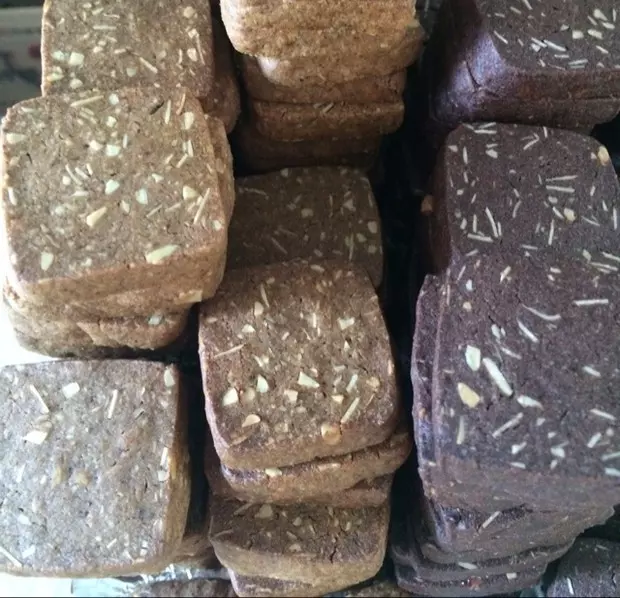
生榛子仁: 50g, 蛋白(約兩個): 50g, 糖粉: 75g
步驟
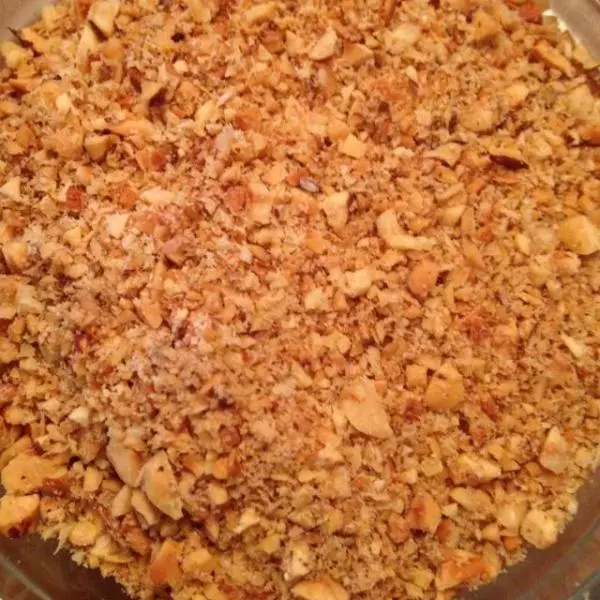
1把榛子仁切碎,烤箱預熱至130度。在烤盤中鋪上烤紙。
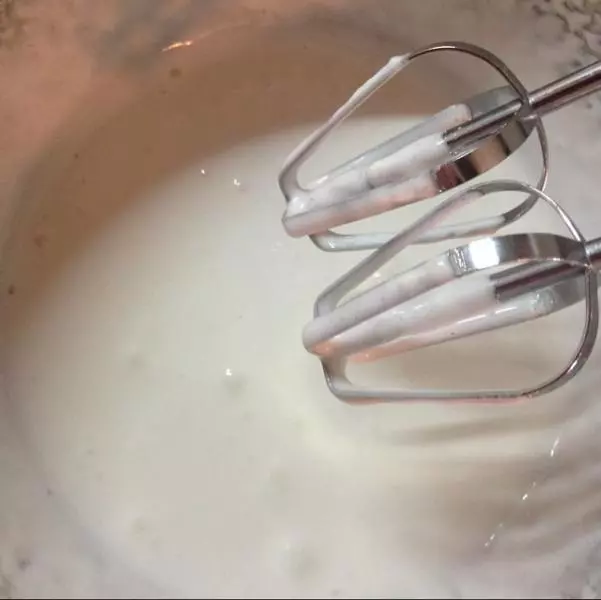
2蛋白中加入1/4的糖粉打發至體積膨脹,再分次加入剩餘糖粉繼續打發。
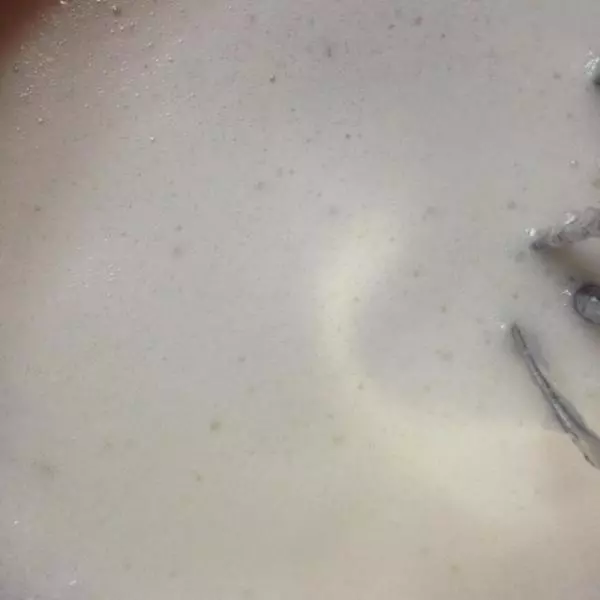
3將蛋白隔水加熱至40~45度,用低速繼續打發。(蛋白霜打至七成發,柔軟黏稠即可,不要太膨鬆。)
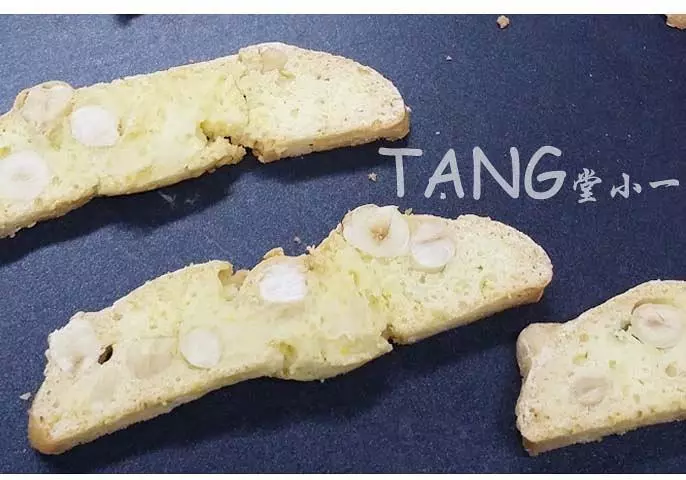
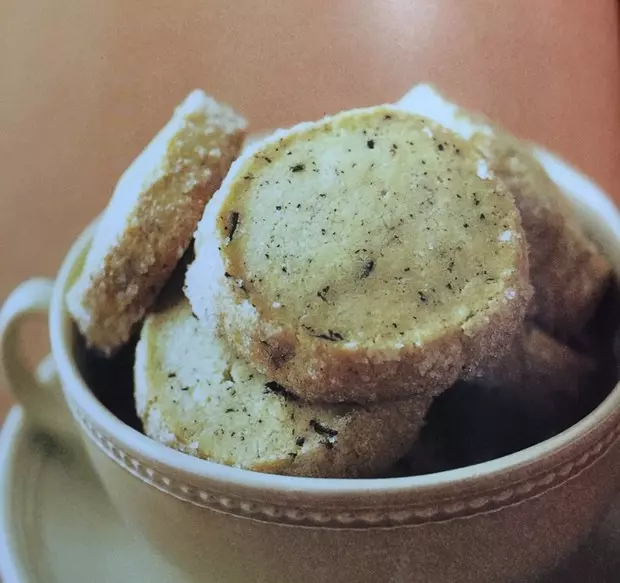
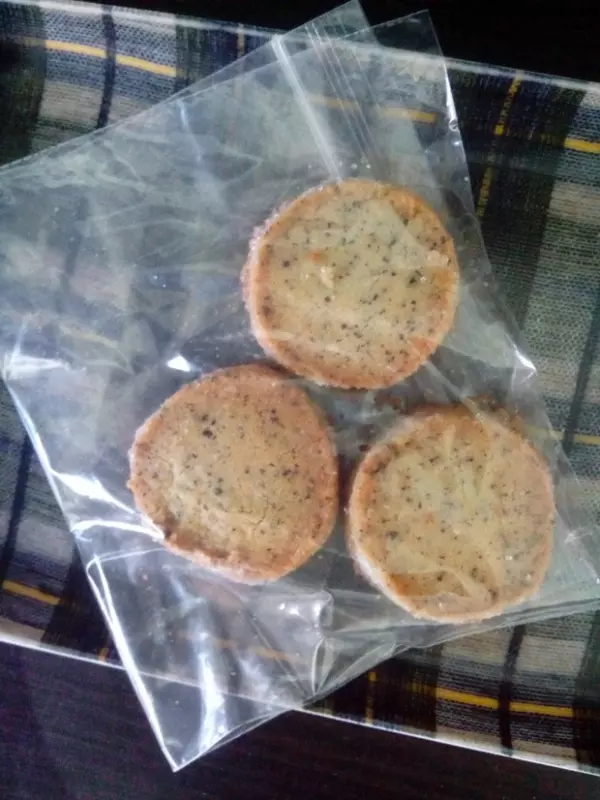
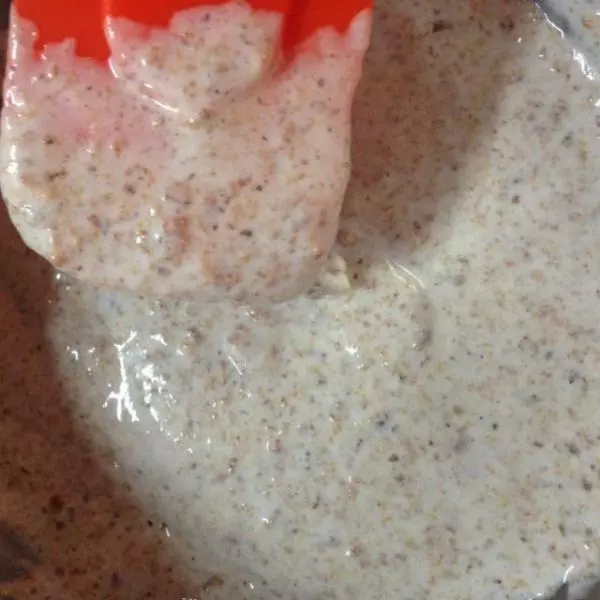
4加入榛子仁,拌勻。用勺子盛到烤盤中,修成圓形。(餅乾糊最理想的狀態是盛在烤盤上能略微自然延展。)
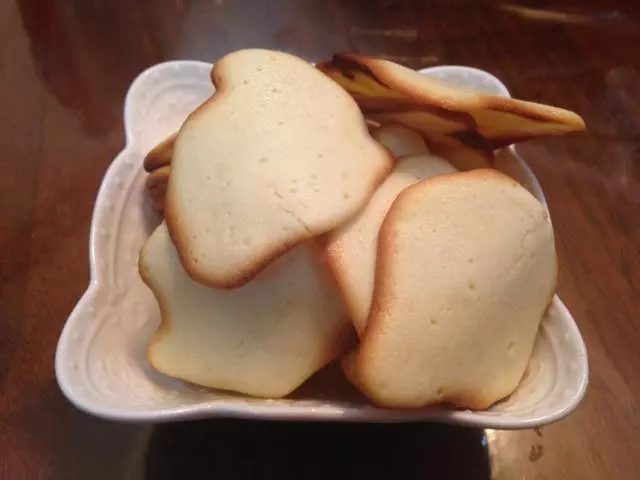
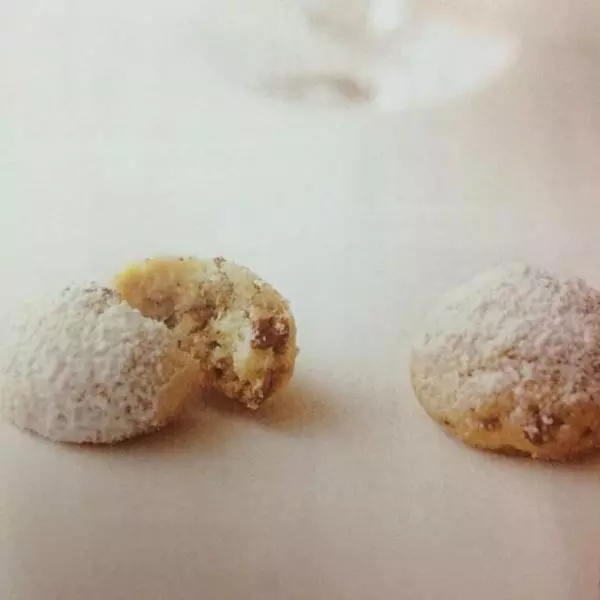
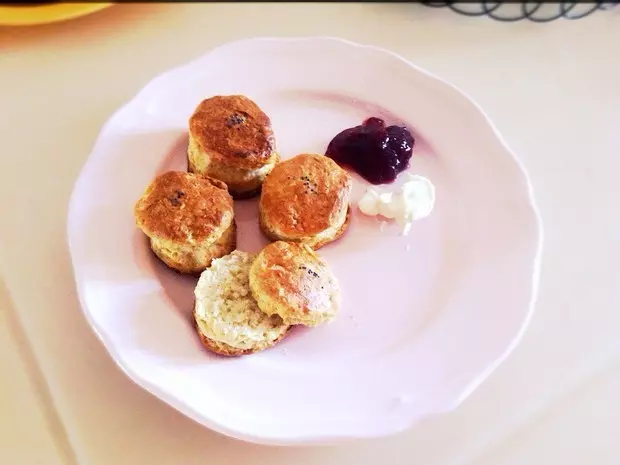
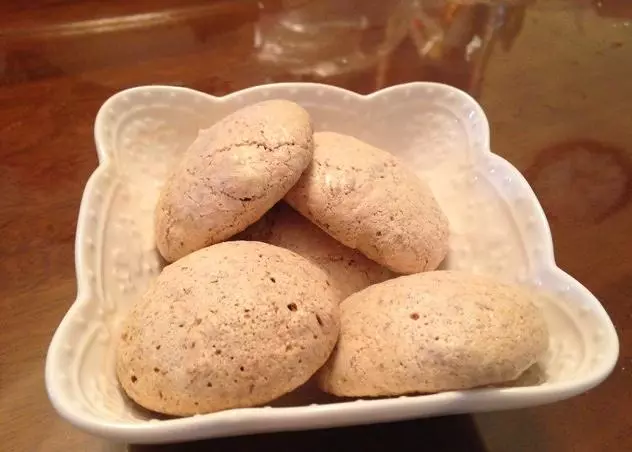
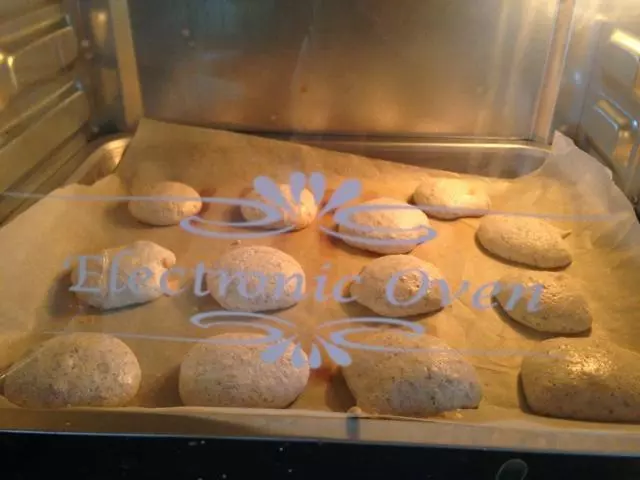
5烤40—45分鐘,表面稍稍變色即可。取出後在冷卻架上冷卻即可食用。
小技巧
1.如果餅乾糊盛在烤盤上不能自然延展攤開,說明蛋白打發過度,可以用刮刀攪拌一下適量減少泡沫。 2.盛在烤盤上的蛋糕糊要相隔一定距離,以免膨脹。如果一次烤不完要避免蛋糕糊風乾。