原料
麵粉: 500克, 水: 330克, 酵母: 2tsp, 白糖: 2tsp, 麵粉: 50克, 鹽: 1tsp, 油: 40克, 豬肉餡兒: 500克, 薑末: 1tbsp, 老抽: 2tbsp, 香油: 1tbsp, 花椒水: 125ml, 鹽: 2tsp, 蔥/白菜葉: 適量
步驟
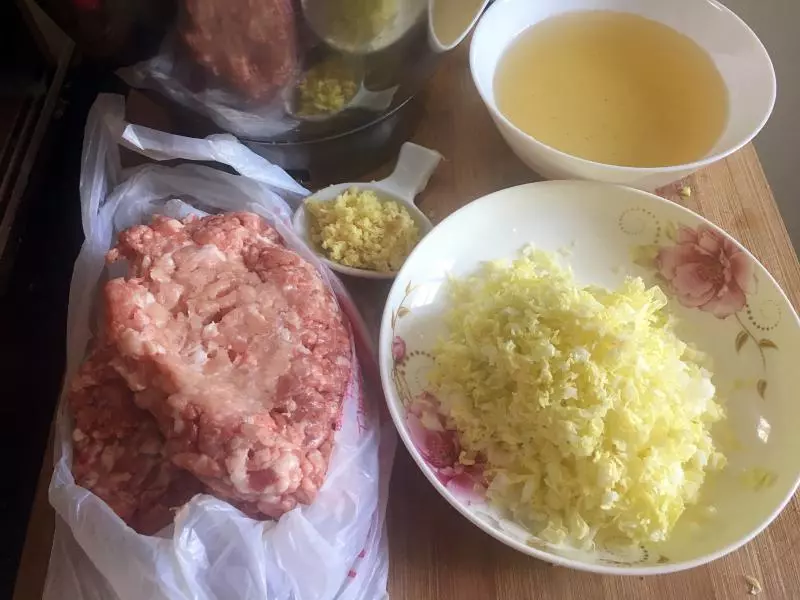
1備好。
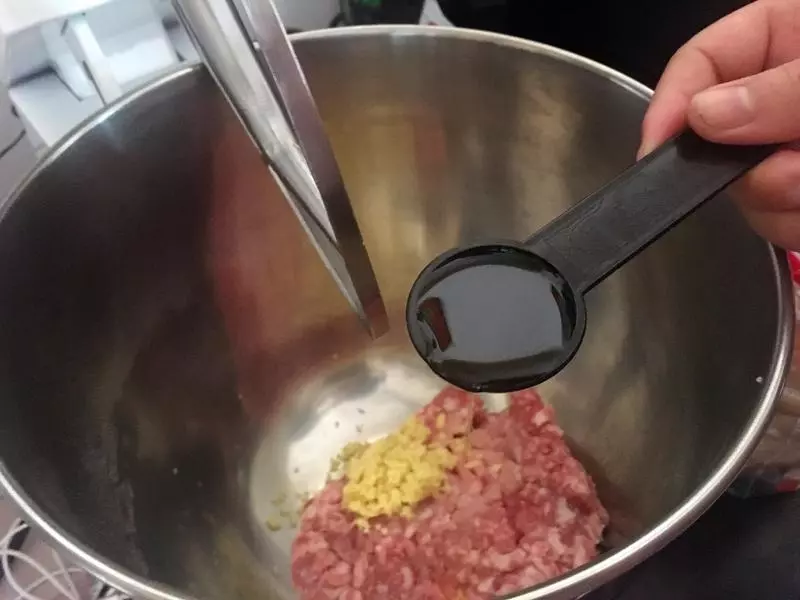
2豬肉末加入薑末加入香油,用料理機中速攪拌,邊攪拌邊倒入花椒水,再加入醬油和鹽,接著攪拌。
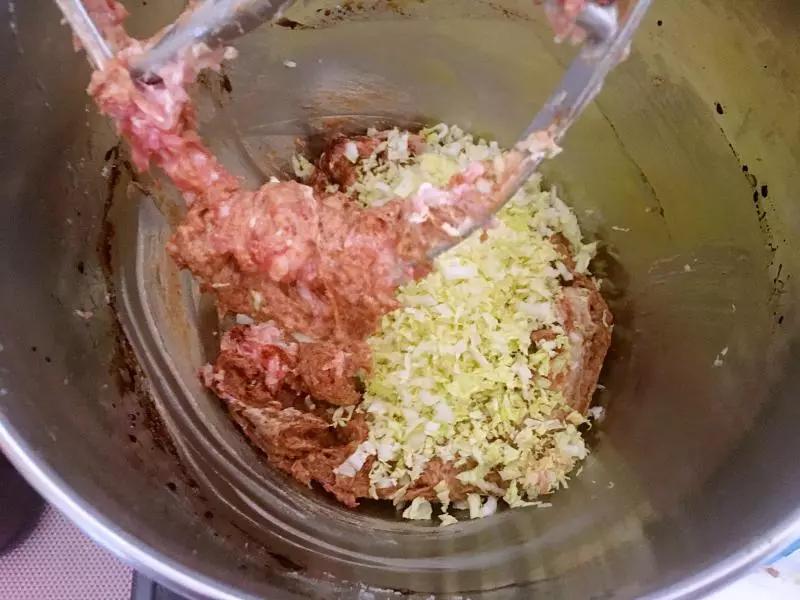
3最後放入白菜葉碎或者大蔥碎。
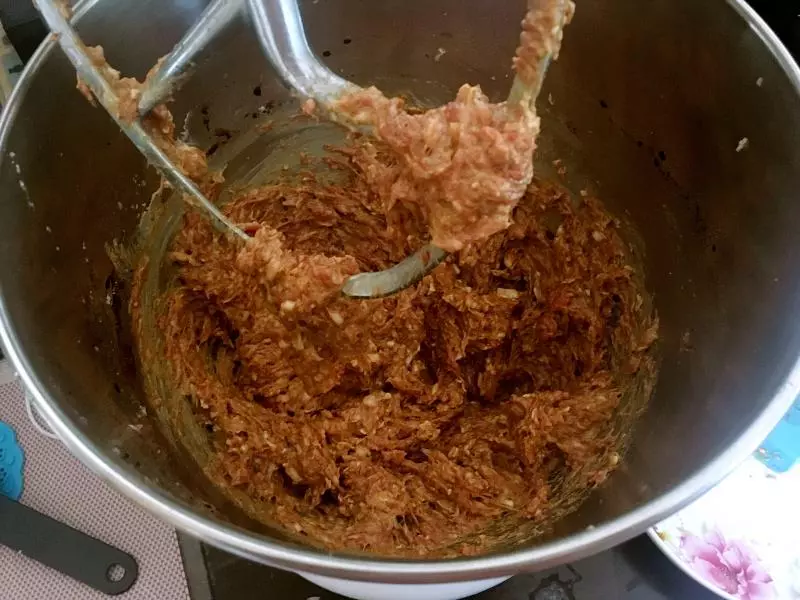
4拌勻。
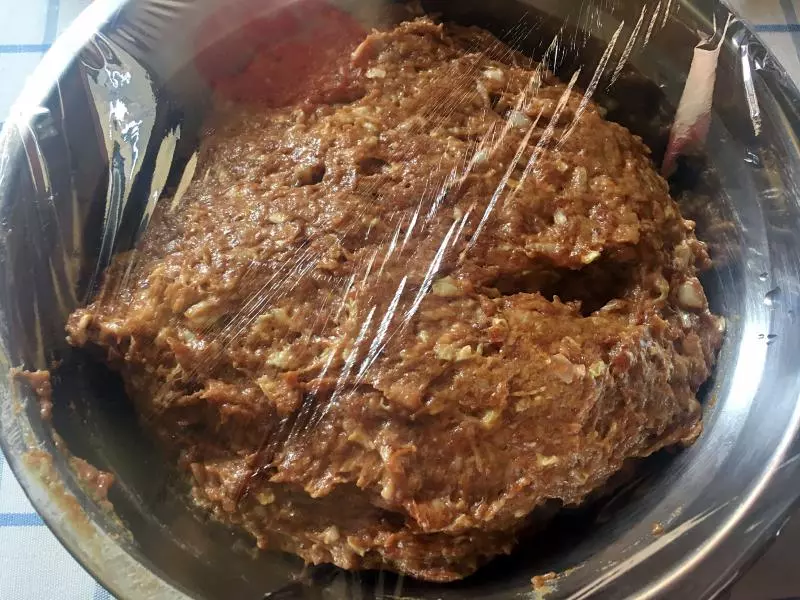
5放入冰箱冷藏。
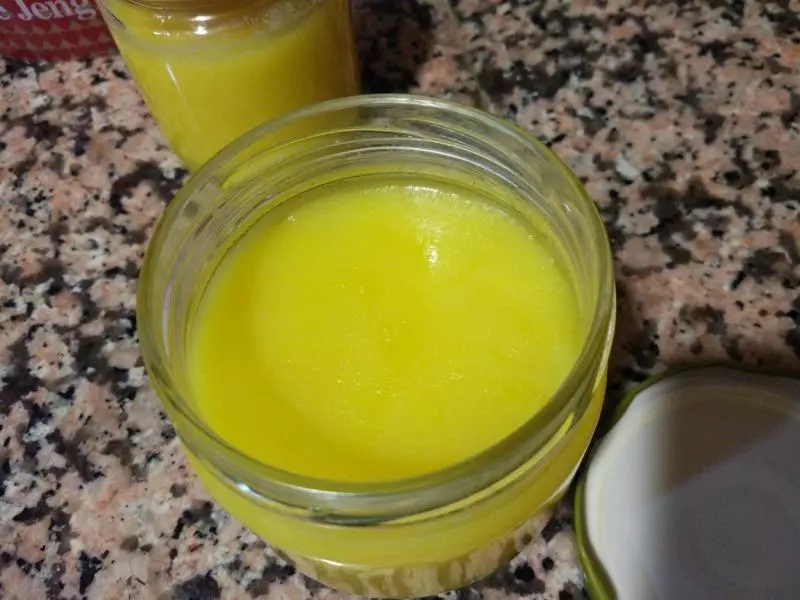
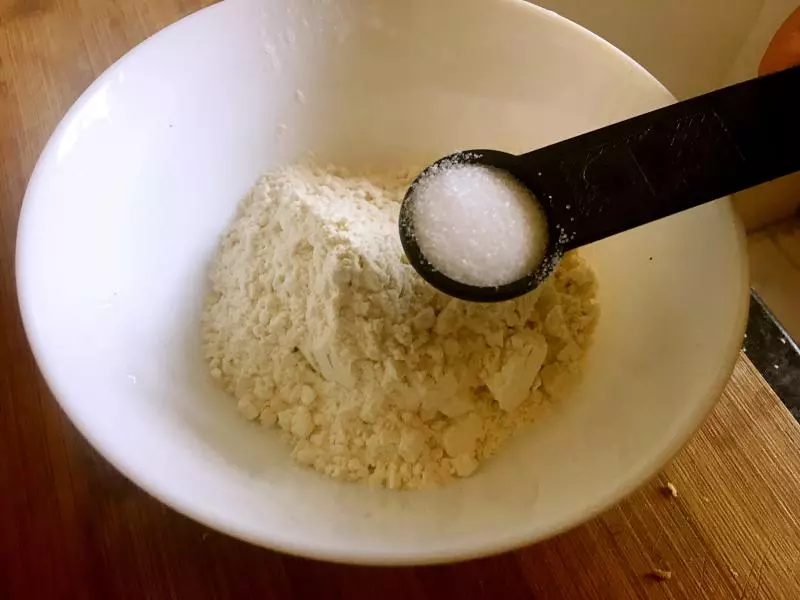
6接下來做油酥,麵粉加鹽拌勻。
7油加熱至有輕微煙。
8倒入麵粉中,拌勻。

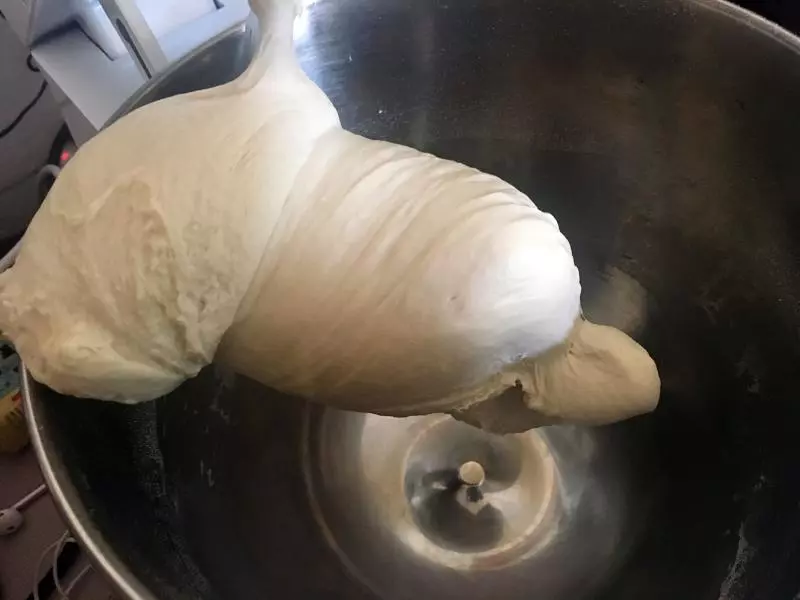
9麵糰材料放入料理機活成麵糰,比較軟,用手揉的親們要有耐心了。
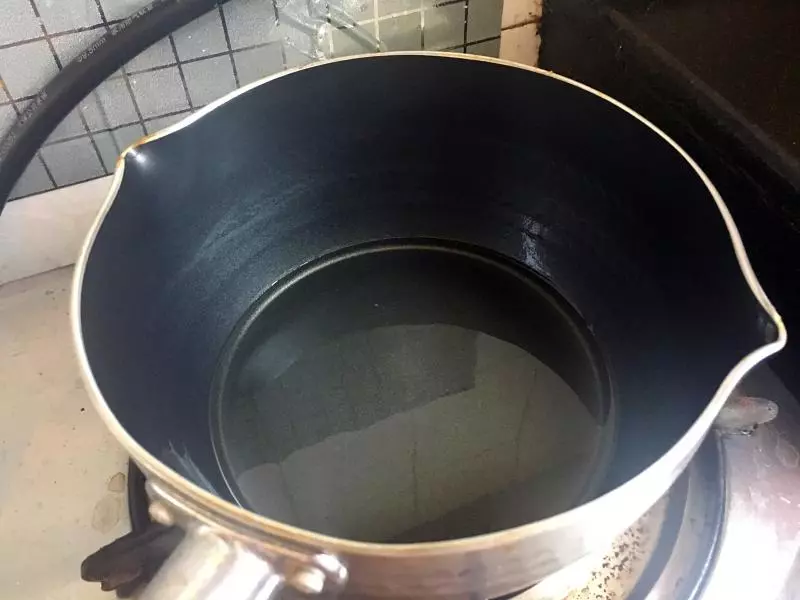
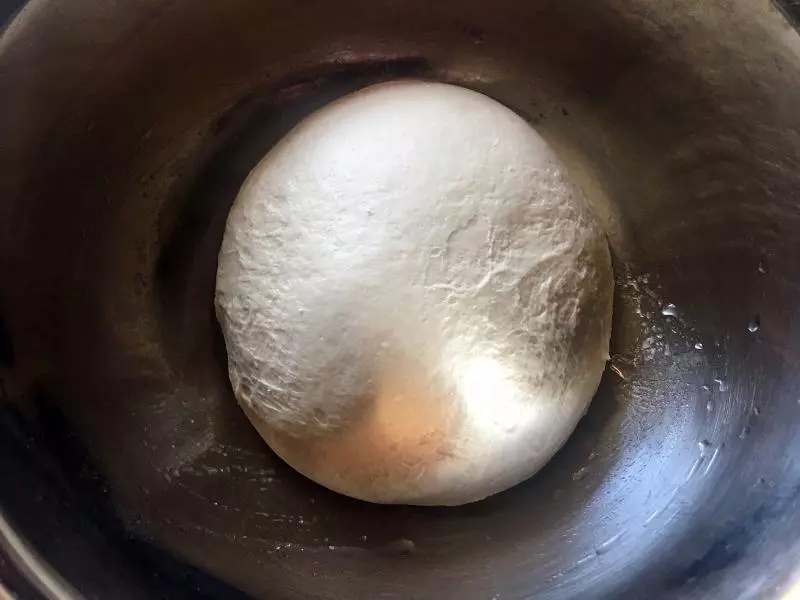
10盆上手上塗油,放入烤箱發酵。
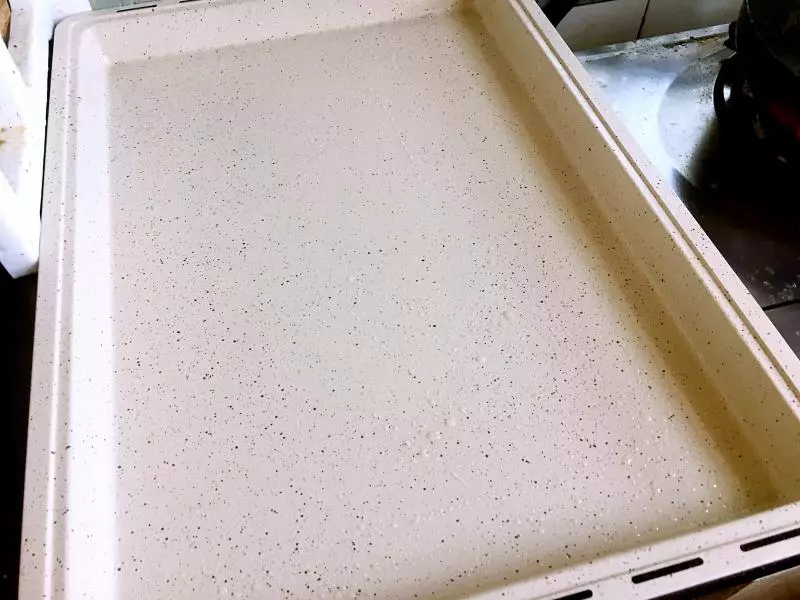
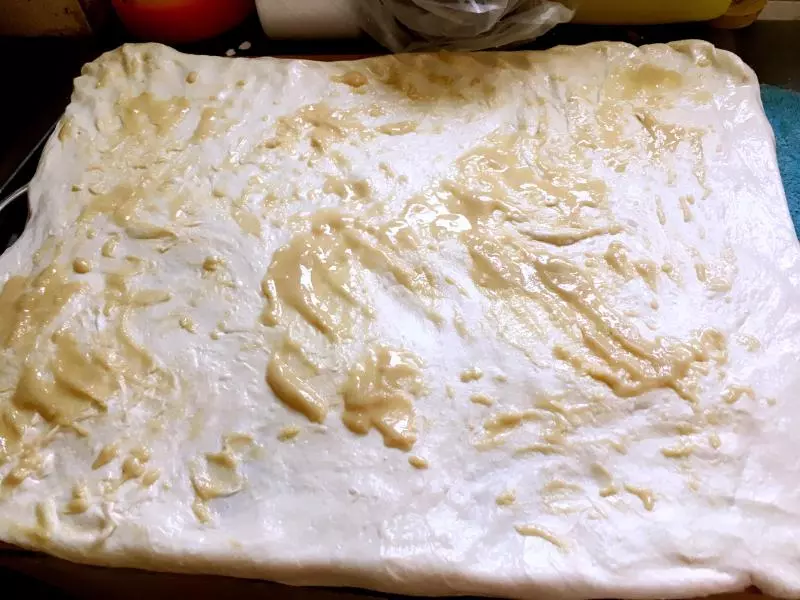
11一個烤盤塗油,一個烤盤放錫紙,上面放晾網。
12案板塗油,放入麵糰。

13擀長方形,抹上油酥。
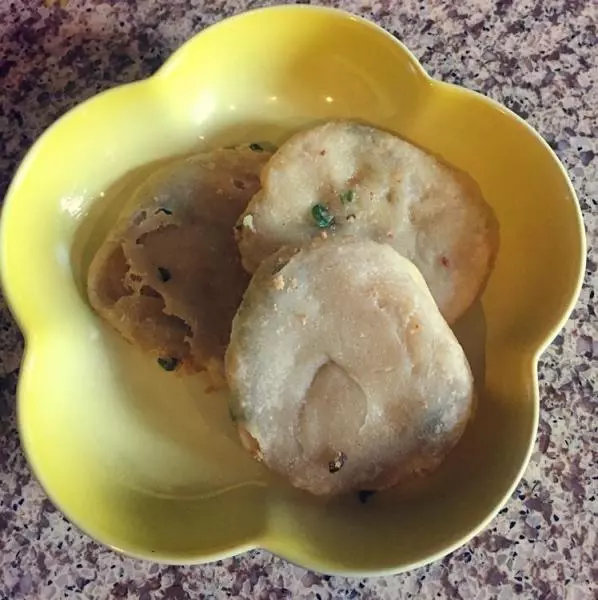
14捲起來。
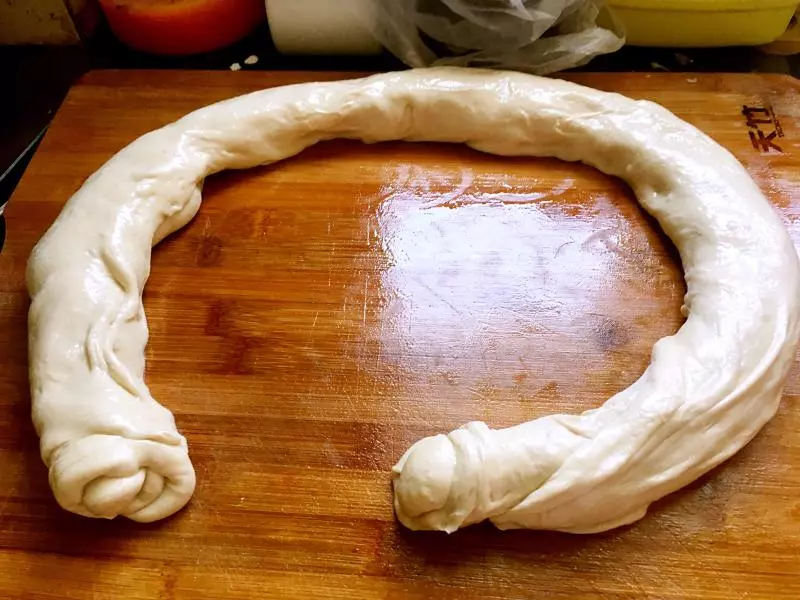
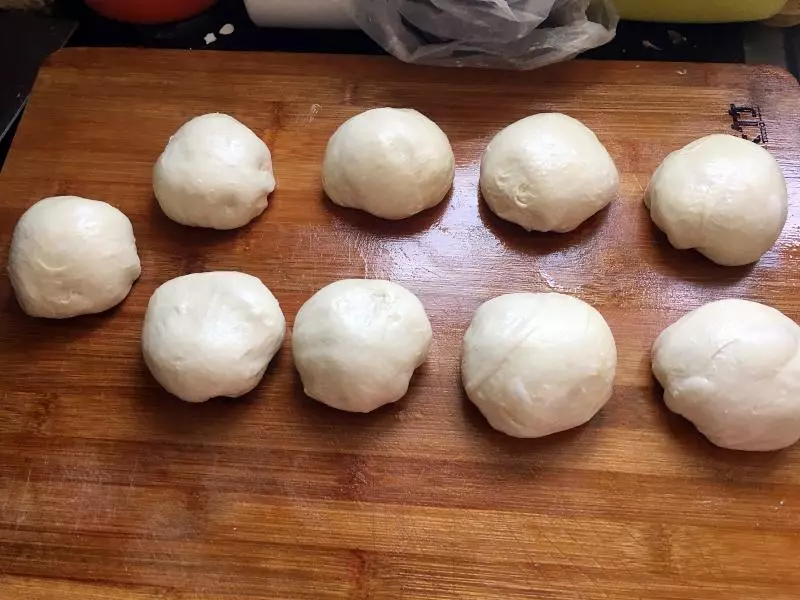
15分成劑子。
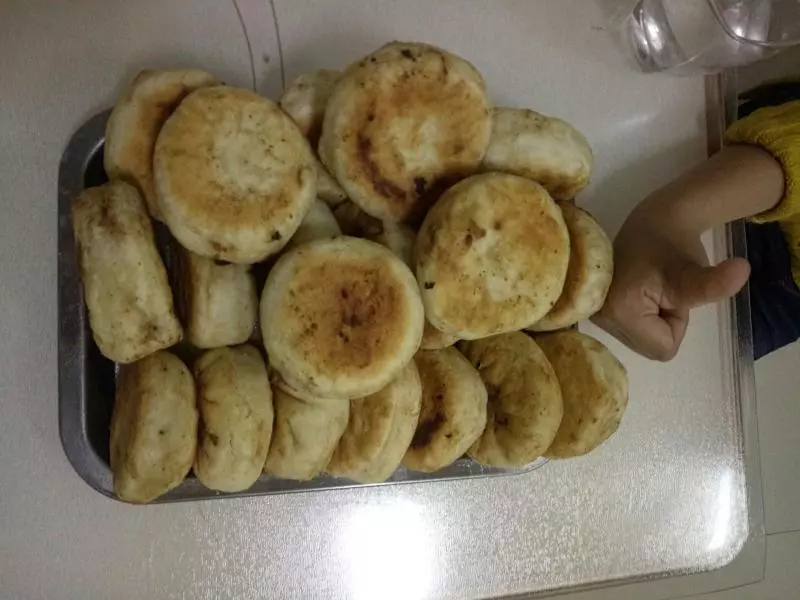
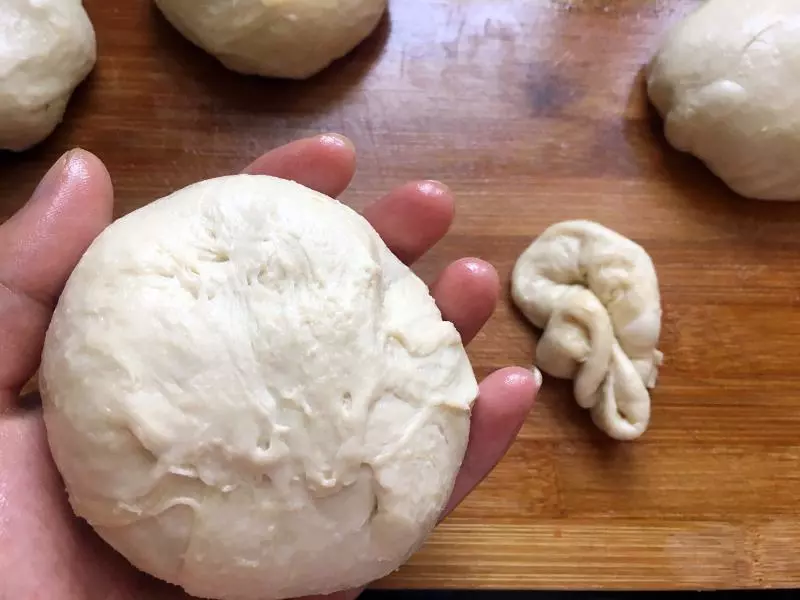
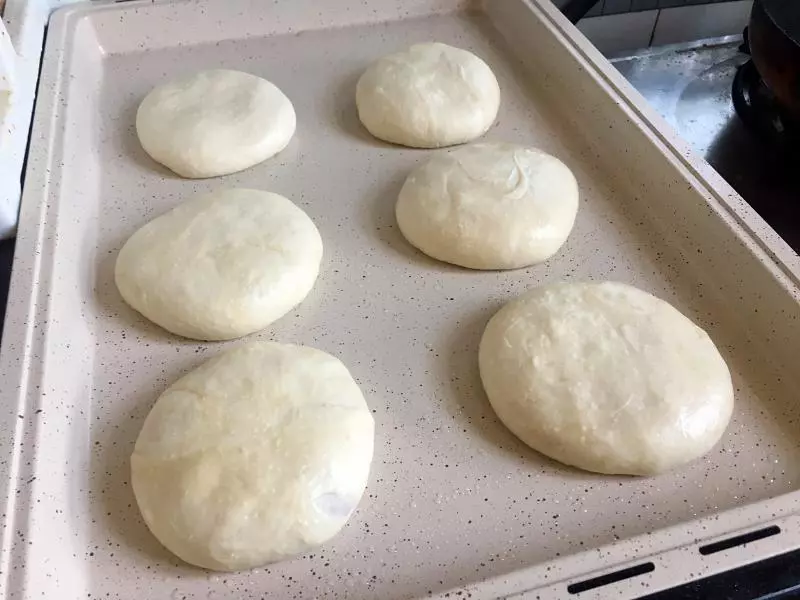
16用手按扁,放入肉餡兒包住。

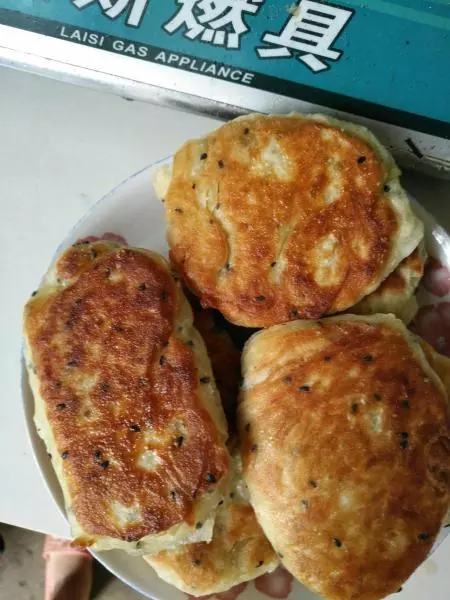
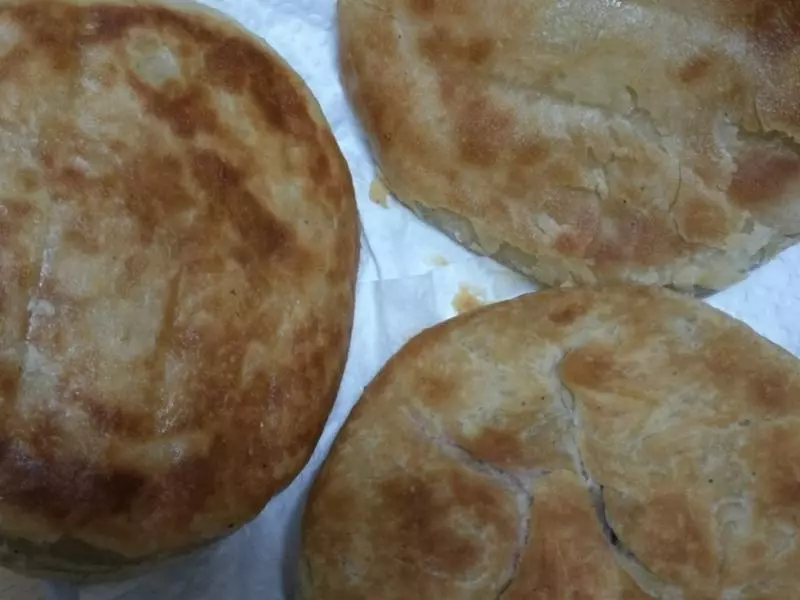
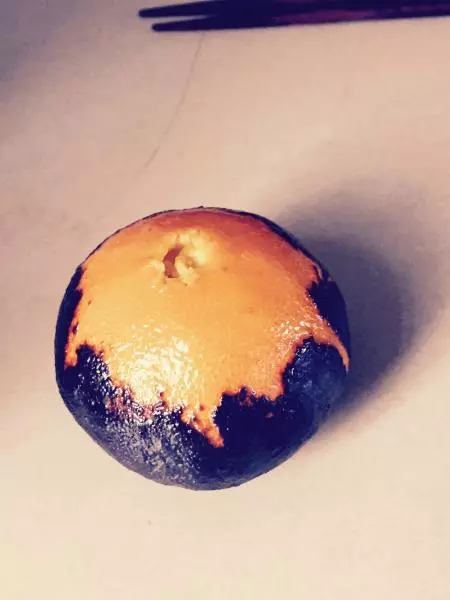
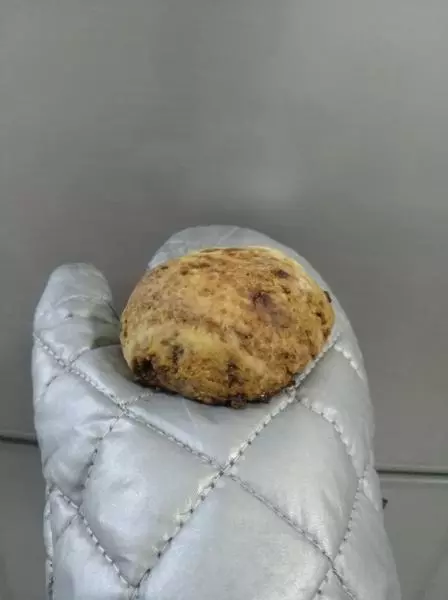
17收口的劑子拿掉。
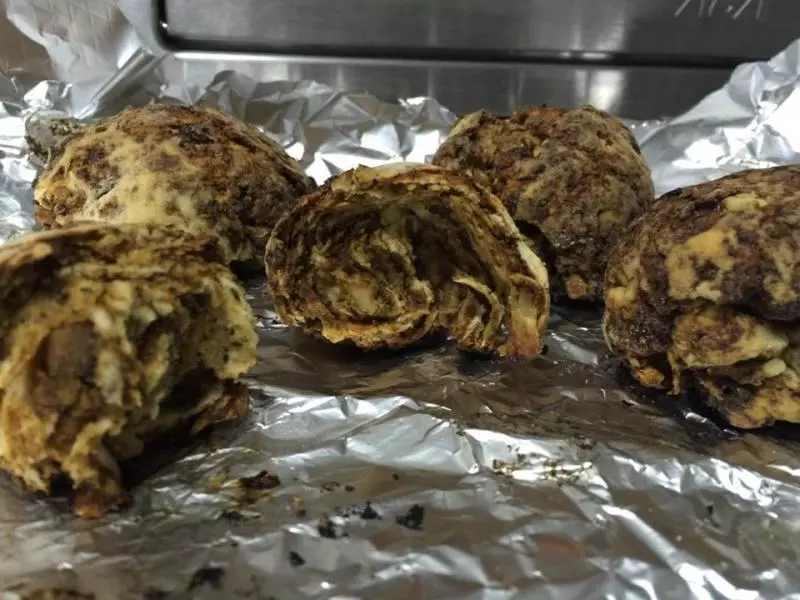
18放入烤盤。
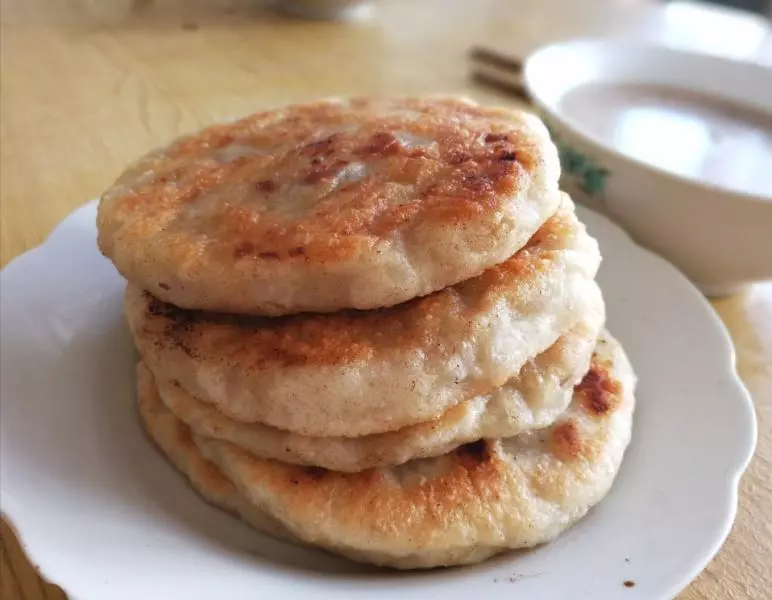
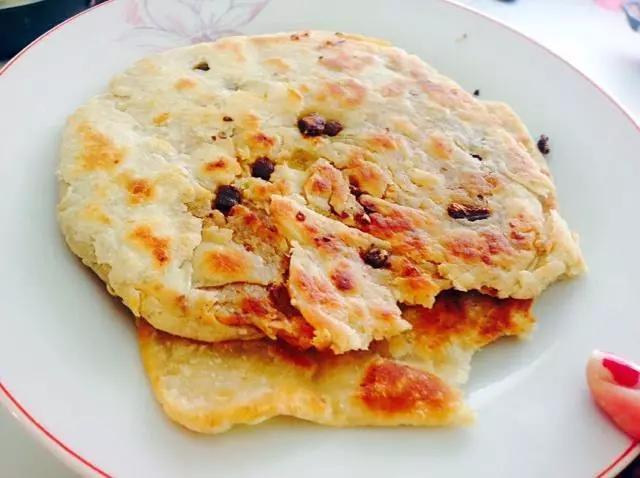
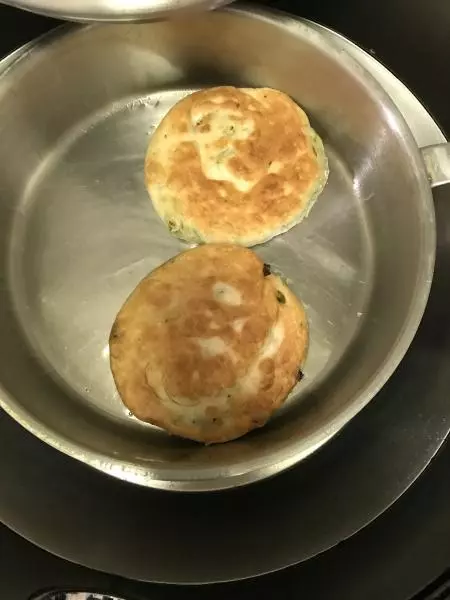
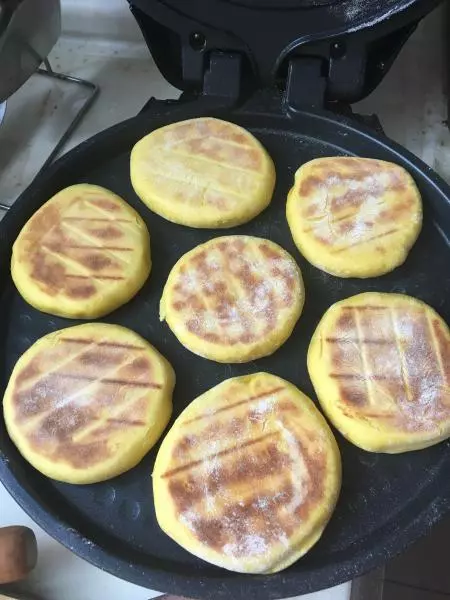
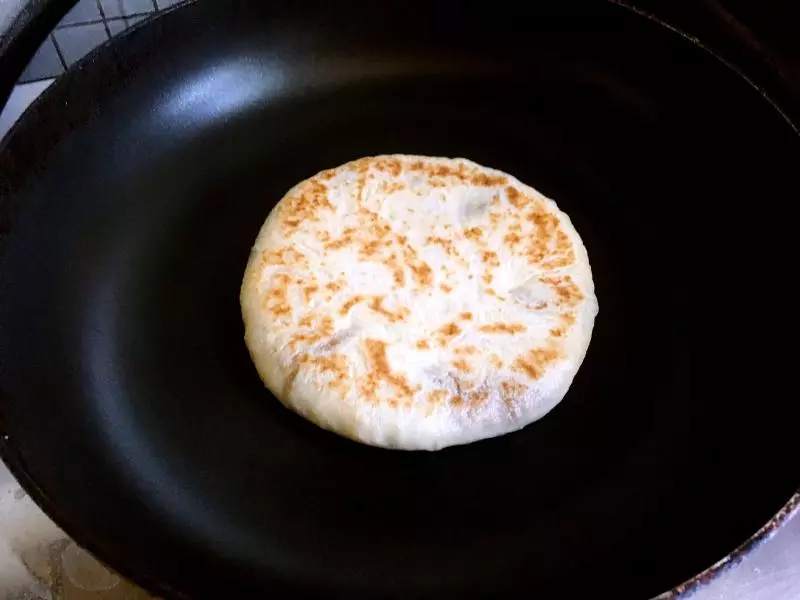
19平底鍋,兩面變黃即可。
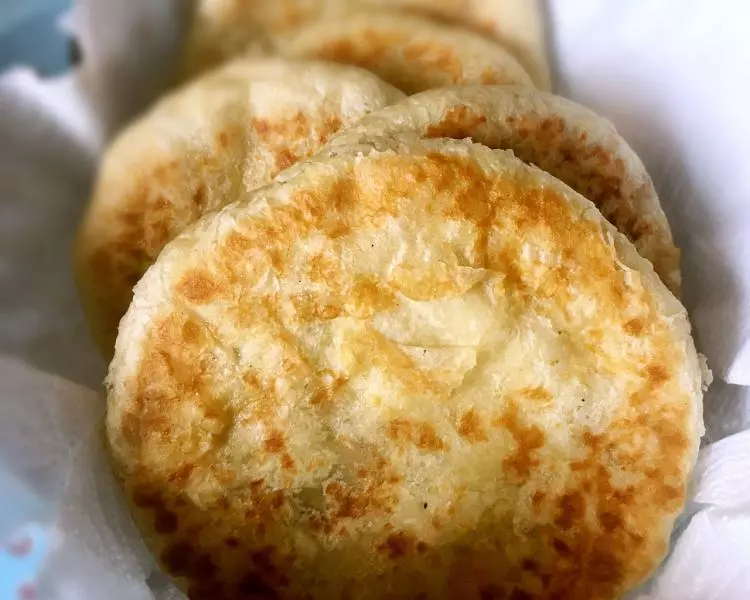
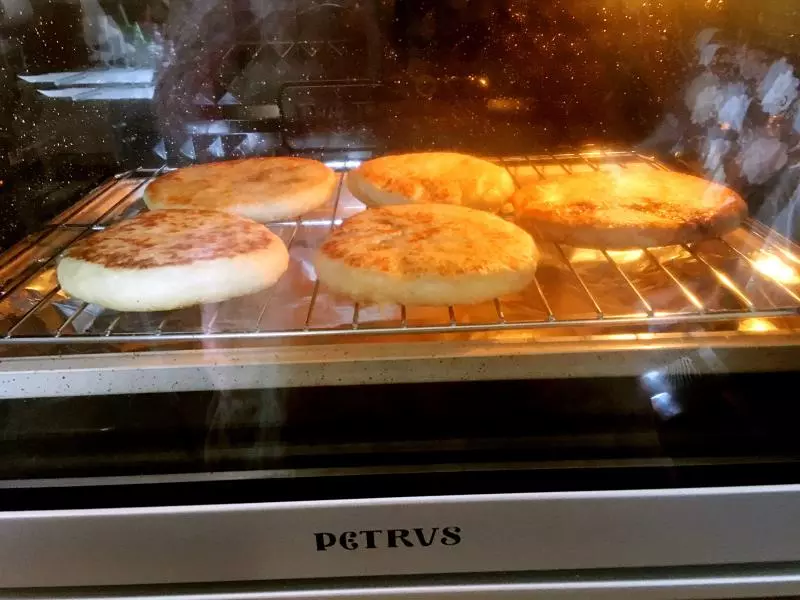
20210℃上下火,放入火燒,烤10分鐘。3分鐘翻面一次。會變得鼓鼓的,棒棒噠。
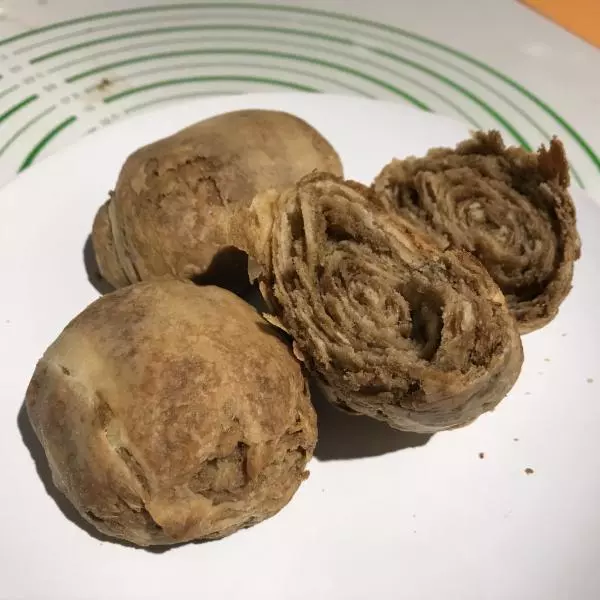
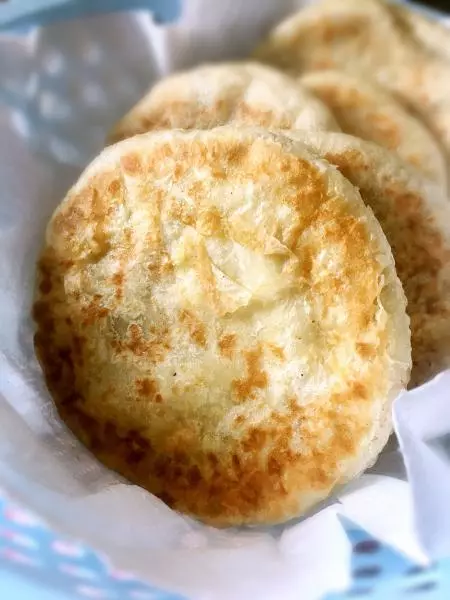
21好啦!
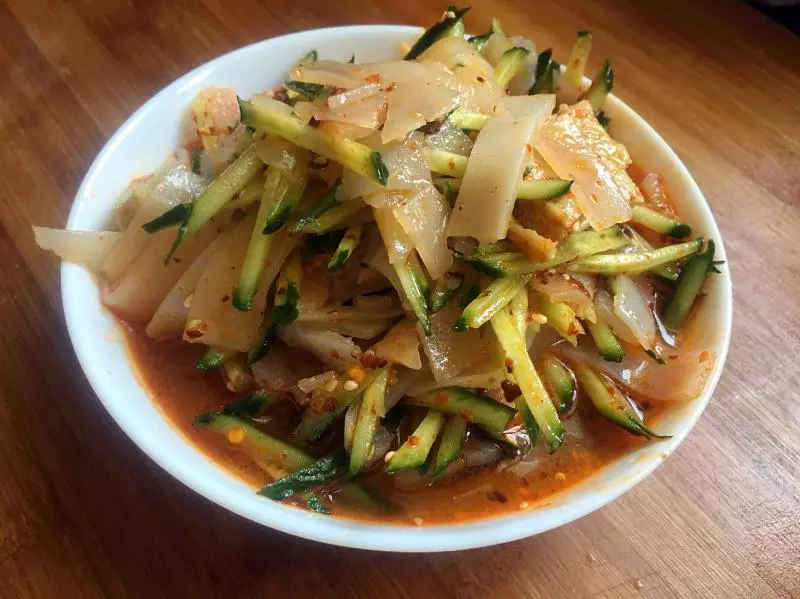
22和自己做的涼皮一起吃ꉂ ೭(˵¯̴͒ꇴ¯̴͒˵)౨」